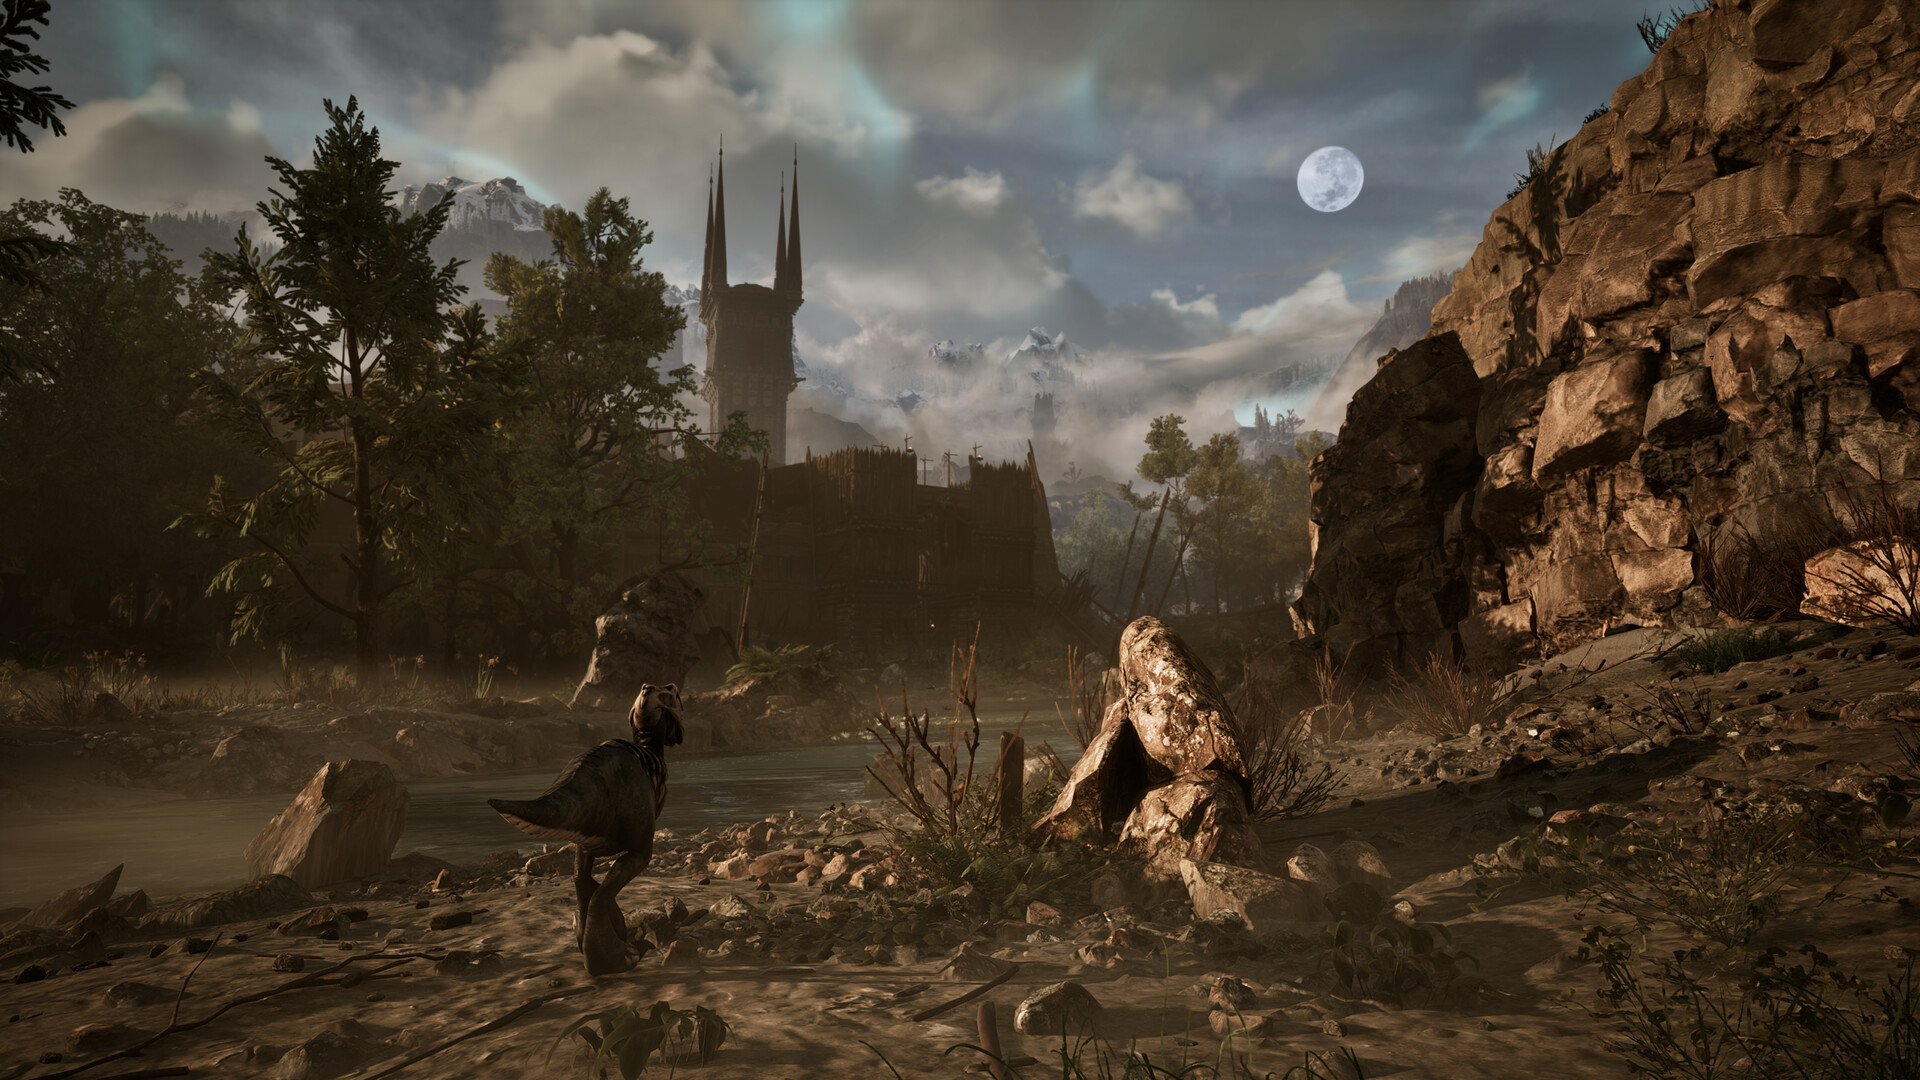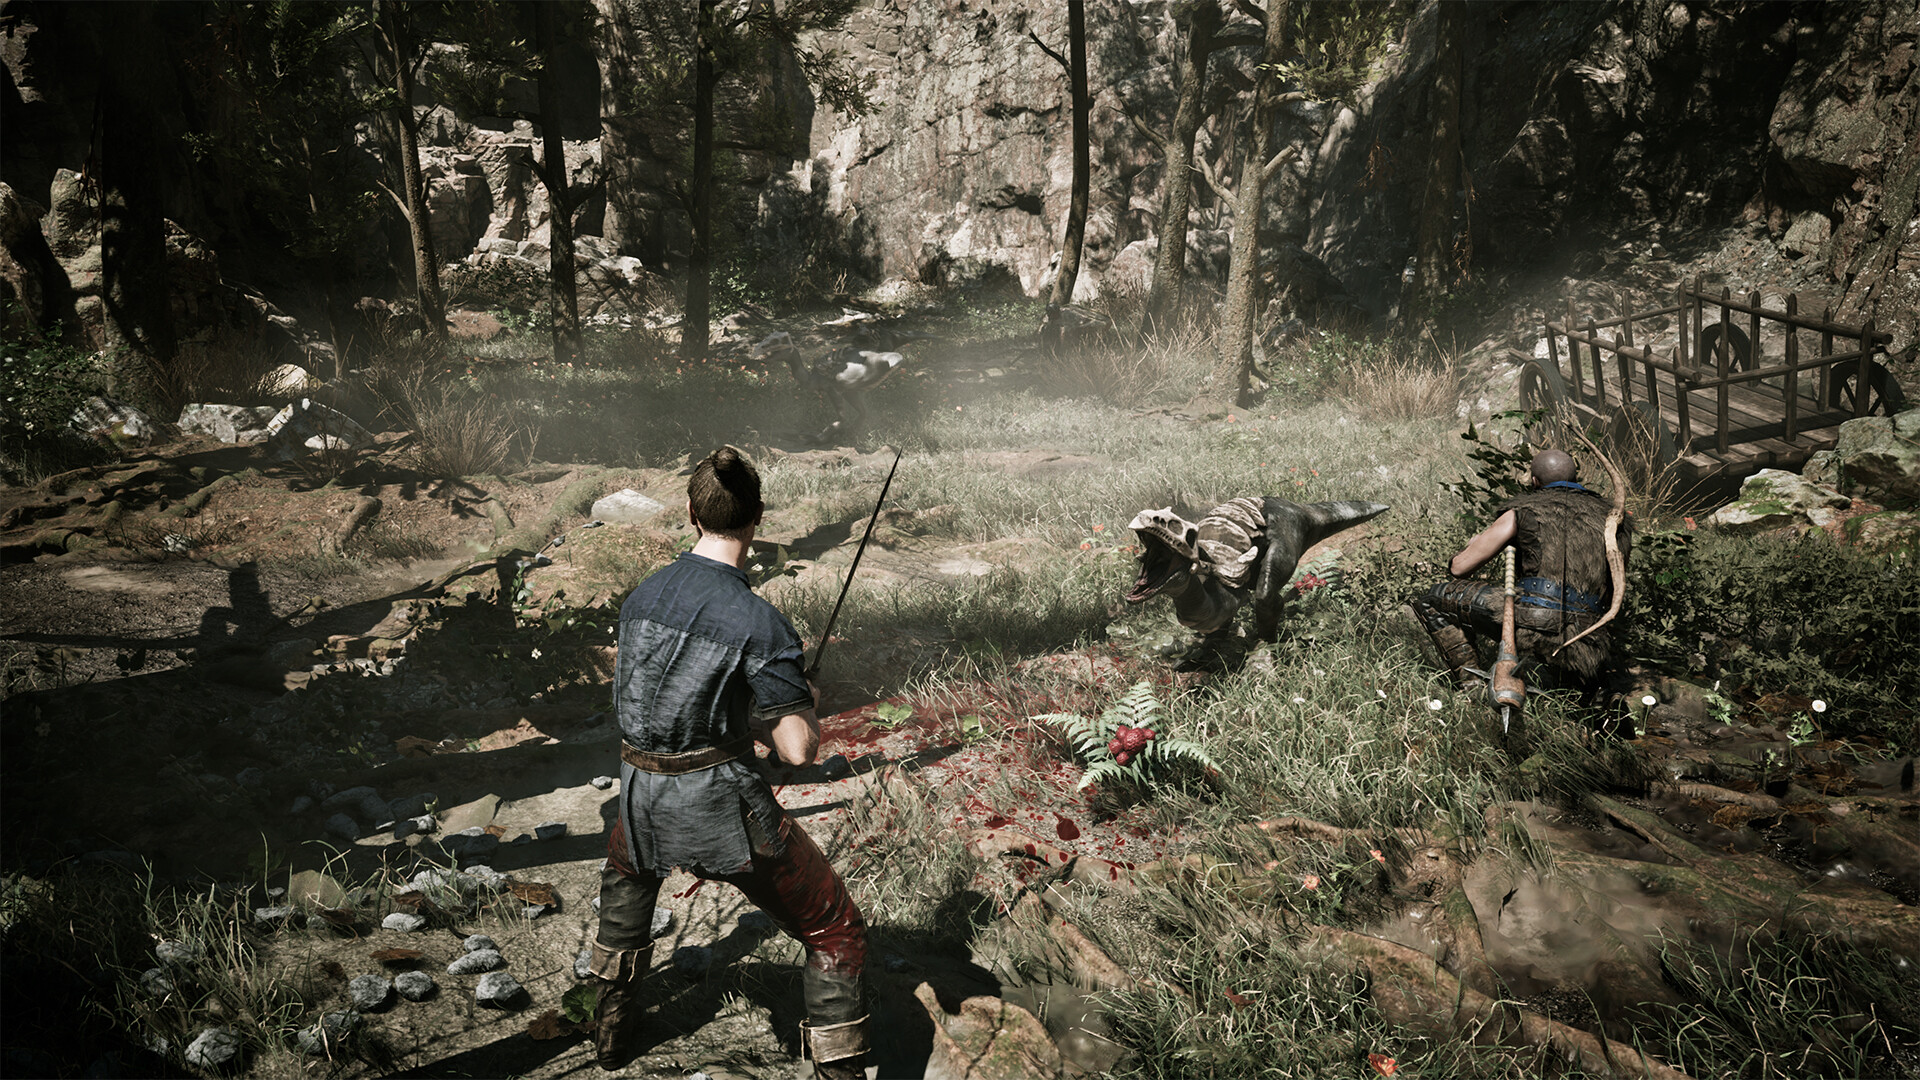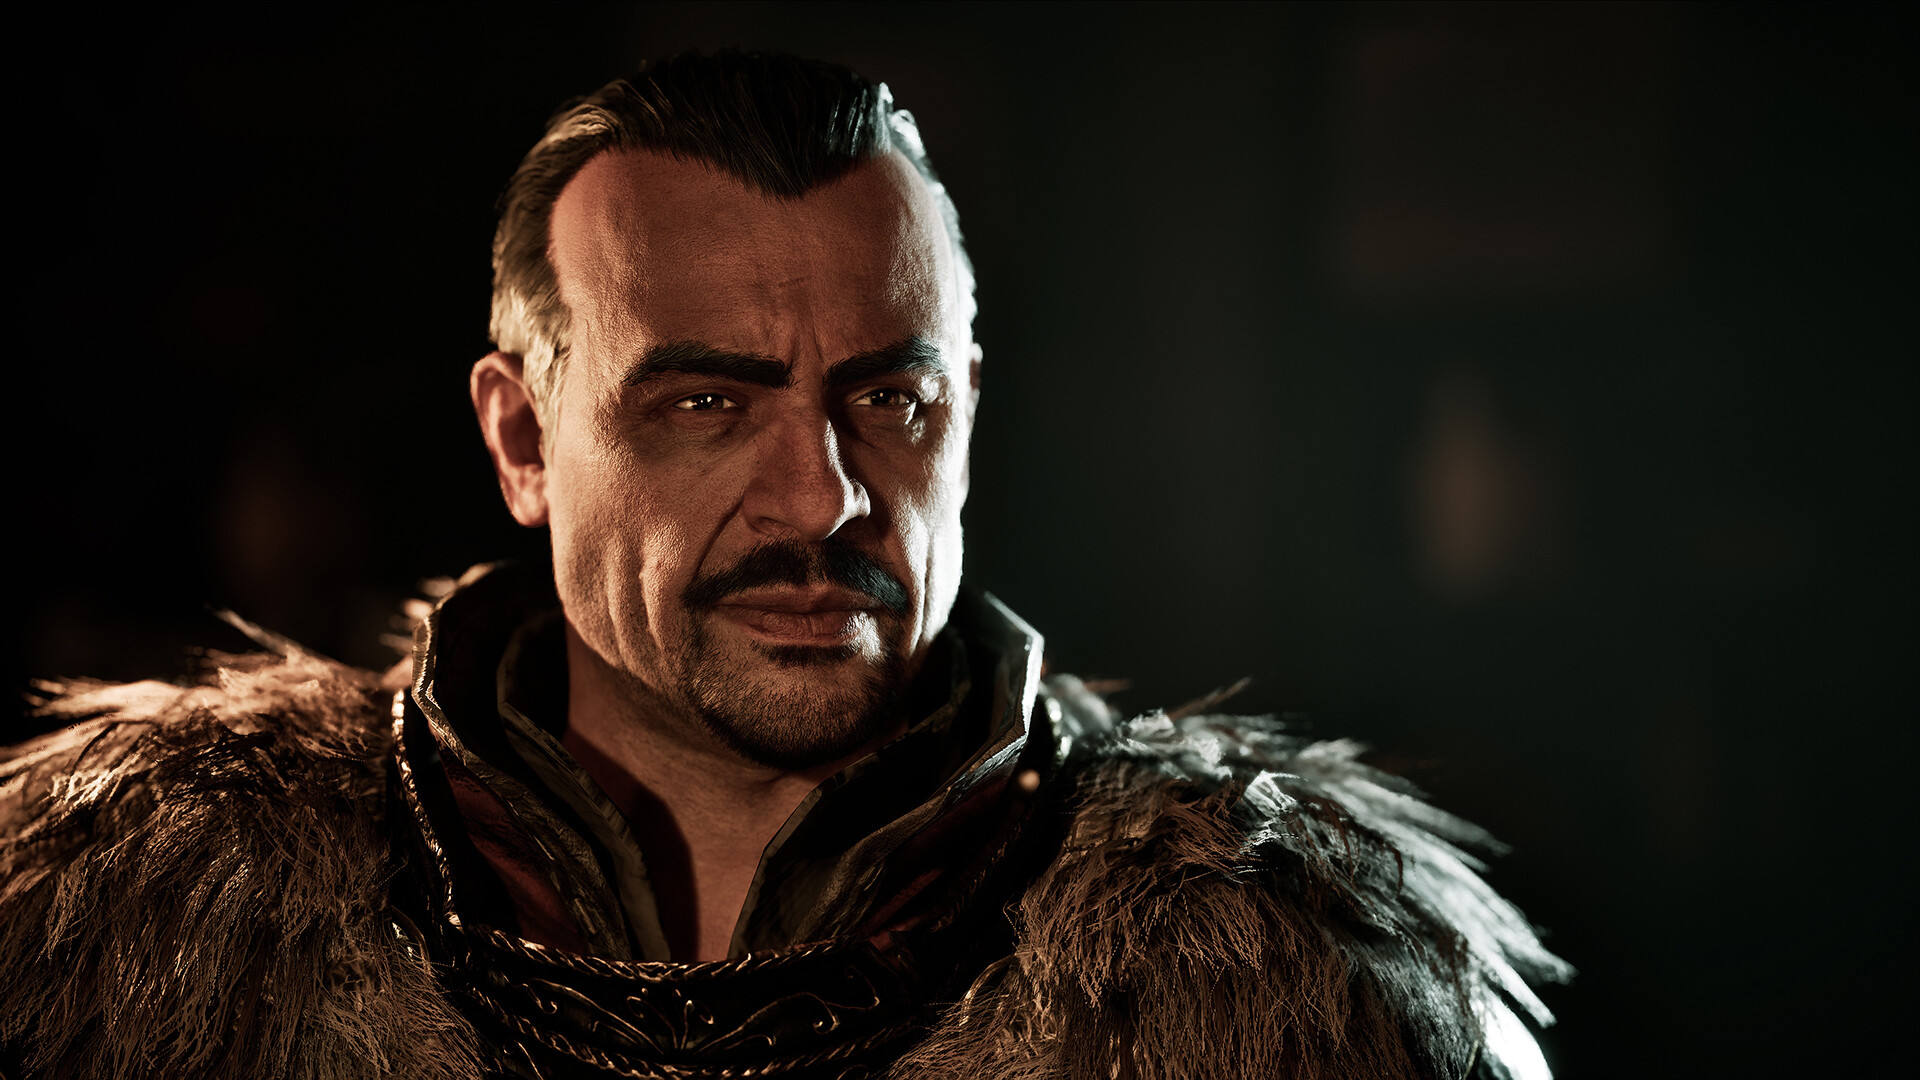


Gothic 1 Remake has a huge, open world, and it’s easy to lose track of where the main story is actually heading. Between side content and optional exploration, you might finish a quest and have no idea what comes next or wonder which quests actually matter for completing the game.
This guide lists every main quest in Gothic 1 Remake in order, with a brief explanation of each one, so you always know what’s essential to the story and what to do next.
What you’ll find in this guide:
All Gothic Remake Main Quests (Story Summary)
You begin your journey as the Nameless Hero, a common convict tossed into an inescapable prison colony surrounded by a malfunctioning magical dome known as “The Barrier.” The barrier erases the memory of anyone who passes it. So, you have no idea who you were before all this. Before you can even catch your breath, some prison guards start beating you up, but suddenly Diego shows up and saves you.
Diego quickly explains to you the reality of your new home. The prison colony is locked in a cold war between three competing factions:
- The Old Camp: Governed by Ore Barons who control the main mine and trade magical ore directly with the King for outside luxury goods.
- The New Camp: A rebellious group of rogues and mercenaries plotting to gather enough magic ore to violently blow up the barrier from within.
- The Swamp Camp: A religious brotherhood worshipping a mysterious, sleeping deity they call “The Sleeper,” whom they believe will tear down the dome.
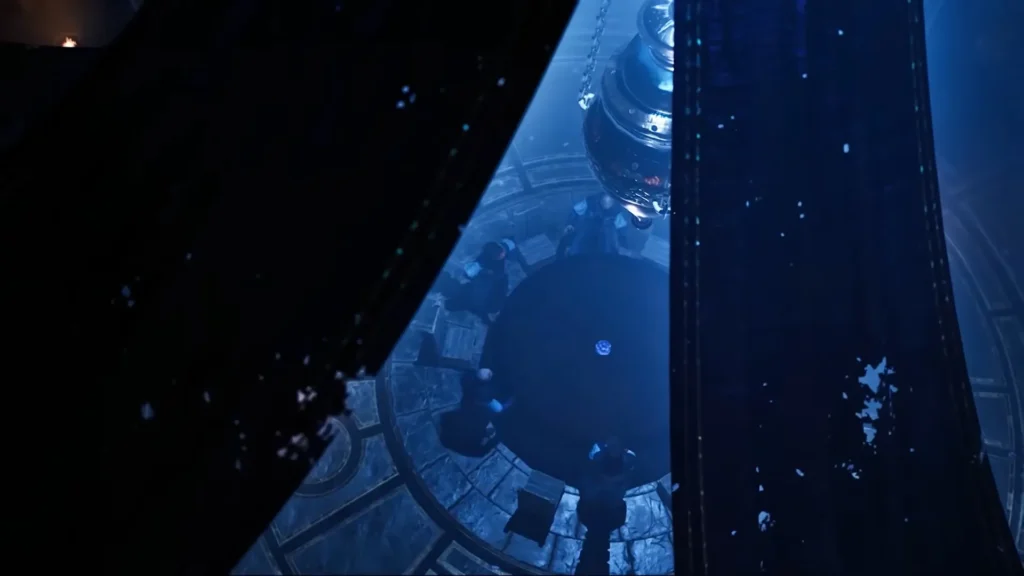
You have to deliver a letter to the High Fire Mages. In order to do so you must navigate these dangerous factions to carve out your path to freedom.
Chapter 1: Welcome to the Colony
Think of this chapter as your basic intro. Before you can make any real moves, you must Learn to Survive. This means familiarizing yourself with the remake’s new combat mechanics, harvesting whatever scrap weapons you can find on the ground (like basic pickaxes), and navigating the wilderness safely.
Your Main Objective here is to reach Level 5, complete the difficult admission trials for your chosen camp, and officially join a faction to unlock advanced training and protection. Remember as soon as you join one of the camps, you enter the second chapter and you can’t do the tasks of the other two camps. So do as many tasks as you can to get as much XP as possible before officially join one camp and get to know all three factions to make an informed decision.
Admission to The Old Camp Quest
To secure your place under Gomez and Diego, you must prove your worth to the gatekeeper Thorus. Your primary tasks involve tracking down the whereabouts of a missing guard named Nek in the wilds and completing the Test of Faith by retrieving a critical supply list from Ian deep inside the Old Mine.
Admission to New Camp Quest
If you prefer a life of lawless rebellion, you can hand that exact same Old Mine supply list over to Lares instead of Diego. To fully secure your spot among the rogues, you will also need to aid the local Rice Lord on the farm and beat up Lefty, to show you aren’t a pushover.
Admission to Swamp Camp Quest
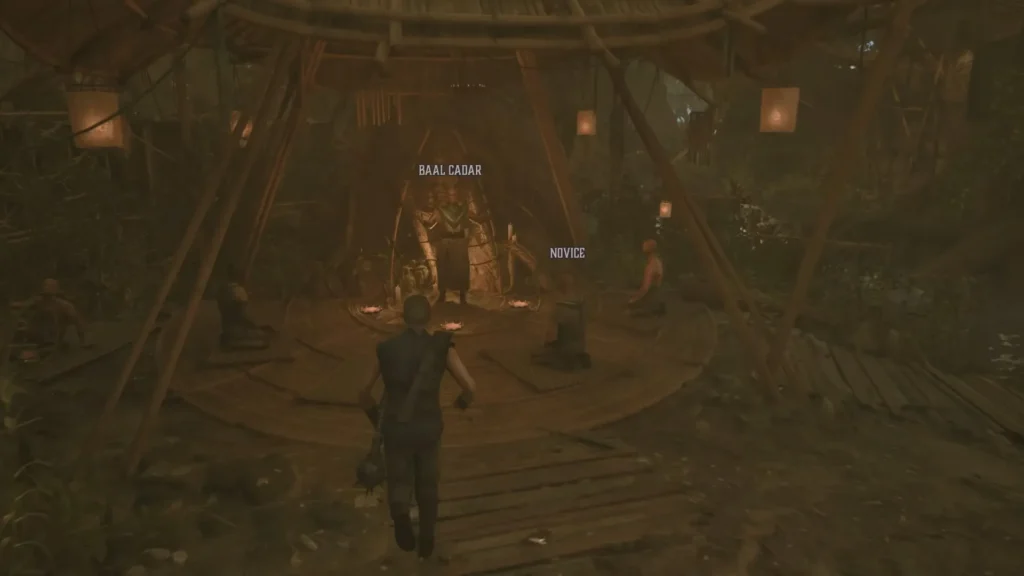
Joining the Brotherhood requires an entirely different approach. Because the Gurus consider themselves above talking to outsiders, you must impress at least 4 Baals (Gurus). You will do this by learning the complex ways of the cult and distributing high grade Swampweed to the working novices.
Chapter 2: Minecrawlers’ Nest
Now fully blended into a camp, your mission completely aligns with the Swamp Camp’s master plan. The spiritual leader of the brotherhood, Y’Berion, is preparing a massive ritual invocation to finally contact “The Sleeper.” However, the ritual cannot happen without three highly specific components: a magical Focus Stone, an ancient Almanac, and a powerful elixir brewed from the eggs of a Minecrawler Queen.
The Brotherhood’s Plan Quest
This is a very important quest where you step up to act as the primary coordinator for the cult’s grand summoning attempt. You have to pledge yourself to Y’Berion’s ritual and begin gathering the three components it requires. Remember that this quest is only available for members of the Old Camp and the New Camp. If you joined the Swamp Camp you should start chapter two directly from The Lost Apprentice quest.
- The Brotherhood’s Plan Quest Guide
The Lost Apprentice Quest
A search-and-rescue mission where you must go into the treacherous, wilderness surrounding the Swamp (that’s full of beasts) to find a missing novice, Caine, who vanished while gathering ritual components.
Y’Berion Quest
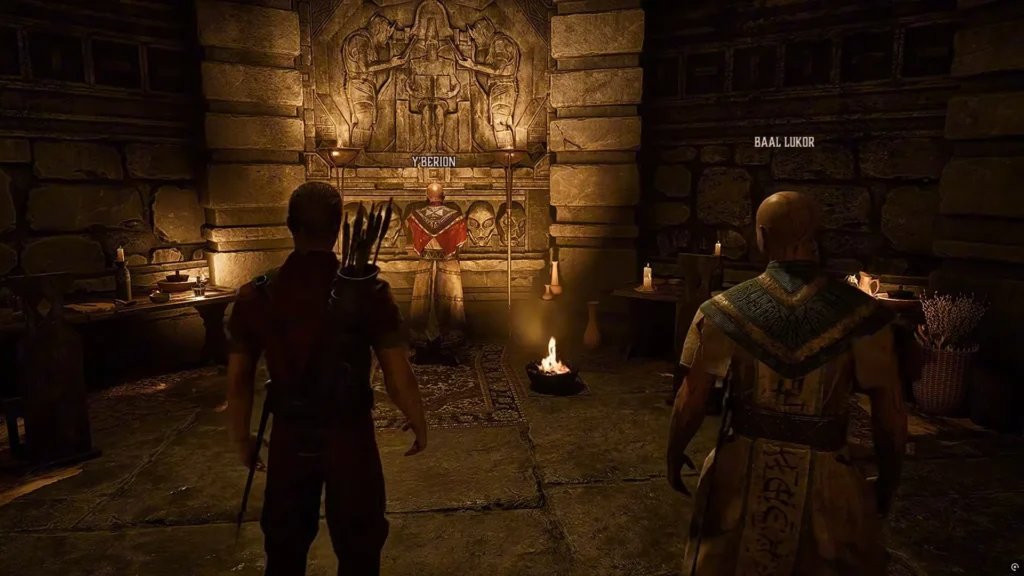
Your important formal audience with the Grand Guru himself on the temple mount to receive your specific artifact hunting coordinates. Meet with Y’Berion to learn exactly where the Focus Stone, the Almanac, and the Minecrawler eggs can be found.
- Y’Berion Quest Guide
The Focus Stone Quest
Y’Berion wants you to find a Focus Stone for him together with Nyras. To Retrieve the Artifacts, you must travel to a treacherous, high cliffside platform. Fight your way through bloodflies and scavengers to claim this ancient magical battery.
The Almanac Quest
The second half of your retrieval assignment. Track down a pack of Black Goblins who ambushed the cult’s messengers, clear out their cave hideout, and recover the stolen sacred text.
- The Almanac Quest Guide
The Minecrawler Nest Quest
Time to infiltrate the Old Mine. Grab a torch, head deep into the dark shafts, and bypass the local guards. You must deal with swarms of minecrawlers and clear away the heavy structural rubble blocking the deepest recesses of the cave. Once inside the hidden chamber, you must defeat the massive, toxic Minecrawler Queen in her nest and harvest her eggs.
Cog in the Wheel Quest
Find Lester deep in the Old Mine. He’ll ask you to find a cog necessary for fixing Ian’s ore marsher. You can find the cog in the deeper parts of the mine, then deliver it to Ian.
The Great Awakening Quest
Deliver the gathered ingredients directly to Cor Kalom and assemble in the temple courtyard. Finally you can see the “Great Awakening” ritual happening with your own eyes and how horribly it goes wrong; the sky splits, and Y’Berion collapses into a terrifying coma after catching a brief, horrifying vision of an Orc.
- The Great Awakening Quest Guide
Orc Cemetery Quest
With the camp in a panic, you must immediately investigate a nearby Orc Cemetery to search for answers. Deep within the tombs, you discover a devastating truth: the Sleeper is not a benevolent savior god at all, but an ancient, evil demon. Y’Berion tragically dies shortly after you return with the news.
The Templar’s Blade Quest
A high-tier combat trial requiring you to find specialized blacksmiths to forge and upgrade your weaponry to handle the increasingly aggressive creatures wandering the valley.
Chapter 3: Artifacts of Ancient Power
With Y’Berion dead, the Swamp Camp falls into absolute despair and chaos. The remaining hope for freedom shifts entirely to the New Camp’s Water Mages, led by Saturas. They plan to use a massive mound of magical blue ore to violently detonate the barrier from within. However, to channel that immense magical blast safely without killing everyone inside, they need the four remaining ancient Focus Stones scattered across dangerous ruins.
The Brotherhood’s Plan Quest
Now you have to settle your remaining business with the broken Swamp Camp leadership before turning your attention to the New Camp’s plan.
- The Brotherhood’s Plan Quest Guide
The Water Mages’ Plan Quest
Talk to Saturas, the elder of Water Mages. He will tell you to find the remaining artifacts and grant you the magical blueprints to track them.
- The Water Mages’ Plan Quest Guide
The Focus Stones Quest
Some of your friends from previous quests will help you collect these 4 stones. Head to the Fogtower which is located in the east of the map to find Lester, Gorn, Diego, and Milten.
- The Focus Stones Quest Guide
The Focus in the Monastery Ruins Quest
Journey to a crumbling cliffside monastery alongside Gorn. Together, you will need to fight off vicious Young Troll beasts and packs of bloodthirsty Snappers to reach the interior archives.
- The Focus in the Monastery Ruins Quest Guide
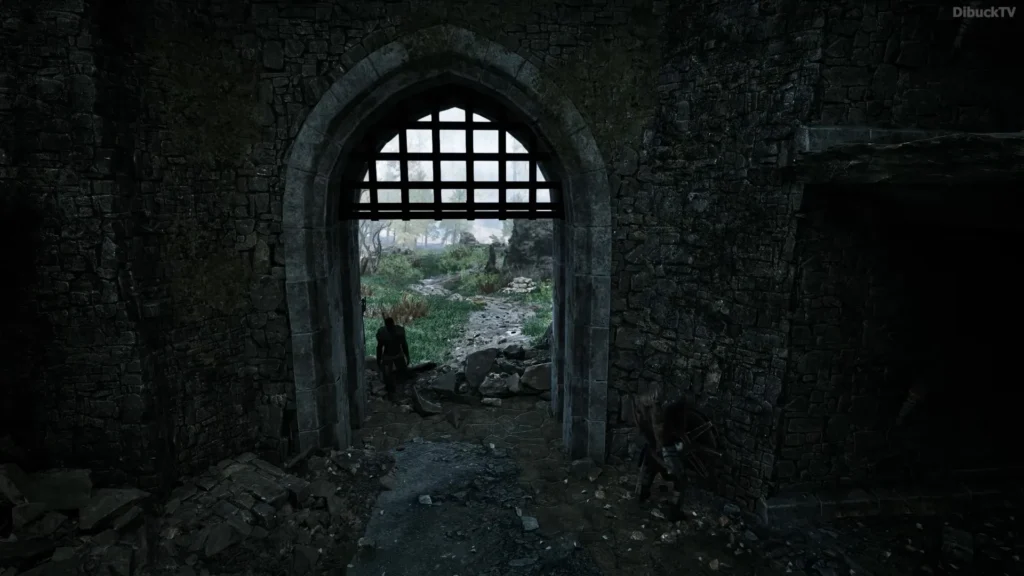
The Focus in the Troll Canyon Quest
Travel north into a narrow canyon with Milten. To secure the stone here, you must find a rare Shrinking Scroll and cast it on a massive, otherwise invincible Troll to turn it into a super easy fight.
The Focus Below the Stone Circle Quest
Now you should head to an ancient ruin that looks like Stonehenge with Diego. You must use ranged weapons to precisely activate hidden wall markers across the ruins to unlock a sealed, undead-filled crypt below.
The Focus at the Mountain Fortress Quest
Scale a treacherous mountain path with Lester. You must battle through a angry horde of screeching Harpies and solve a shelf-switching statue puzzle inside the keep to unlock the hidden vault.
Flames to the Flood Quest
Deliver all four Focus Stones back to Saturas in the New Camp while managing the explosive, heavily armed standoff developing along the riverways between the rival camp factions. Remember that if you are a member of the Old Camp, at the end of this quest you will be expelled from the camp.
- Flames to the Flood Quest Guide
Chapter 4: Xardas
Saturas sends you back to the Old Camp to ask for the help of the Fire Mages to safely start the massive ore detonation. However, you arrive to find the Old Camp under total lockdown. The Old Mine has collapsed, completely cutting off the Ore Barons’ economic leverage with the outside world. In a fit of absolute madness, Gomez has slaughtered all the Fire Mages and launched a bloody raid on the New Camp’s Free Mine to seize control of it.
Branded a traitor by your former allies, your only hope is to go to the Orc Territory, which means traveling south into unexplored, highly aggressive volcanic and snowy terrain to seek out Xardas: the legendary, renegade thirteenth mage who broke away from the circles to practice Necromancy.
Xardas Quest
Track the winding path into the volcanic peaks. To gain access to his dark tower, you must first pass The Three Golems Trial. Xardas’s gatekeeper demon demands proof of your worth, forcing you to defeat three elemental giants using strict tactical weaknesses:
- Stone Golem: Completely immune to magic and sharp blades; it must be smashed to pieces using a Blunt weapon like a hammer or mace.
- Ice Golem: Vulnerable primarily to Fire Magic scrolls.
- Fire Golem: Must be completely extinguished using targeted Ice or Water magic.
Hand the three golem hearts to the demon to unlock the tower. Once you Meet Xardas, he drops a bombshell: the Water Mages’ plan will fail completely because the magical energy of the barrier is being actively distorted by an archdemon resting deep beneath the Orc City, The Sleeper itself.
A Shaman Shunned Quest
Go further into the volcanic ridges to rescue an exiled Orc Shaman named Ur-Shak from an ambush. He will explain the internal politics of his people and reveal how to enter the subterranean city.
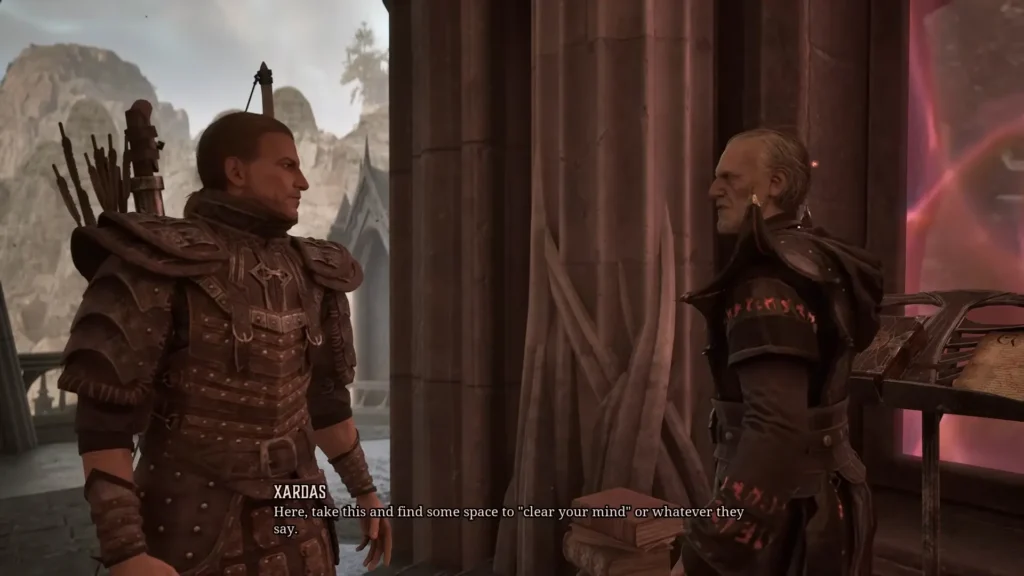
The Banner of Banners Quest
Ur-Shak warns you that the Orc military will butcher you on sight. To pass safely, you must hunt down 4 elite beasts across the valley to gather the rare components needed to forge the Ulu-Mulu, a tribal staff of peace.
The Orc Enclave Quest
Equip your newly crafted Ulu-Mulu staff or use a high-tier teleport scroll to confidently slip completely past the heavily armed city guards and access the lower ruins. Meet Ur-Shak at the gates of Orc Enclave and he will guide you in the rest of your journey.
- The Orc Enclave Quest Guide
Chapter 5: The Custodians of the Portal
Xardas explains that to break the barrier, you must strike directly at its source: the Sleeper. You must make the deep descend beneath the city into an ancient, trap-filled labyrinth.
The Path Chosen Quest
The final preparation checkpoint where you max out your combat attributes, buy up your endgame consumables, and permanently leave the surface world behind. By exploring Orc Enclave and talking to its residence, you have to get prepared and find a way to enter The Sleeper’s Temple.
- The Path Chosen Quest Guide
A Warrior’s Honor Quest
Before the Sleeper Temple will open its barrier to you, the shaman Ur-Nazkrog demands proof that you are the one foretold in her visions. You must seek out Ur-Shak to learn the old burial rites, then track down the body of the slain Orc warrior Grazkrak and perform the ritual of “shaping life from death” to lay him properly to rest.
- A Warrior’s Honor Quest Guide
The Dreamer’s Nightmare Quest
Finally it’s time to enter the Sleeper Temple. It’s not going to be easy and you should expect an incredibly heavy, oppressive dungeon design. You will need to Solve the Temple Puzzles to survive and find 5 gemstones and a Strange Sword.
Uriziel Quest
Here you find out that the Strange Sword you found in the previous quest is actually Uriziel, a mythical, ancient sword capable of cutting through demonic protection. However, you discover its magical properties have completely faded over the centuries, making it useless. You must temporarily break out and retreat from the temple to find a way to power it back up.
Chapter 6: The Sleeper’s Halls
You return to Xardas with the dead sword. He reveals that the blade can be fully recharged if you draw out the immense raw magical energy contained within the New Camp’s prized ore mound.
With Milten’s help, you execute a daring plan to redirect the ore’s power directly into the sword. This permanently drains the New Camp’s resources but creates the ultimate glowing weapon. Armed with a fully charged Uriziel, you return to the temple for the final battle against Cor Kalom and his remaining mad, fanatical cultists.
The Sleeper’s Awakening Quest
Instead of a standard melee slugfest, the finale introduces a hallucinatory nightmare format where you must Fight Through the Gauntlet. The Sleeper uses psychological magic to force you into fighting corrupted, “Mad” versions of your closest companions one after another: Mad Mud & Minecrawler Queen, Mad Diego, Mad Gorn, Mad Milten, Mad Lester & Xardas.
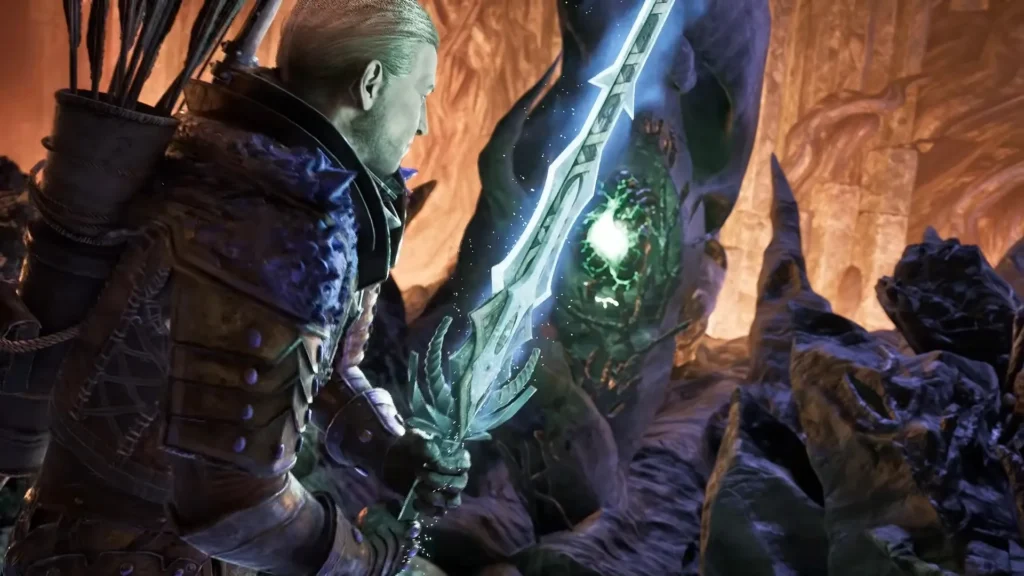
Every single time you successfully defeat a companion hallucination, you must quickly sprint up to one of the Sleeper’s five central shrines and Stab the Hearts by piercing them directly with Uriziel.
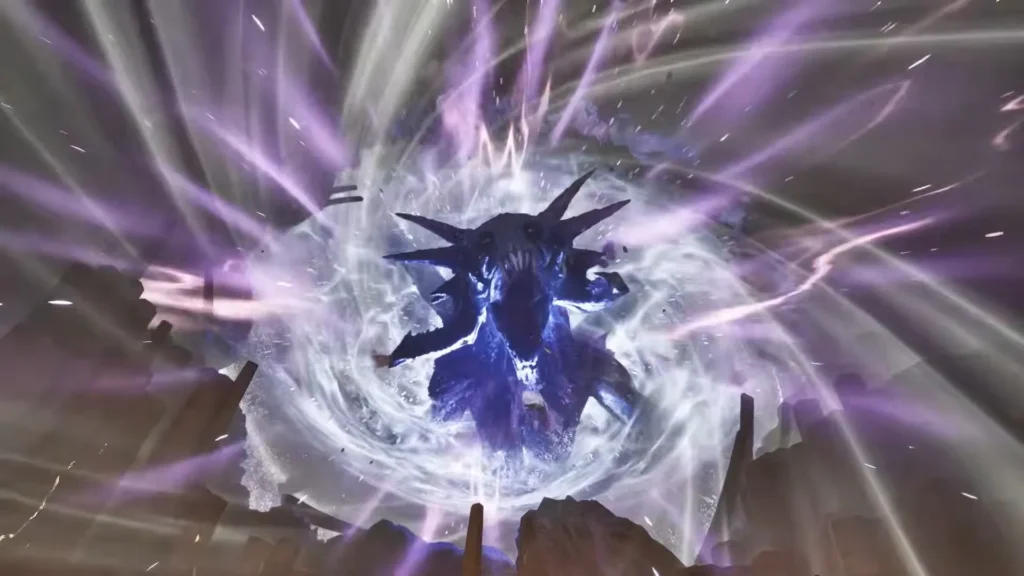
Once all five hearts are pierced, Mad Cor Kalom will transform into a giant, terrifying “Mad Demon.” Dodge his heavy attacks, unleash the full magical fury of Uriziel, and slay the monster once and for all to permanently banish the Sleeper back into the void.
- The Sleeper’s Awakening Quest Guide
The Ending
With the Archdemon successfully banished, the corrupt magical source keeping the prison dome intact completely evaporates. The Barrier spectacularly collapses in a flash of light, finally liberating the convicts.
The Nameless Hero is buried deep under the collapsing stone rubble of the ancient temple but miraculously survives, setting up the exact starting premise for Gothic 2.