

Spoiler Warning: This guide contains full spoilers for final episode choices and outcomes.
Dispatch Episode 8, Synergy, is the last episode of the game. You run one long dispatch shift while the Red Ring tears into Los Angeles, then you fight Shroud at SDN and make a few choices that set the ending.
Most dialogue options here change nothing. A handful move the Robert Mentor Counter (RMC) or the Hero and Antihero counters, and those decide what Invisigal does and how Shroud goes down. These are the answers most people come for.
| What you want | What to do |
|---|---|
| Invisigal as a hero | Reach 45 RMC before Shroud fires his gun. “Untie her” gives +5 RMC, and “I can’t trust you” takes away 2. |
| Pick Shroud’s fate yourself | Same as above. Invisigal takes his bullet, then you choose Spare him (+5 Hero) or Kill him (+5 Antihero). |
| Invisigal kills Shroud | Stay under 45 RMC. She stabs him, takes his mask and leaves. She is also not your love interest in the ending. |
| Keep Coupé or Sonar | Empty the Red Ring bar during the shift, then choose Forgive (+3 Hero). |
| “All Gas No Brakes” achievement | Take down Coupé or Sonar before the Torrance meter hits zero. |
| Shroud’s trade | All three options end with Shroud firing at Robert. “Give him both” is the funny one, since Shroud plugs in the wrong Pulse and the Red Ring starts throwing up. |
We have all 8 Dispatch Walkthroughs and this is the last one.
What You Will Read:
Choices From Earlier Episodes That Change Episode 8
The game reads your old decisions from the first minute.
| Earlier choice | What changes |
|---|---|
| Episode 1: you pulled Toxic up or dropped him | Your dialogue options against Toxic before the Shroud fight. |
| Episode 3: you cut Coupé or Sonar | The one you cut joins the Red Ring and becomes your main target during the shift. |
| Episode 4: you picked Waterboy or Phenomaman | The other one joins your roster in a cutscene mid-shift. |
| Episode 7: you cut Invisigal or kept her | If you cut her, she skips the shift. If you defended her, she rejoins for a short while. |
| Who you romanced | Shroud’s speech, Mandy’s amulet scene and the final kiss all change. |
Dispatch Final Shift Walkthrough
Tag In: Blazer’s Choice
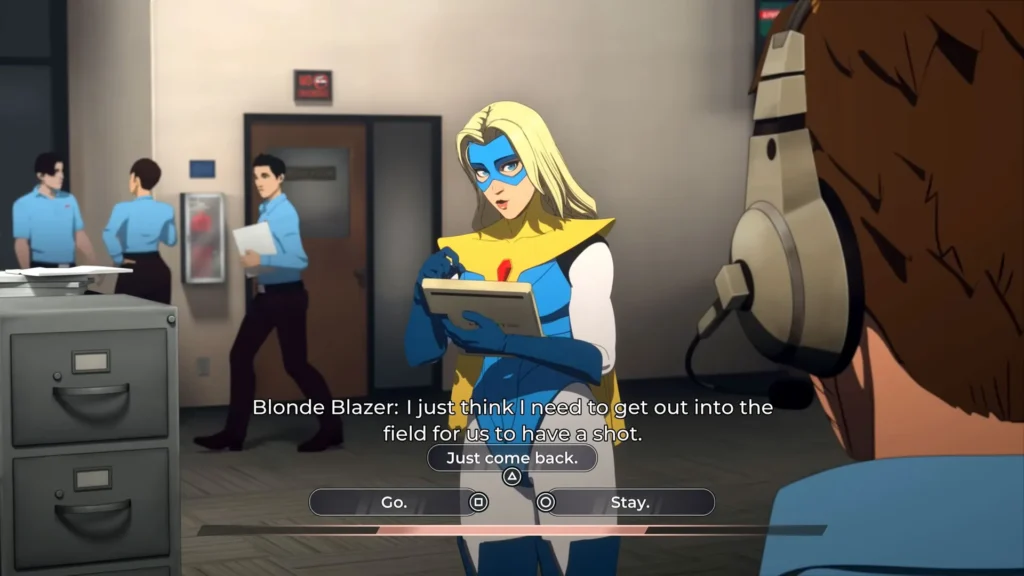
Blonde Blazer wants to head out into the field. Your answer barely matters.
| Choice | Result |
|---|---|
| Go | Blazer goes out into the field. |
| Just come back | Same result. You ask her to return safely, and the game says she will remember it. Your relationship with her goes up. |
| Stay | You ask her to stay because people listen to her. She yells “Hey, listen to Robert!” at the bullpen, then leaves anyway. |
How the Shift Works
The shift opens with a short roster. Prism and Punch Up are there, and so is Golem, who took a gummy to sleep and is high. The rest of the Z-Team trickles in later.
After your first calls, Blazer points to the Torrance meter in the top left. It is the city’s HP. Every failed call drains it, and the shift ends early if it reaches zero. A Red Ring bar shows up in the upper right later on, and that one is the real objective.
Calls are randomized, so treat the tables below as a reference and not a script. Some calls show a stat goal that gives bonus XP, and a few set a limit you must stay under. Here is what I would keep in mind:
- Phenomaman gets depressed after failed calls, which hurts him until he rests.
- Sonar changes form between missions, so check what he is before you send him.
- Malevola can heal a hero, but in the run I went through she could only do it once per shift.
- Coffee Run costs nothing if you fail it, so don’t burn a rested hero on it.
Opening Calls
| Call | Send | Notes |
|---|---|---|
| Return to Crypto Night | Punch Up | Golem also works. |
| Evacuation Order | Prism | Reach Charisma 7 for the XP boost. |
| Capture Experiment 1067 | Golem | Any hero with Mobility works. |
| Bomb Threat | Prism plus Punch Up or Golem | Needs Intellect and Vigor. |
| Locate the Tracker | Hacking | See the steps below. |
| Rescue Flambae | Golem | Any hero with Mobility and Vigor works. |
| Help Brainbook | Prism | Any hero with Intellect works. |
| Shopping Spree | Punch Up plus Flambae or Golem | Reach Combat 6 for the XP boost. |
| Locate Sonar/Coupe or Phenomaman/Waterboy | Hacking | The signal splits, so you pick which target to track first. |
| Rescue Sonar/Coupe | Flambae or Golem | Needs Mobility. |
| S-S-S-S-Sewer Bomb | Prism or Sonar | Needs Intellect. |
| Rescue Phenomaman/Waterboy | Flambae plus Punch Up, Malevola or Golem | Needs Mobility and Vigor. |
| Help Sweetalker | Prism, Punch Up, Malevola or Sonar/Coupe | Has bonus options, listed below. |
Help Sweetalker has extra choices. Any hero with Charisma 8 can give a Z-Team inspirational speech. Sonar has an exclusive Red Ring Roast, and Coupe has an exclusive last-minute combat training.
If you defended Invisigal in Episode 7, she rejoins the team around here. After this call, a short cutscene plays and Robert convinces Waterboy or Phenomaman, whichever one you did not pick in Episode 4, to join the Z-Team.
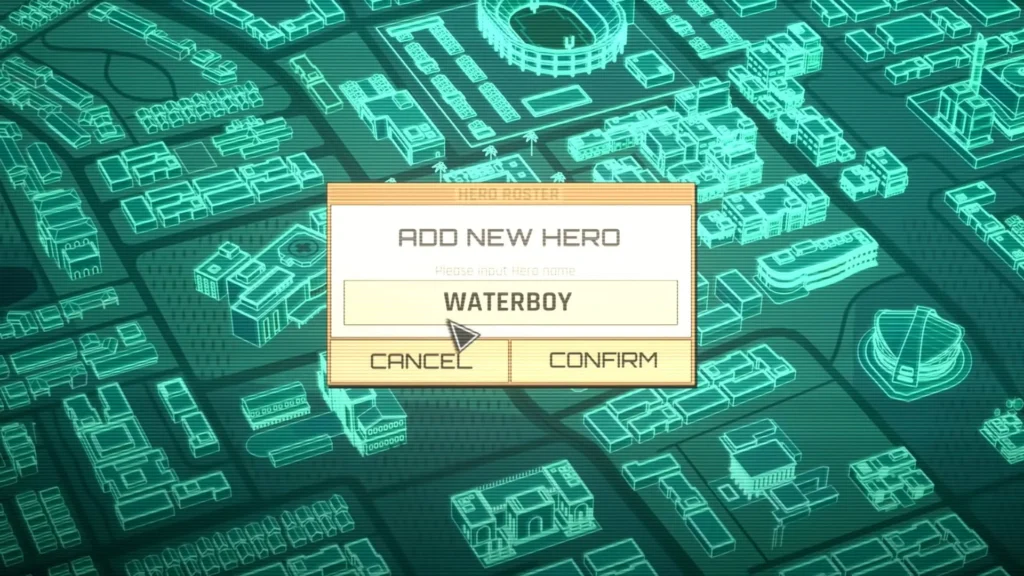
Hacking: Locate the Tracker
This sequence is timed, and you can destroy the Antivirus here.
- Move down to the Build path, then go right toward the Antivirus.
- Bait it away and take the Build path directly behind it. That is faster than the top route.
- Go up and activate the second Build path quickly. You can then grab the electricity and destroy the Antivirus.
- Take the third Build path and go right to the Tracker spot.
- Find both calibration spots. The first is on the middle-right side and the second is on the top-right side.
Hacking: Locate Sonar/Coupe or Phenomaman/Waterboy
You cannot destroy the Antivirus this time, so stay away from it.
- Go up to the Tracker spot to start.
- The first frequency is on the top-left side, and the Antivirus can’t reach it.
- The second frequency is on the top-right side, behind a Build path. Use the left Build path first to pull the Antivirus away, then use the bottom Build path to try to trap it.
- Reuse the left Build path fast to get to the frequency spot.
Second Wave
When your full roster is in, the calls get harder.
| Call | Send | Notes |
|---|---|---|
| Return of the Kaiju | Punch Up or Malevola plus Phenomaman | Combat 10: “Attack it with everything you’ve got.” Vigor 10: “Break off the Red Ring collar.” |
| Witch Hunt | Prism, Punch Up, Sonar or Phenomaman | Phenomaman: “You know them, right?” Charisma 6: “Rally them against the real enemy.” Intellect 6: “Reason with them.” |
| Boom! | Waterboy plus Flambae, Golem, Phenomaman or Invisigal | Needs Mobility. |
| Escape Artist | Phenomaman or Golem | Invisigal also works. Needs Mobility and Vigor. |
| The Summoning | Flambae or Malevola plus Punch Up or Golem | Mobility and Vigor matter most. Combat helps too. |
| Lockdown | Hacking | See the steps below. |
Hacking: Lockdown
- Go around the center to the top-right Build Path and open a path to the passcode: Left, Left, Right, Up.
- Go back to the locked spot and enter the passcode to reach the electricity node.
- Carry that electricity to the top-left to unlock the next Build Path.
- Grab the second electricity and take it down-right to open a path toward the center.
- Use the center Build Path to make a path downward.
- Return to the right, pick up the electricity and place it in the center double-lightbulb spot.
- Bring the final electricity from the top-right to the center lightbulb. The exit opens.
The Red Ring Bar
After Lockdown, Coupé or Sonar starts flying around the map. Whenever that target blinks red, treat it as a call. Each one you finish shrinks the Red Ring bar in the upper right, and the shift ends when the bar is empty.
If you empty it, you get the Forgive or Forget choice later. If the city falls first, the choice is gone, the ex-Z-Teamer gets arrested and you take +3 Antihero.
Third Wave: The Map Grows
| Call | Send | Notes |
|---|---|---|
| The Torrance Terrors | Punch Up or Golem plus Flambae or Malevola | Reach Vigor 8 for the XP boost. |
| Attack Coupe/Sonar | Prism or Sonar plus Punch Up or Phenomaman | Golem also works. |
| S-S-S-S-Sewer Bomb | Sonar or Prism | Waterboy also works. Needs Intellect. |
| Eastside Gang | Punch Up or Golem plus Flambae or Malevola | Phenomaman also works. Reach Vigor 8 for the XP boost. |
| Help Pom Pom | Flambae or Golem plus Punch Up or Phenomaman | Invisigal and Sonar also work. Needs Mobility and Vigor. |
| Roadblock | Punch Up or Golem plus Flambae or Malevola | Phenomaman also works. |
| Coffee Run | Flambae or Golem | Needs Mobility. No penalty if you fail. |
| Attack Coupe/Sonar 2 | Prism or Sonar plus Flambae, Coupe, Phenomaman or Invisigal | Needs Intellect, Mobility and Combat. |
| Defeat Mister Fister | Punch Up or Malevola | Stay under the Combat limit of 6. |
| Housing Crisis | Waterboy plus Golem or Punch Up | Phenomaman also works. Needs Vigor. |
| Help Brickhouse | Flambae or Invisigal plus Punch Up or Golem | Phenomaman also works. |
| Defeat SmileMore | Sonar or Prism | Stay under the Charisma limit of 9. |
| Neighborhood Watch | Golem or Punch Up | Phenomaman also fits. See the note below. |
Neighborhood Watch has three extra options: “Aid them in the fight” needs Combat 7, “Move them to safety” needs Mobility 7 and “Convince them to turn back” needs Charisma 7.
A short cutscene follows this call. Heroes travel faster afterward, but injuries are more likely. Use healing items, or send Malevola or Waterboy to restore HP.
Final Wave
| Call | Send | Notes |
|---|---|---|
| Atomic Automatons | Phenomaman or Punch Up plus Coupe, or Flambae plus Golem | Needs Mobility, Combat and Vigor. |
| We Meet Again | Flambae, Malevola, Coupe or Invisigal | Needs Combat and Mobility. |
| Entrapment | Sonar or Prism | Intellect 8: “Get smart.” Waterboy: “Get wet.” Flambae: “Get hot.” |
| Pursue Red Ring | Flambae, Coupe, Phenomaman or Invisigal plus Punch Up or Golem | Needs Mobility and Vigor. |
| S-S-S-S-Sewer Bomb | Phenomaman, Golem, Flambae or Invisigal | Phenomaman: “Send the bomb into space.” Golem: “Absorb the blast.” Mobility 8: “Run it to the ocean.” One guide lists Yellow as the correct answer here, with a requirement of Intellect 1. |
| Bridge Rescue | Phenomaman or Invisigal plus Punch Up or Golem | Needs Vigor and Mobility. |
| Get to the Chopper | Sonar or Prism plus Flambae or Coupe | Add Punch Up or Golem for Vigor. Reach Combat 8 for the XP boost. |
| Defeat Mindf*cker | Hacking (timed) | See the steps below. |
| Help Equilibrium | Flambae, Golem, Phenomaman or Coupe | Invisigal also works. Needs Mobility. |
| Hospital Takeover | Golem or Punch Up plus Coupe or Flambae | Reach Vigor 6 for the XP boost. |
| Return of the Delivery Bots | Sonar, Prism, Waterboy or Malevola plus Flambae, Phenomaman or Coupe | Reach Intellect 6 for the XP boost. |
| Attack Coupe (final call) | Blonde Blazer plus a hero with high Combat or Vigor | Win this and the shift ends. |
Blonde Blazer joins your team around Help Equilibrium. She usually shows up right after a failed call and jumps in to fix it.
Hacking: Defeat Mindf*cker
This one is timed, and your controls reverse near the end.
- Go right to a dead end, go left to another dead end, then go right again to the Build path.
- Cross the invisible section past the Antivirus.
- Go above the Antivirus, keep going right and cross another invisible section.
- From here the controls are reversed. Up means Down and Left means Right.
- Top-right Build spot: Up, Left, Left, Right.
- Bottom-right Build spot: Left, Right, Up, Up.
- Final Build spot: Right, Left, Up, Up, Down, Right. Then walk to the exit.
Story Choices After the Shift
Royd, Invisigal and the Siege
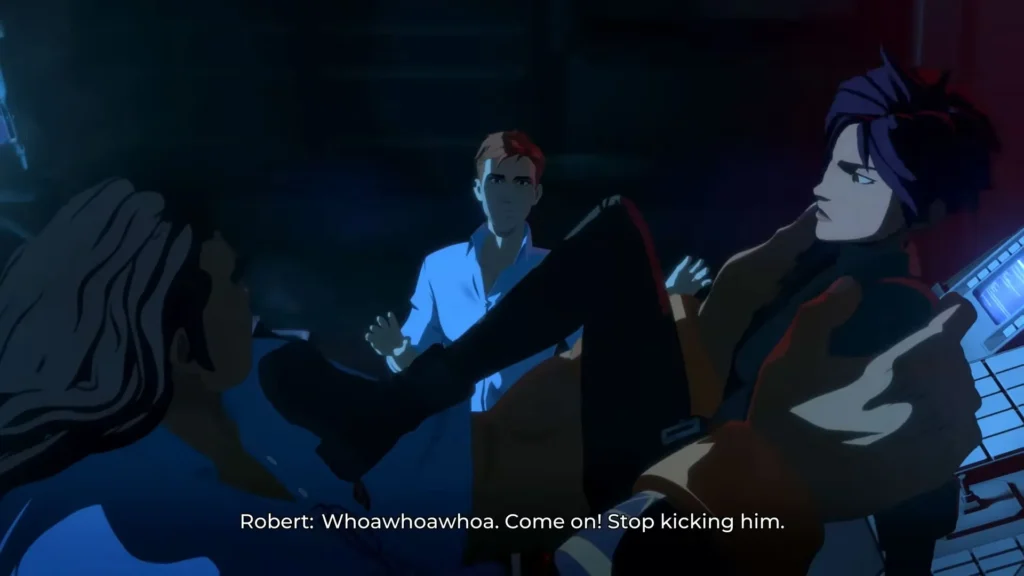
The power goes out at SDN and everyone gets the order to evacuate. Robert checks on Chase, who is still alive in the infirmary, then finds Royd fighting Invisigal. Royd ties her to a table and gives Robert the Astral Pulse she was carrying.
Two sets of lines come up here, and none of them touch your counters.
| Scene | Options |
|---|---|
| Royd catches Invisigal | “Stop kicking him!” / “What is going on?” / “Let go of her!” |
| Royd, wait… | “Call Blonde Blazer” / “We need the Z-Team” / “Fire up my suit” |
Invisigal says none of it will work because the Red Ring has jammers up. Royd then leaves to restore the power, tells Robert to watch her and hands him a taser.
Why Didn’t You Tell Me?
Robert and Invisigal talk while the Red Ring floods the building. This is the first line that changes your RMC.
| Line | RMC |
|---|---|
| Why didn’t you tell me? | 0 |
| You heard Royd | 0 |
| I can’t trust you | −2 |
Untie Her or Go Alone
Thumbstick shows up outside, and Invisigal asks to be freed. This is the biggest swing in the episode.
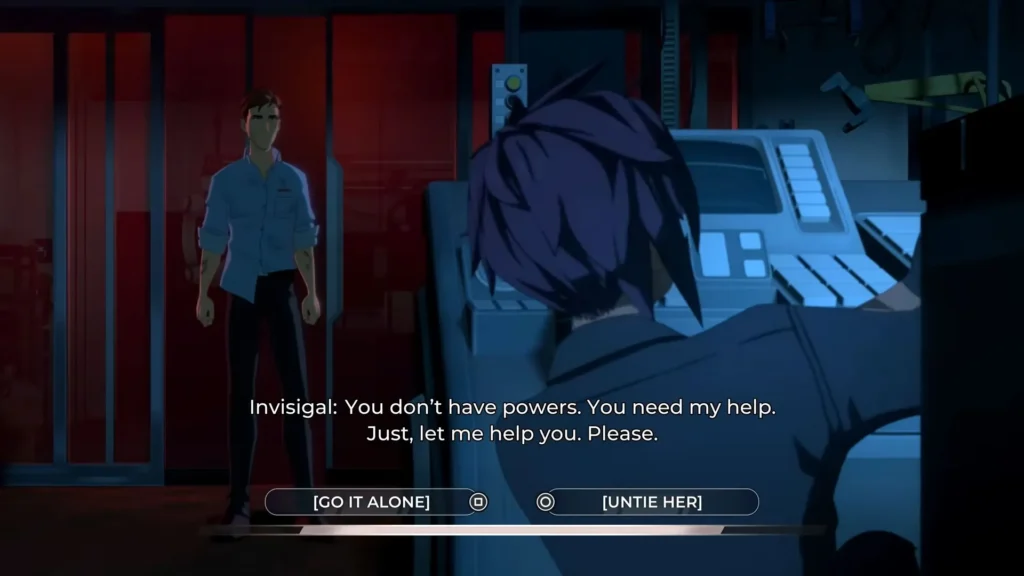
| Choice | Result |
|---|---|
| Untie her | +5 RMC. Invisigal helps in the next scene, her trust in you goes up and you unlock another Hero choice. |
| Go it alone | −5 RMC. Her relationship with you drops. |
If you untie her, you sneak up on Thumbstick with the taser and Invisigal shoots him with his own gun. If you go alone, she calls out as you shock him. Thumbstick turns around, stabs you a little and knocks you out. At 45 RMC or more, you wake up and check on her, and she has already freed herself. Below 45, she is just standing over you.
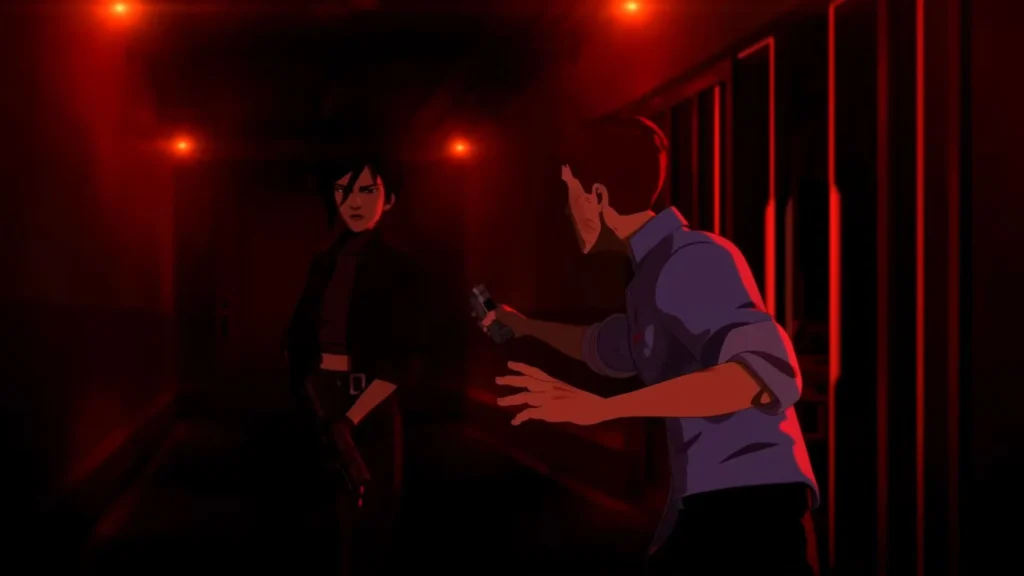
The −5 hurts, but one player on Reddit still got a hero route after going alone. That works only if your RMC was already high enough, so I would not count on it.
Thumbstick’s Aftermath
This only appears if you untied her. Thumbstick was caught mid-business, and Invisigal wants him covered up. It is a gag and it still moves a counter.
| Line | Counter | Result |
|---|---|---|
| No way | +1 Antihero | Invisigal handles it and wipes her hands on your shirt. |
| You do it | +1 Antihero | Same result. |
| Yeah, alright | +1 Hero | You do it yourself and shake your hands off. She thanks you. |
Toxic in the Courtyard
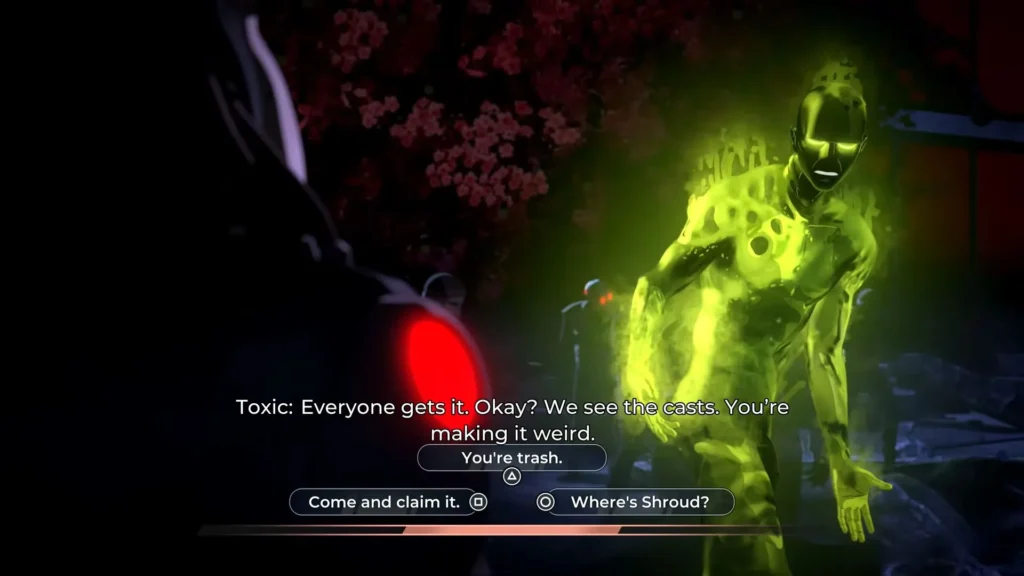
You get into the Mecha Man suit, put the Astral Pulse in and head outside. Toxic and Armstrong are waiting, and they want the Pulse. Your lines depend on what you did to Toxic in Episode 1.
| Line | Counter | When it shows |
|---|---|---|
| Come and claim it | +1 Hero | Always |
| Where’s Shroud? | +1 Hero | Always |
| I should have dropped you | +1 Antihero | You pulled Toxic up in Episode 1 |
| You’re trash | +1 Antihero | You dropped Toxic in Episode 1 |
Shroud and the Spider Mech
Shroud arrives in a giant Spider Armor. He tells you the history of the Astral Pulse with your dad and says he wants it to predict better.
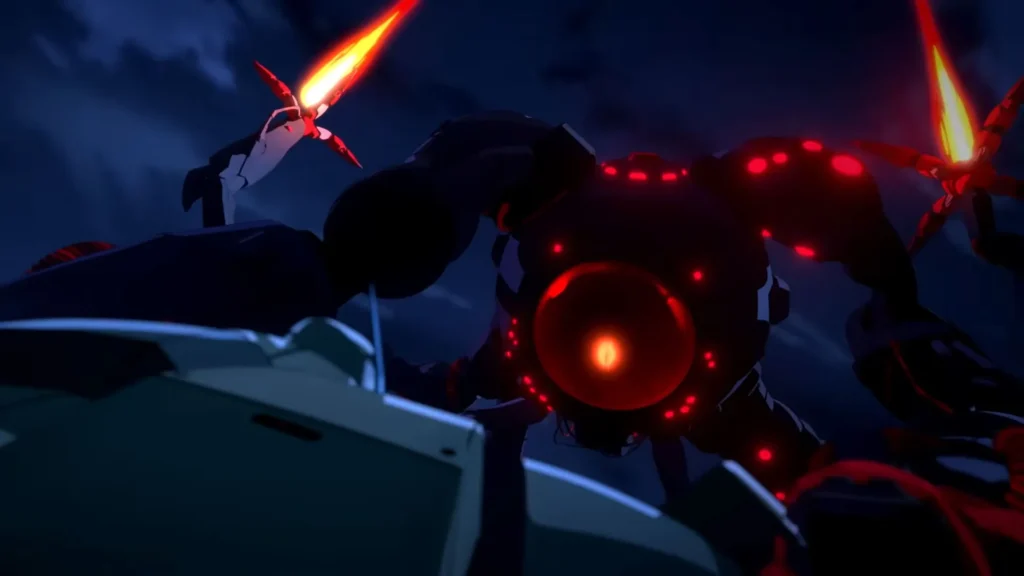
The monologue lines (“Can we skip this part?”, “Predict me beating your ass” and “Hard to do when you’re dead”) change nothing. The same goes for the attack choices, which only affect how the cutscene looks. Missing the quick-time events has no effect on the story either, so you can relax here.
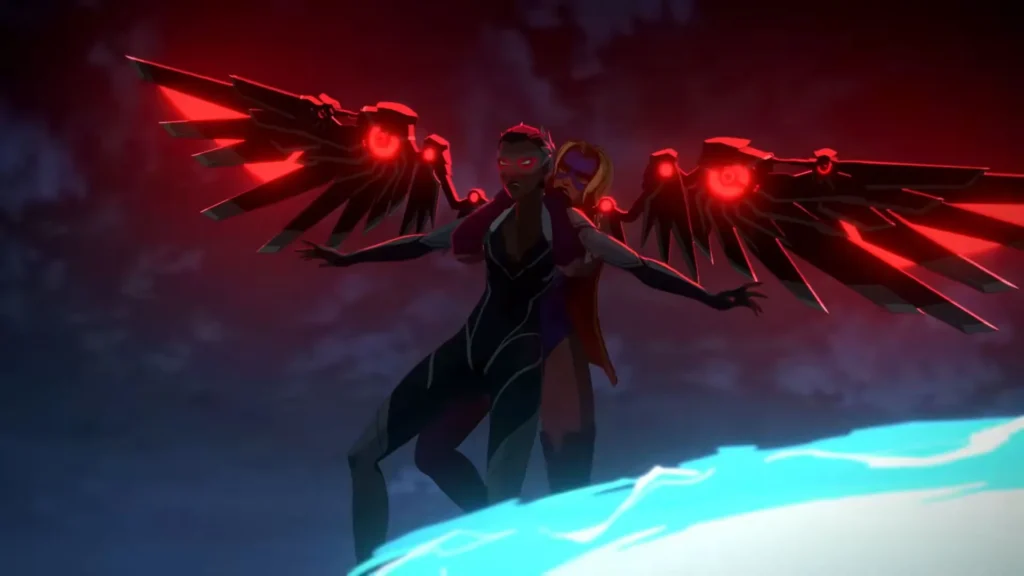
A part of the Z-Team arrives to help. Blonde Blazer turns out to be an illusion at first, cast by Prism, and then the real one shows up. Mecha Man and Blazer also get pulled into a fight with the ex-Z-Teamer you cut.
| Line | Counter |
|---|---|
| It wasn’t personal | +1 Hero |
| Looks like I was right | +1 Antihero |
| I’m sorry | +1 Hero |
If you cut Coupé, you fight her in the air, where her powers come from her wings. If you cut Sonar, you fight his Mega Bat form, and his powers come from his collar.
Shroud eventually overwhelms the whole team. Chase then steps in wearing Blonde Blazer’s amulet and disables the mech. How Mandy explains the amulet depends on your romance path. If you dated Blazer, she says you are the only one who knew about it, so Shroud couldn’t see it coming. Otherwise she tells the team, and the powers now sit with Chase.
Shroud Takes Beef
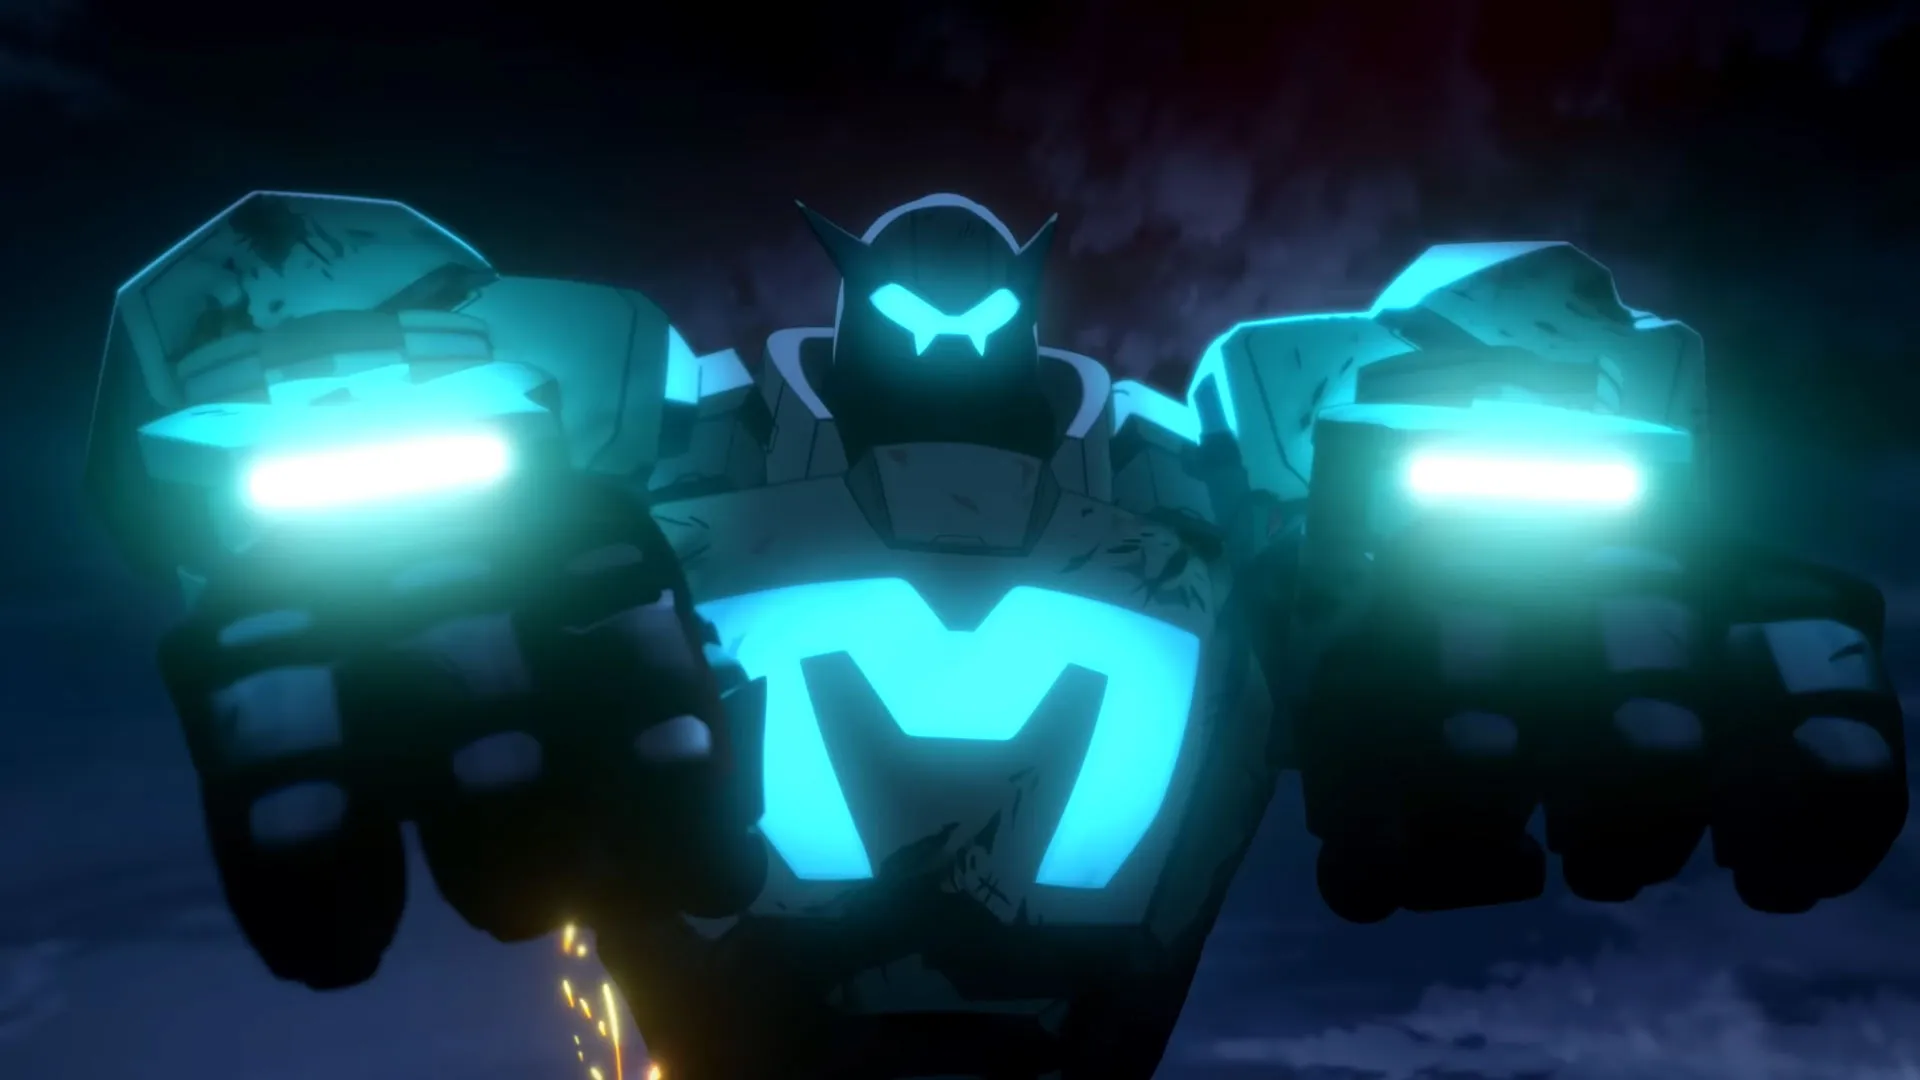
Shroud climbs out of the mech holding Beef. He wants you, and only you, to fly the Mecha Man suit up to him with the Astral Pulse.
| Line | What happens |
|---|---|
| Please don’t do this | Robert calls him Eli. Shroud says he can. |
| Hurt him and you die | Shroud laughs it off. |
| I’ll do whatever you want | Skips the extra dialogue. |
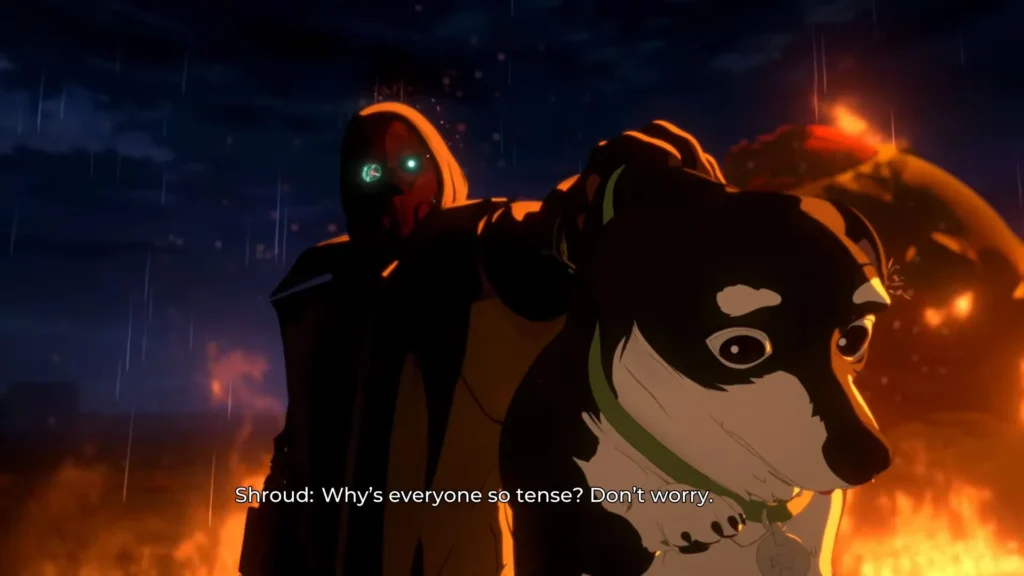
None of these change counters. Shroud then recaps Robert’s feelings, and the speech depends on your romance path:
- Blazer path: he knew you would fall for Blazer, whom he prefers as a blonde.
- Invisigal path: he knew you would fall for Invisigal, and he says she was planted at SDN.
- Both paths: he knew about Blazer and that you would pursue more.
- Neither: the speech covers the same ground without the romance line.
The Trade
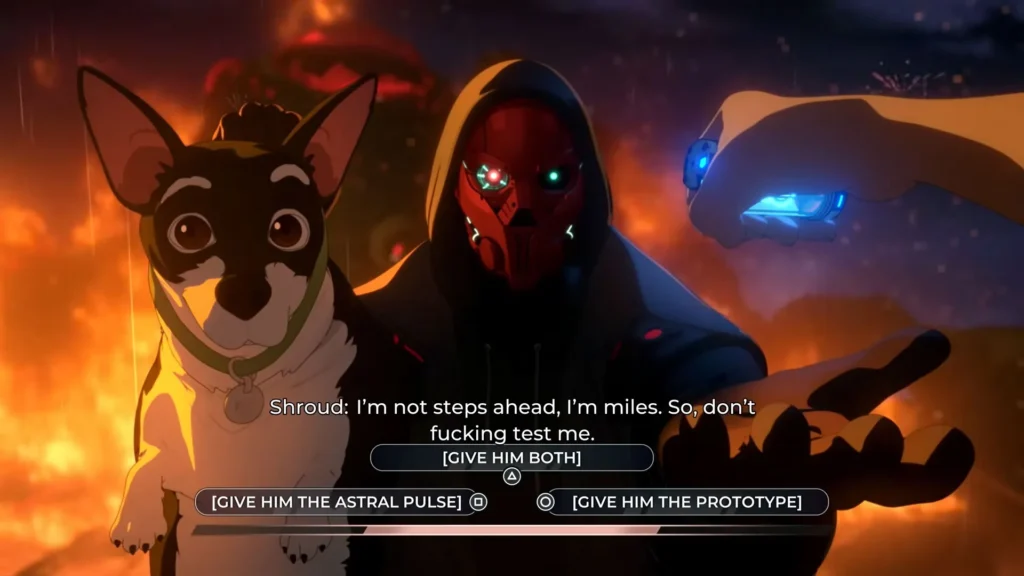
Shroud wants the Astral Pulse, and he warns you not to hand over the prototype. You have three options. The guides list no counter changes for any of them, but the game says Shroud will remember the choice.
| Choice | |
|---|---|
| Give him the Astral Pulse | Shroud plugs it in and draws his gun. |
| Give him the prototype | He tosses it away, knows it is fake and takes the real Pulse once you hand it over. |
| Give him both | Robert says the best way to beat Shroud is to have no idea what he’s doing. Shroud guesses, plugs in the prototype and he and the Red Ring start throwing up. |
I like “Give him both” the most. It is the only option where Shroud’s own prediction habit costs him something.
Invisigal’s Last Move: The 45 RMC Check
After the trade, Shroud shoots at Robert. What happens next depends on your RMC.
| RMC | Result |
|---|---|
| 45 or more | Invisigal takes the bullet for Robert. You get to decide Shroud’s fate, and she becomes a hero. |
| Under 45 | Invisigal appears next to Shroud and stabs him in the throat. She takes his mask, looks at you one last time and leaves. |
Spare or Kill Shroud
You only get this choice if Invisigal took the bullet.
| Choice | Counter | What happens |
|---|---|---|
| Spare him | +5 Hero | Robert walks away and checks on Invisigal. Shroud leaves on a stretcher later. |
| Kill him | +5 Antihero | Robert strangles Shroud. Blazer later tells you that you are suspended from SDN pending a murder investigation. |
If Beef was threatened, I think a lot of players will pick Kill without thinking about it. The comments say exactly that.
The Aftermath
Morning comes and the Z-Team helps clean up while the Red Ring gets taken to prison.
Invisigal on the Stretcher
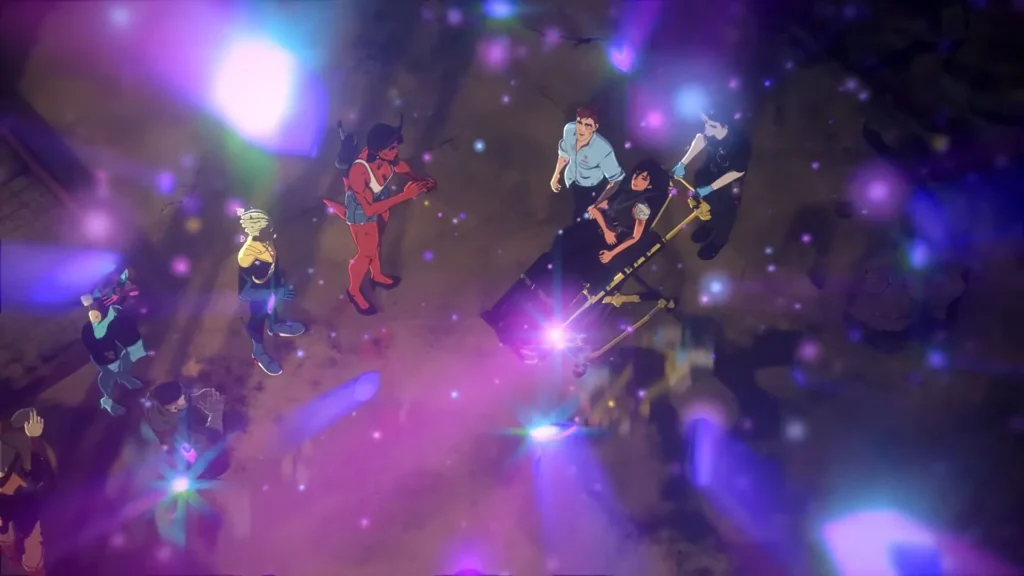
This scene only appears if Invisigal became a hero. You can say “Thanks, I guess”, “Want me to wait with you?” or “You did it”. If you romanced her, she kisses you in front of the Z-Team, and Malevola stares in shock. If you romanced Blazer, Invisigal teases you about your girlfriend. You say you aren’t dating, and she calls you an idiot.
Chase Interview
Shroud’s fate is told on the news by Chase.
- If you spared Shroud, he is wheeled out on a stretcher.
- If Invisigal killed him, the interviewer asks Chase about a former SDN employee. Chase says she did the team a favor.
- If you killed Shroud yourself, Chase says he can neither confirm nor deny it.
Royd’s Line
You can say “You’re amazing”, “Couldn’t have done it without you” or “You should be a hero”. Royd answers the same way every time and says the Z-Team are the real heroes.
Forgive or Forget
This choice only appears if you emptied the Red Ring bar in the shift.
| Choice | Counter | Result |
|---|---|---|
| Forgive | +3 Hero | Coupé or Sonar joins the Z-Team and shows up in the final photo. |
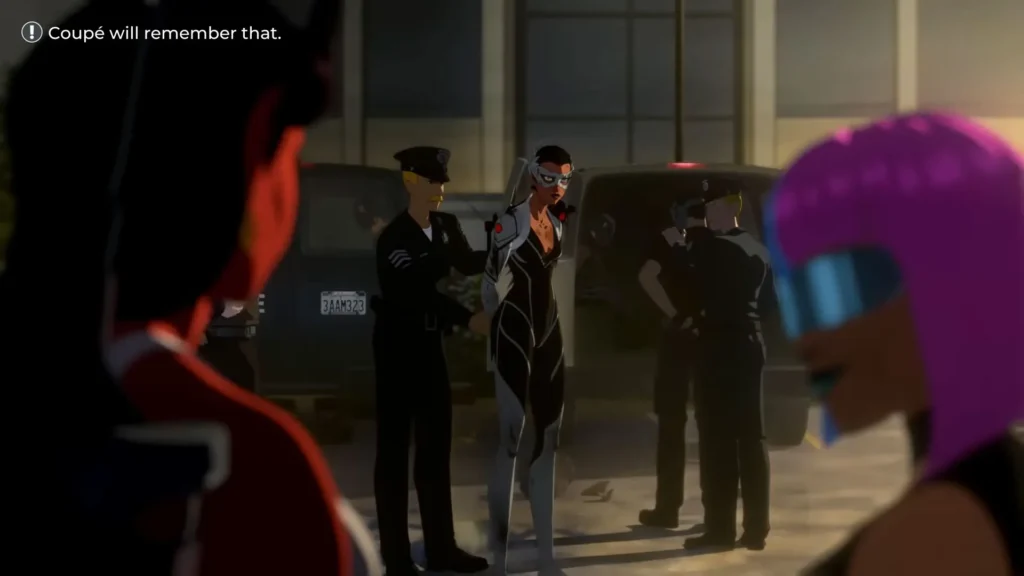
| Forget | +3 Antihero | They get arrested and stay out of the photo. |
If you lost the shift, you get no choice. Blonde Blazer decides the ex-Z-Teamer spends a few months in prison.
Mandy’s Final Scene
The last scene depends on how the Invisigal route ended.
| Situation | Choices |
|---|---|
| Invisigal is a hero | “They deserve to celebrate”, “We’re just getting started” or “I had plenty of help” |
| You killed Shroud | “Nope”, “It felt great” or “I dunno” |
| Invisigal left as a villain | “Come after me”, “I just hope she’s okay” or “Take over the Red Ring” |
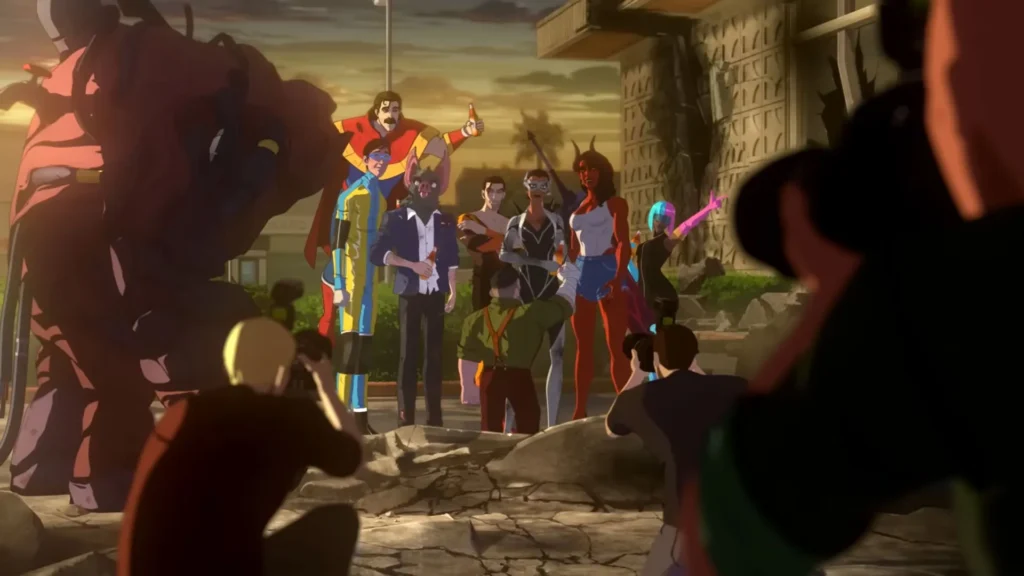
None of these lines change a counter. If you romanced Blazer, she kisses you on top of her car. Chase then says either “you were right about Invisigal” or “I told you so”, depending on how Invisigal ended up. The episode finishes with Mr. Whiskey offering to take a group photo.
How to Reach 45 RMC
The RMC adds up across the whole game, so most of the work happens before Episode 8. You do not have to romance Invisigal. These choices help:
- Don’t tell Blazer that Invisigal punched you in Onboard.
- Help Invisigal with the hacking in the Donut Shop (Onboard) and the Jewelry Shop (Turnover).
- Tell Blazer you believe in her in Turnover.
- Go to the movies with Invisigal in Restructure.
- Tell the team you are Mecha Man in Team Building.
- Side with Invisigal at the party and help her on the ship in Moving Parts.
- Don’t cut her from the team in Retrospective. Cutting her can still work in some cases.
- Forgive her in the locker room in Retrospective. Not forgiving can also work in some cases.
- Cut her free of the zip ties in Synergy.
As a rough guide, the “Failed as a Mentor” result needs almost no help from you. No romance, no mission help, no defending her and no forgiveness is enough.
All Counter Changes in Episode 8
| Choice | Counter |
|---|---|
| I can’t trust you | −2 RMC |
| Untie her | +5 RMC |
| Go it alone | −5 RMC |
| Yeah, alright (Thumbstick) | +1 Hero |
| No way / You do it (Thumbstick) | +1 Antihero |
| Come and claim it | +1 Hero |
| Where’s Shroud? | +1 Hero |
| I should have dropped you / You’re trash | +1 Antihero |
| It wasn’t personal / I’m sorry | +1 Hero |
| Looks like I was right | +1 Antihero |
| Spare him | +5 Hero |
| Kill him | +5 Antihero |
| Forgive | +3 Hero |
| Forget, or losing the shift | +3 Antihero |
Episode 8 Achievements
| Achievement | How to get it |
|---|---|
| All Gas No Brakes | Protect Los Angeles by completing enough successful calls in the shift. |
| Didn’t see that coming? | Fail as a mentor, so Invisigal kills Shroud. |
| Sorry, kid | Succeed as a mentor, so Invisigal doesn’t try to kill Shroud. |
| I can confirm he’s a bad ass | Choose the Path of Mercy and spare Shroud. |
| Muuuuurrrdaaaaah! | Choose the Path of Vengeance and kill Shroud. |
| I’m a bleeder | Get kissed by Invisigal on the stretcher. |
| Any plans tonight? | Get kissed by Blonde Blazer on the car. |
| We can just be friends | Skip every romance option, or get the bad Invisigal ending and skip Blazer’s romance. |
And that was it. Now we wait for the season 2!