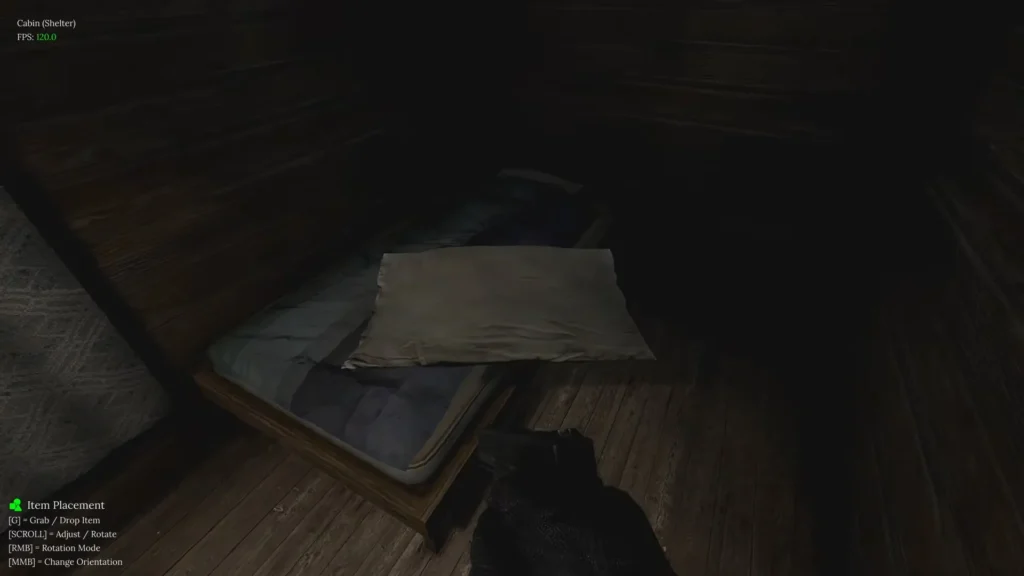


There are six shelters in Road to Vostok. These safe zones are your only way to save progress, recover health, and store loot. You must remember that stashes are not linked, items you leave in one shelter will stay there. Most locations require keys, but some are free to use.
Jump to Section:
All Shelter Locations in Road to Vostok
The original demo only had a single shelter. Now, the game features six different safe areas spread across the map. Each shelter acts as a checkpoint where you can save progress. You can also sleep there to skip time, and store your loot.
| Shelter Name | Location | Map Zone |
|---|---|---|
| Cabin (Starter) | Village | Area 05 |
| Attic | Village | Area 05 |
| Classroom | School | Area 05 |
| Tent (Yurt) | Outpost | Border Zone |
| Bunker | Outpost | Border Zone |
| Room | Apartment | Vostok |

How to Unlock Every Shelter
You do not unlock all shelters the same way. Some are free or require quests, and others rely on your luck with loot. Here is everything you need to know about each safe zone.
Cabin (Village)
This is your first home. It is completely free and unlocked from the very beginning of the game. It has a bed, a medicine cabinet, a fridge, and some basic storage containers. It remains your primary safe house until you learn the map and feel ready to travel into harder zones.
The Attic (Village)
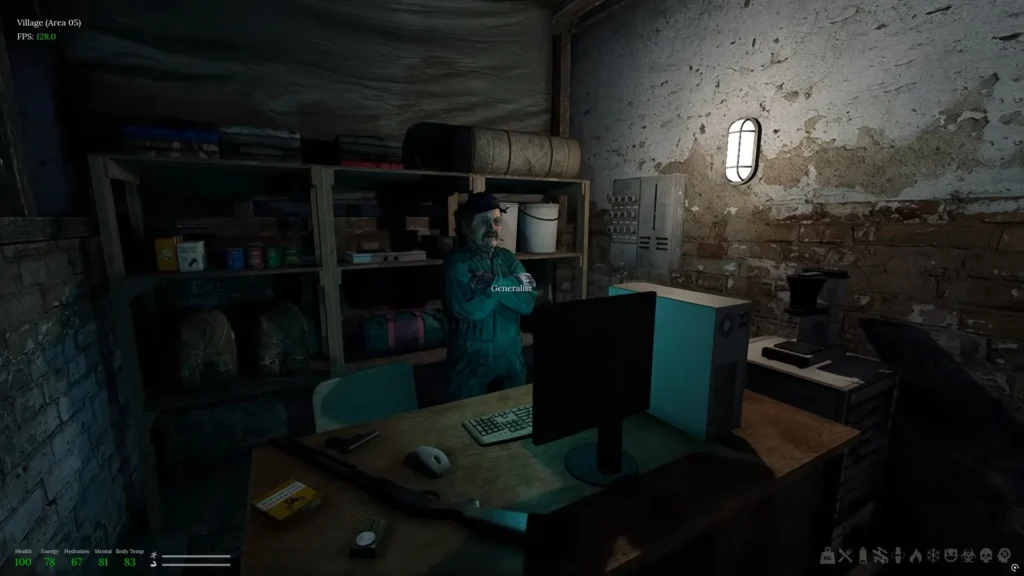
This safe zone sits directly above the Generalist Trader. You will find his shop in the red building east of your first cabin. If you choose the quest route, you must complete his full task list. A common bug happens during item delivery; if he refuses your loot, simply click “Start Delivery,” pick the items, and then hit “Complete.” If you prefer a faster way, go to the School sports hall. The key often spawns there as a random item on the floor.

Classroom (School)
Do not attempt the official unlock mission for this room unless you are fully geared. It demands three oil samples from the deadly permadeath zone and forces you to cross active minefields multiple times. Most experienced survivors ignore that suicide mission. Instead, they sweep the local gym area within the school map. Random drops are much safer if you want to find this key without facing military guards for oil.
The Tent (Outpost)
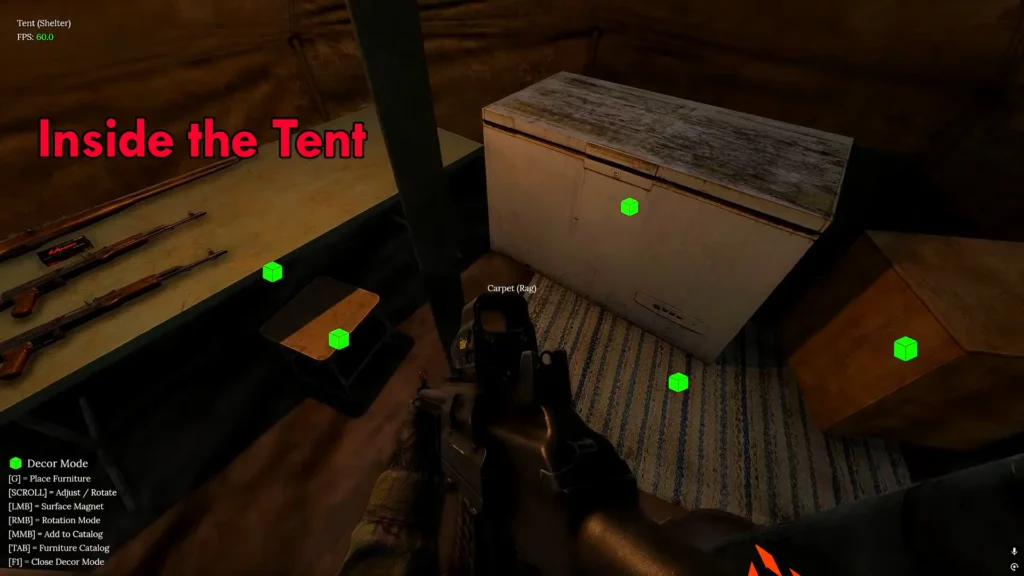
You can access this small yurt without any keys. Push through the School map and enter the Outpost. The tent is located immediately on your left. While it is free, the storage space inside is very limited. If you want to use this as a main base, you must buy storage shelves from the doctor to manage your gear properly.

Big Bunker (Outpost)
This is the best storage upgrade. You will find the gun trader operating on the left side of the Outpost valley, and he controls the access. He wants a local threat eliminated. You must track down an enemy known as the Punisher. Win the firefight, loot his signature hat as proof of the kill, and hand it over. The trader will grant you access to this underground space.
Apartment Room (Vostok): How to Survive and Loot
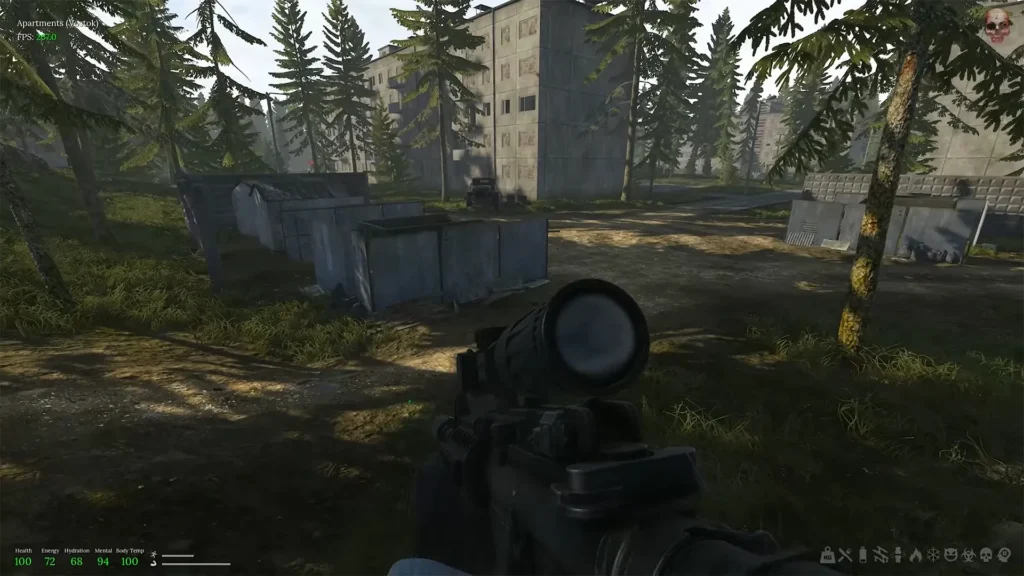
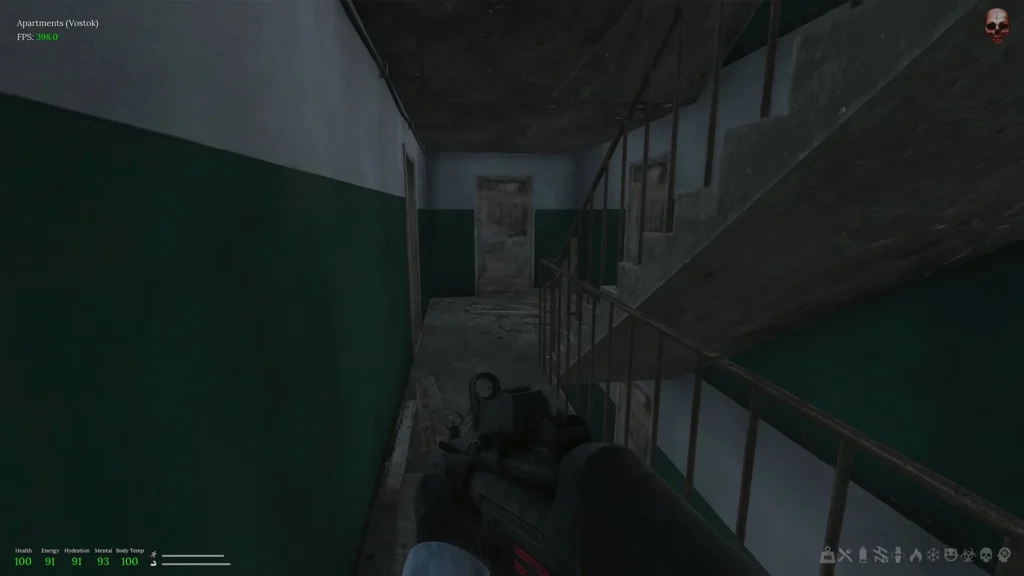
This safehouse is located deep inside the apartment blocks of Vostok. It serves as your final base in the most dangerous part of the map. You can find the key as a random drop in high-security military zones. Because this is a permadeath region, one mistake will delete your entire save file and wipe your stash.
Because searching building-by-building in a permadeath zone is a suicide mission, veteran players use a smarter “apartments shelter strategy” to loot the area safely:
- Use the Outpost Instead: Do not risk your entire save file looking for the apartment room right away. Use the Outpost tent or bunker as your main forward base.
- Gear Up Properly: You should never enter Vostok without full armor, a helmet, and a Medkit. Take only five bandages and minimal food to leave backpack space for loot.
- Start Early: The Outpost tent or bunker is the best starting point. Leave your safe zone at 4:30 am so you arrive at the apartments right at sunrise.
- Push the Minefield: When crossing the border, lower your weapon. This simple trick makes you move faster. Stay in the middle of the path and watch your feet.
- Target Special Crates: Your main goal is to find Military Special Crates around the apartment courtyards. They hold endgame gear like CAR 21 rifles and repair kits.
- Do Not Get Greedy: You must extract immediately after you secure valuable loot or if your armor breaks. Do not risk your save file for one extra building.
3 Shelter Rules the Game Doesn’t Tell You
Shelters are safe, but they have hidden mechanics. Many players learn these the hard way.
- Stashes are not linked. If you leave a gun in the Village cabin, it stays there. You cannot pull it from the Outpost tent. You must plan your routes and build resource reserves in different locations.
- Survival stats still drain. The shelter is not a pause menu. Your hunger and thirst drop at a normal rate while you stand inside. Many players die of starvation while spending hours decorating their rooms. Keep food and water ready when you decide to organize your loot.
- The Vostok Permadeath rule. Death usually sends you back to your shelter. But, if you die inside the Vostok zone, the game deletes your save file and wipes your shelter stash completely. If you want to know more about this mechanic, check out our Road to Vostok Beginner Guide before you cross the border.
How to Customize Your Shelter
You can make the shelter feel like home. The game has a special mode for this. Press F1 while inside your safe zone to open the customization menu. This activates Decor Mode. Here, you can place furniture and props that you bought from traders. You can also rotate items to arrange your stuff perfectly.