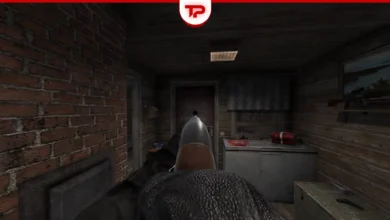
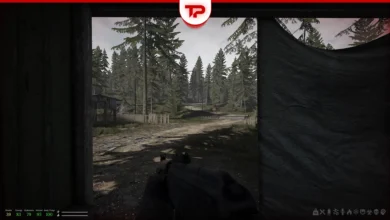
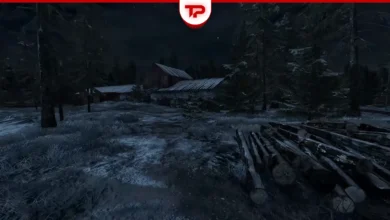
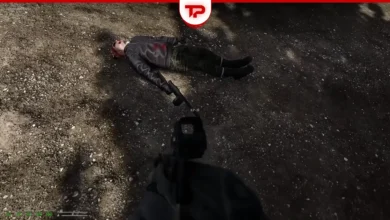
Outpost map sits right in the eastern section between school and minefield. If you expect traditional scavenging in houses here, you will be disappointed. Instead, you should treat this map as a combat arena. Your main goal is to farm bot enemies and grab their weapons. You can also trade them with the local Gunsmith.
Here is a quick breakdown of what you can expect in this zone.
| Feature | Details |
|---|---|
| Connected Maps | School, Minefield |
| Key NPCs | Gunsmith, The Cat |
| Best Loot Spots | Artillery pieces, Military crates |
| Major Threats | BTR, Punisher |
What we cover here:
How to Get to the Outpost Map
If you want to reach this map, follow a very simple path. The in-game map does not always explain this clearly, so just follow these steps:
- Leave the Village shelter and walk right along the coast.
- Follow the fence line until you enter the School zone.
- Once you load into School, follow the road straight down.
- You will soon arrive at the Outpost.
If you keep moving straight through this new area, you will eventually hit the Minefield.
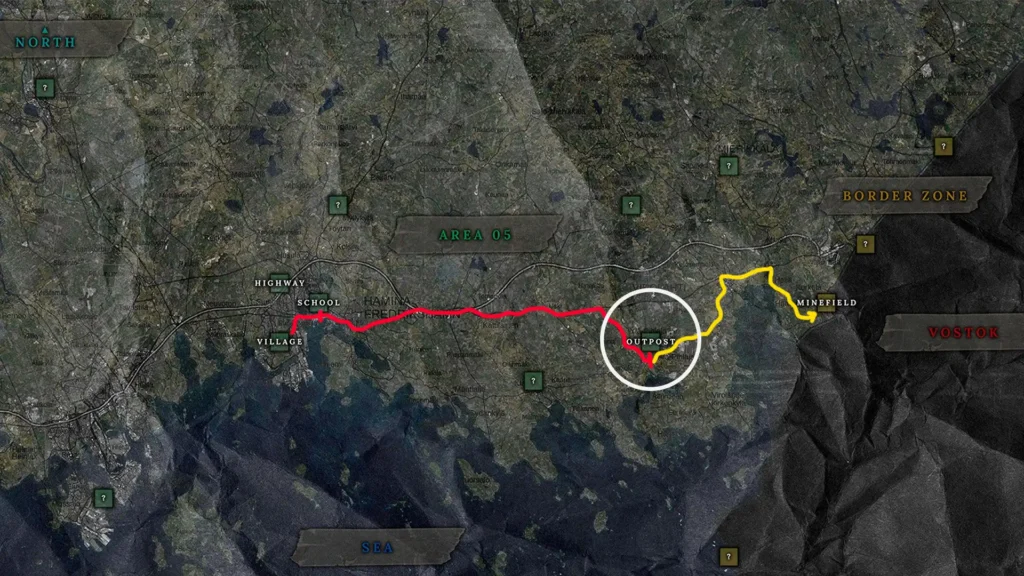
Outpost Looting Strategy: Is It Worth It?
Players constantly debate whether this map is actually worth exploring. The truth is that environmental loot is terrible. You will rarely find useful items just lying around in regular buildings like Big Red. However, the area has a specific purpose for smart survivors.
You can find artillery pieces scattered around the map. Look carefully for military crates near these heavy weapons. If you are lucky, you might score rare drops like an M4A1 or an AK-12 inside them.
Your main strategy here should be an active deathmatch approach. Kill the enemies and take small but valuable weapons from their bodies. The MP5, MP5K, and Glock are perfect targets because they take up little space and sell for a high price.
Outpost Map Layout: Landmarks and Danger Zones
When you look across the Outpost valley, you will notice a few key landmarks. The most obvious one is a large building known as Big Red in the center. While it looks important, it usually holds no valuable loot.
To the right side of the map, there are open fields. You must treat this area as a strict danger zone and avoid running through it. The enemy bots have excellent vision and can easily spot you through the leaves and trees if you leave cover.
Further back in the distance, you will spot the tent where you can rest, and the main path that leads straight to the Minefield transit.
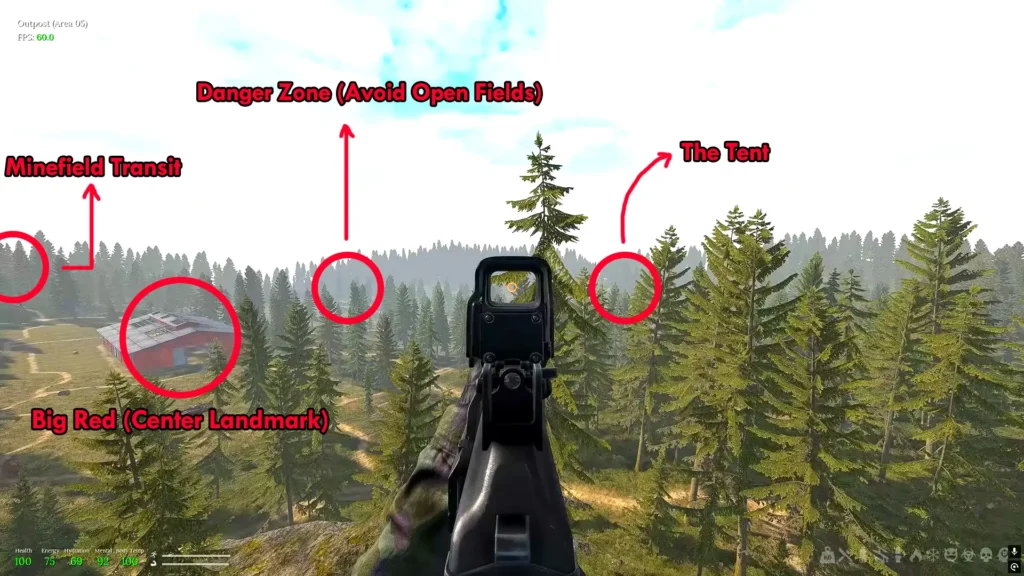
The Gunsmith Trader and Shelter Access
The Gunsmith sets up his shop on the left side of the valley. He officially arrives on Day 10. You can sell your farmed weapons to him and buy high-tier gear.
There are also places to rest and manage your inventory. The Tent, sometimes called the Yurt, is available for free. You must bring your own bed and food if you plan to stay. If you sleep in the Tent, the map resets, and new enemies spawn for you to hunt all over again. You can read our Road to Vostok Shelters guide to learn more about how stashes and safe zones work.
The map also features a Big Bunker. You cannot just walk inside because the doors are locked. You need a Bunker Key to open it. To get this key, you must hunt down a specific enemy named the Punisher. Win the firefight, take his hat, and give it to the Trader. He will then unlock the bunker for you.
Special Events and Hidden Secrets
Time plays a huge role in your survival. Different days trigger different map events in this zone.
- On Day 3, Fighter jets will start flying overhead as a show of force.
- When you reach Day 20, a military BTR will begin patrolling the map. This armored vehicle has a 25% chance to appear, and you should avoid it completely.
There is also a fun secret hidden here. You can find a cat inside one of the bunkers. If you carry tuna or meat in your inventory, you can feed it and enjoy a rare peaceful moment in the game.