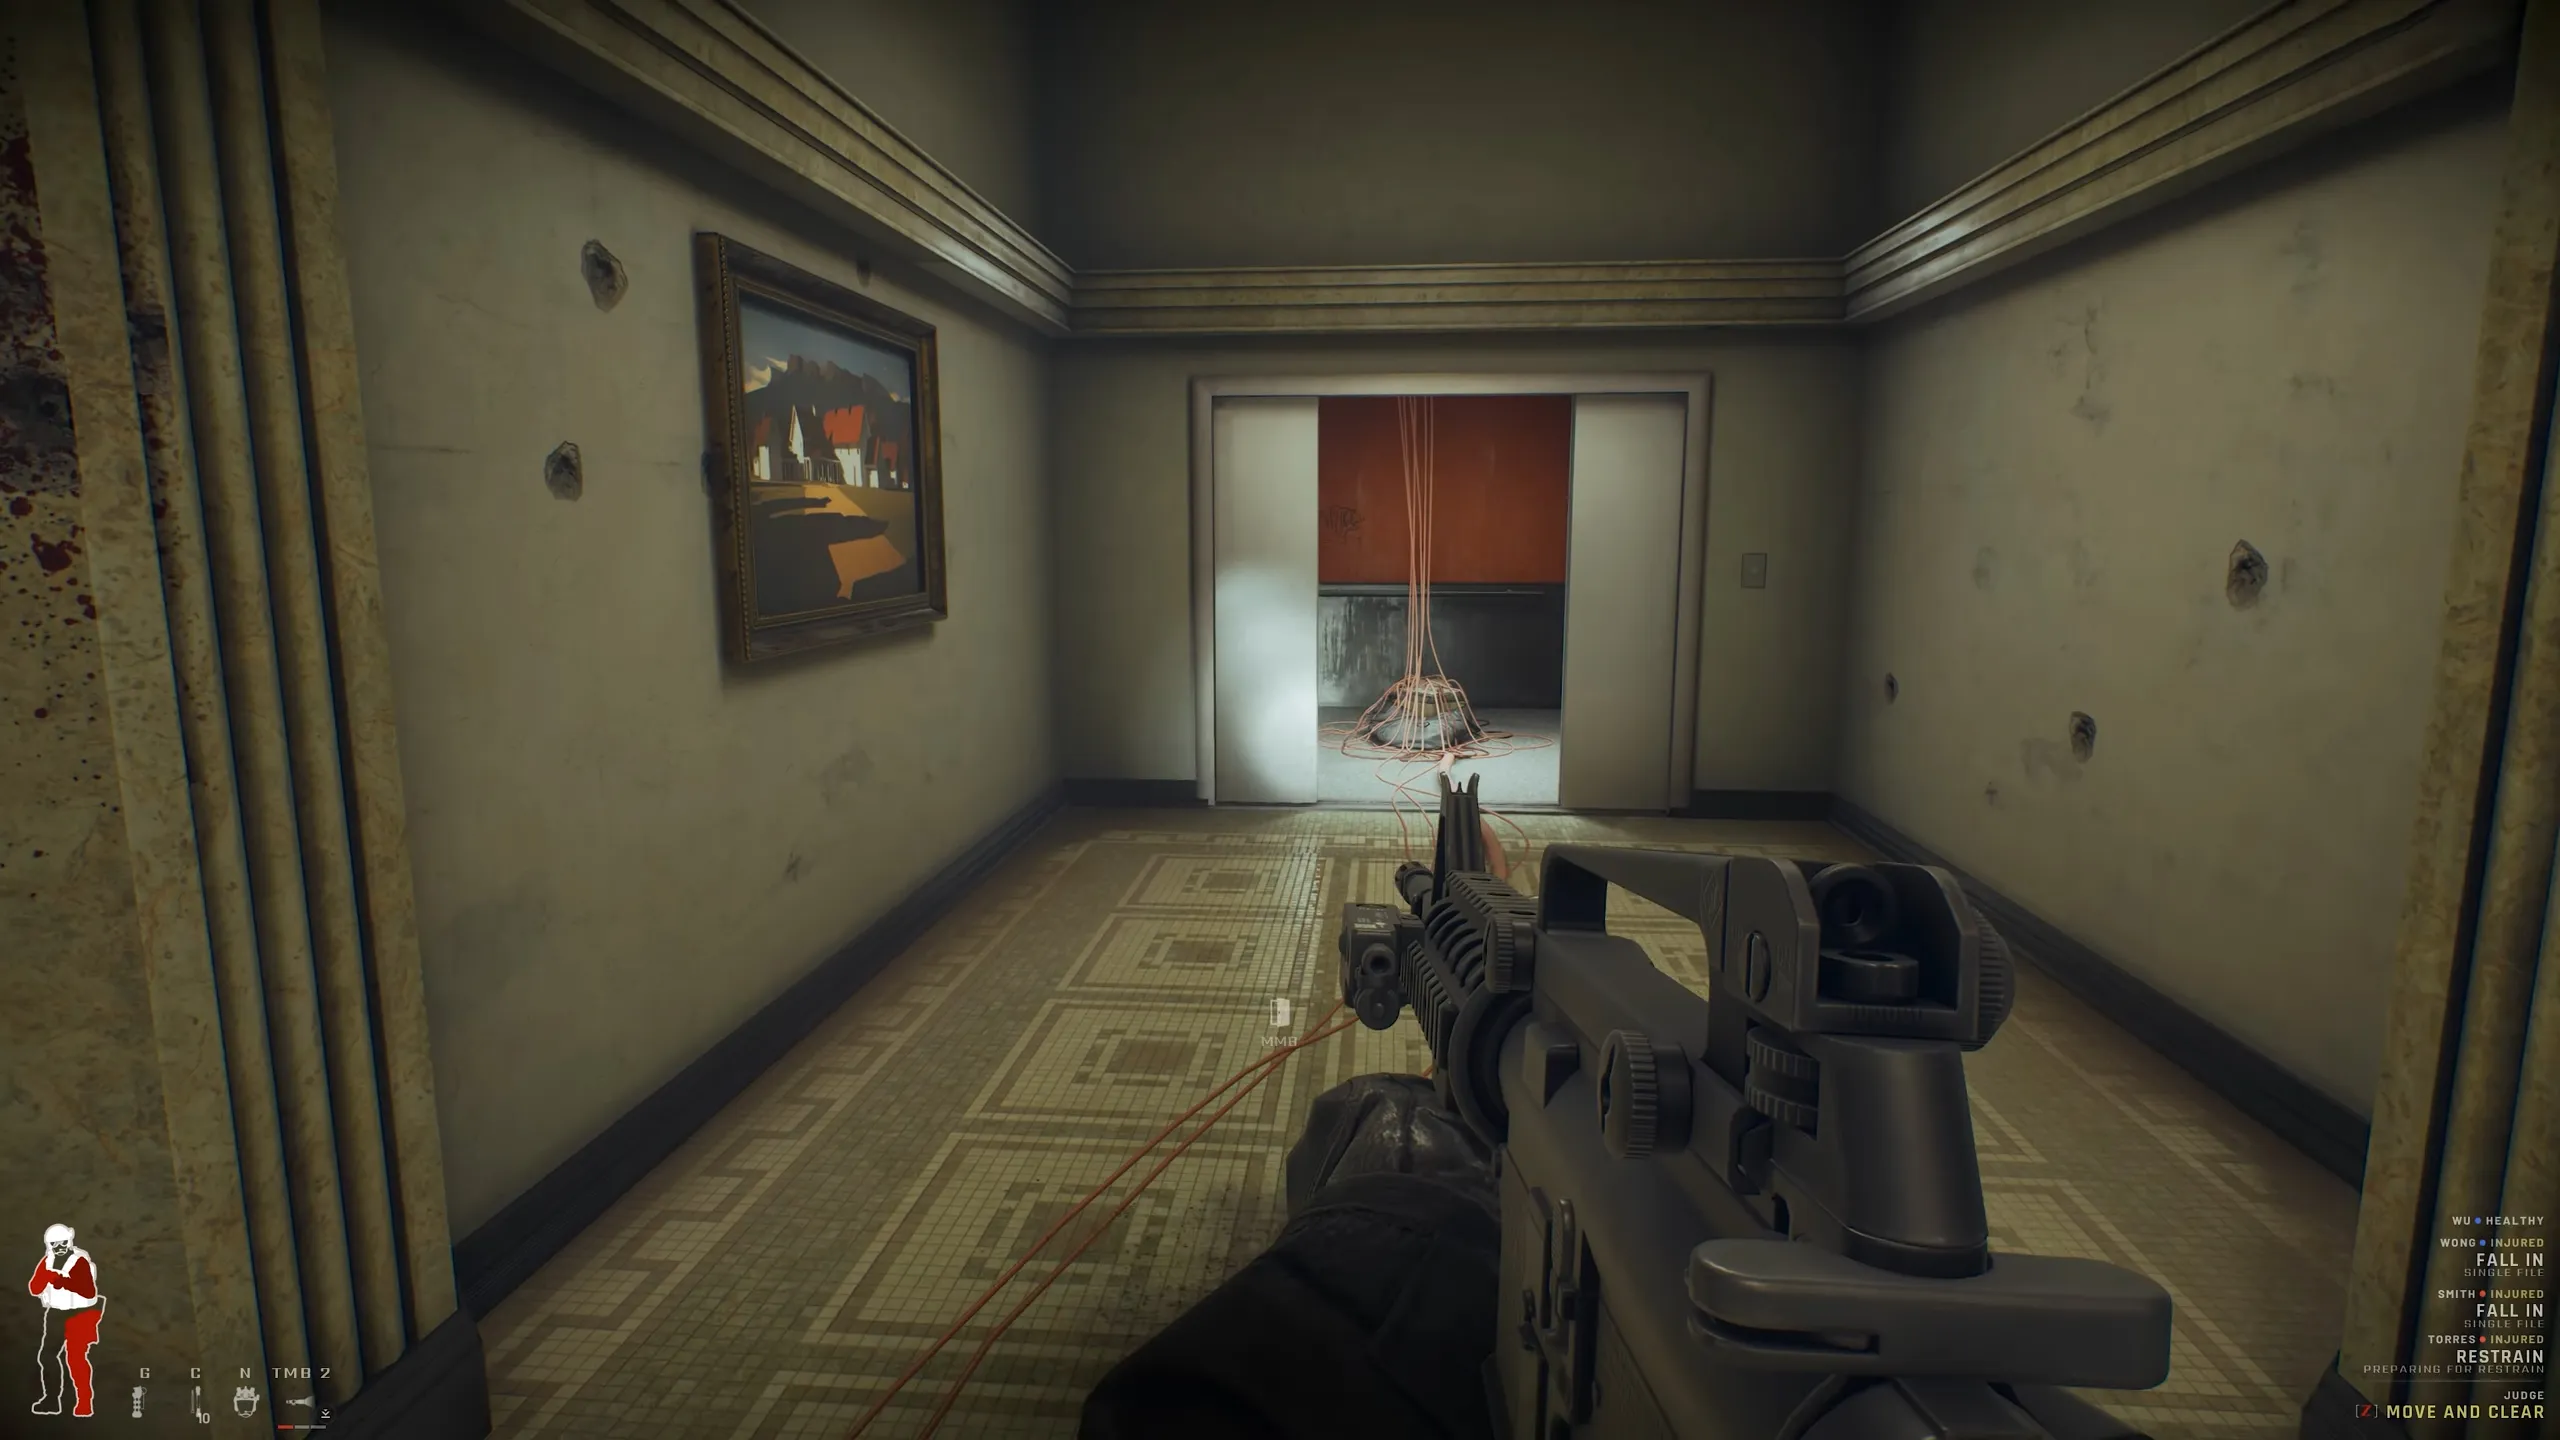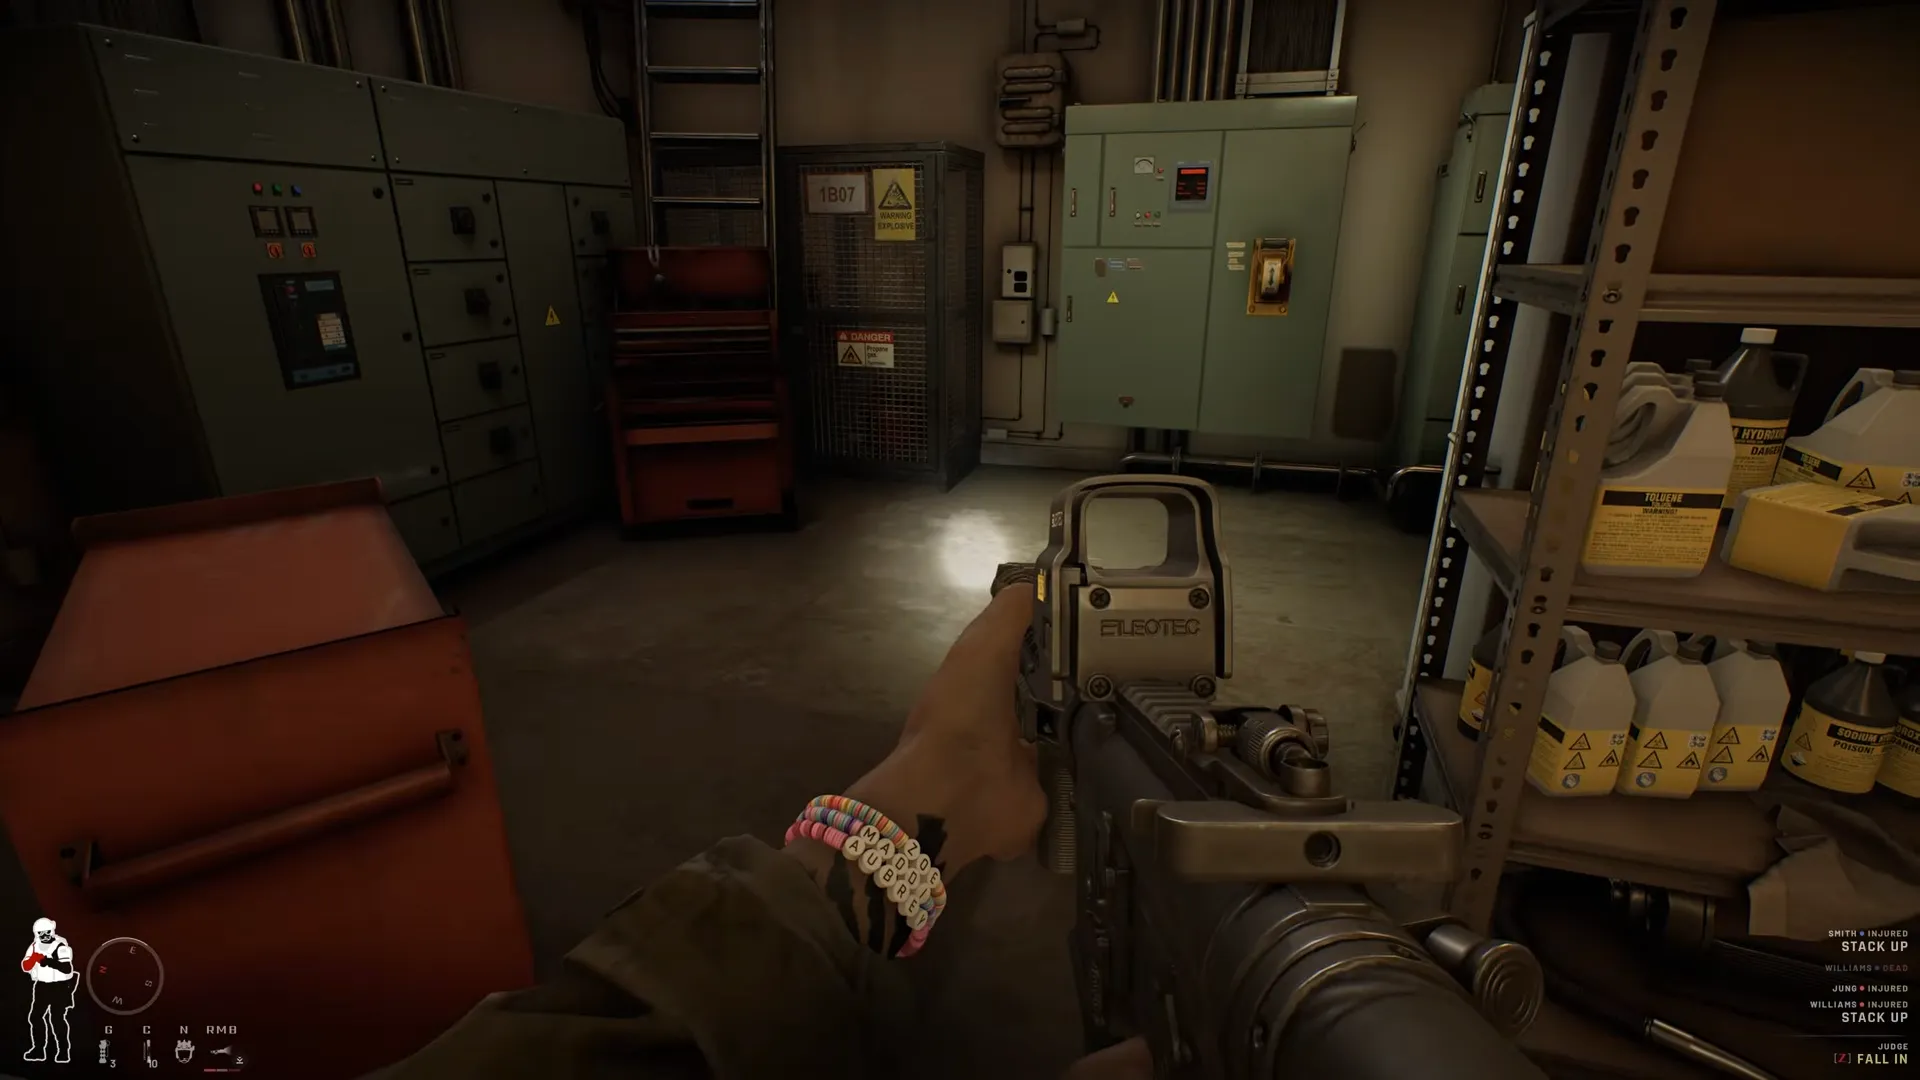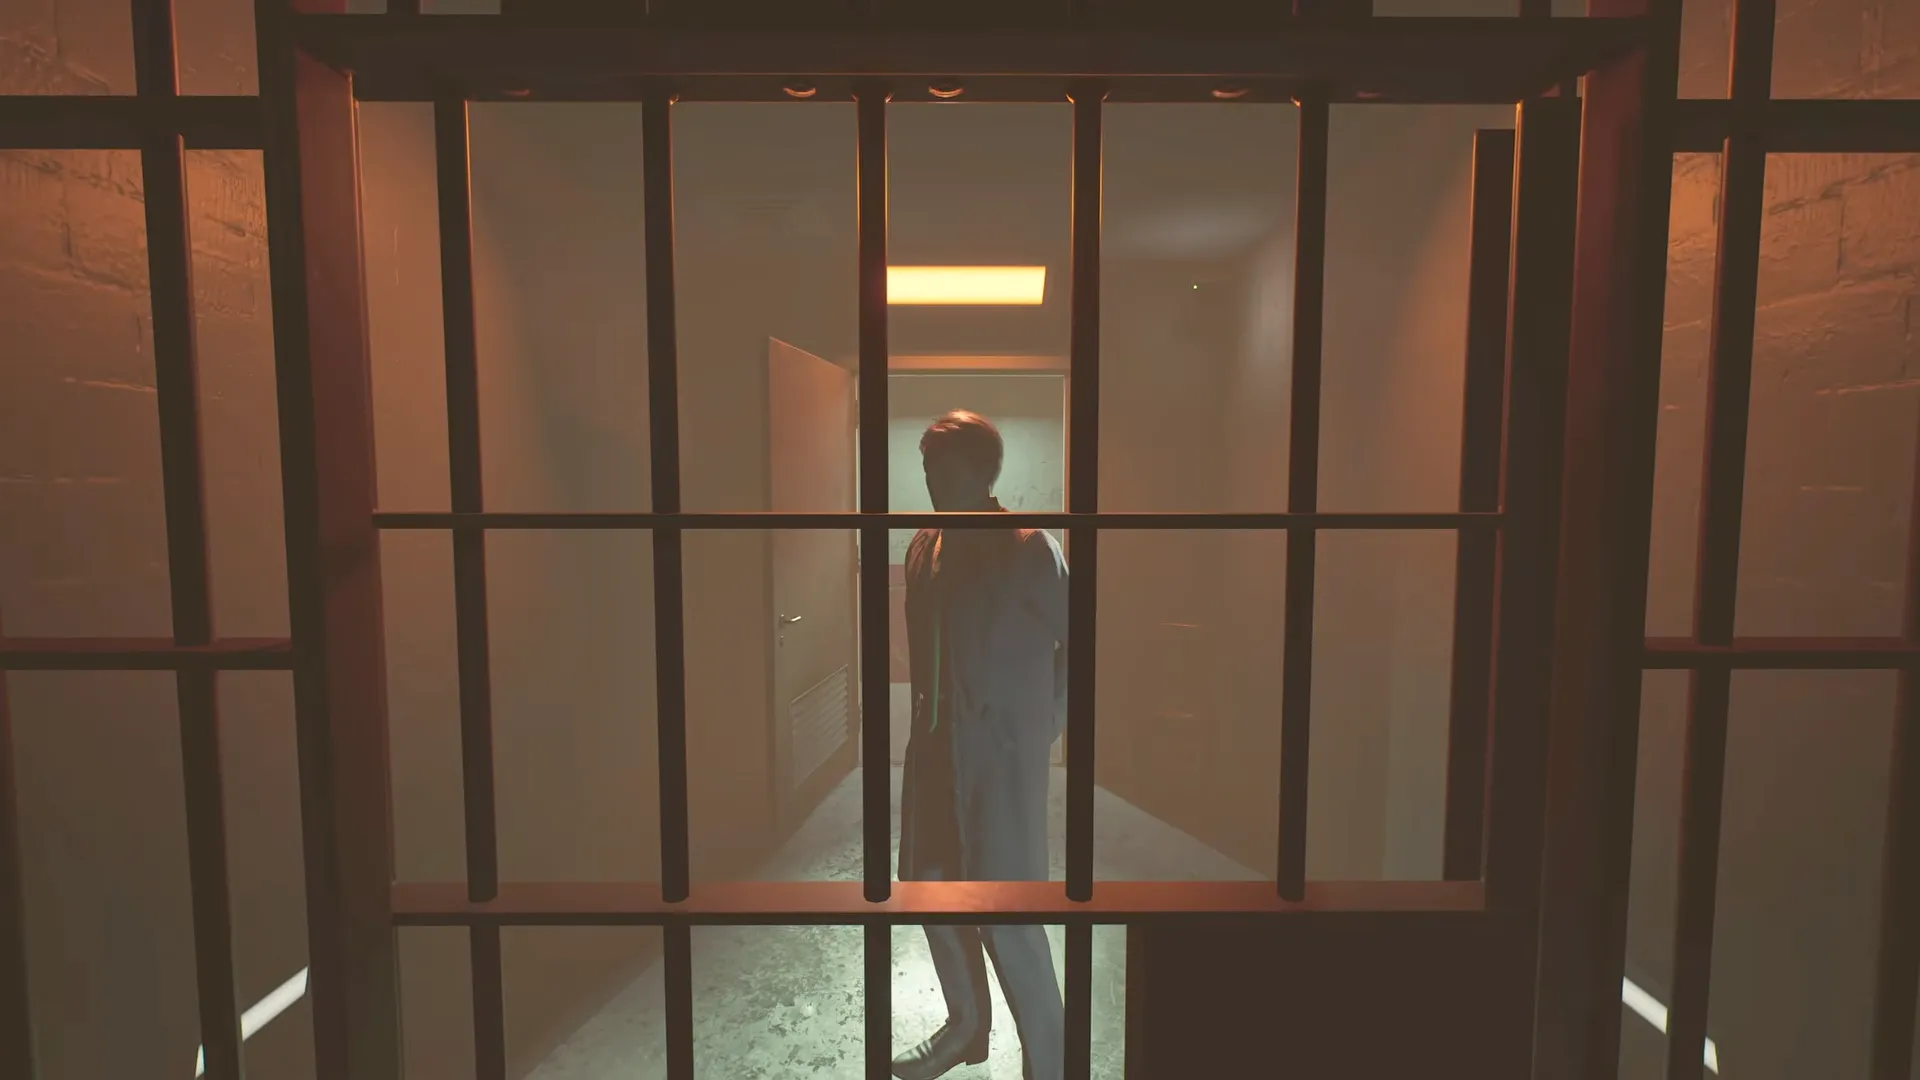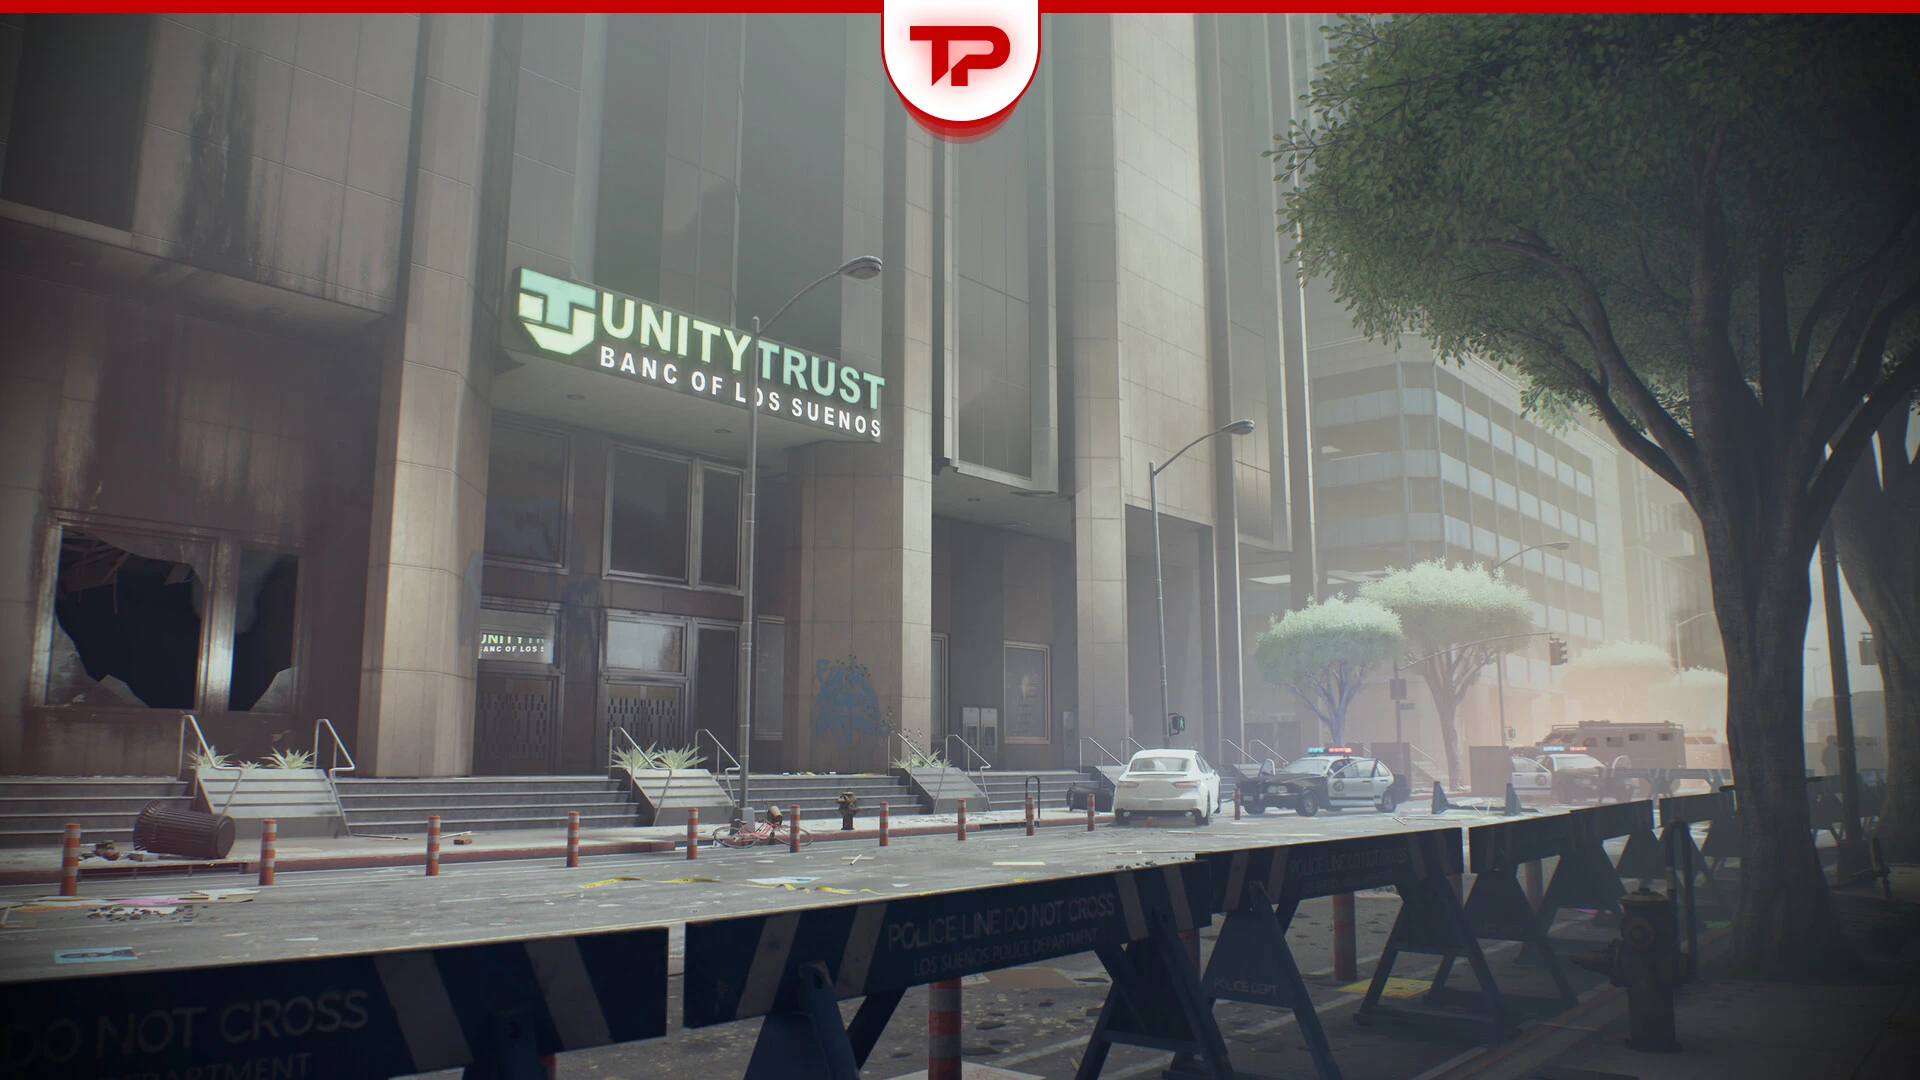


Ready or Not All Gods Burn Vault is a tough one to crack. Not because it is complicated, but because you have to do a lot of legwork. You are in a bank after all! And here’s the twist. Spawn locations are randomized in every run. But don’t worry.
Fans have already chewed up this Ready or Not: Boiling Point DLC. And I found all of them after some deep community research. So keep reading and check the pictures carefully to unlock the All Secrets Safe Achievement.
What You’ll Read:
All Gods Burn Vault Spawn Locations at a Glance
If you already know what to do and just want to know where to look for the different items, check out the quick takeaway table below:
(Note: If you don’t know what to do, skip this part and read the rest of this guide.)
| What You Need | Where It Might Be Hiding |
| Safe Keycard | • Break Room: On the dead guard inside the small utility closet. • Metal Detector: On the dead guard to the right of the parking lot entrance. |
| Admin Password | • 2nd Floor Office: On the whiteboard in the first office on the right. • Records Room: On the whiteboard in the 2nd-floor Server/Records Room. |
| Admin Computer | • 2nd Floor Smoky Room: The computer in the back of the hazy room. • 1st Floor Admin Office: The computer inside the office. |
| Safe (Laptop Code) | • Archive Room: The safe at the very end of the 1st-floor room. • 2nd Floor Office Wall: The safe just to the left of the admin password office. |
| Suspicious Laptop | • Upstairs Boardroom: Hack the laptop here (report it for an S-Rank). |
| Vault Keycard | • Janitor’s Closet: On a briefcase inside the half-closed door by the 1st-floor stairs. • The Lobby: On a briefcase behind the round wall near the entrance. • Employee Locker Room: On a briefcase on the table by the green logo wall. |
How to Open Vault Before the Mission Ends?
This is probably the most annoying trap that has caused players to claw their hair. Why does the mission end before I can even attempt to enter the vault? You are not alone in dealing with this issue. The answer is because the mission ends the moment you report all your primary objectives, including every Bomb Cluster.
So, to fix this issue, simply leave one Bomb Cluster unreported. Locate it and bring order to chaos, but do not report the last bomb. This way, you’ll have all the time in the world to patiently follow this guide and open the vault. Once you do, you can go back upstairs and radio the last Bomb Cluster into TOC and end the mission.
Step 1: Finding the Safe Keycard
Once you wipe out everybody in the bank, you have to look for the safe keycard. I found it in the breakroom. But don’t hate me if you don’t. The keycard’s location is randomized in every run. Do not confuse the safe keycard with the vault keycard, which we will discuss later.
Below, you can find all of the alternative keycard spawn locations:
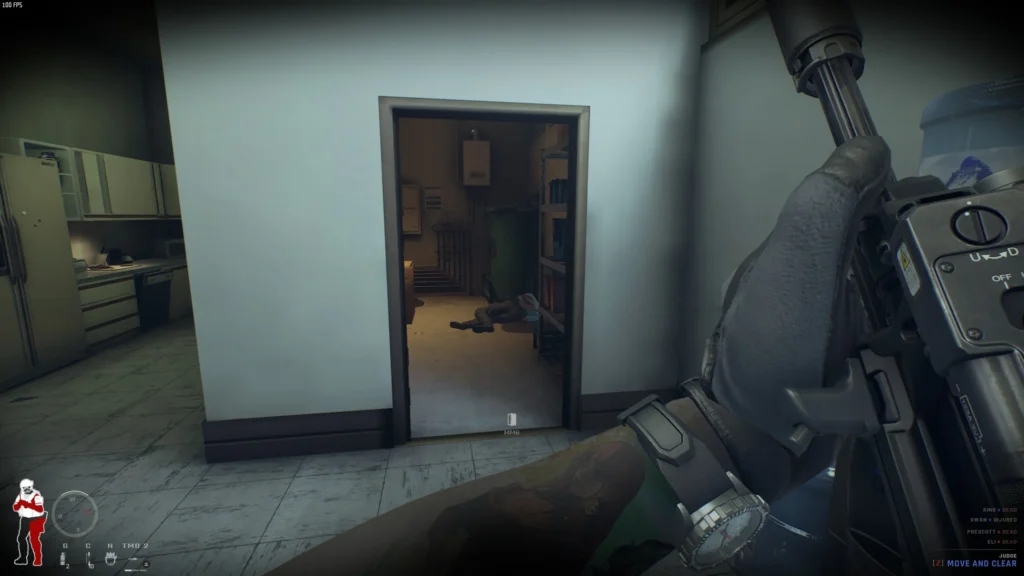
Break Room
Go to the break room. There is a small closet or utility room with a dead security guard inside. You will find the keycard on him.
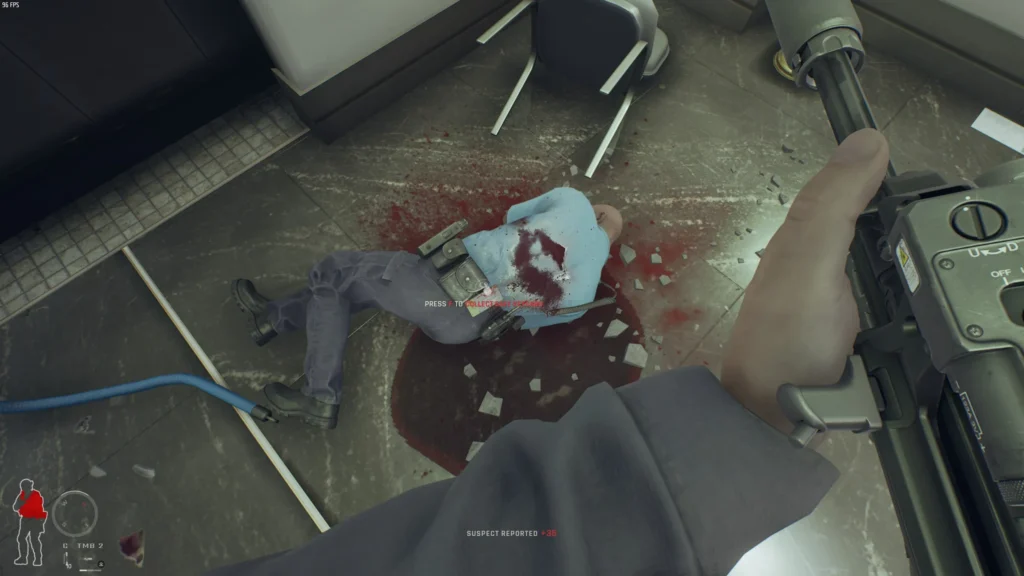
Metal Detector
There is a dead guard right next to the metal detector. It’s on your right if you are coming from the parking lot’s entrance. You might find it on him as well.
Step 2: Finding the Admin Password
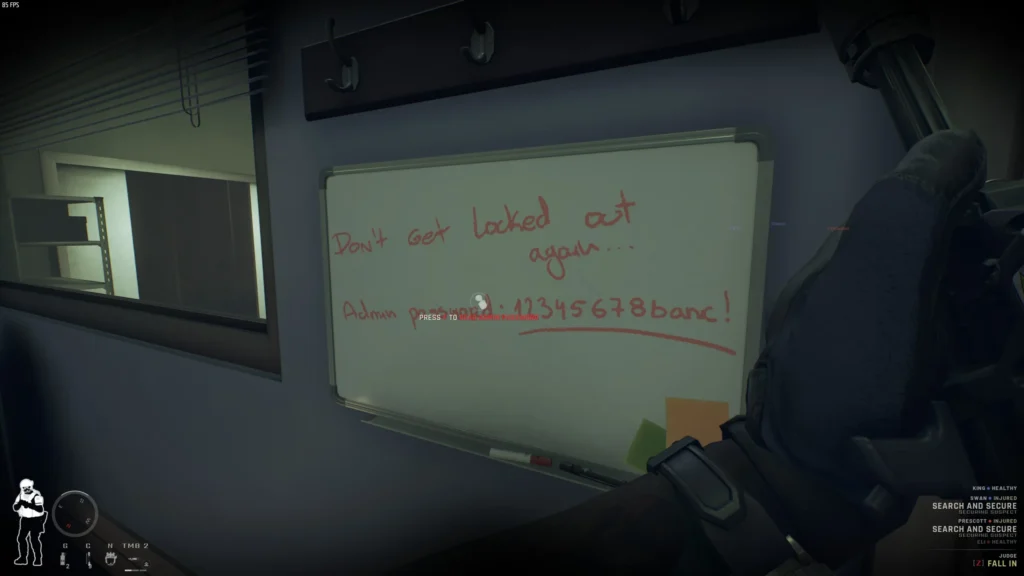
Now you need to get the admin password, which I’ll explain why shortly. Read the admin password in one of these locations:
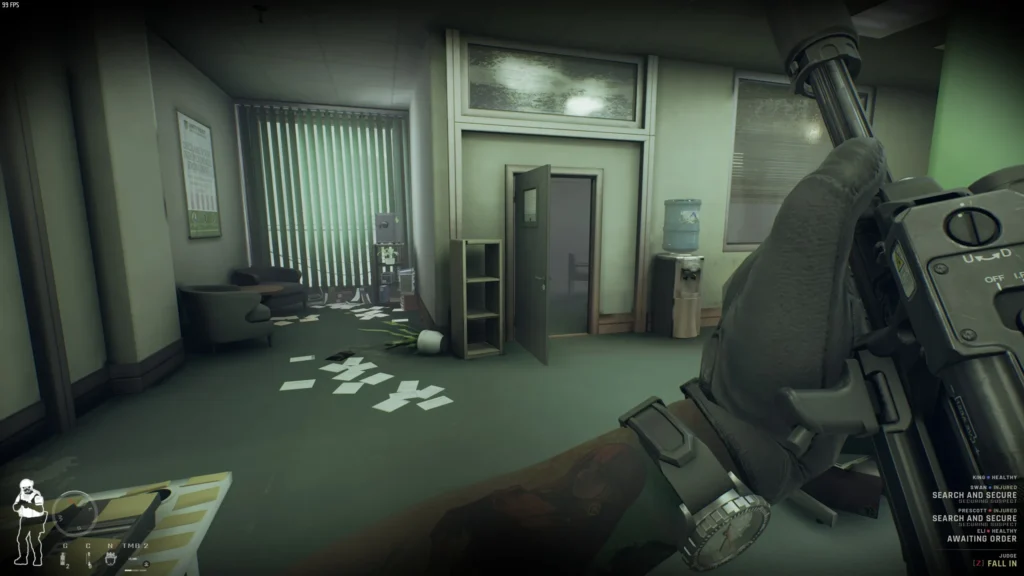
Second Floor Office
Head upstairs to the second floor. Enter the first office on the right and you’ll find the password written on a whiteboard.
Records Room
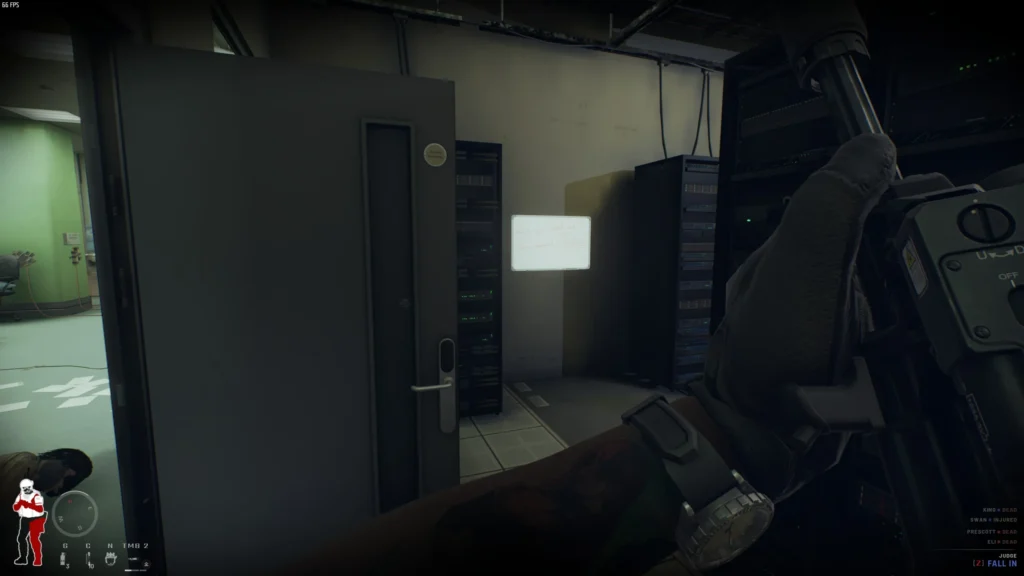
Alternatively, you can read the admin password from another whiteboard. This one is located in the Records/Server Room on the second floor.
Step 3: Entering the Admin Password
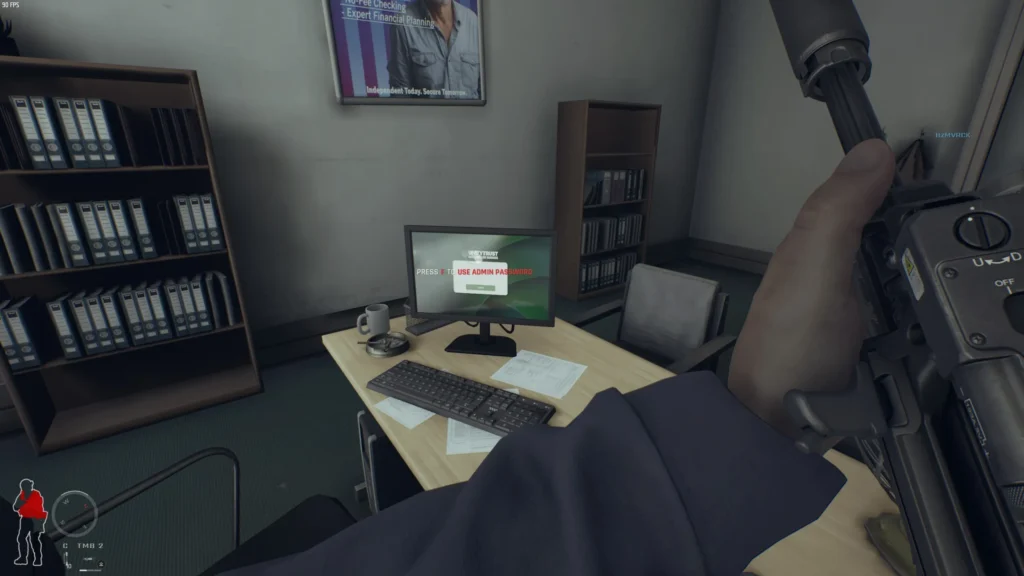
Remember that admin password you found in step 2? This is where you use it. Find the relevant computer and interact with it. Doing this will unlock the vault’s electronic systems. You will find it in the locations below.
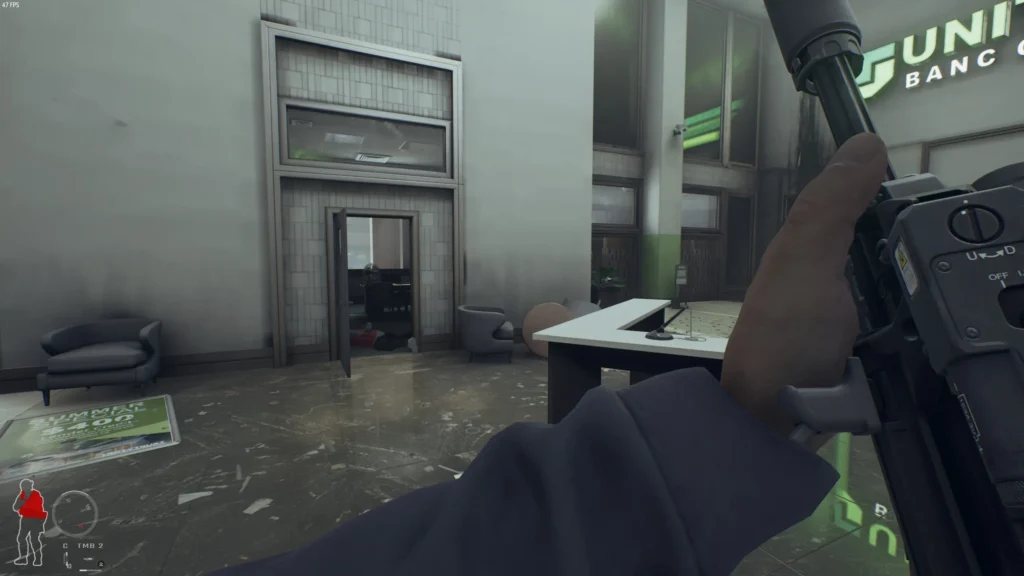
Second Floor Smoky Room
Enter the hazy room on the second floor. Go to the computer in the back and click on it. And DONE! That’s it.
First Floor Admin Office
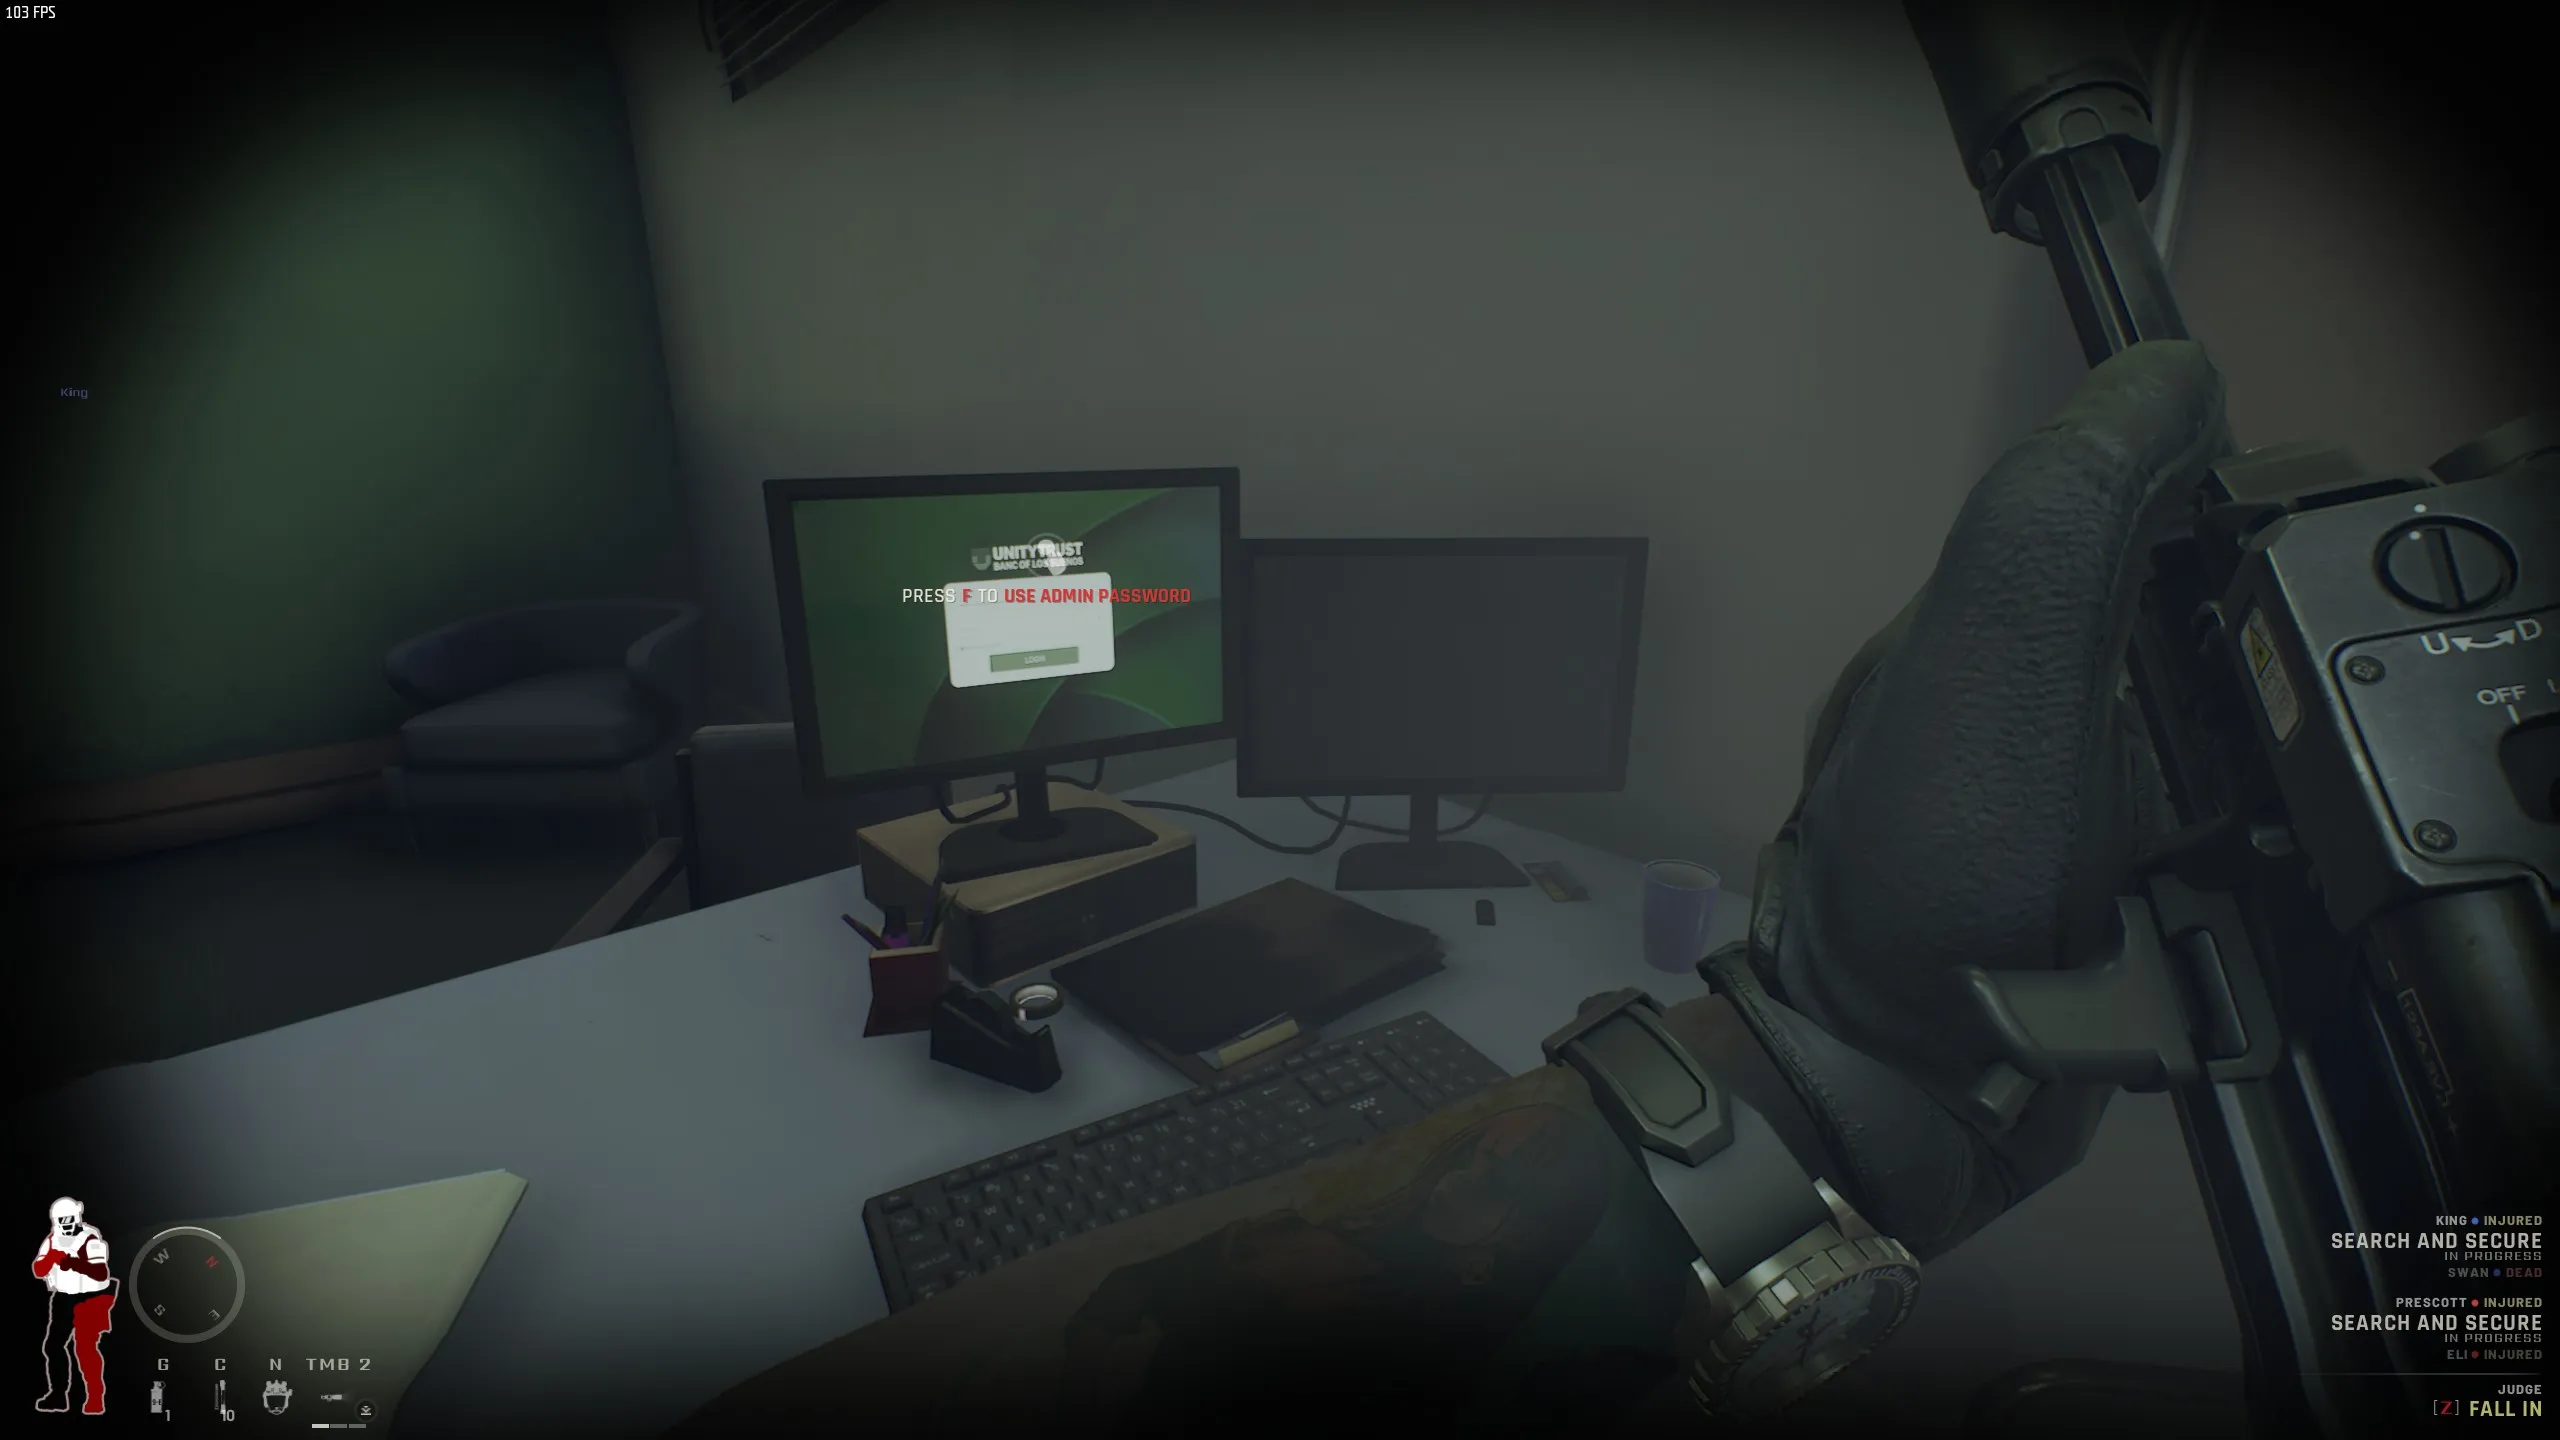
Remember that first office on the right on the second floor? If you didn’t find the password there, you can probably enter in the computer in there.
Ground Floor Center Room (Bugged)
Sometimes the PC spawns a center room on the ground floor near the staff locker room. Many players report that when this happens, the PC does not respond to interactions. This is probably a bug and most likely it will be fixed in future updates. But for now, if this happened to you, I suggest restarting the run.
Step 4: Finding the Laptop Unlock Code
Another laptop code again? Are you serious? Yes, I am. But bear with me. We are very close to finishing this. You found the safe key in step one. Now let’s find the Safe for it. The laptop unlock code is in there. You’ll find it in one of the locations below:
The Archive Room
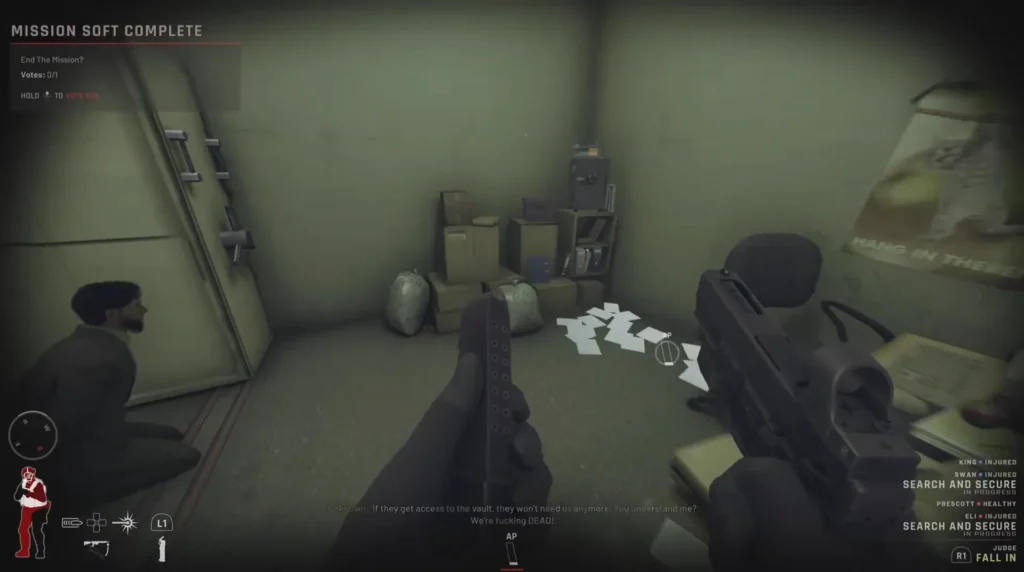
Go to the archive room on the first floor. The safe is at the very back of the room.
Second Floor Office Wall
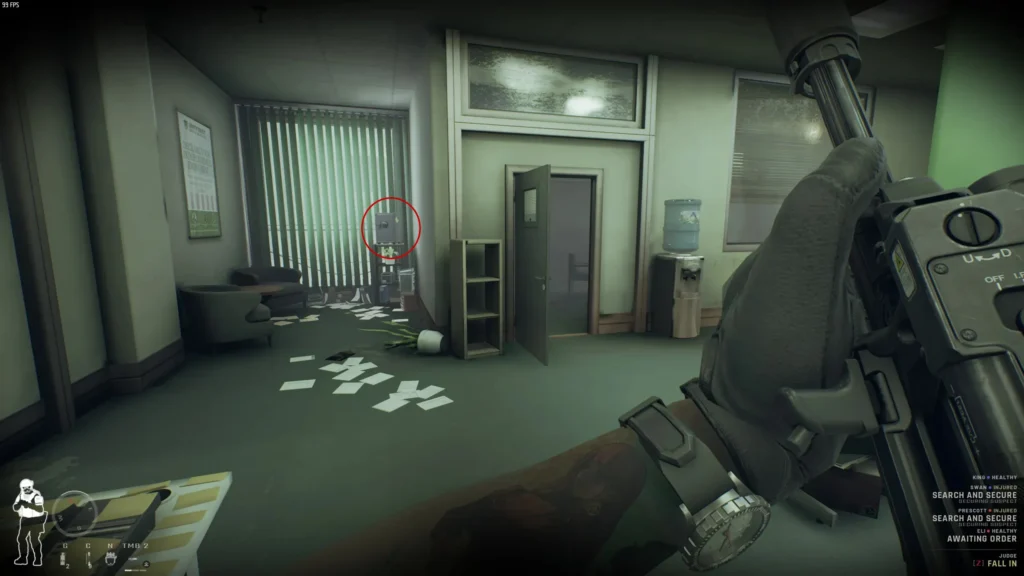
Head to the second floor. The safe may be there, just to the left of the office where you found the password on the whiteboard.
Step 5: Hack the Suspicious Laptop
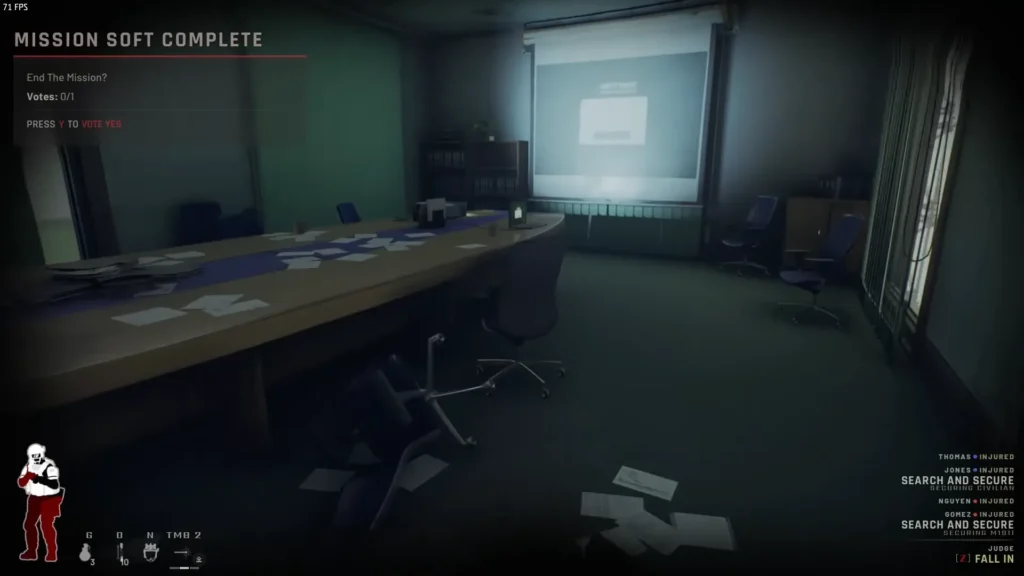
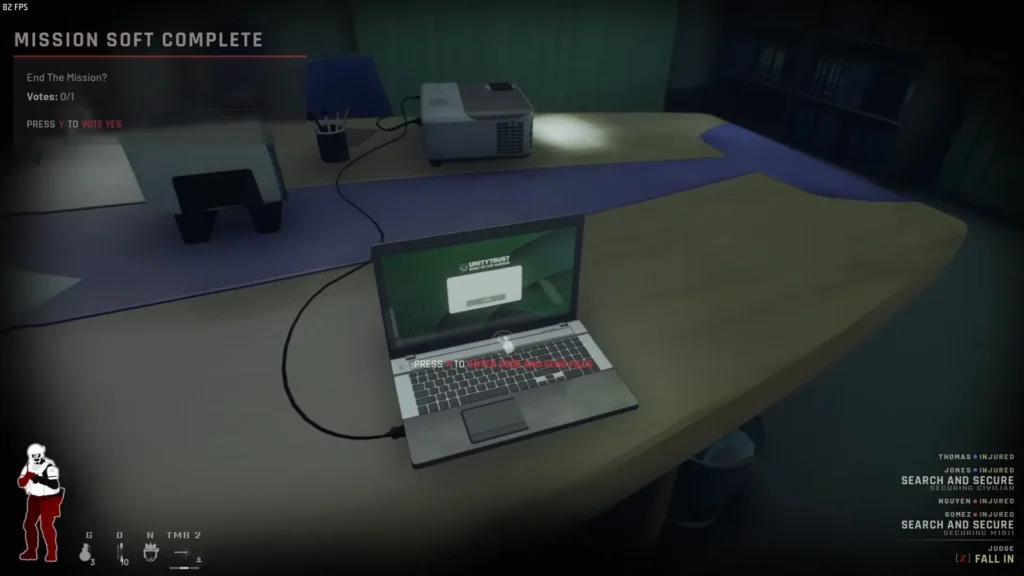
Next up is the Suspicious Laptop in the upstairs boardroom, right? Go up there and begin hacking it. Also, don’t forget to report the Suspicious Laptop along with the four Bomb Clusters. These are the All Gods Burn Soft Objectives and obtaining them is necessary to achieve an S-Rank.
Note: Hacking the Suspicious Laptop also changes the voicelines you hear after entering the vault.
Step 6: Find the Vault Keycard
Judge has to find the vault keycard to reveal what’s behind the vault door. So without further ado, here are the locations you might find it:
Janitor’s Closet
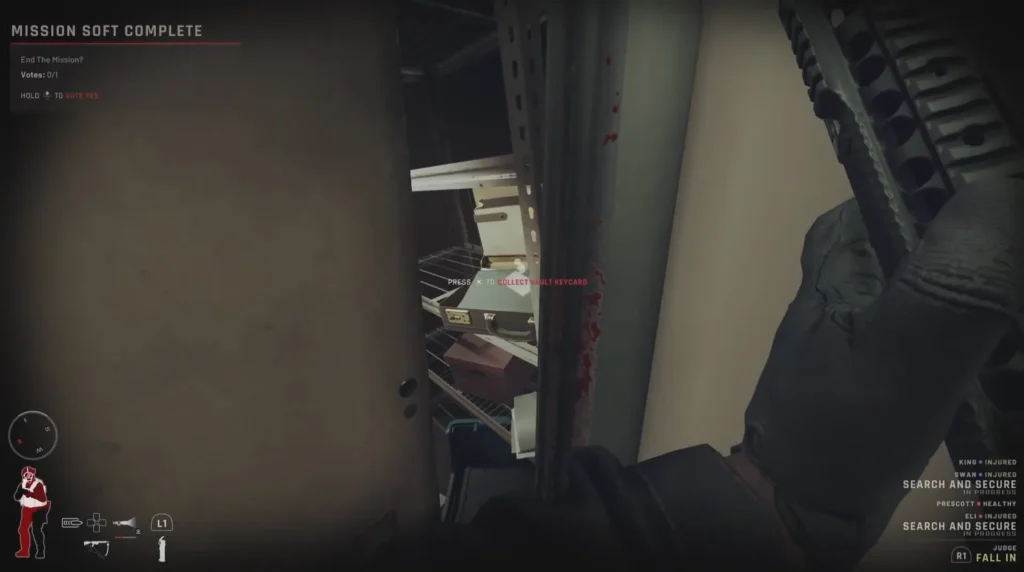
Right beside the staircase on the first floor, there is a janitor’s closet. Look inside the half-closed door. You might see the keycard shining on a briefcase there.
The Lobby
There is a round wall in the lobby after the entrance. Look behind it. There, you may find the keycard in a briefcase.
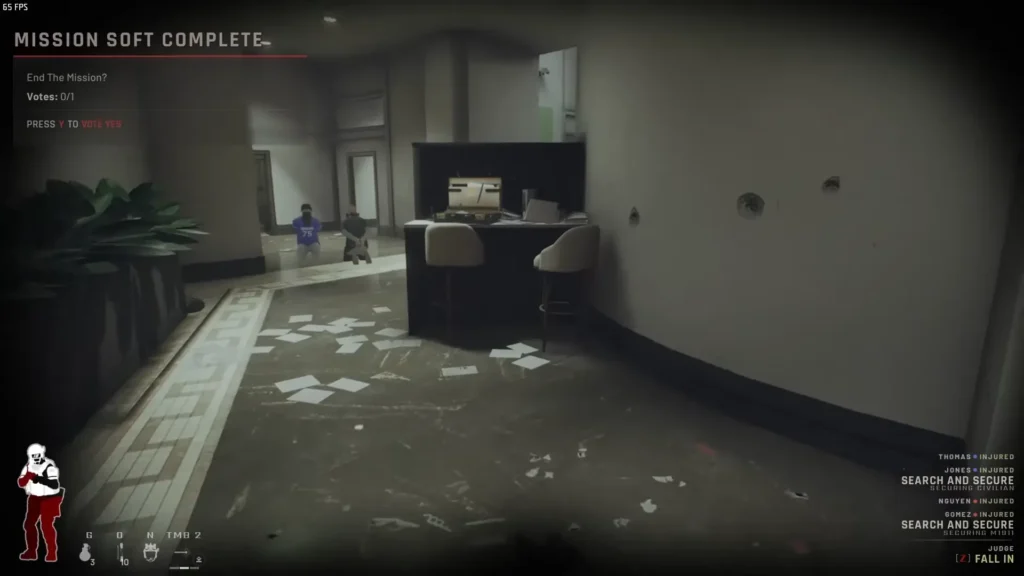
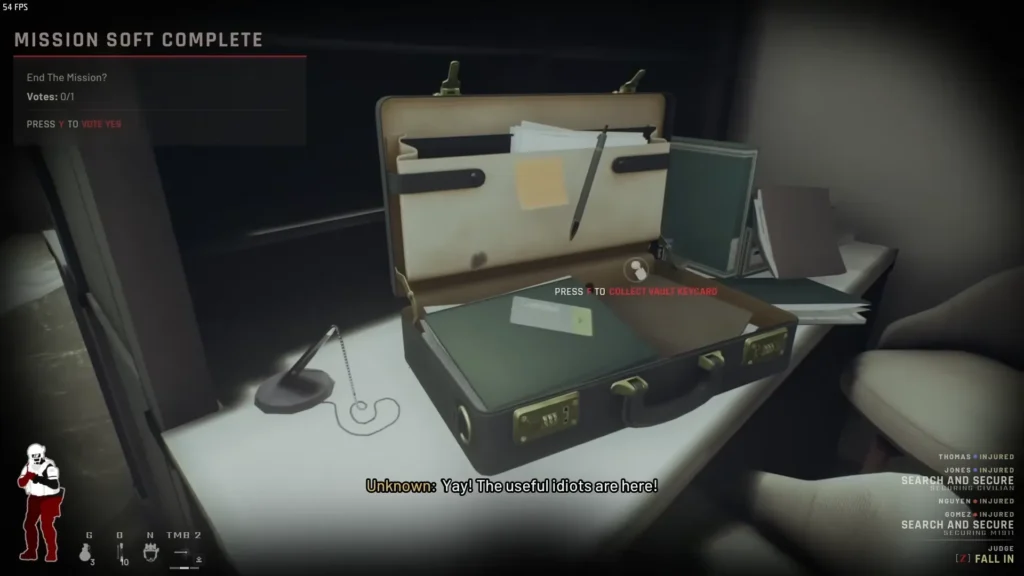
Employee Locker Room
This one is easier to spot. In the employee locker room, you will find a briefcase on a table next to the wall with the green logo. Check it out.
Step 7: Open the Vault
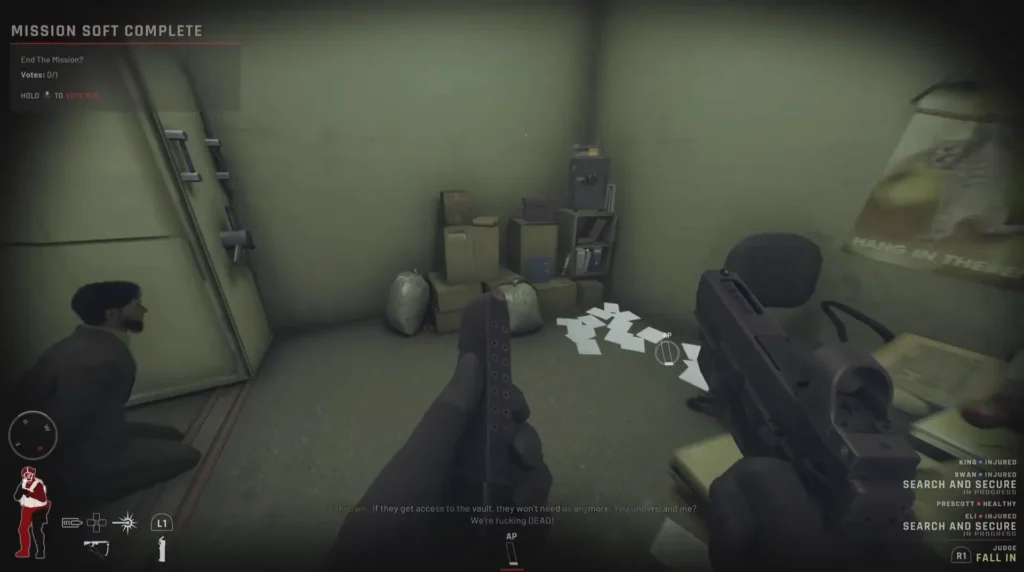
That’s pretty much it. Head to the basement and interact with the panel on the left side of its massive door. This will open the gigantic vault you worked so intensely for. I promise you will see something crazy to make this whole undertaking worthwhile. By the way, if you receive any phone calls, it is best to answer them to get the “All Secrets Safe” achievement. (No spoilers!)
If you got this far, then congratulations, you’ve opened the vault and finished this mission. Before starting the next and last mission, check out my Ready or Not New America Guide to learn some crazy pro-tips.
Did I miss any of the alternate locations? Let me know in the comments below and I’ll add them ASAP.
FAQ
Are the keycard and password spots always the same?
Nope! In every run, the location for every keycard and password you have to find is randomized.
Does hacking the laptop actually change anything?
Yes, you will get different voice lines if you go into the vault with/without opening the laptop.
What do I need to do to get an S-Rank?
You have to complete the mission’s Soft Objectives. To do this, don’t forget to report the Suspicious Laptop along with the four Bomb Clusters.
How do I unlock the “All Secrets Safe” achievement?
If you want the “All Secrets Safe” achievement, it is best to answer any phone calls if you receive them.