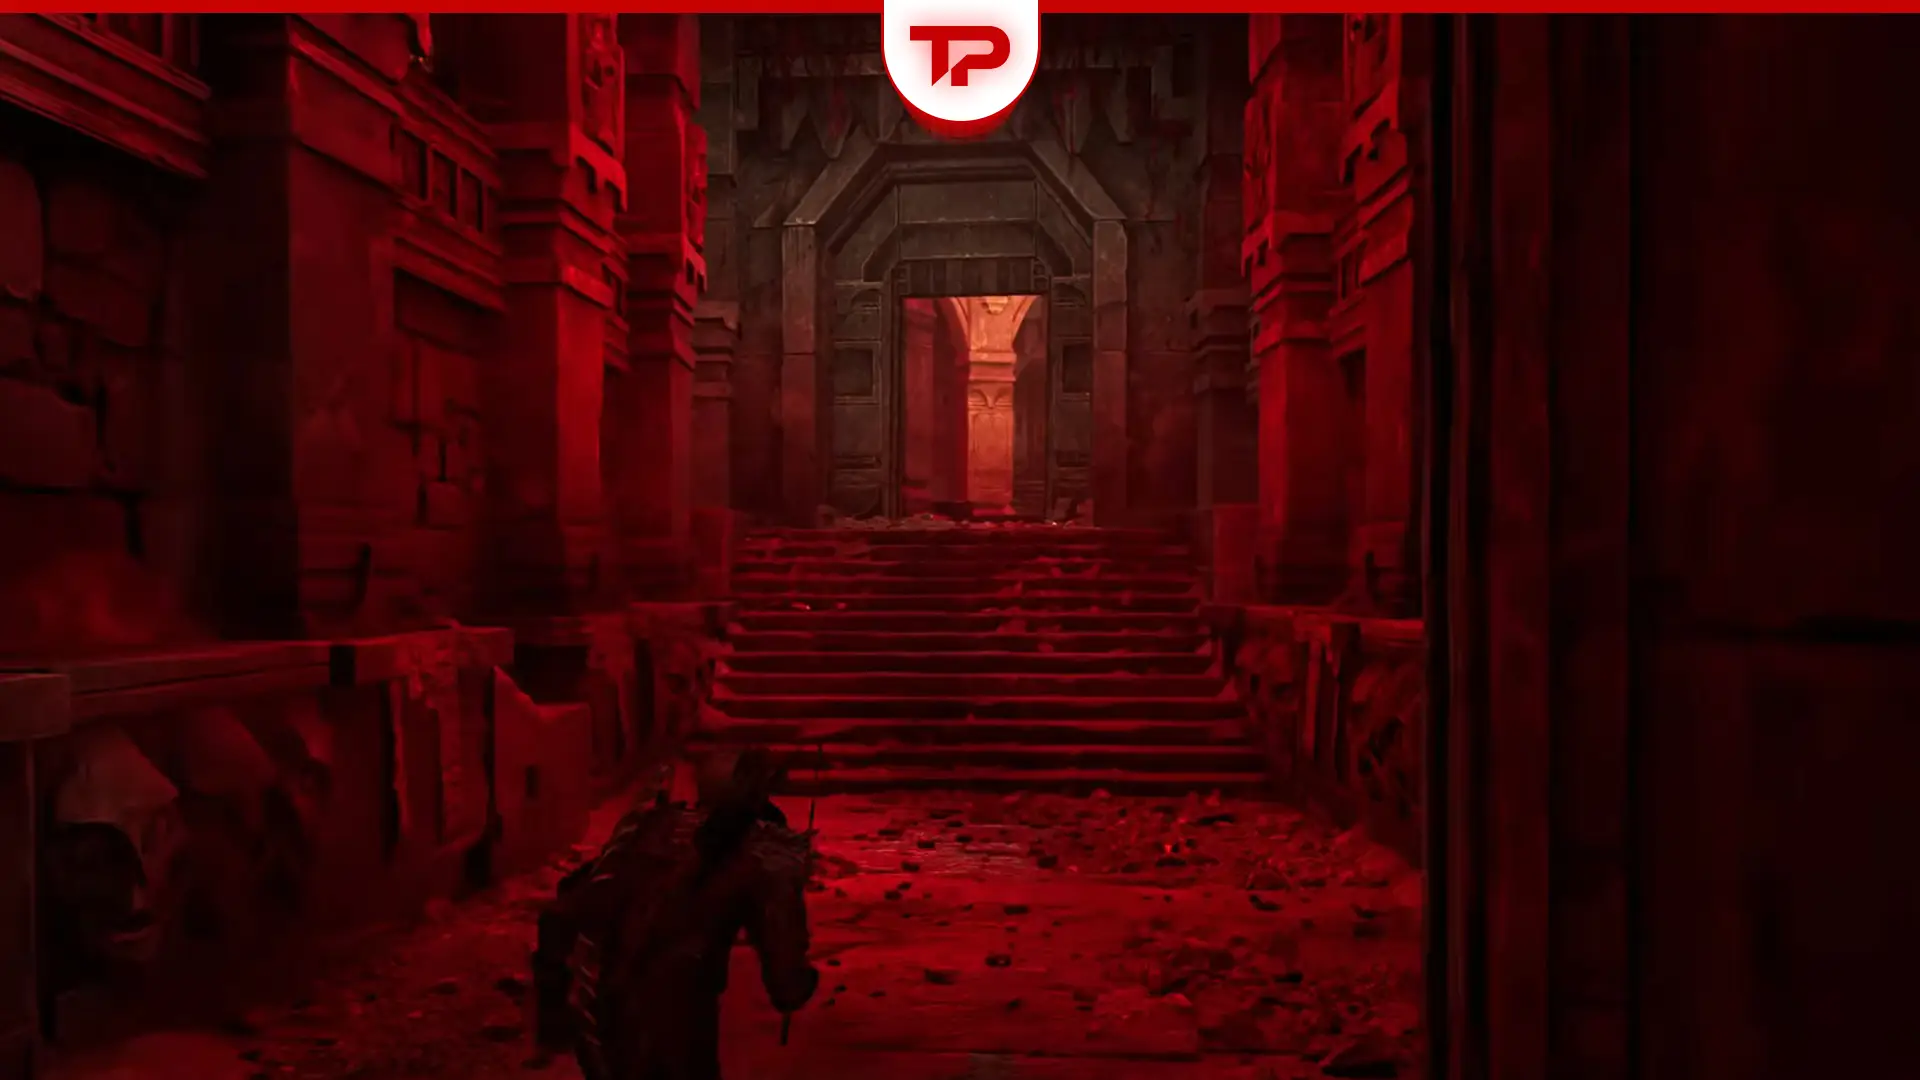


Dreamer’s Nightmare is one of the hard quests of Gothic remake. So, I decided to guide you here. But before you start, I recommend you to get the best armor you can find and get completely ready. This section is brutal. My tips for the quest sections are as simple as possible, step by step and easy to follow. Hope they help.
The Guide:
First Area & First Puzzle
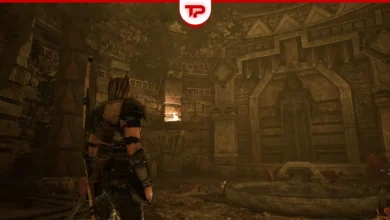
Enter the quest area and defeat the first few enemies. Go up and to the right, down the steps. Kill the skeleton inside. Go left then. into the room with three plinths.
Puzzle 1: Pointing Plinths
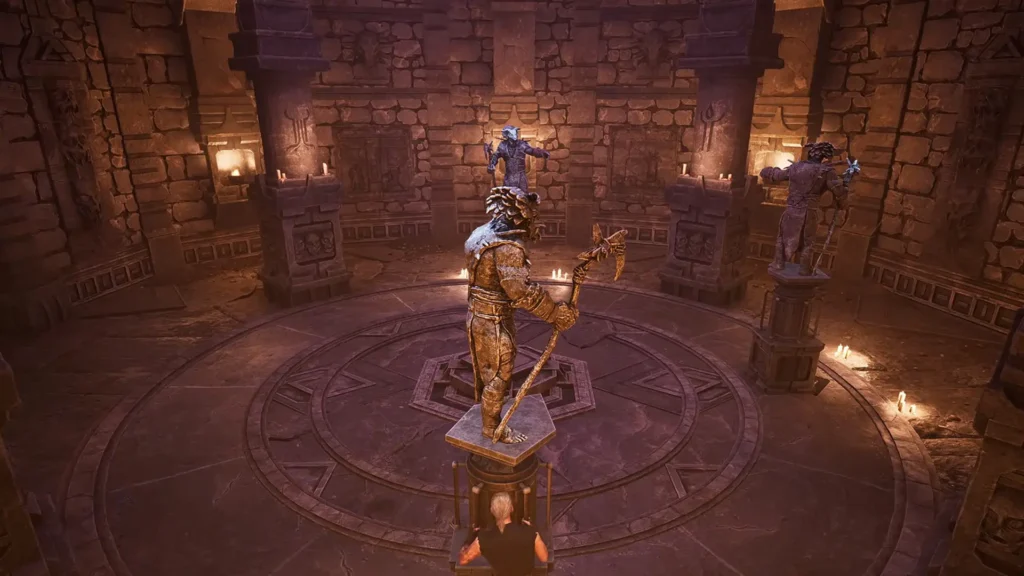
Left plinth (to the right of main entrance): Turn once to the right.
Back middle plinth: Turn so it points to 11 o’clock (like a clock face).
Right plinth (no sigil on platform): Point it toward the remaining sigil on the far right.
After all three are set, the center console rises. Note the sigils shown, that’s the combo for the next puzzle.
Puzzle 2: Three Wheels in Main Room
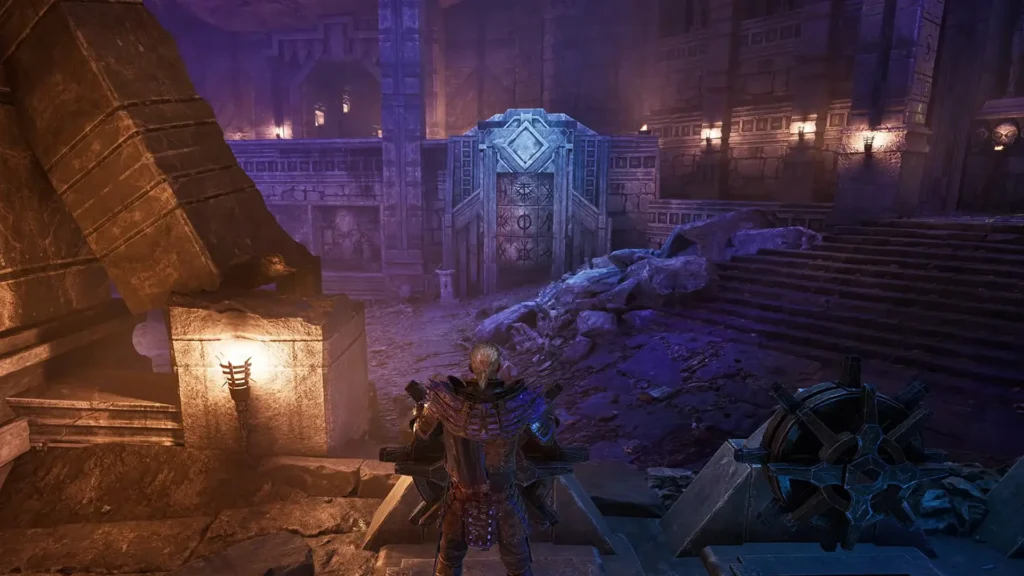
Left wheel: Spin left 1 time.
Middle wheel: Spin left 2 times (shows three lines with one line through them).
Right wheel: Spin left 3 times (shows circle with spikes).
The gate on the right opens.
Cave Section of Dreamer’s Nightmare
First, Kill enemies in the newly opened area. Go down to the right into a rocky area. Watch for mine crawlers. Enter the cave. Go immediately right to find a pool with loot.
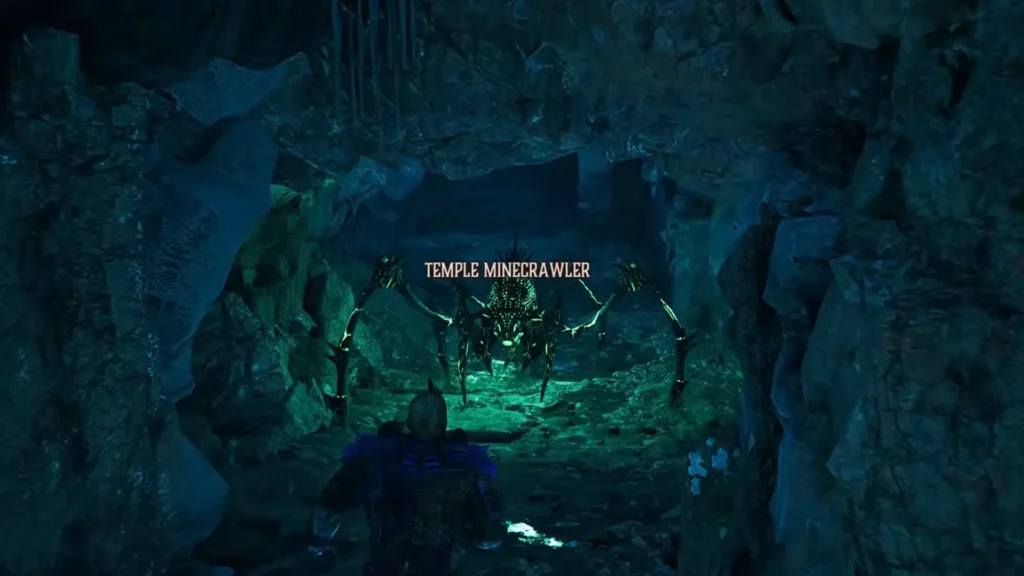
Go back through the cave, progressing straight ahead. Lure enemies out one by one.Tthey’re nasty in groups. Head right, up through caves, then right again past skeletons.
Enter the well-lit area, clear skeletons, then go up the stairs. Circle left, then left again into an electric corridor. Go all the way through to the next well-lit room.
Puzzle 3: Wheels Around the Room
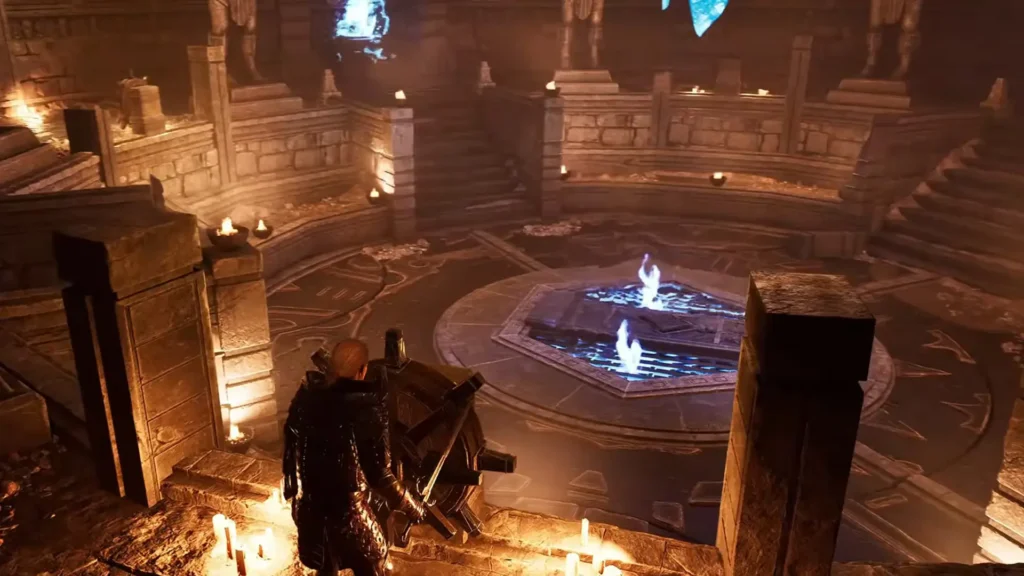
First wheel: Spin left 1 time (disc moves right).
Second wheel (next left): Spin left 2 times.
Third wheel (next left): Spin left 2 times.
Main disc (on raised bit): Spin left or right 2 times so the blank section is at the bottom.
Be cautious, Boss 1 appears after the puzzle. Defeat him and Loot Lightbringer stone from him.
Dropping Down & Getting the Handle
Go back through the lightning corridor to the end. Drop down into a familiar room. Jump over the pillar, enter the room straight ahead. Drop down the hole, but stop on a ledge halfway. Jump down safely.
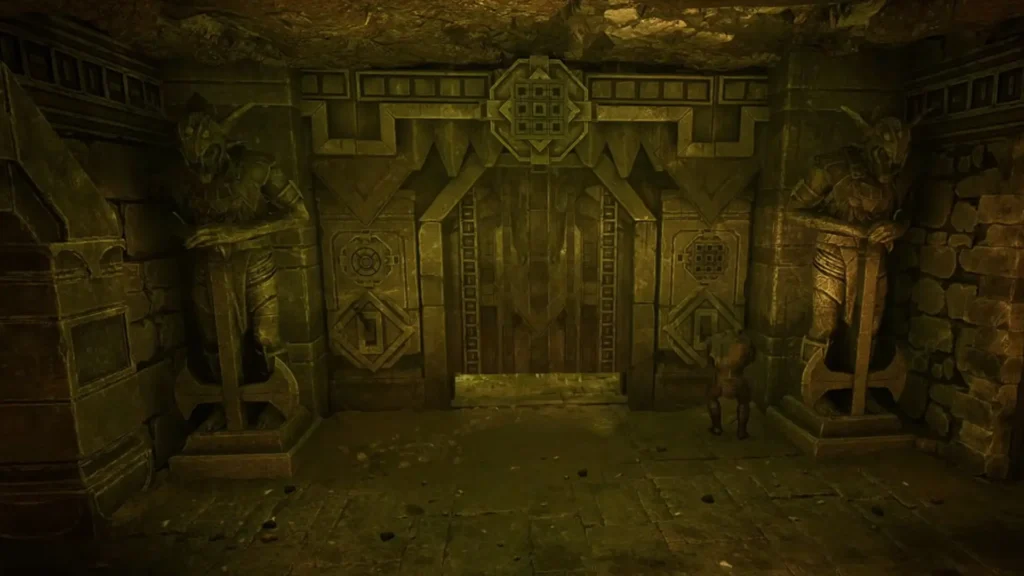
Go to the right handle by the door. Open it. Go down to the bottom of the stairs. Kill the enemy inside. Loot everything especially the central chest which contains a handle (needed for a later puzzle). Go back out, spin right up the stairs, then left back into the main room.
Second Boss & Green Corridor
Love bosses? The second one is waiting for you. Go up to the puzzle area with the handle and kill the enemies. Use your bow to shoot the green light above the door then Enter the green fiery corridor. At the end is Boss 2. Defeat him. Loot World Cleaver stone.
Don’t forget to loot the central console in that room too.
Handle Puzzle & Platform Jumping
Find the central console and insert the handle you found earlier. Activate the leftmost handle first then activate the middle handle.
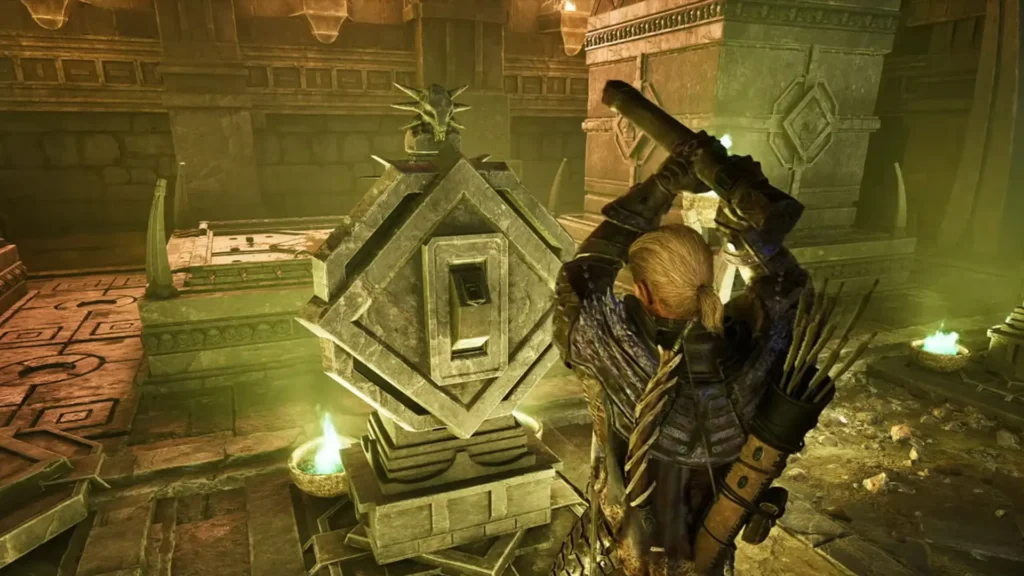
Turn around and run up to the platform section. Jump across the descending platforms: over one, to two, up to three. Continue to the next section and clear enemies.
Get back into the room you just came from. Shoot the red light above the door with your bow. Oh, Boss 3 is inside. Defeat him if you want to loot Time Splinter stone.
Blood Puzzle Section
Now you should Descend into the yellow room, then into the next red room. Clear mine crawlers, go into the right room first.
Turn around and shoot the red light with your bow. This opens a gate. Pull the handle near the gate because it activates blood flow.
Blood Flow Puzzle
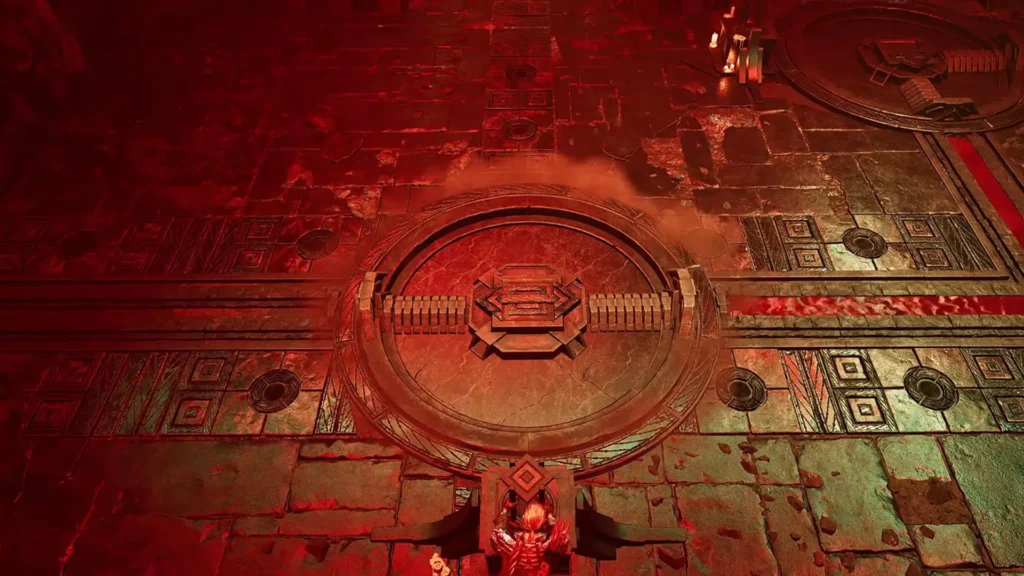
Here is another puzzle. Turn the first handle so it points to 9 o’clock (blood fills left tube). Go to the opposite side. Turn that handle to 3 o’clock (blood fills right tube) and wait for both to overflow.
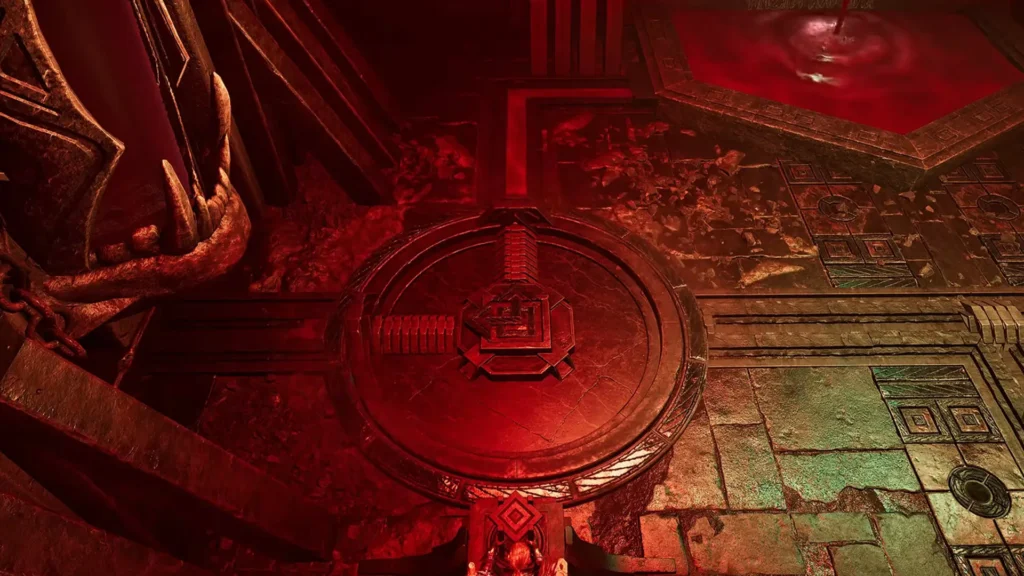
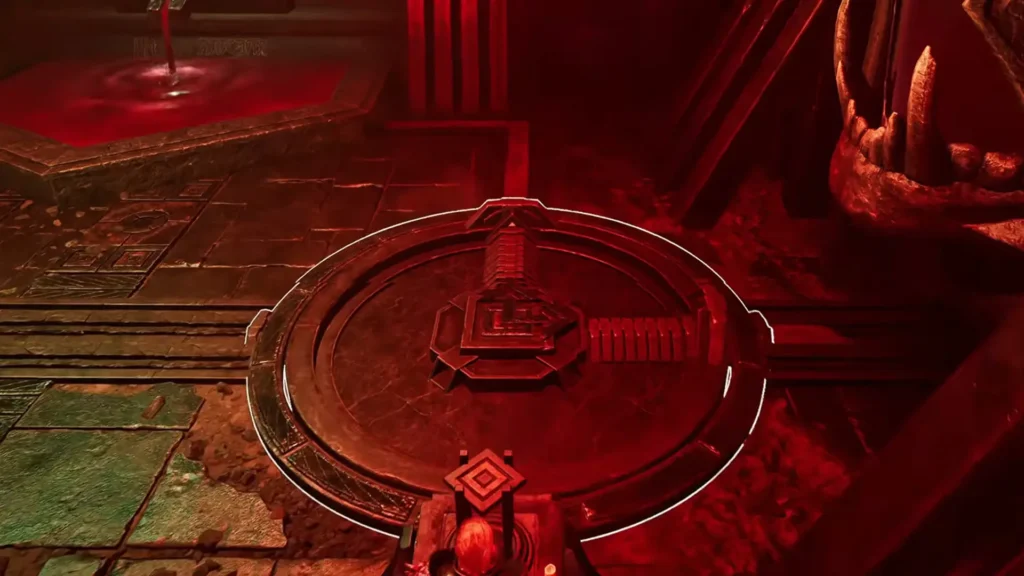
Spin the final handle from vertical to horizontal so blood flows into the main room and you should follow the blood.
Spike Room & Another Boss
In the next room, do not step on green lights, they shoot one-shot spikes. Use your bow to shoot the red light above (aim slightly up due to distance).
Quickly run in, grab the item, and run back. You’re on a timer. Pull the handle nearby to generate more blood. Wait for blood to fill the section. A cutscene triggers. Unfortunately, Boss 4 appears then.
Climbing & Furnace Area
After fighting the 4th boss, continue straight ahead up the stairs and reach the furnace area. Drop down, clear enemies, go down the stairs, then left.
Find the large handle on the left and push it all the way around from 9 o’clock to 3 o’clock (takes a while).
Go back out, left, down steps, then over the steps (not up and right where you came from). Circle around to the right, then right and up.
To continue, go up and climb to the very top. Go left, upstairs, then left again. Enter the next room on the left and kill the enemy.
Loot the two chests (one in the distance, one opposite) and finally spin the wheel to open the huge gate. Drop down from the bridge.
Final Stretch & Bosses
After looting everywhere, walk across the bridge. Boss 5 waits there, defeat him and Loot Bun Stone.
Go back the way you came and take the corridor you may have missed earlier. Then go down stairs, left at the bottom, all the way around. Follow the lava: go under bridge one, then bridge two then immediately go left and jump up. Continue through the corridor.
Final Boss of the quest awaits. Defeat him. Loot Fiend Eye stone.
Quest Completion
And that was it. Just grab the Strange Sword, teleport back to Zarthus and go down one level to find him. Quest completed. You’ve finished Dreamer’s Nightmare.