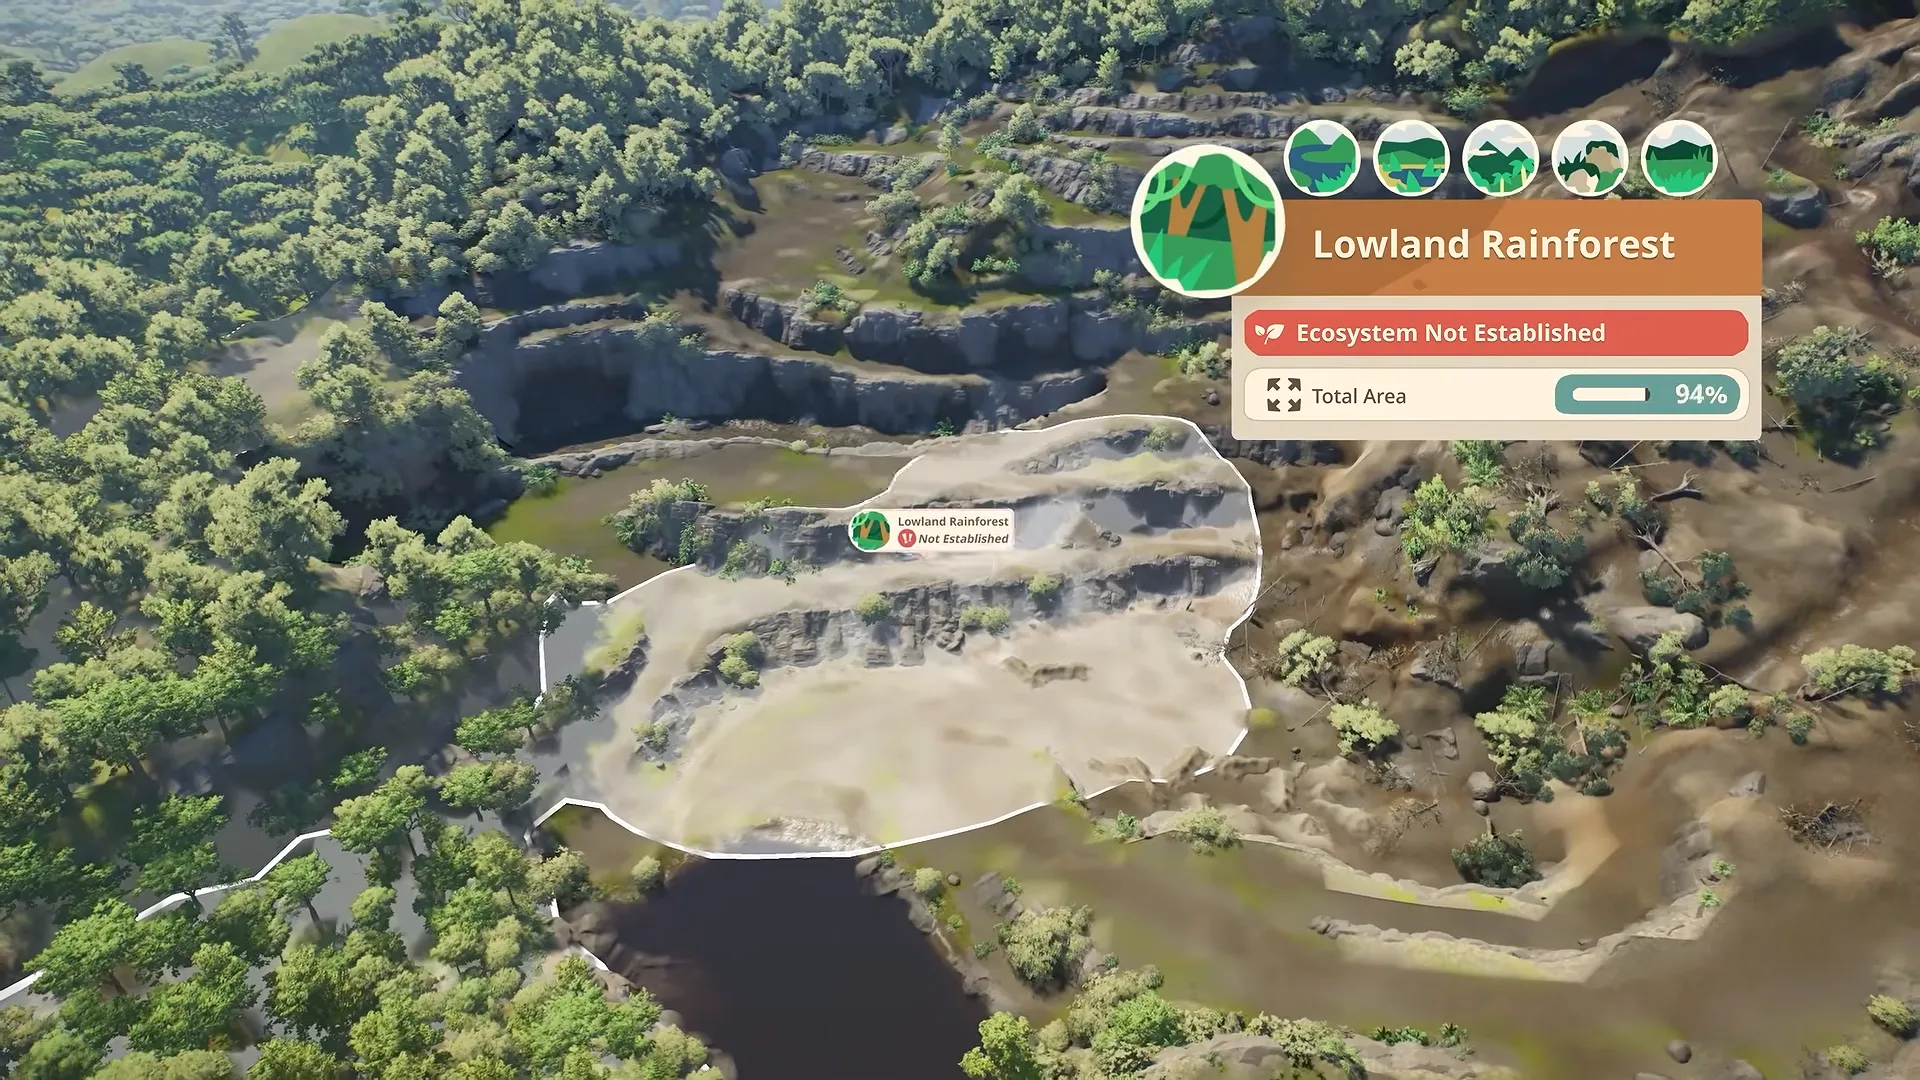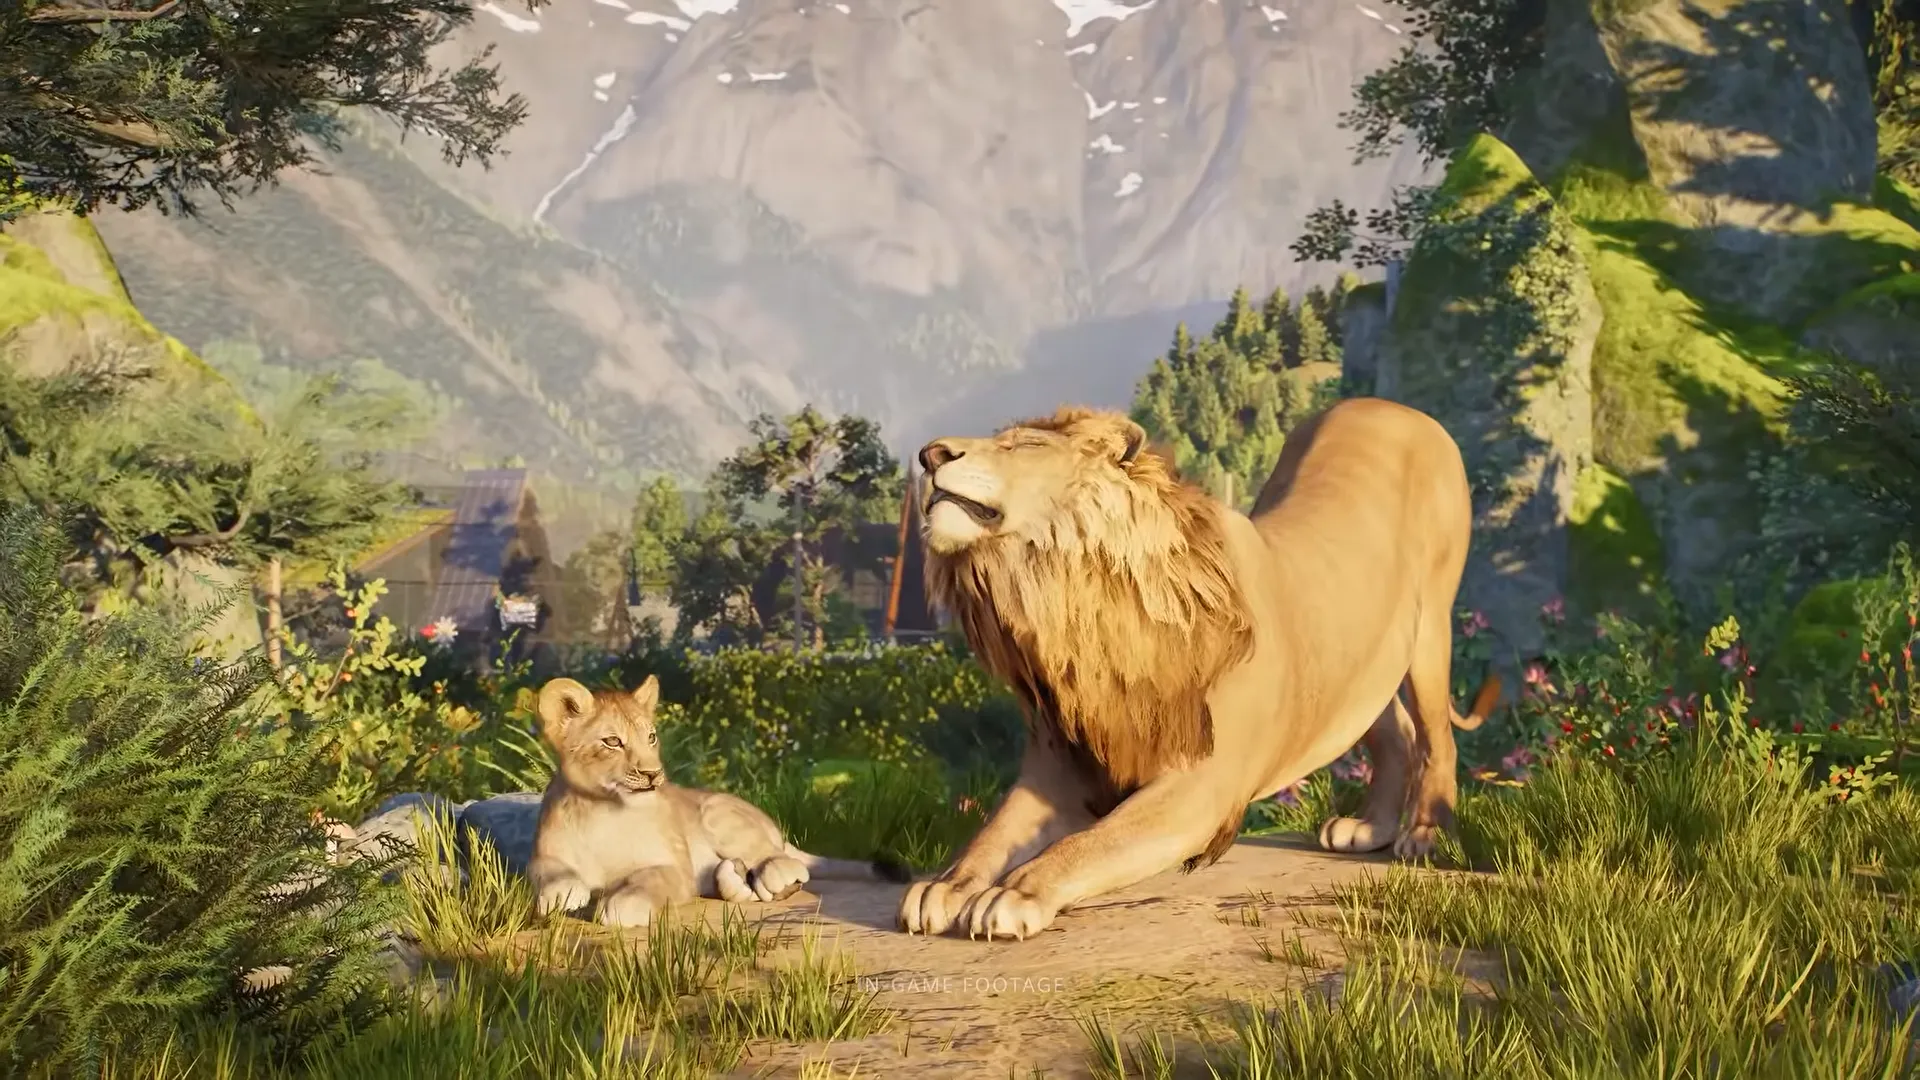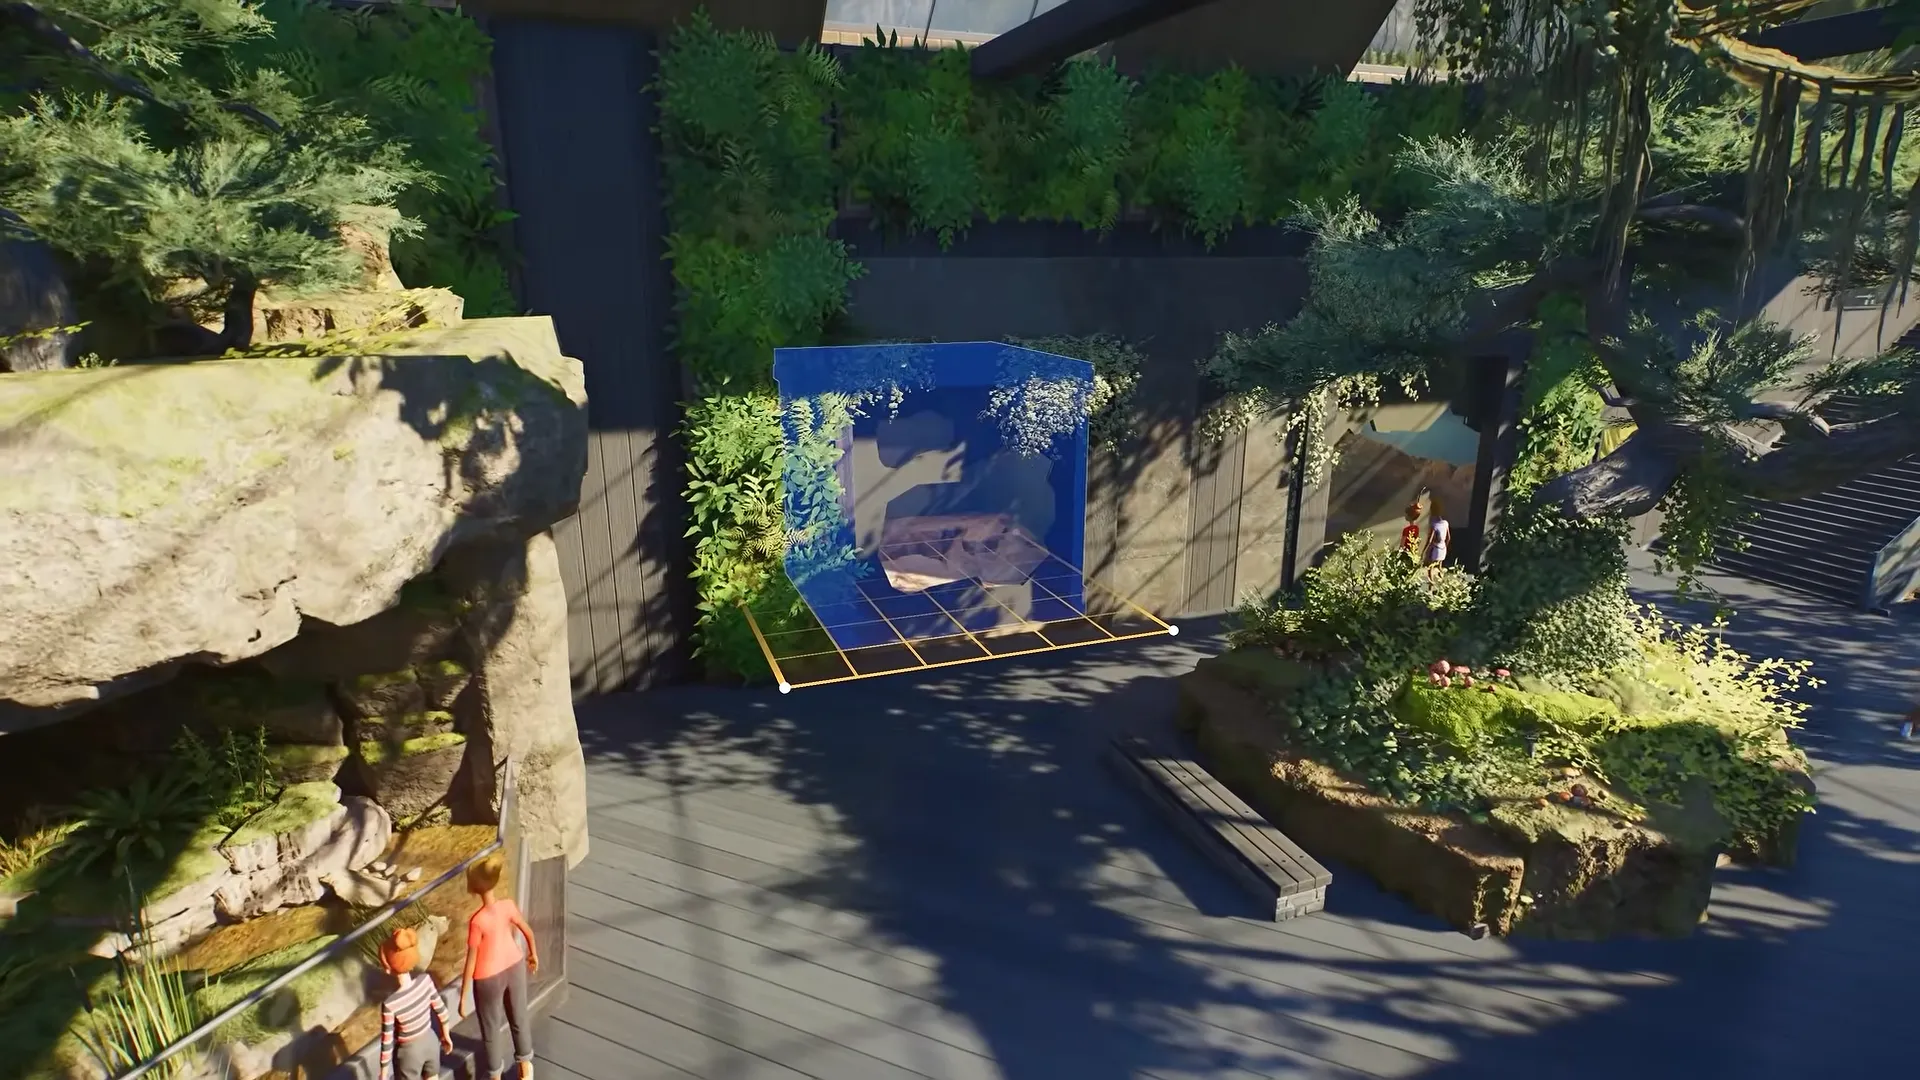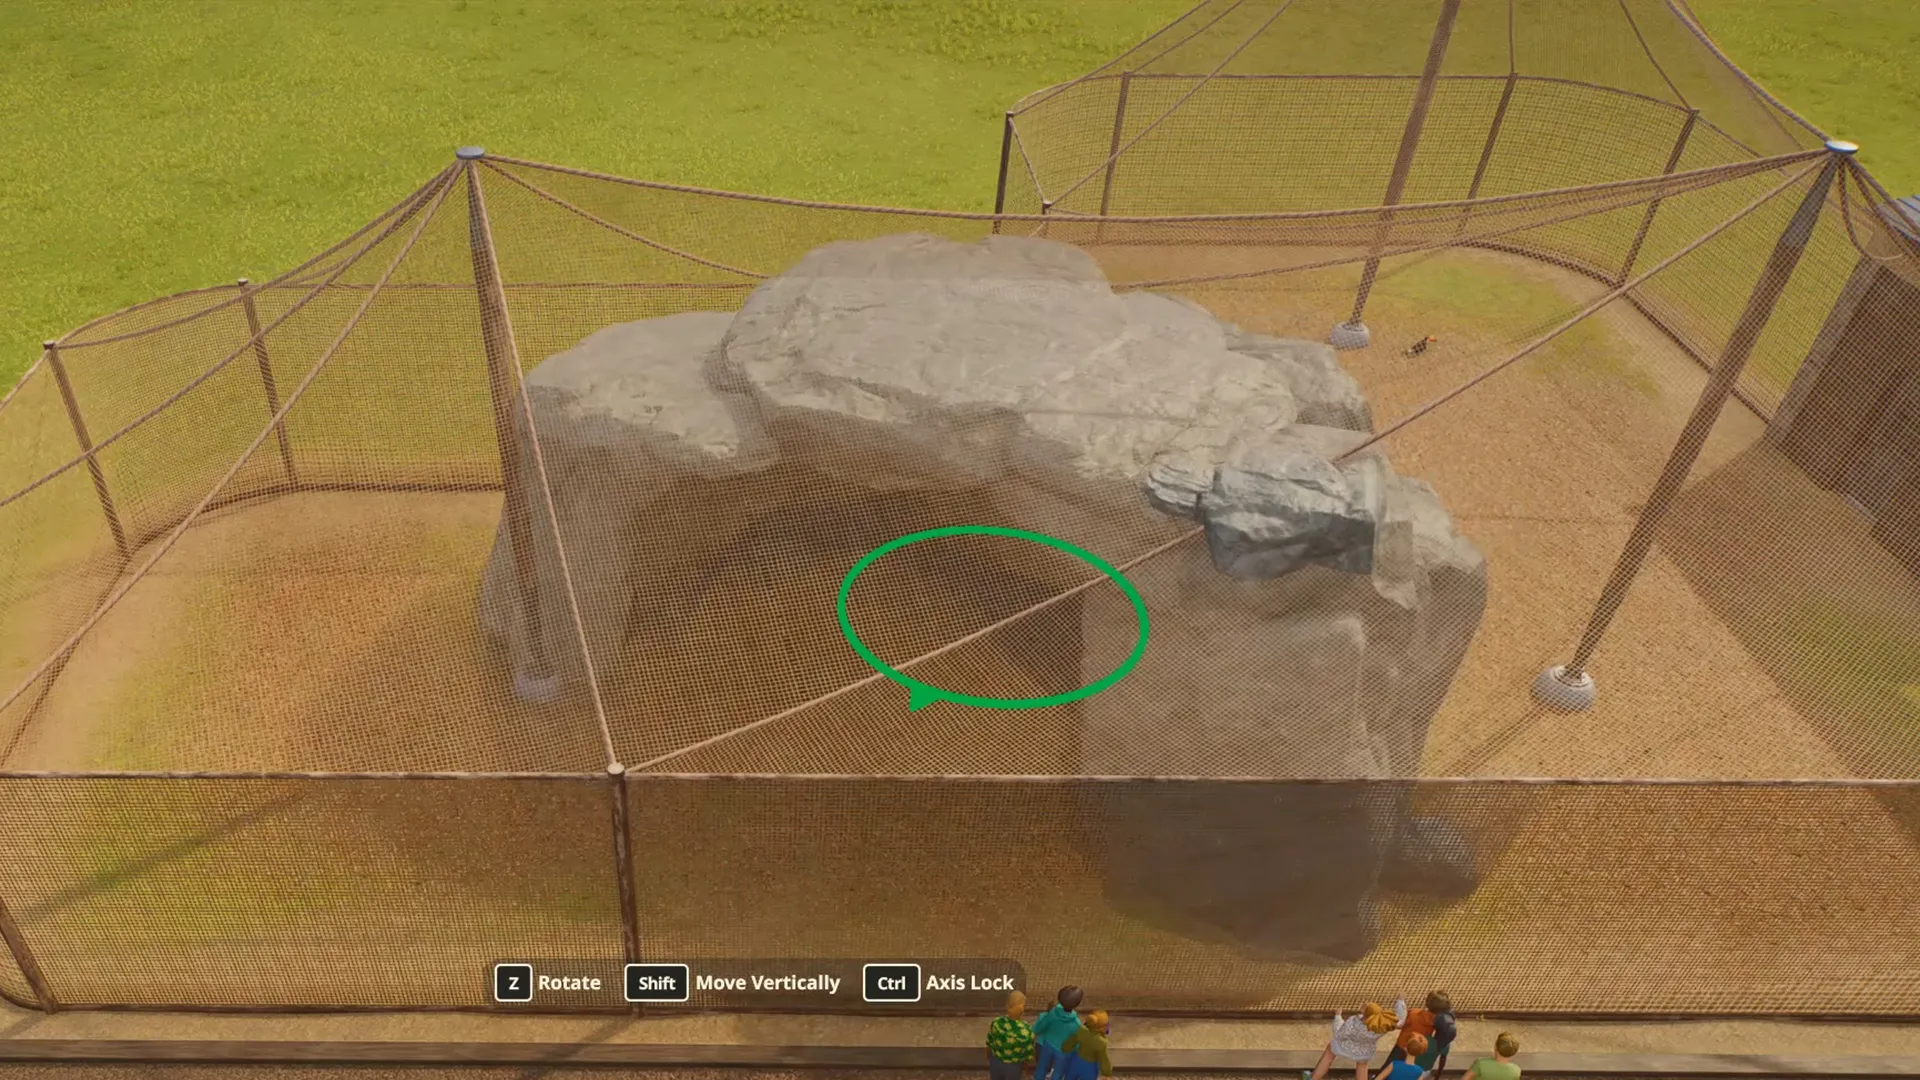


In Planet Zoo 2, almost anything with a roof counts as a shelter for your animals. You can use a premade blueprint, a Workshop download, a carved cave, or a custom roof made from rocks and wood. If you cannot find the premade Hard Shelter items from Planet Zoo 1, they are still in the game. You just need to click the Toggle Blueprints button on the right side of the Bedding, Shelters, and Nests menu and turn off the pink Essentials filter next to the bottom search bar.
What You Will Read:
Here is a quick review of all four ways to give your animals shelter in PZ2:
| Shelter Method | Menu Path & Tools | Best Use Case | Key Shortcut / Tip |
|---|---|---|---|
| Premade Blueprints & Workshop | Habitats > Bedding, Shelters, and Nests, or Blueprints > All > search “shelter” | Quick placement | Turn on Toggle Blueprints; press P to recalculate |
| Carved Caves | Terrain > Terrain Stamps & Sculpting > Chisel | Land animals | Low brush size, high intensity |
| Custom Rock & Scenery | Nature and Scenery tabs | Fully custom shelters | Press X for Advanced Move and Scale |
| Floor Pieces & Thatch | Habitats and Scenery tabs | Exact 20 m² for Toucans | One 4x4m floor piece is 16 m²; add 1 m |
Where to Find Premade Hard Shelters in Planet Zoo 2
When I first opened the Habitats tab and clicked on Bedding, Shelters, and Nests, I honestly thought Frontier had deleted premade Hard Shelter items. All I saw were Bedding, a Nest, a Burrow, and a Platform. Some players in Franchise Mode and Sandbox have hit this exact wall because the new menus hide multi-piece builds behind filters. The premade shelters are still in the game. A few menu toggles and filters just hide them.
Follow these four steps if your shelter menu looks empty or says no objects match your filter:
- 1- Turn on the Toggle Blueprints button: Inside the Bedding, Shelters, and Nests tab, click the Toggle Blueprints icon on the right side of the bottom bar. Premade shelters count as Blueprints now rather than single-piece items. I noticed an annoying bug where the game randomly turns Toggle Blueprints off right after you place one shelter or filter items from an animal’s welfare panel.
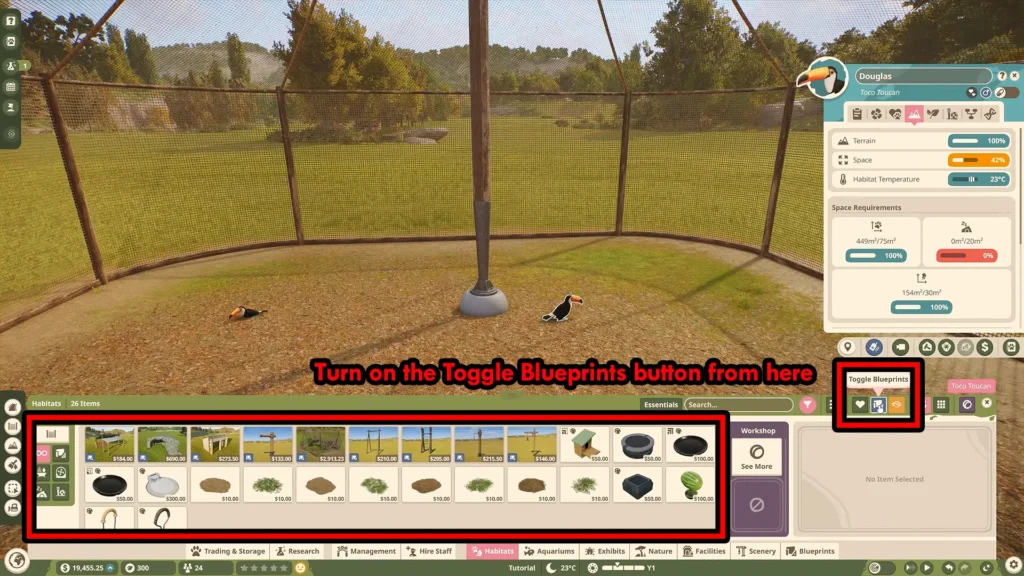
- 2- Turn off the pink Essentials filter: Look directly to the left of the bottom search bar while inside the habitat menu. If the Essentials button is glowing pink, it hides premade shelters and bare shop shells. Click Essentials to clear the pink highlight.
- 3- Clear your species filters: Click the funnel icon to reset your active tags. I once hunted for avian nests for a while before I noticed my filter was set to Land animals.
- 4- Search in Blueprints or Scenery: Open the main Blueprints tab, select All, and type shelter (or she) into the search box. You can also search shelter inside the Scenery tab to pull up around 10 premade structures that grant the shelter effect.
How to Build a Shelter in Planet Zoo 2 (4 Methods)
You can check how much cover an animal wants beforehand in the Zoopedia under the Zoo Habitat tab. Every new species you unlock through Planet Zoo 2 Accreditation brings its own shelter requirement, so it helps to check this early. I also love the new Pin Species button, which tracks your animal’s space requirements on screen while you build their enclosure.
Method 1: Place Premade Blueprints and Workshop Creations
Pre-built Blueprints are the fastest way to get a new zoo running. Open the Habitats tab with Toggle Blueprints active and filter by species, or search shelter under Blueprints > All. Press Z to snap-rotate the structure, or hold Z to spin it freely into a corner. Once you place it down, press P to unpause the simulation for a second. The game needs to tick forward before the animal’s Habitat tab updates the shelter bar. If you dislike the default Frontier designs, you can make an account and grab player-made shelters from the Workshop.
Method 2: Carve Natural Caves with Terrain Stamps and the Chisel Tool
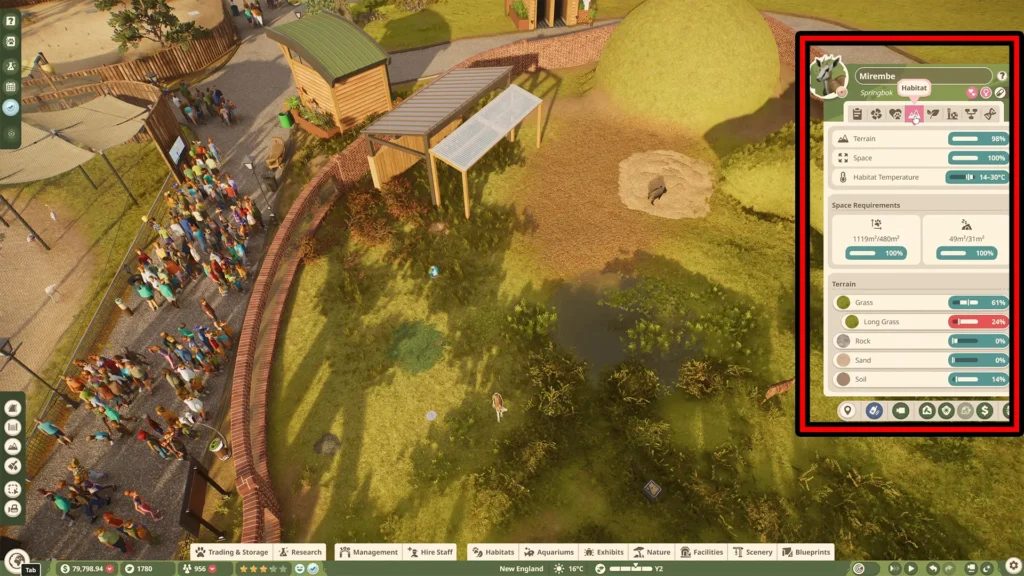
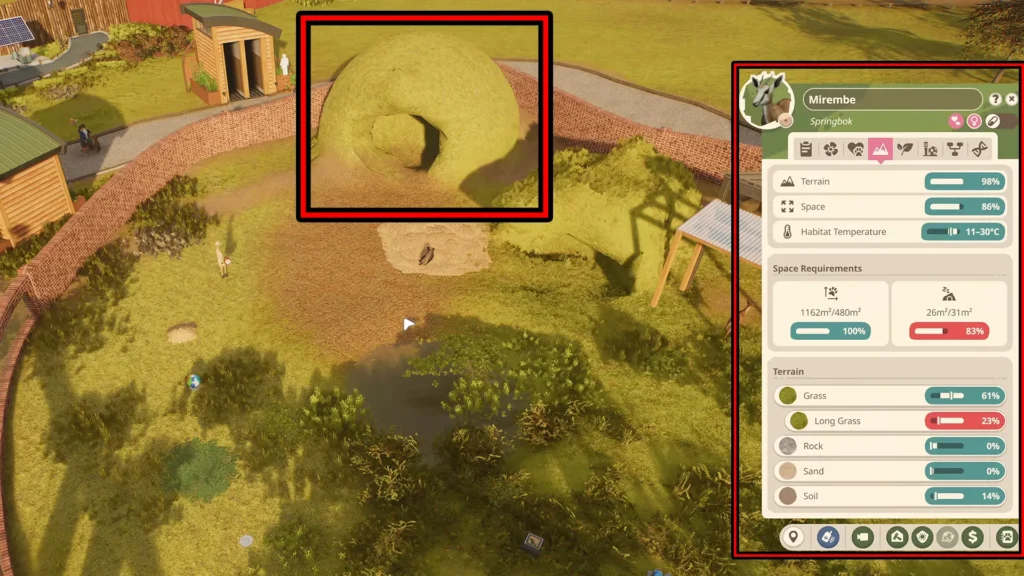
A carved cave counts as shelter too, at least for land animals like the antelope. Take an antelope that has 19 m of cover in its Terrain tab and needs 31 m to be happy. You can dig a natural rock cave right into its pasture instead.
Open the Terrain menu and pick one of the pre-built Terrain Stamps, like a circle or a square, to drop a solid mound of dirt into the habitat. Next, switch to the Sculpting tools. The Pull brush works well for ledges, while the Chisel tool digs straight into the side of the mound. I keep the Chisel brush at a low size and crank up the intensity so it carves fast without making a massive hole. My first cave looked pretty ugly, but it pushed that antelope’s shelter meter from 19 m to 26 m right away.
Method 3: Construct Custom Rock and Scenery Shelters
Almost any structure with a roof counts toward your shelter total in Planet Zoo 2. You could float flat boulders in mid-air over an animal and the game would accept it. I was a bit sad to see that the old Zookeeper beams from PZ1 were scrapped, since those used to be my go-to shelter pieces. Thankfully, the upgraded wood pieces in Scenery and the new rocks in the Nature tab make custom builds much easier.
Open the Nature tab and grab a square boulder. Press X to bring up the Advanced Move axes, or press X a second time to flip and rotate the rock. Press X a third time to open the new Scale tool and stretch the boulder into a wall. Duplicate that wall with Ctrl + D (or Ctrl + X to keep it aligned) and flip another flat rock on top to form a roof. That rough stone shelter boosted our antelope’s cover to 42 m.
Here are the four main controls you need for custom builds:
| Action / Tool | Keyboard Shortcut | How It Works in Planet Zoo 2 |
|---|---|---|
| Advanced Move & Scale Tool | X key (press repeatedly) | First press moves along axes; second and third presses switch to rotation and the Scale slider. |
| Duplicate Objects | Ctrl + D or Ctrl + X | Ctrl + D duplicates in free-form mode; Ctrl + X duplicates inside Advanced Move to stay aligned. |
| Vertical Height & Spin | Shift key & Z key | Hold Shift to raise or lower an item; press Z to snap-rotate or hold Z for free rotation. |
| Undo & Demolish | Ctrl + Z & Delete key | Press Ctrl + Z to undo a mistake, or hit Delete to open the Demolish brush. |
Method 4: Combine Floor Pieces and Thatch for Exact Square Meters
Default blueprints often look way too bulky inside a compact enclosure. You can hit an exact shelter target with basic math and parts from the Habitats and Scenery tabs. One 4x4m floor piece gives you 16 square meters of space. If your species requires 20 square meters of shelter, place one 4x4m floor piece and add an extra meter onto the edge. Cover the frame with Thatch roof pieces and wooden sticks, then slide it into the back corner of the habitat.
How to Save Your Custom Shelter as a Blueprint
Once you build a shelter you actually like, save it so you never have to build it piece by piece again. I always build my custom shelters offsite in an empty patch of grass away from active enclosures. If you build inside a finished habitat, the selector grabs nearby trees and rocks from the same category, which is a pain to clean up.
Follow these four steps to turn your custom shelter into a blueprint:
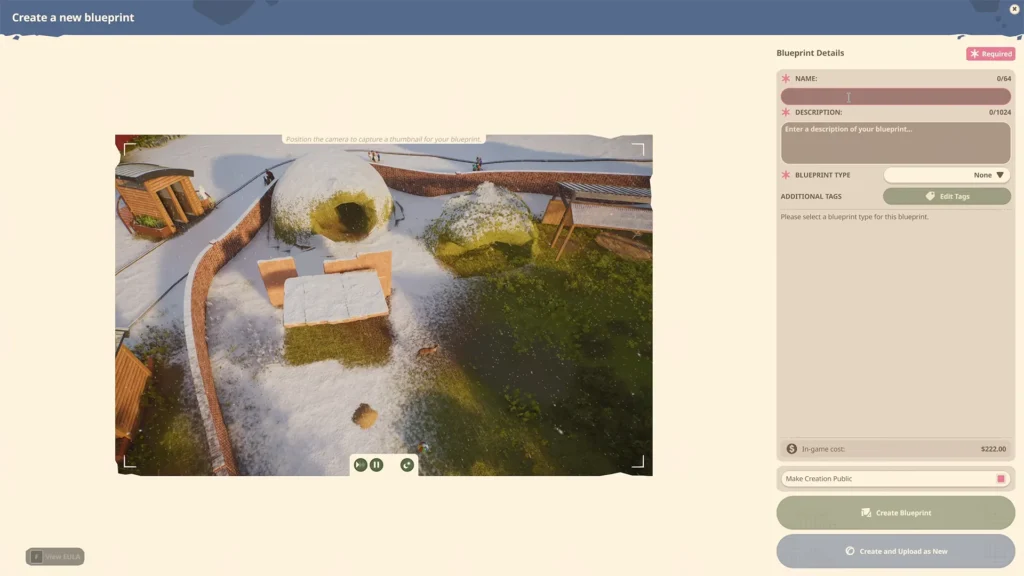
- Select the structure: Click the Multi-select tool on the bottom toolbar and drag a box around all the pieces of your shelter.
- Open the blueprint creator: Click the Save Blueprint button on the selection panel and choose New Blueprint.
- Fill in the details: Type in a title and description, then pick a category tag such as Habitat or Scenery.
- Access your saved design: Confirm the prompt, then open Blueprints and click My Blueprints whenever you want to place copies in future habitats.
How to Fix the Toucan Shelter Not Registering in Aviaries
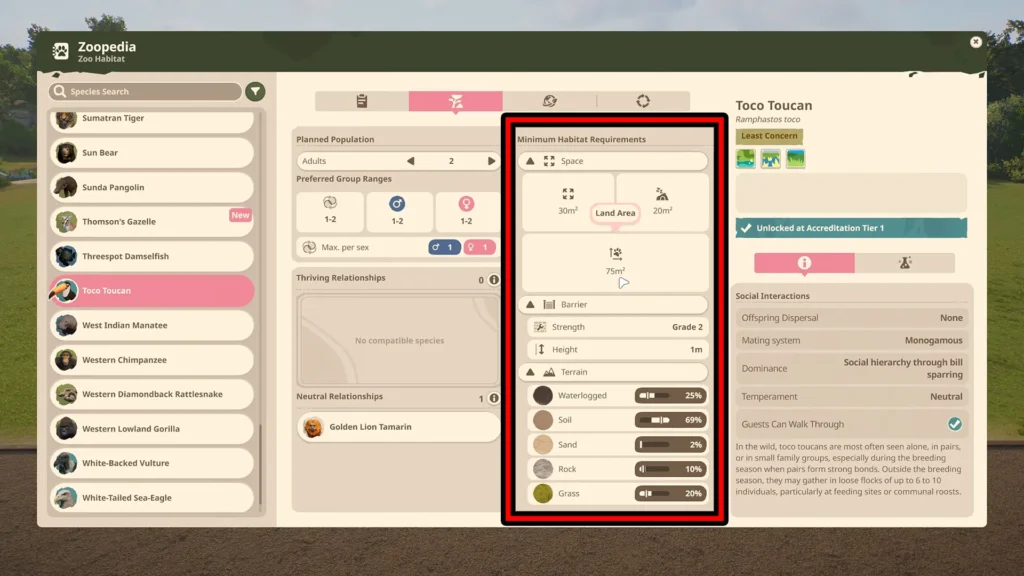
My biggest headache in early Franchise Mode was getting a shelter to register for Toco Toucans inside an Aviary. According to the Zoopedia, two Toucans require a grade 2 strength barrier taller than 1 meter, a roof, 75 m² of land area, 30 m² of flying area, and 20 m² of shelter space. Many of us tried trees and Nest boxes, and some built a big PZ1-style stone shelter. Nothing registered as shelter, and one player saw it jump to 11% and drop straight back to 1%.
Use these four fixes if your Toucans have low shelter welfare:
- Place Constructed Shelter, Medium or a sunken Rock Shelter: Search she in Blueprints and place Constructed Shelter, Medium, which registers properly as Navigable Shelter Area. You can also filter the Habitats tab by Toucans with Toggle Blueprints enabled to grab a premade Rock Shelter, then press X to sink it slightly into the ground against a roof post. Avoid using the Scale slider on multi-piece blueprints, or the individual rocks will warp out of place.
- Use the East Asia Terracotta Roof – Cone pole trick: Ground shelters look huge and awkward next to tiny birds. Open the Scenery tab, attach the East Asia Terracotta Roof – Cone halfway up an aviary roof support pole, and enlarge it with the Scale tool. Next, search Round in Scenery and place a smaller circular platform or Perch on the pole right under that cone roof.
- Build a 20 square meters Thatch shelter with Perch points: Toucans can perch on almost any surface, including rocks and custom ropes stretched between sticks. Combine a 4x4m floor piece (16 square meters) with an extra meter of Thatch roof at the back of the enclosure, then slot Perch points and sticks underneath. A Cavity Nest (Medium Nest) is a nesting site for breeding. Players also found that Nest boxes did not count as shelter.
- Check Heat Maps (H key) for blocked areas: Keepers and animals both need to reach every part of the habitat. Press H, open Heat Maps and pick the Habitat view. Check Animal Traversable Area and Staff Traversable Area. If a rock or post cuts off a section, nudge it to open a walkway and hit P so the game recalculates.

Planet Zoo 2