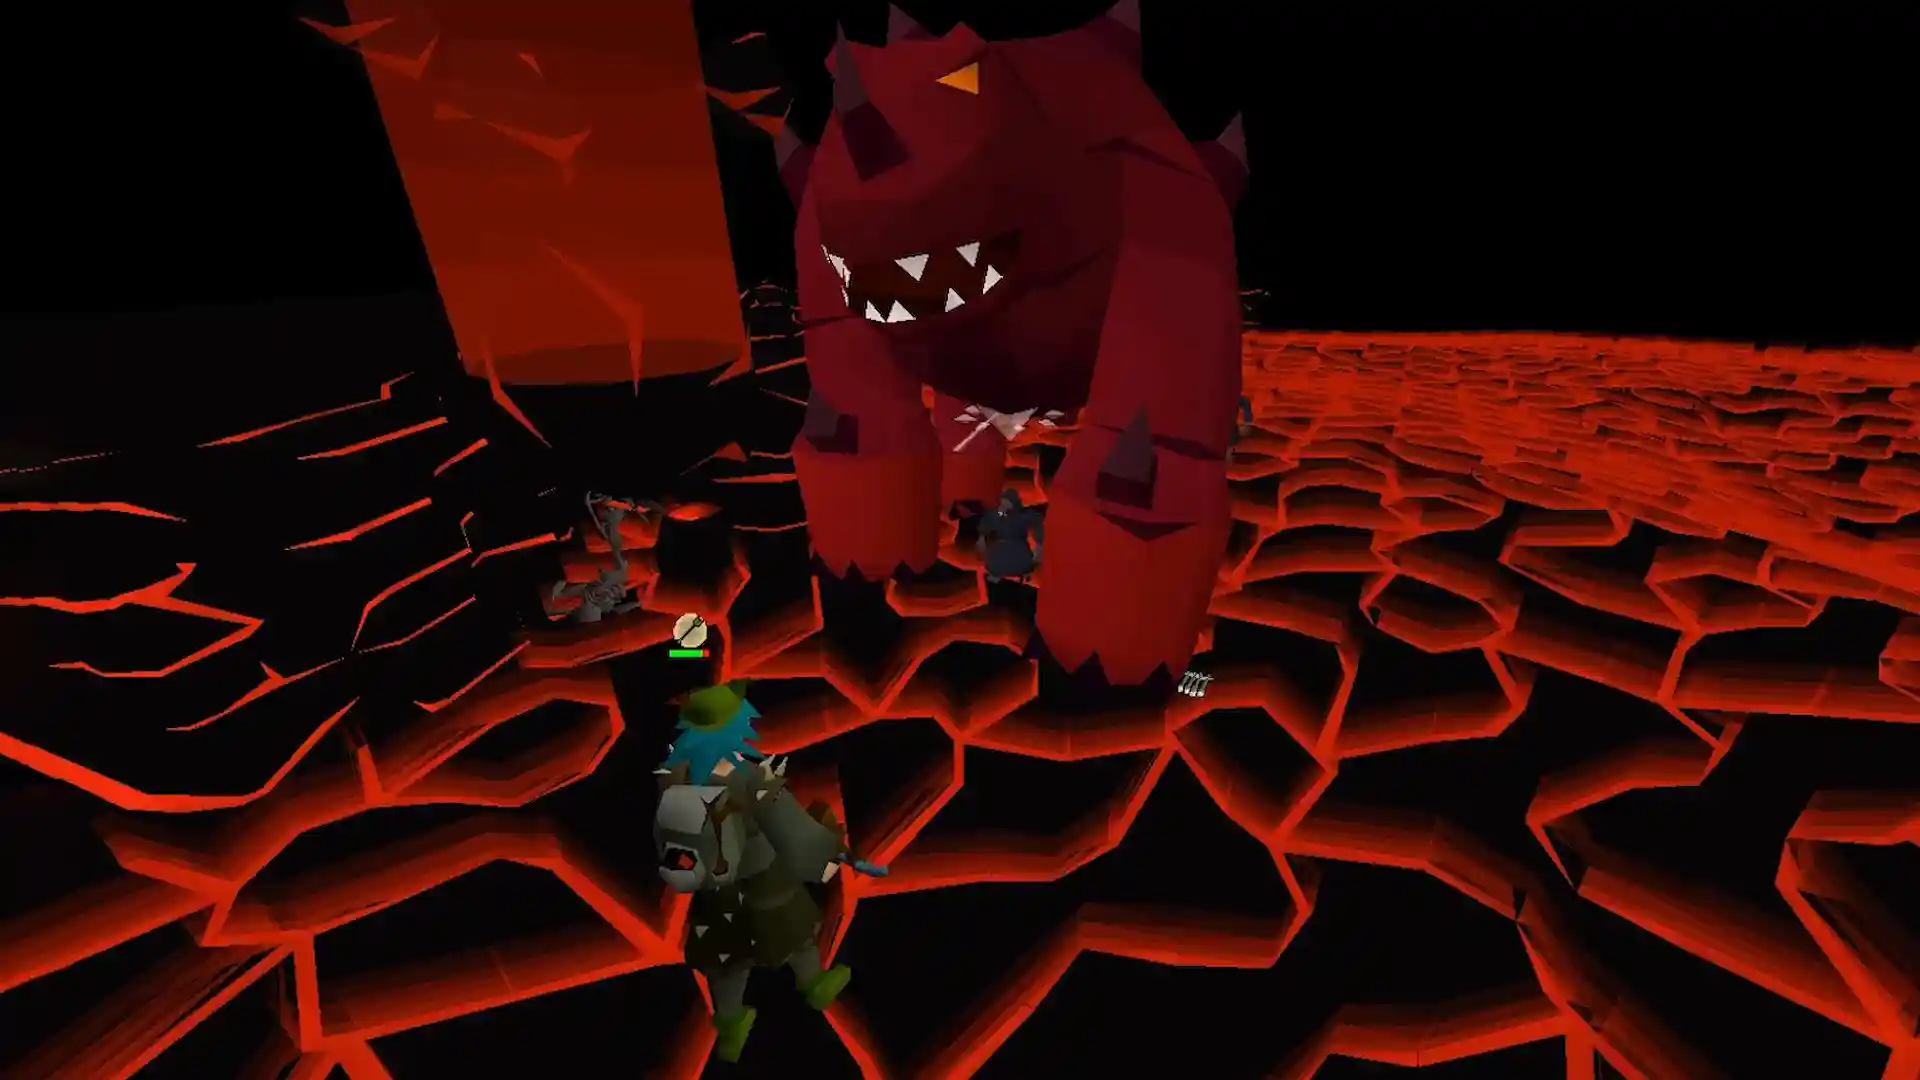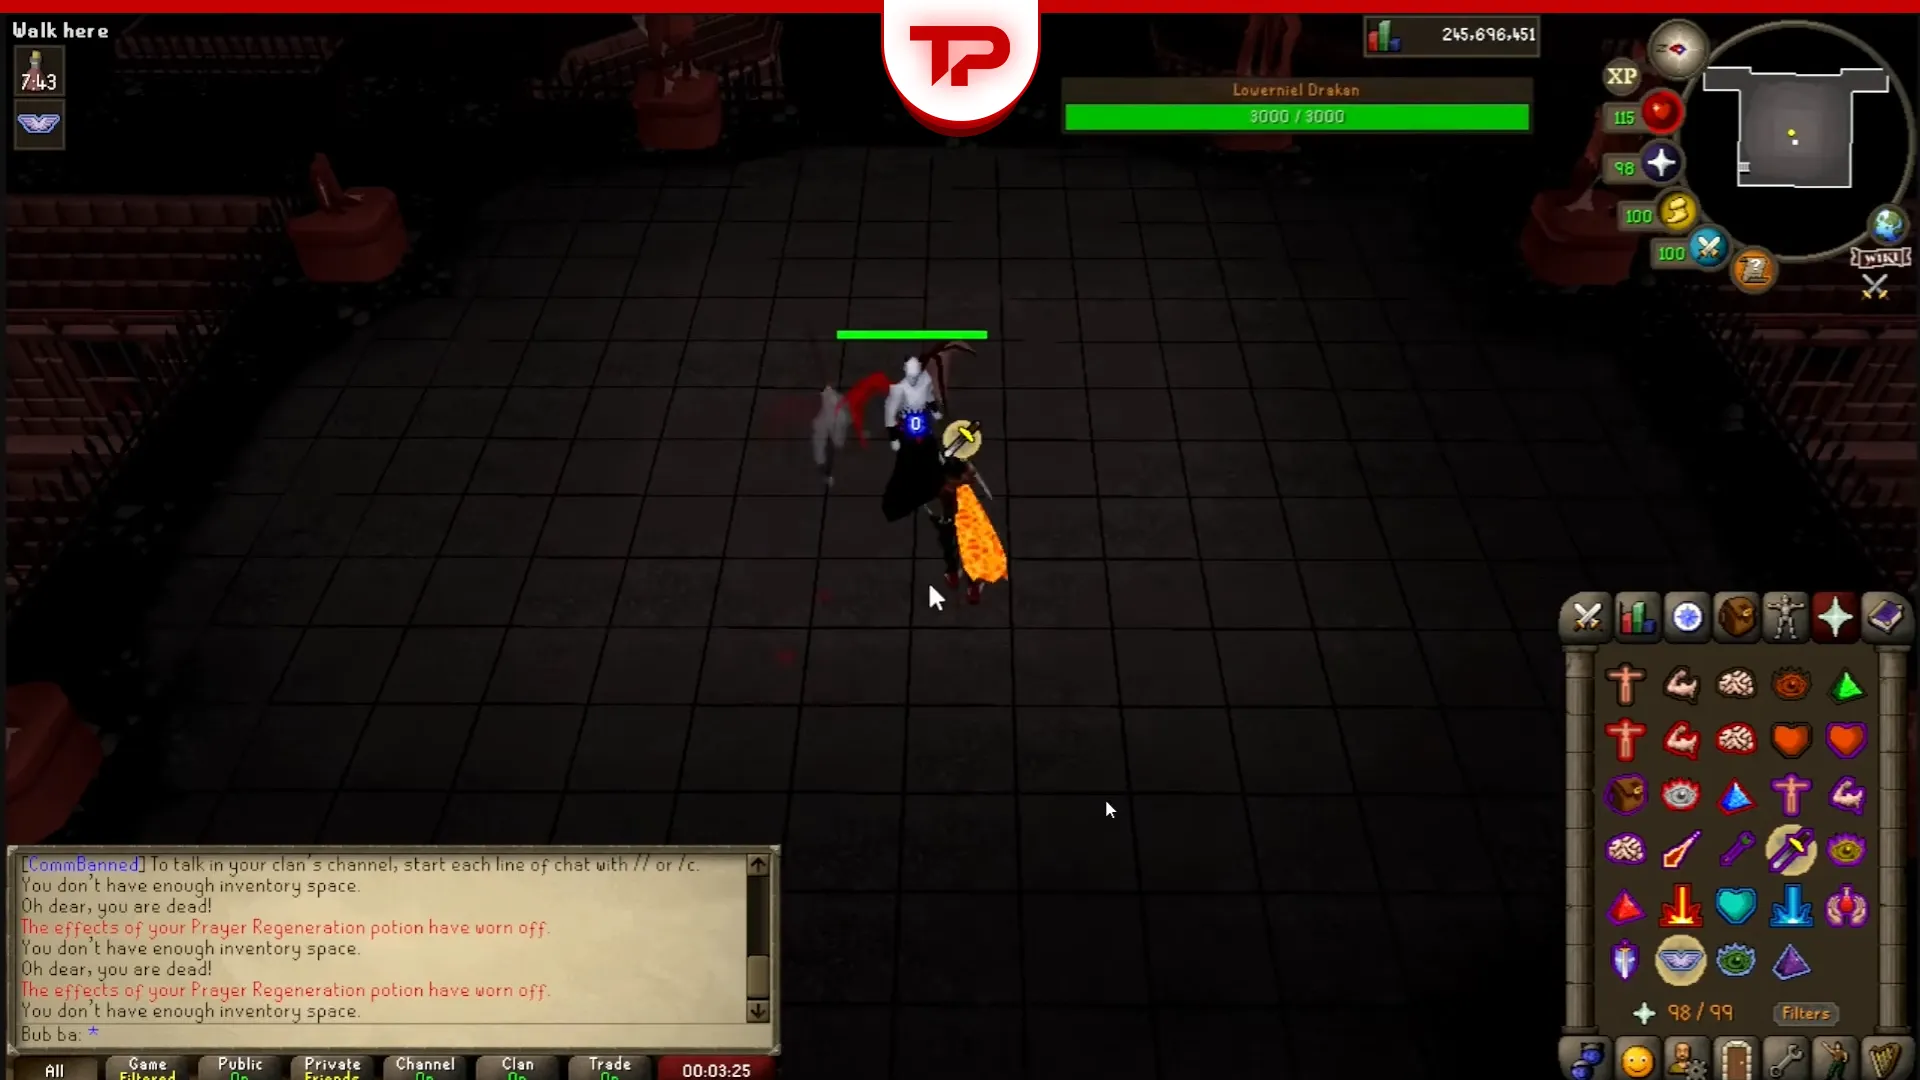


Facing Lowerniel Drakan (in Vampyrium realm and Myreque questline), the OSRS Blood Moon Rises final boss, may be hard for some players. This encounter will thoroughly test your movement and prayer-switching reflexes. It took me several attempts across all three phases before it clicked.
If you haven’t made it to the final boss fight yet, you will need to get past his mutated demi-boss form first. Make sure to check out our complete OSRS Wyrd Boss Guide to clear that hurdle so you can face Drakan.
The fight of Lowerniel Drakan is heavily focused on precise movement and rapid prayer-switching. Here is the quick rundown to survive the encounter:
- Required Loadout: Equip a Flail (Blisterwood or Hallowed) and an Efaritay’s aid ring. Stock up on quest-specific Rancid slimy potions and a Jar of congealed blood.
- Phase 1 (Movement): Dodge directional strikes by stepping backward in the opposite direction. Step directly into the boss during his AoE ring attacks.
- Phase 2 (Waves & Spikes): Move strictly in cardinal lines to skip over blood waves. Immediately pray Protect from Magic right after to survive his one-shot magic spikes.
- Phase 3 (Hazards & Burn): Avoid floor hazards to keep your prayers active. Leave Protect from Melee on, face-tank the rapid damage and spam heals to finish him off.
This Guide Covers:
Setup and Preparation: Flail, Powerful Ring and Potions
If you leave the arena, the fight resets. Come fully prepared before triggering it.
Weapon & Armor: Equip your maximum melee strength setup. A flail is required for this fight. The Blisterwood Flail functions as a crush weapon, whereas the Hallowed Flail relies on slash, so adjust your armor bonuses accordingly. Believe me, you don’t need best-in-slot gear. A Fighter Torso and Blood Moon legs are completely viable.
Essential Gear: Make sure you bring an Efaritay’s aid (a silver ring with a red topaz).
Quest-Specific Potions: Take advantage of the special potions provided during the quest. For example, bring “Rancid slimy potions” instead of normal Saradomin Brews. They only drain a single combat stat by exactly one level, making them incredibly overpowered.
Jar of congealed blood: Bring Jar of congealed blood. This functions exactly like an Ambrosia from the Tombs of Amascut, completely restoring your health and stats in an emergency.
Pre-Potting: Before triggering the boss, drink your quest brews to heal and consume a restore potion. It grants you passive prayer regeneration throughout the encounter.

Best Gear to Face Lord Drakan
Use the provided items to be fully prepared to face Blood Moon Rises boss:
| Slot | Gear |
|---|---|
| Gloves | Ferocious gloves |
| Ring | Ultor ring |
| Chest | Oathplate chest |
| Shield | Avernic defender |
| Helmet | Oathplate helm |
| Boots | Avernic treads (max) |
| Weapon | Hallowed flail |
| Neck | Amulet of rancour |
| Legs | Oathplate legs |
| Cape | Infernal cape |
| Ammo | Rada’s blessing 4 |
Lord Drakan Strategy: A Complete Blood Moon Rises OSRS Boss Guide
In order to defeat Drakan, you should pass three distinct visual phases. Here is how to handle each execution loop.
Phase 1: Core Mechanics and Dodging
This phase is the foundation of the whole fight. Get comfortable here before worrying about anything else.
The foundation of the entire battle revolves around dodging Drakan’s relentless strikes. The boss will flash red (accompanied by a popping sound) and swipe at you using blood magic or his spear. You must mirror his movements by stepping one tile backward in the opposite direction.
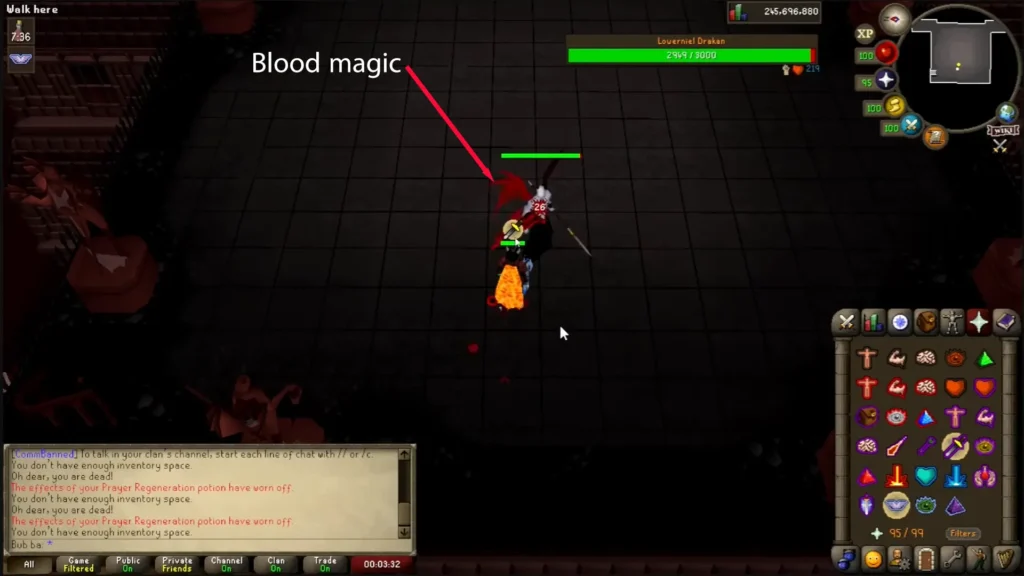
If he strikes from the left, you dodge backward to the right. This strategy was really helpful and helped me to bypass attacks on my second try.
When Drakan rapidly absorbs blood energy into his body, a massive area-of-effect (AoE) ring attack is coming. Instead of backing away, click directly onto the boss to move forward into him. This is often chained together with standard directional jabs.
If he pulls his spear straight back to stab, he will deal damage in a straight line in front of and behind his body. Simply sidestep to his left or right.
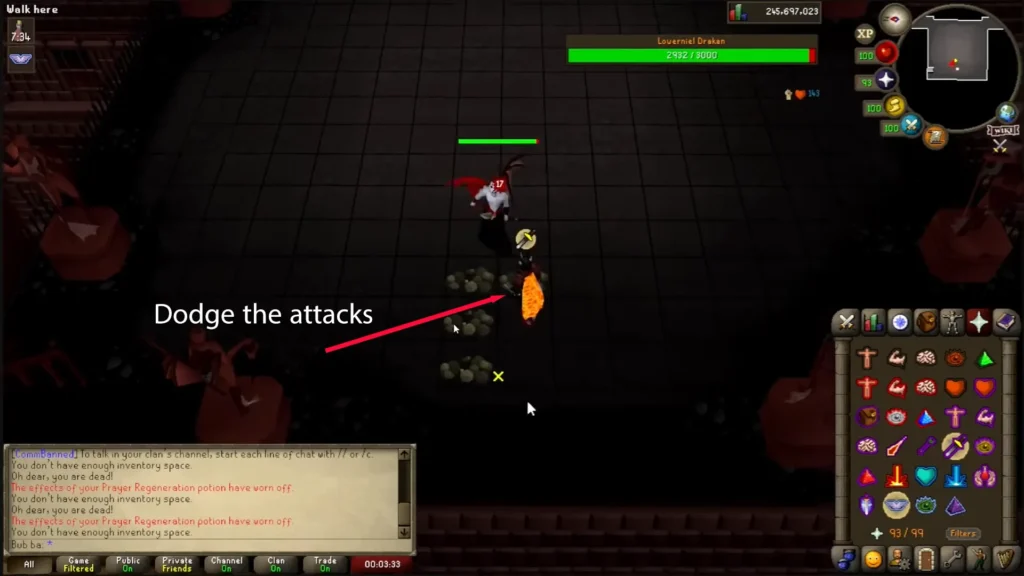
If he curls the spear around his body, he is preparing a massive sweeping arc that damages everything except the area directly behind him. To avoid this, run entirely behind the boss.
Phase 2: The Blood Waves
Once the OSRS Blood Moon Rises final boss drops to around 70% health (roughly 2,000 HP), he will disappear and summon blood portals.
First, move toward the bottom left of the arena. Wait until an incoming wave is about two tiles away from your character, then click past it to skip over it. Only move in straight, cardinal lines diagonal movements will cause you to take damage.
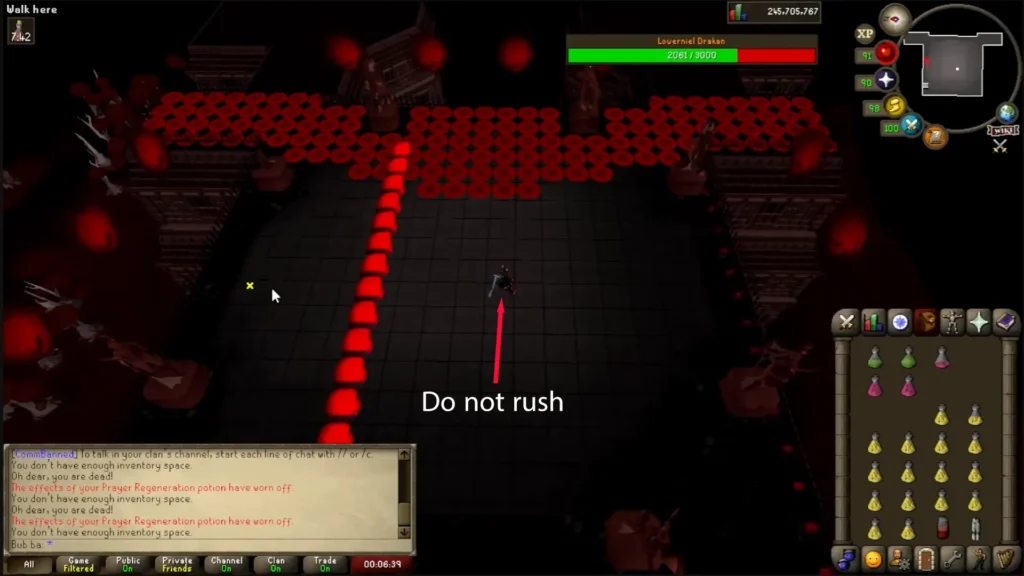
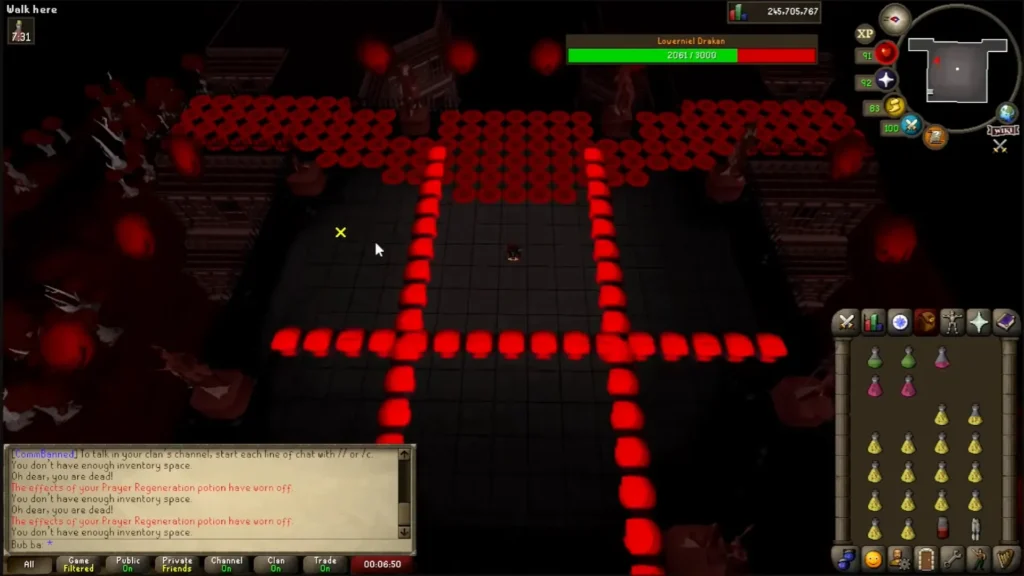
Immediately after the wave phase ends, Drakan will reappear and draw his own blood to fire four giant magic spikes. You must immediately activate Protect from Magic. This is the only true one-shot mechanic in the fight. Failing to pray magic will result in instant death.
After the magic attack hits, swap back to Protect from Melee. Drakan will initiate a rapid chain of standard jabs.
If you dodge all of them perfectly, you will strike him for a massive damage. If you fail a dodge, you will be forced to repeat the blood wave phase.
Pro Tip: The magic spikes in Phase 2 are a one-shot mechanic. Always keep your mouse cursor hovering over the Protect from Magic prayer icon during this transition!
Phase 3: Lightning and Blood Pools
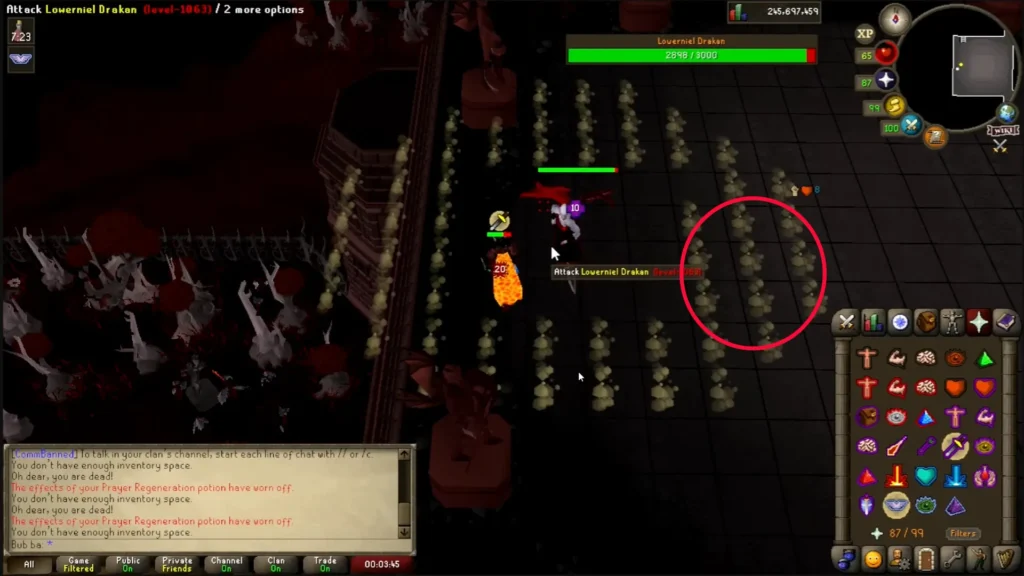
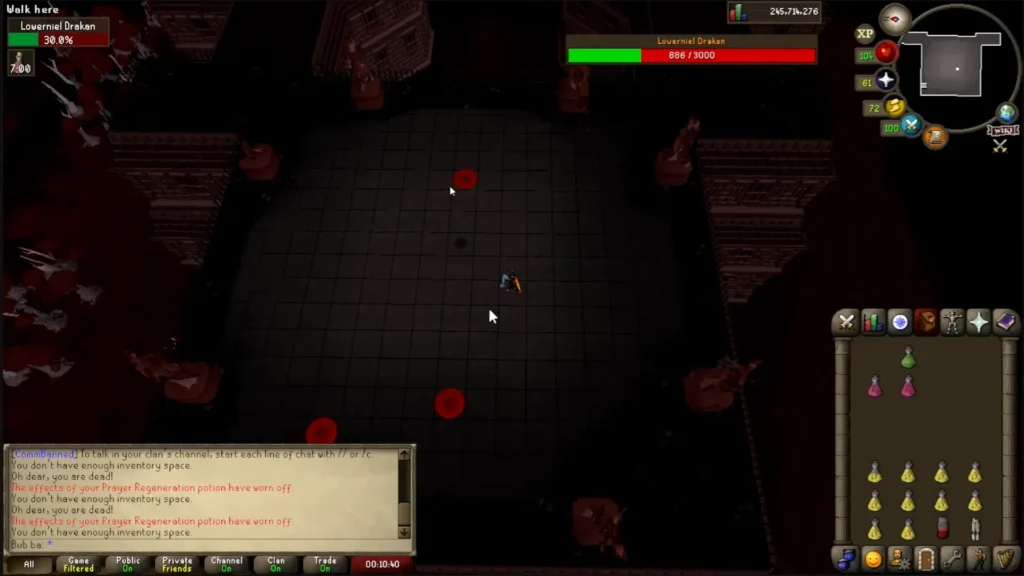
Pay close attention: As his health gets lower, lightning strikes will begin spawning hazardous pools of blood on the floor.
Never step into the dark shadows or blood splats. If you do, it will immediately turn off your protection prayers and rapidly damage you for around 20 health per game tick.
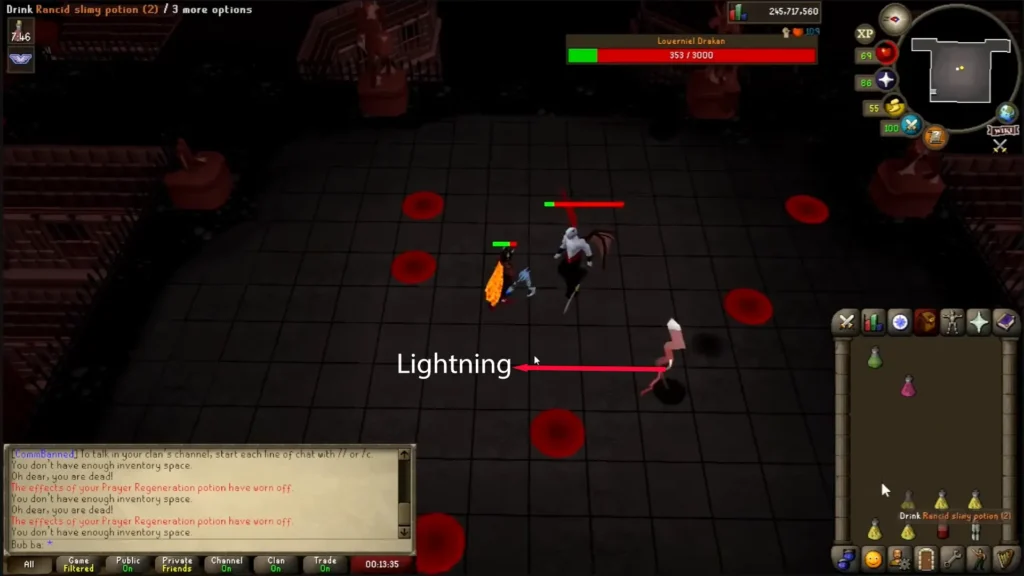
During this sequence, Drakan will dart across the room and launch attacks from the cardinal directions. Wait for his footsteps to stop, then run in a straight line in the opposite/perpendicular direction at least three tiles away. (For example, if he attacks from the north, run east or west).
When he re-enters the arena, immediately pray Protect from Magic to catch his follow-up spell.
Final Round: How the Fight Ends
Now you are close to the ending and maybe exhausted as I was. When the boss reaches roughly 10% HP, the fight transitions into a hyper-fast version of the previous mechanics.
Because the quest brews barely drain your combat stats, you can spam them relentlessly to out-heal his rapid damage output.
While you can face-tank the standard hits, you must still maneuver around the room to avoid getting pushed into the blood pools. You may ask why? Because losing your prayer will get you killed. If things get dicey, drink your Jar of congealed blood for a full heal. Lastly, I think now you’re ready for some Maggot King strategies to beat this boss, too.