

Kingdom Rush 6: Genesis has six boss fights in its 18-stage campaign, and none of them play the same. Trust me, none of them have similar strategies. But don’t worry. They are not as scary as they look, even though some of them look really mean. Anyway, here’s all Kingdom Rush 6 Genesis bosses explained and what actually wrecks you if you get greedy in the boss fights.
What You’ll Read:
Kingdom Rush 6 Genesis All Bosses Quick Overview
Here are all the bosses you will deal with in KR6 Genesis at a glance:
| Boss | Stage | Normal HP | Defining Mechanic |
|---|---|---|---|
| Gor’Thok | 8 (Fortress of Acaroth) | 7,200 | Unblockable war cart, then fights on foot with an army-buffing war cry |
| J.T. | 10 (Abominable Lair) | 8,400 | Eats units in melee range; freezes towers and drops icicles |
| Sarelgaz | 11 (Frostbite Nest) | 9,000 | 76% magic resist; leaps away twice, each phase adding tougher spiders |
| Moglok-Hai | 13 (Stormcloud Halls) | 10,500 | 98% armor/magic resist while shielded; only the Sunray Tower breaks it |
| Lord Blackburn | 15 (Castle Blackburn) | 11,000 | 60% armor, no magic resist; ground slam stuns nearby towers |
| Vez’nan | 18 (Vez’nan’s Tower) | 6,666 → 6,999 on reveal | Fights as 3 copies; the real one heals, locks towers, drains souls |
Note: Values are for Normal difficulty. Every boss scales up on Veteran and Impossible. Exact numbers are in each section below.
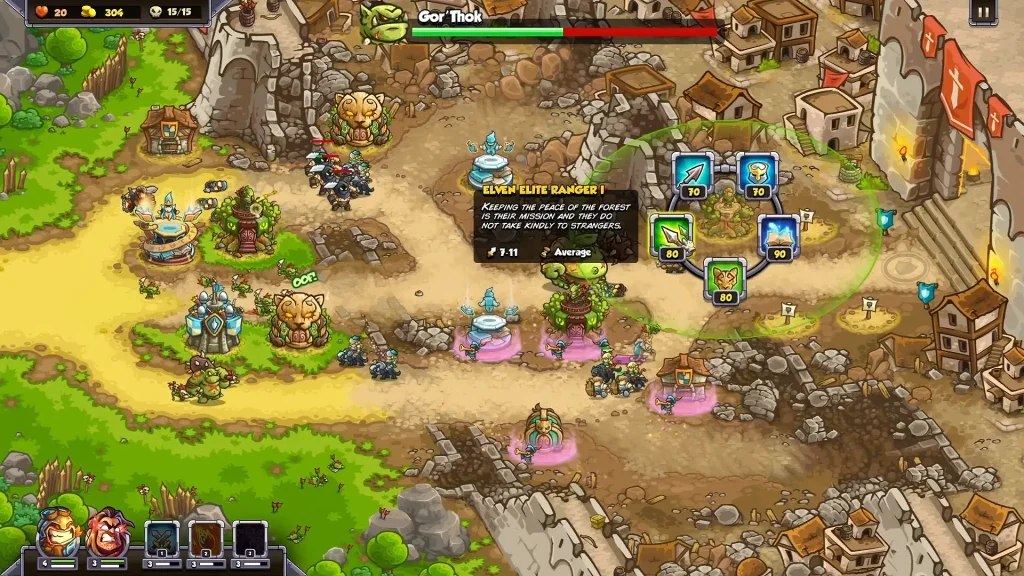
Gor’Thok Boss Fight: Stage 8, Fortress of Acaroth
Gor’Thok is the first in line among the Genesis bosses, and he fights dirty. He rides a war cart that can’t be blocked, and once he drops to 70% HP or below, he charges forward, completely untargetable. Annoying, but temporary. The cart explodes and throws him back, which makes him a normal melee target again.
On foot, he hits for 120-160 in a wide radius and, every 15 seconds, lets out a war cry that stuns everything nearby and pumps the surrounding orcs and ogres to 2x damage. That’s the real threat: not Gor’Thok, but what he buffs.
HP: 5,600 (Casual) / 7,200 (Normal) / 8,000 (Veteran) / 13,000 (Impossible). No armor, no magic resistance.
Keep your rear blockers alive through the charge, then use the fortress catapult on the orc groups he’s about to juice. Killing the horde before the war cry lands matters more than raw DPS on Gor’Thok.
J.T. Boss Fight: Stage 10, Abominable Lair
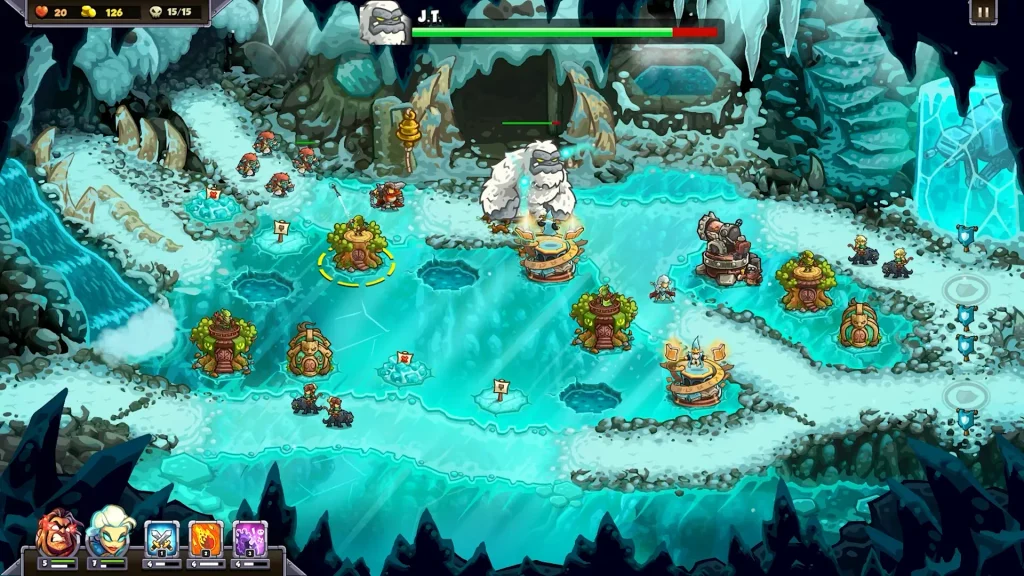
J.T. shows up with a nastier version of Gor’Thok’s crowd-control problem: instead of buffing enemies, he just eats your units. Every second, anything within his melee range gets swallowed like orange juice.
Every 20 seconds, he freezes up to four towers for 15 seconds. You can tap a frozen tower five times to break it early. Right after freezing, he stands still for three seconds, which is your best damage window. Each freeze also drops icicle clusters that hit both sides, so don’t stack units directly under him.
HP: 6,700 (Casual) / 8,400 (Normal) / 9,500 (Veteran) / 11,000 (Impossible). No armor, no magic resistance.
Stabilize your lanes before he arrives. This fight punishes shaky defenses more than low DPS. Save a big spell for the freeze window if you’re light on damage.
Sarelgaz Boss Fight: Stage 11, Frostbite Nest
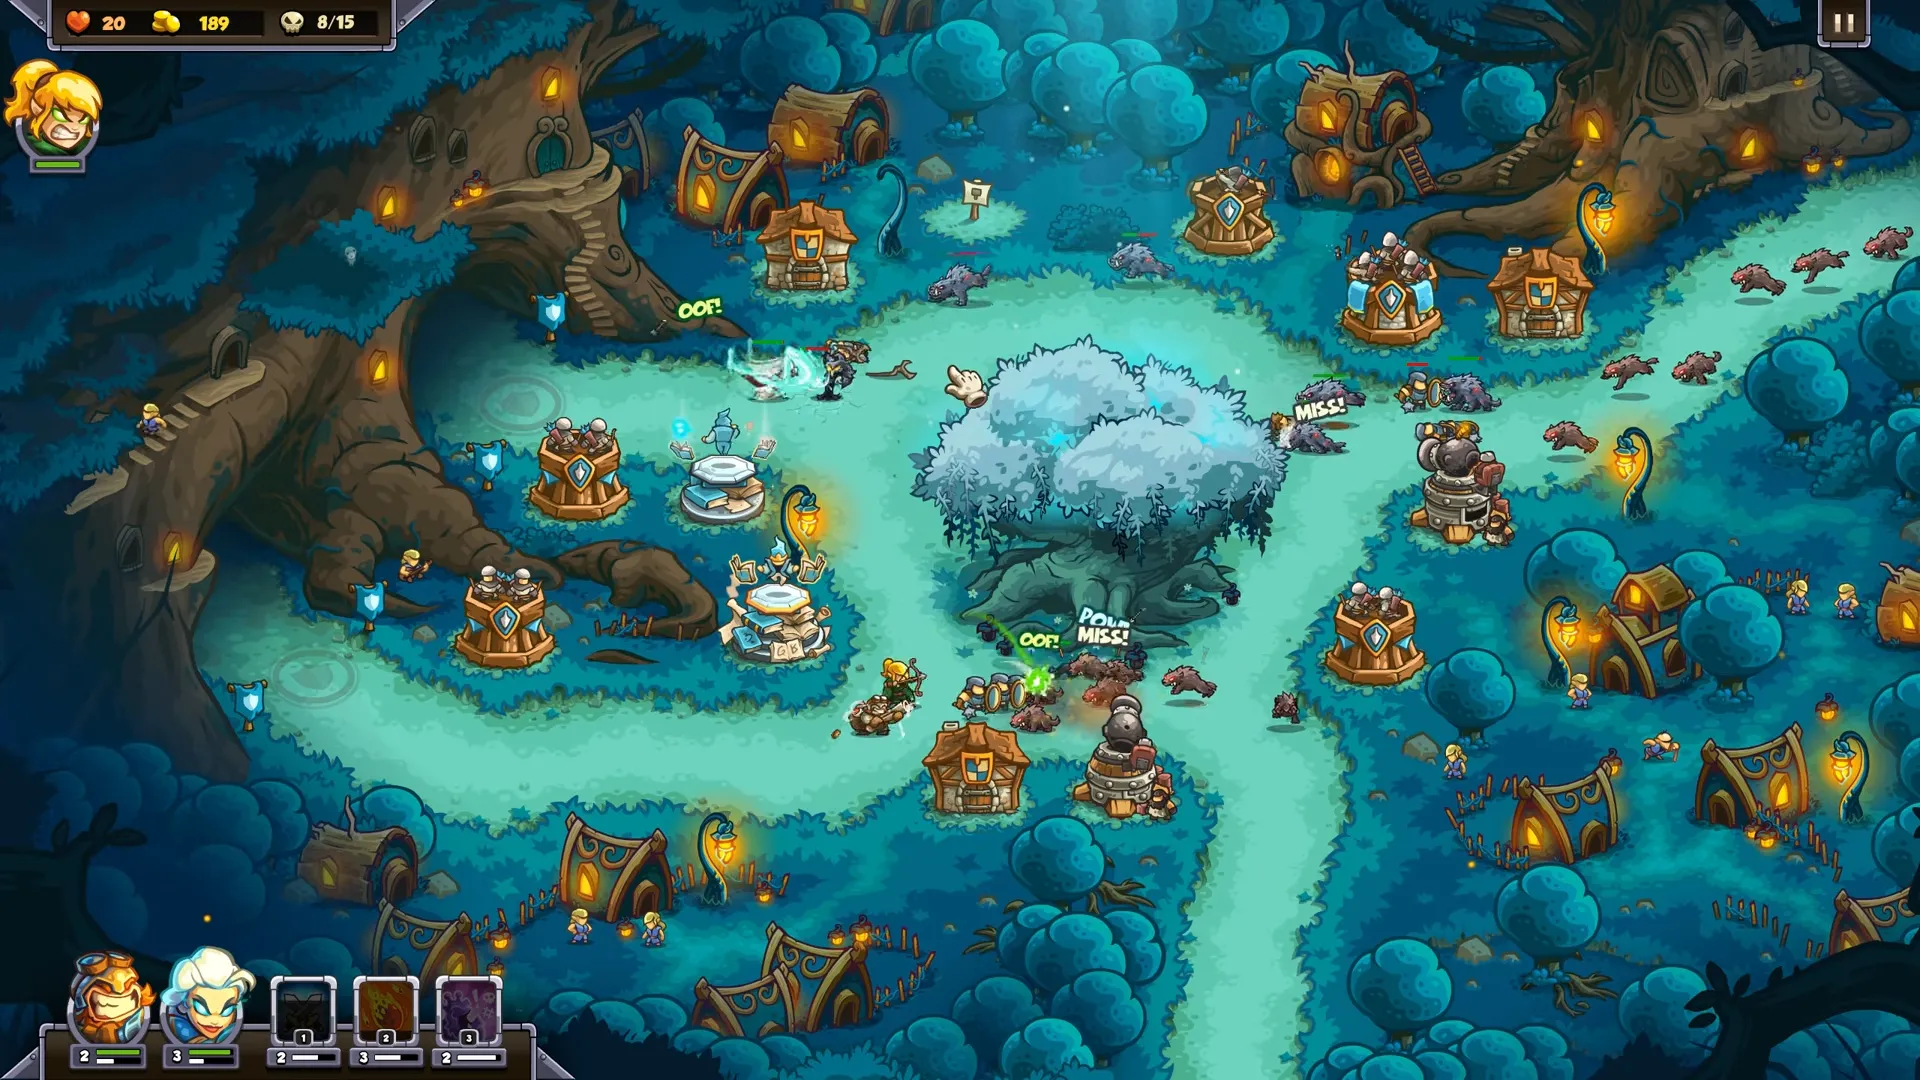
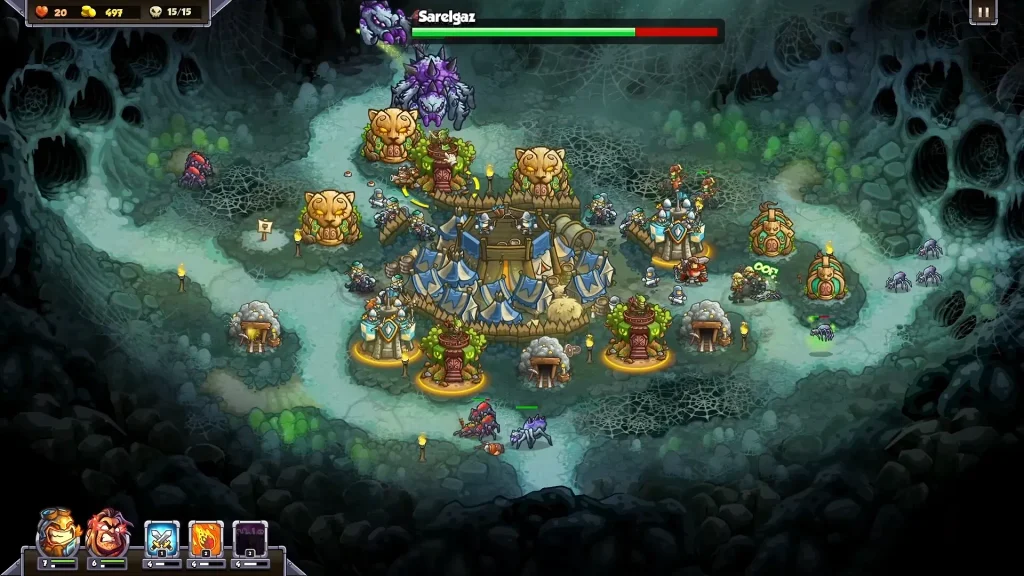
I will be honest with you, Sarelgaz feels unblockable. She’s fast, and the stage’s webs speed her up another 25% while slowing your units, which is probably where the confusion comes from.
She eats units every 4 seconds, then leaves the field entirely at 75% and 45% HP, hiding her health bar while a new wave of spiders spawns. Phase two brings Sons of Sarelgaz; phase three adds Spider Matriarchs. She’s also got 76% magic resistance, so magic towers underperform here specifically.
HP: 7,700 (Casual) / 9,000 (Normal) / 11,000 (Veteran) / 12,000 (Impossible).
Invest in anti-air early since the battlefield reveals itself gradually, and don’t sell your lane control just to chase boss damage. The spider waves will punish it.
Moglok-Hai Boss Fight: Stage 13, Stormcloud Halls
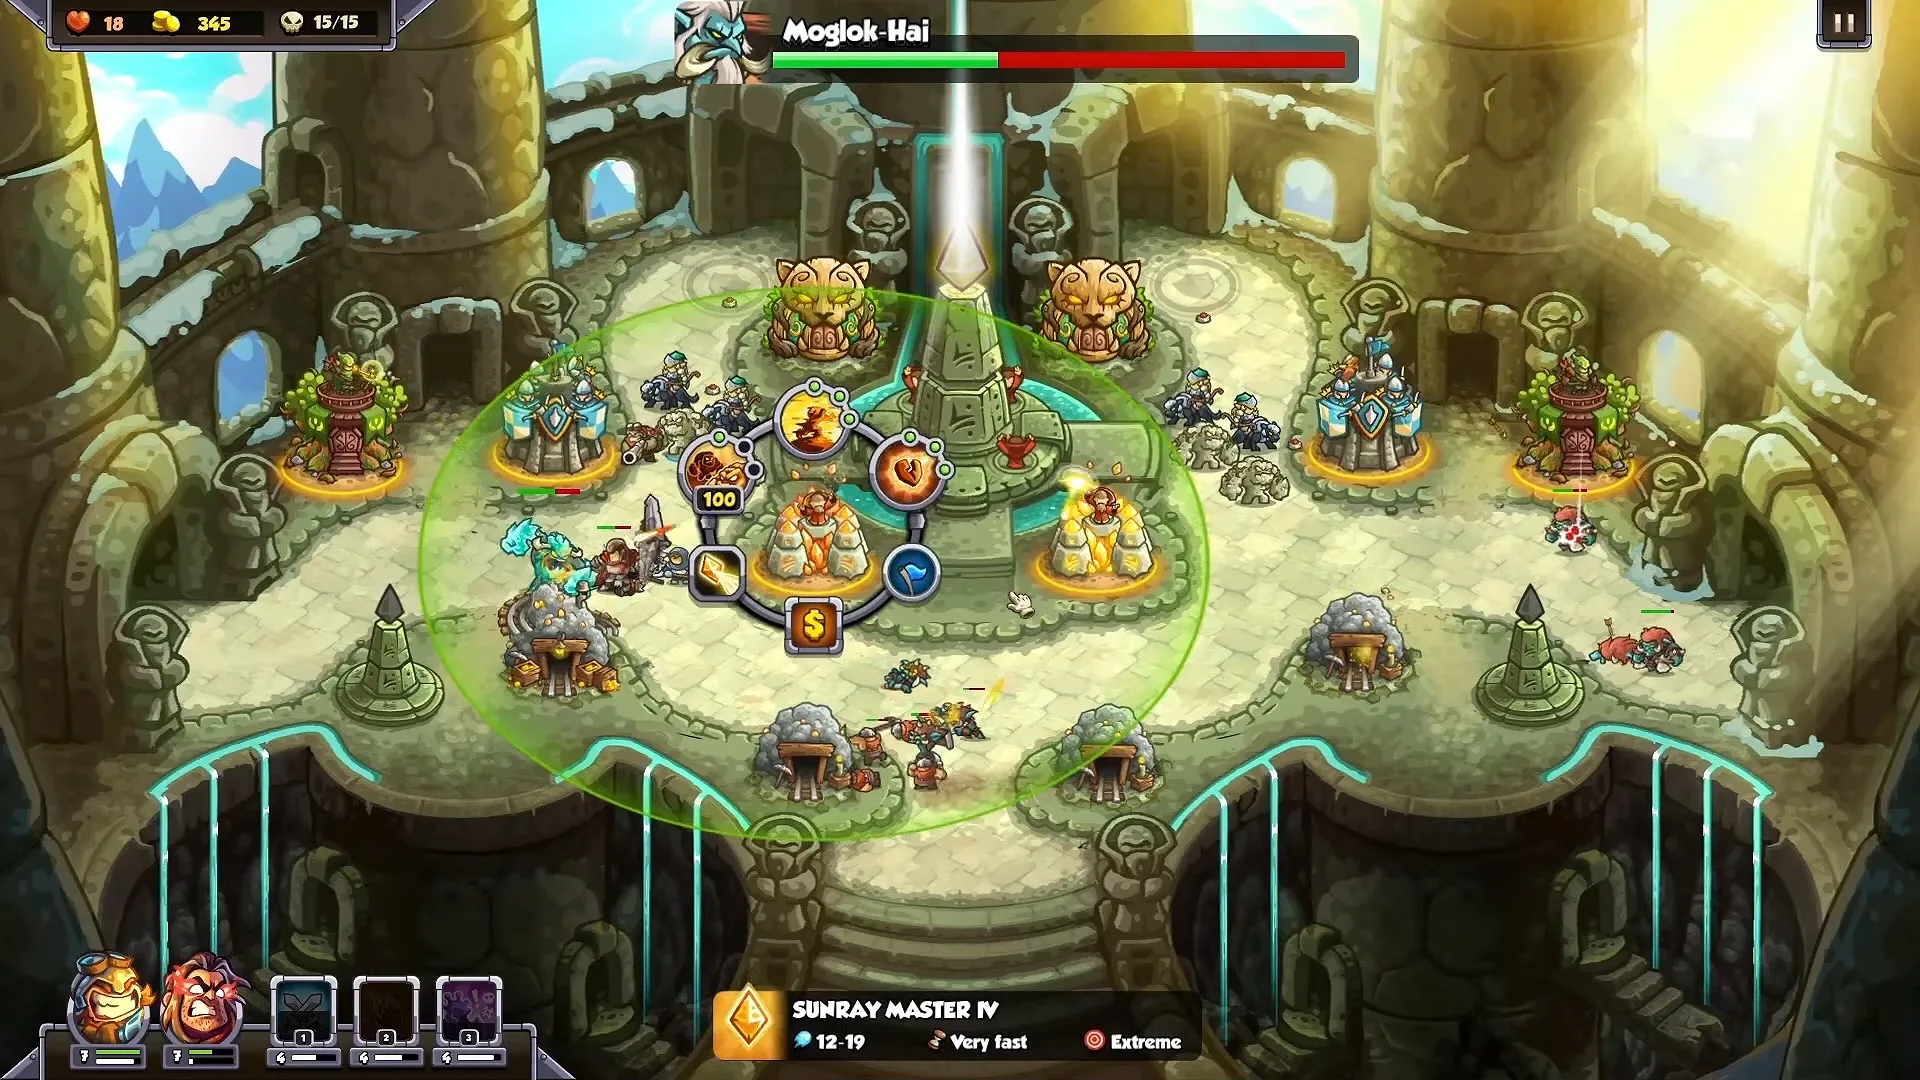
Moglok-Hai is basically unkillable until you solve one specific puzzle. Shielded, he’s sitting at 98% armor and 98% magic resistance. So nothing gets through. Only a hit from the stage’s Sunray Tower strips it, and that stun only lasts 5 seconds before he jumps to the other path and the shield comes right back.
He hits for 150-250 in melee, and if he ever reaches the Sunray Tower and lands three hits on it, you lose the stage outright. So the fight isn’t really about damage output, it’s about keeping sorcerers alive to charge the Sunray fast enough to catch him.
HP: 9,000 (Casual) / 10,500 (Normal) / 13,000 (Veteran) / 17,000 (Impossible).
Build a defense that can hold without leaning on the Sunray entirely, then time it for his shield windows. Losing your sorcerers early basically loses you the fight.

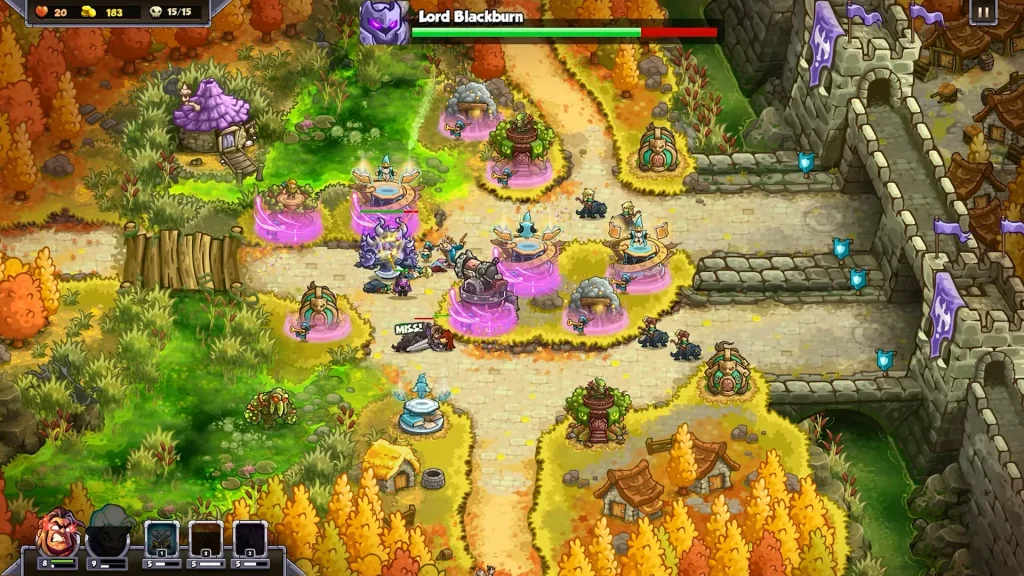
Lord Blackburn Boss Fight: Stage 15, Castle Blackburn
Blackburn skips the gimmicks entirely. He’s just a hard-hitting brawler. His melee attack deals 175-225 true damage and ignores armor and resistance completely. Every 18 seconds, he ground-slams for the same damage while stunning up to four nearby towers.
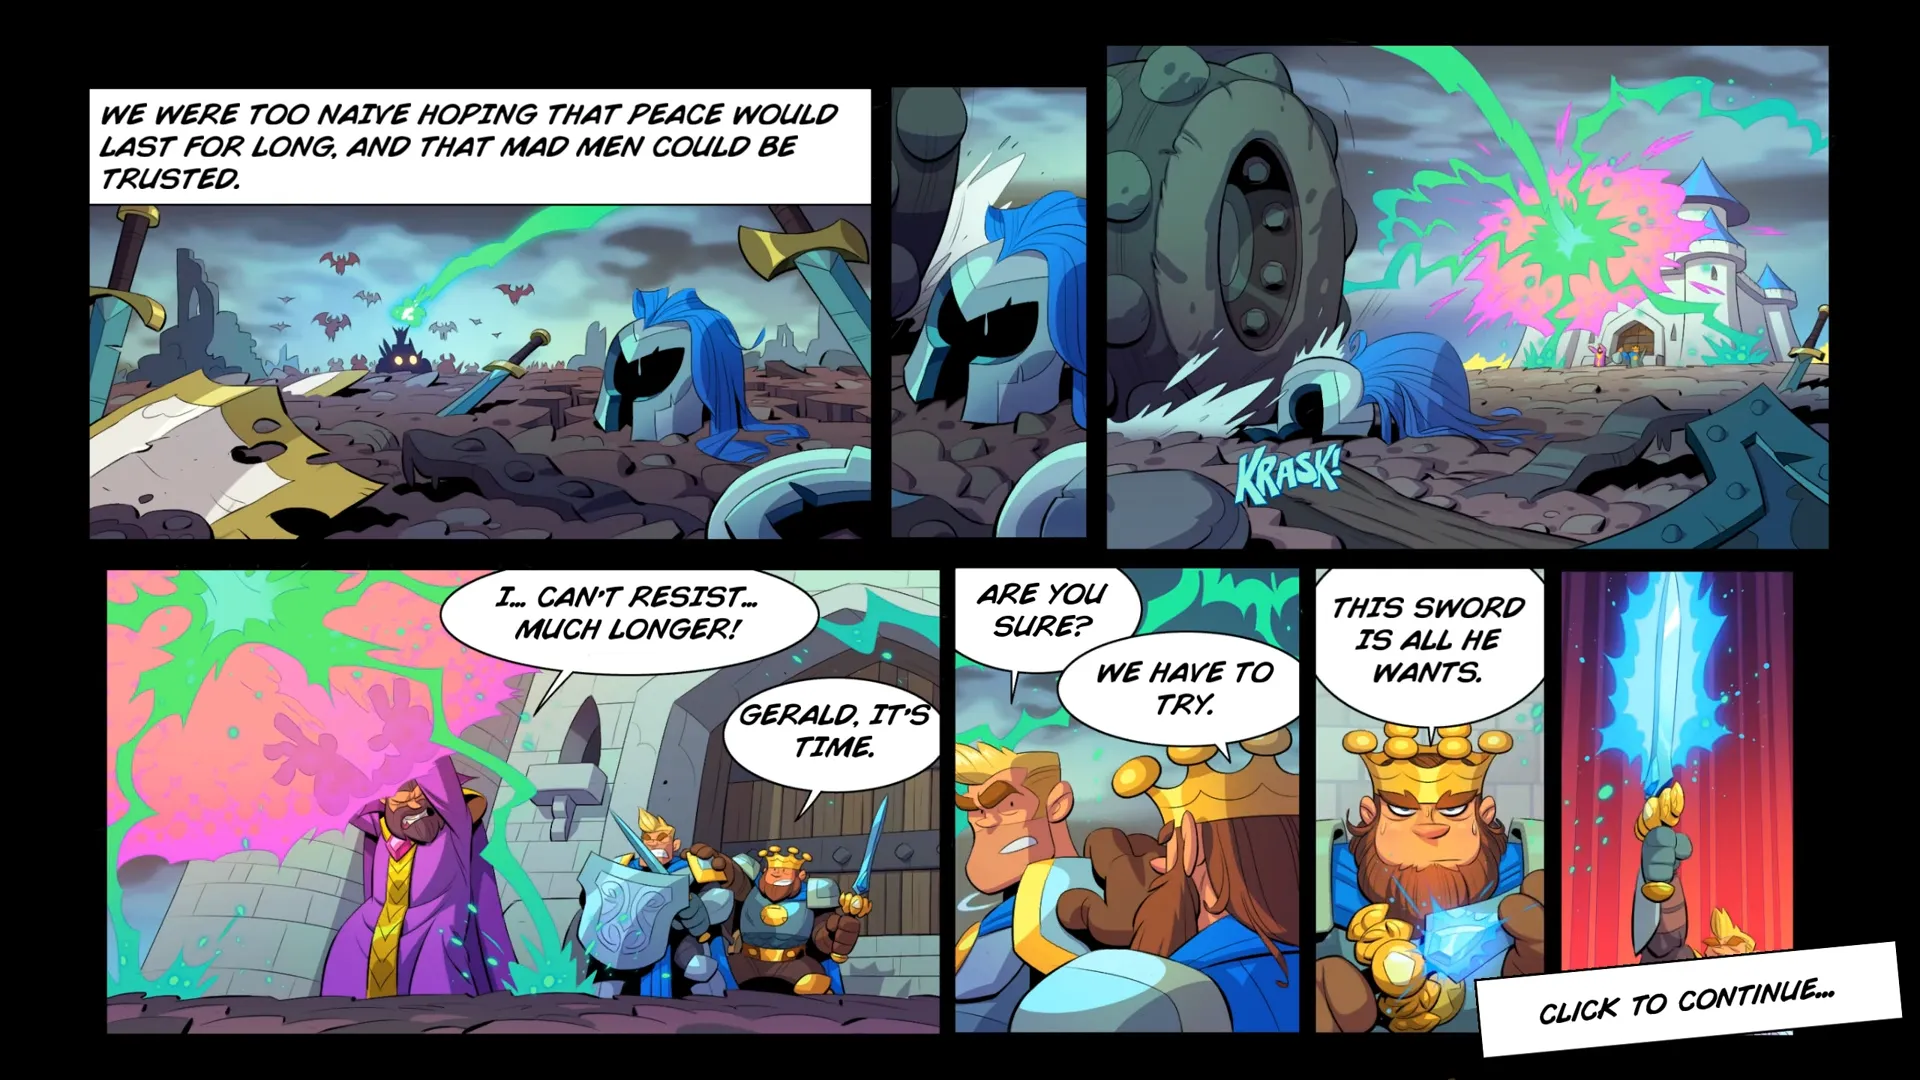
The twist is narrative: he’s your allied hero for most of the stage before a witch’s curse turns him hostile, and he becomes the boss. No shield mechanic, no phase gimmick. He is just high HP and armor.
HP: 9,000 (Casual) / 11,000 (Normal) / 12,000 (Veteran) / 14,000 (Impossible). Armor is 60% on Normal (lower on Casual, higher on Impossible). No magic resistance at any difficulty.
Keep that last point in mind. Since he has zero magic resist, magic-damage towers bypass his armor entirely and hit far harder than physical options. Keep a blocker on the exit path during his boss phase. So losing track of him there costs stars fast.
Vez’nan Boss Fight: Stage 18, Vez’nan’s Tower
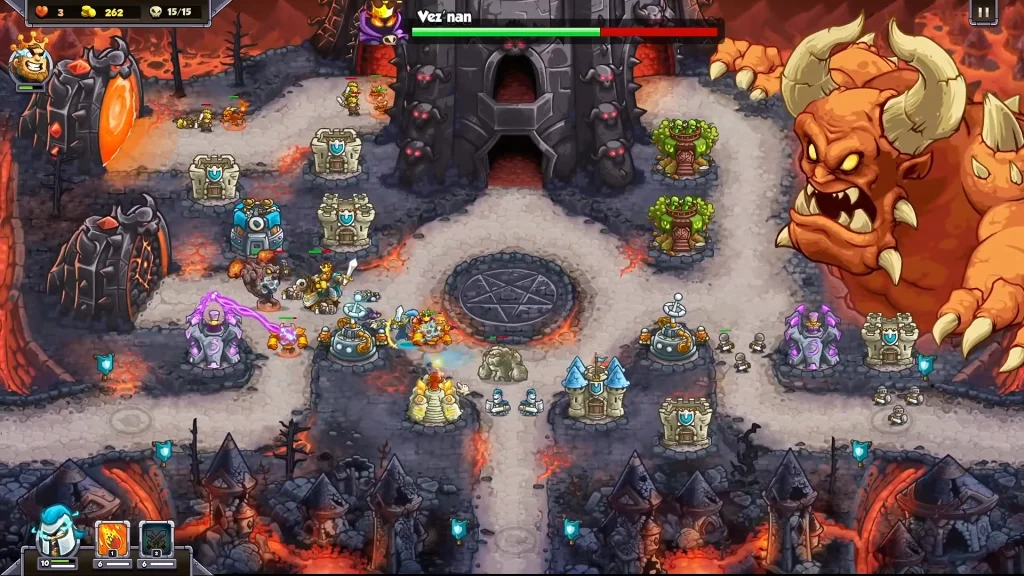
The finale throws three Vez’nans at you at once. Two are illusions (whichever ones die first, always), and killing an illusion triggers a lethal burst that instakills anything nearby, then spawns a Demon Lord. They also lock towers every 15 seconds; tap fast enough, and you free them early.
Once both illusions are dead, the real Vez’nan teleports to center stage, clears every other enemy, and heals to a new, higher HP pool. From there, he fires true-damage bolts and soul-siphons up to five units every few seconds, healing 100 HP per unit drained. Moloch adds pressure too, through claw attacks and lava hazards, so this never becomes a clean 1v1.
Starting HP: 5,666 / 6,666 / 7,666 / 8,666 by difficulty. Reveal-phase HP: 5,999 / 6,999 / 7,999 / 9,999.
Go in with ranged, magic, and AoE all ready. Premature wave calls stack badly with the soul-siphon healing.
Which one was the most challenging KR6 Genesis boss fight for you? Write to me in the comments below.
FAQ
What happens if a boss reaches the exit?
You lose all remaining lives instantly, regardless of how many you had. This applies to every boss in the campaign.
Do boss HP and defenses change by difficulty?
Yes, across the board. Some bosses also gain extra defenses on higher tiers. Lord Blackburn’s armor climbs from 50% on Casual to 74% on Impossible, for example. Never plan a strategy around one HP number without checking your difficulty.
Will more bosses get added later?
Ironhide has confirmed two mini-campaign updates coming later in 2026, each adding three stages, a hero, a tower, and a spell. No new bosses have been detailed yet, and the current six-boss lineup is what’s live at launch.