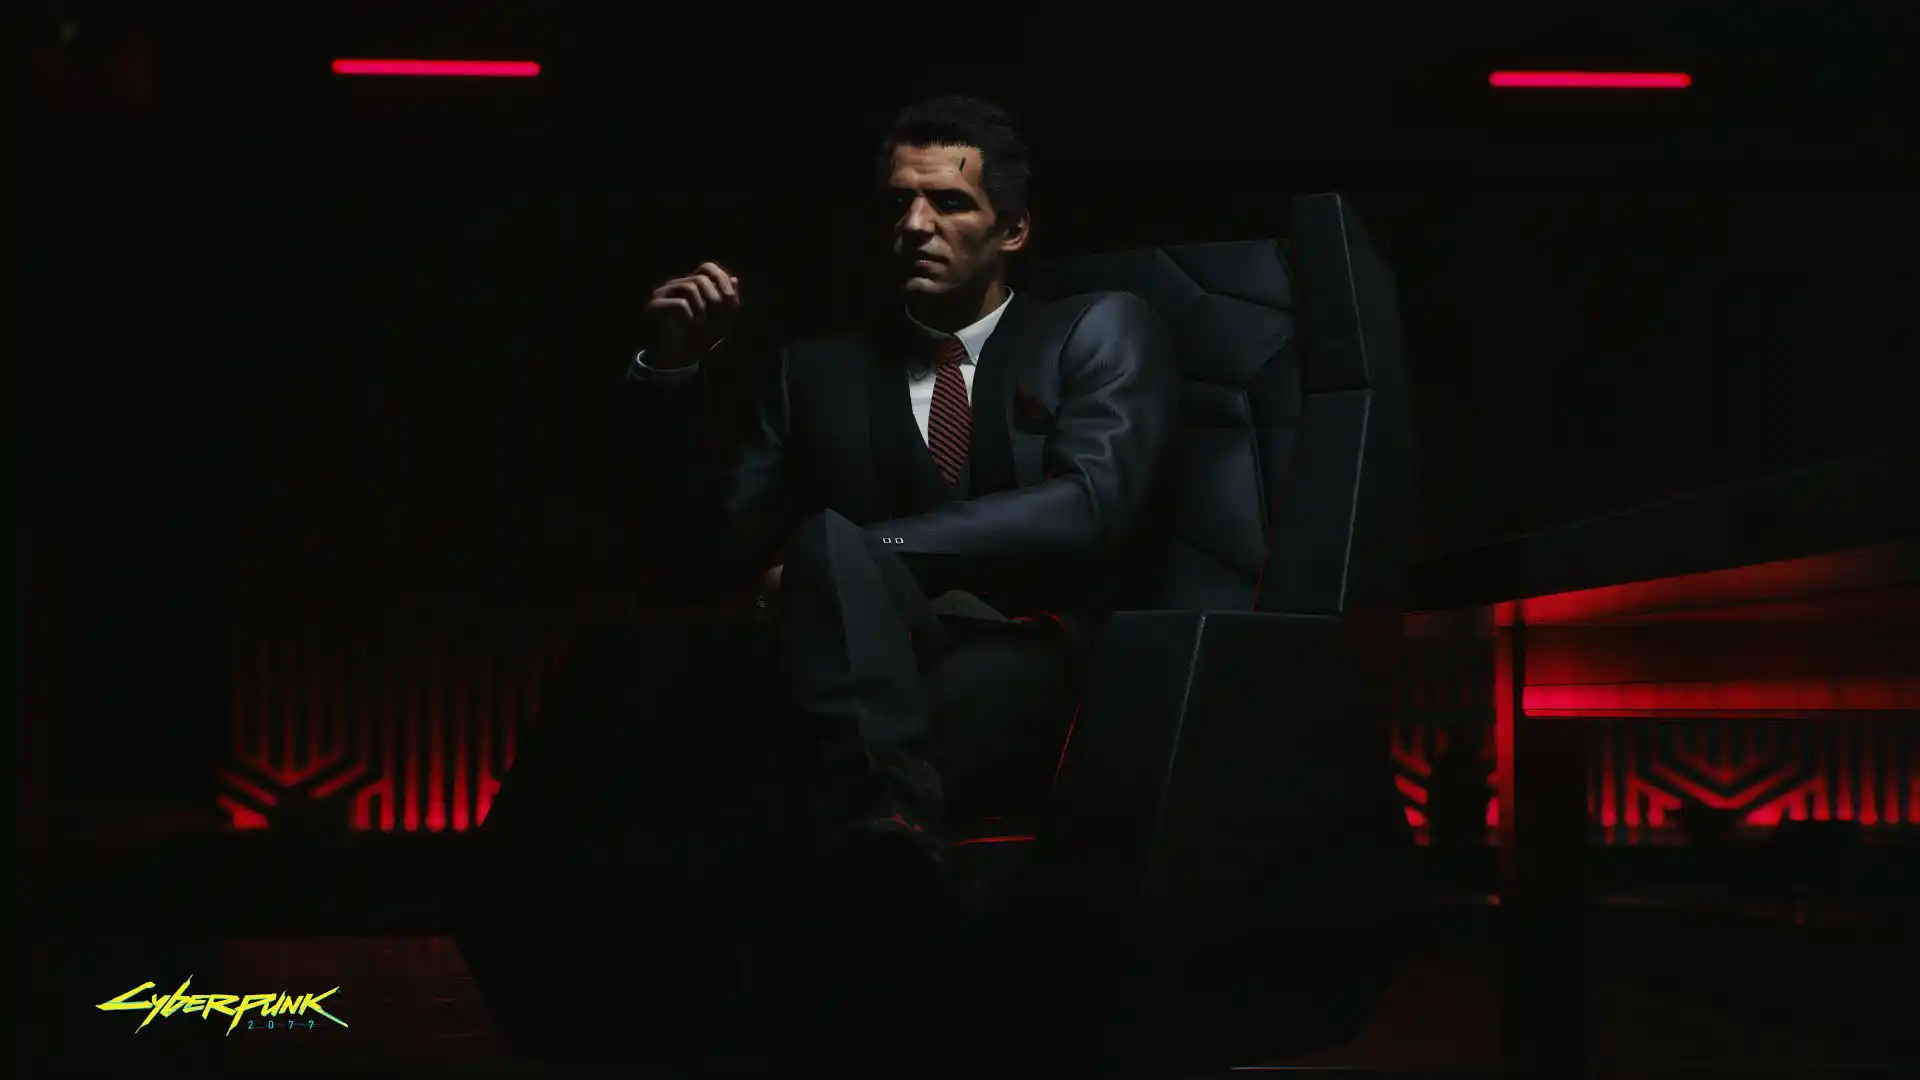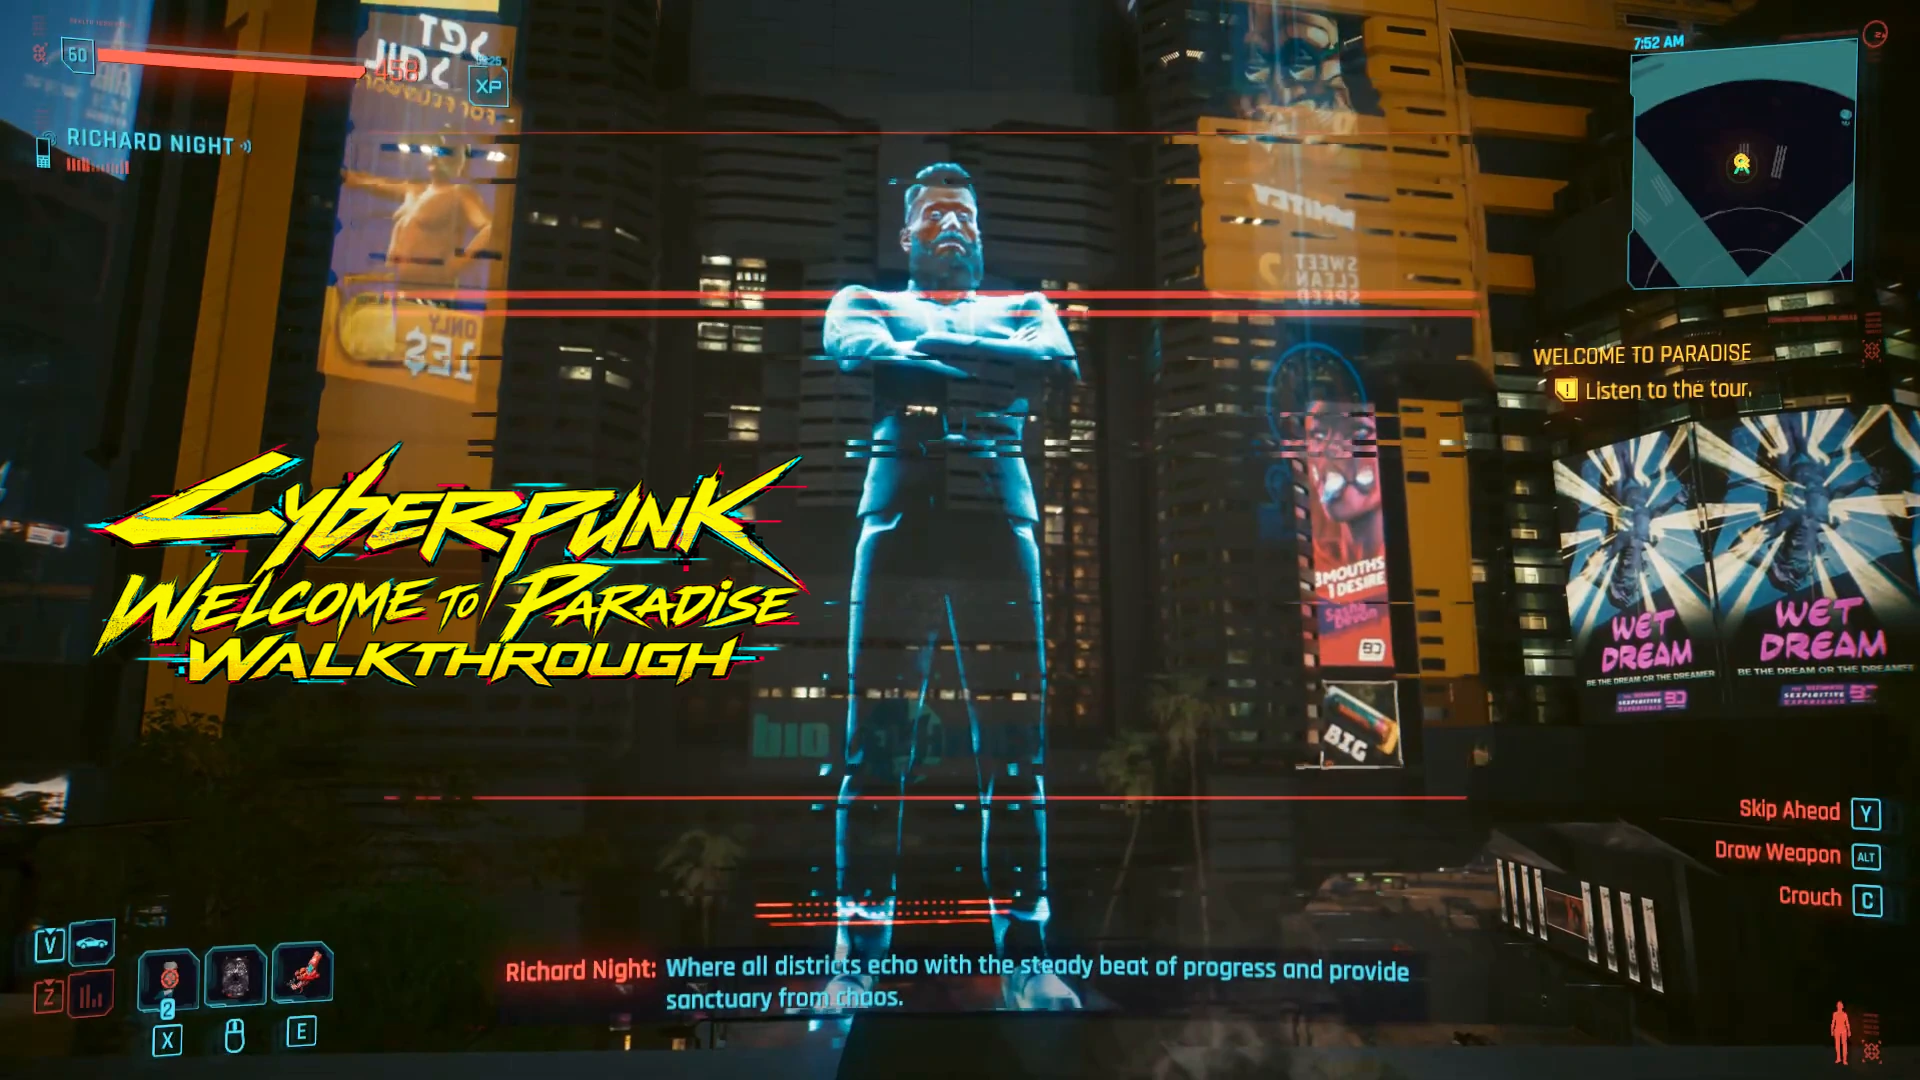


Cyberpunk Welcome to Paradise starts as a harmless sightseeing tour but quickly turns into an investigation involving Night Corp and a missing woman named Haze. In this Cyberpunk 2077 Update 2.5 side job, Aera sends V to recover her sister’s stolen shard, leading to nine stops across Night City. And no, despite all the talk about a Red Caliburn, you won’t be driving home in one.
Quick answer: Complete The Heist and reach Street Cred 15 to unlock the quest. Find Haze’s shard in Kabuki, finish all nine Night Corp tour stops, decrypt the Identity Cache after NCART, and read it again after Med Center. Find Haze at the Kabuki bridge and return to Aera for your €$1,050 reward.
Table of Contents
How to Start Welcome to Paradise and Find Haze’s Shard
To unlock Welcome to Paradise, complete The Heist and reach Street Cred Level 15. You’ll receive a message from Aera asking for help finding her missing sister, Haze. Read the message and call her to begin.
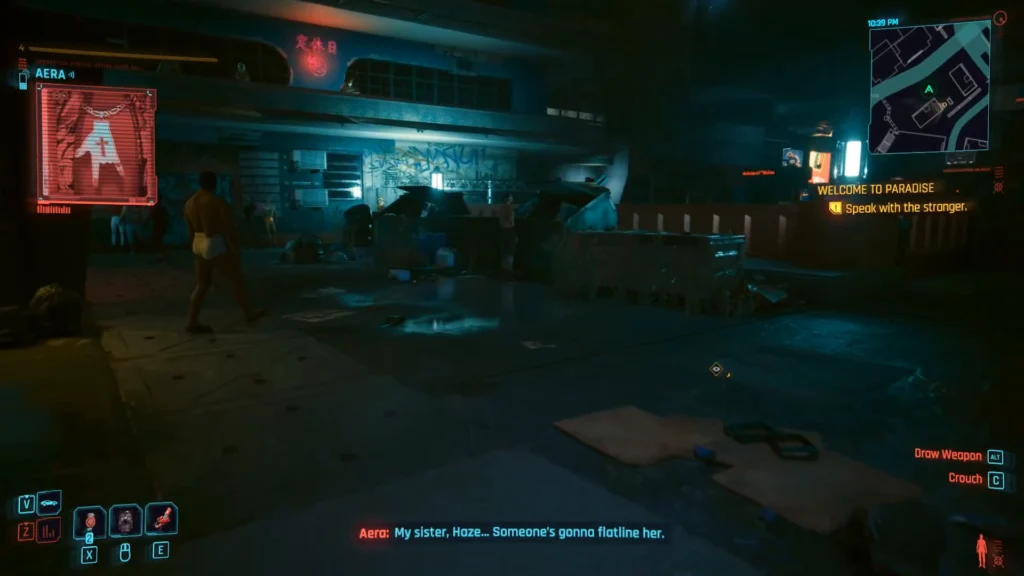
Your first objective is near the Creek Loop fast travel point in Kabuki, Watson.
Follow the marker and look for an upright metal sheet covering a pipe. Move it aside to reveal the NC Revitalization Project shard. Slot the shard to watch a recording of Richard Night introducing his guided tour. Afterward, call Aera to discuss the investigation and Haze’s mysterious reference to “Red Cal.”
If you’re exploring more of Night City, our Cyberpunk 2077 guide covers other quests and useful walkthroughs.
All 9 Night Corp Tour Stops in Order
The tour takes you across Night City, with each stop revealing more about Richard Night’s vision of the city. You can fast travel between destinations, which I’d recommend unless you’re in the mood for a lot of driving.
The route follows this order: Night Corp Tower → Corpo Plaza → Arasaka Memorial → City Hall → Biotechnica Farms → NCART → Coronado Dam → Med Center → Kabuki.
Stops 1–3: Night Corp Tower, Corpo Plaza and Arasaka Memorial
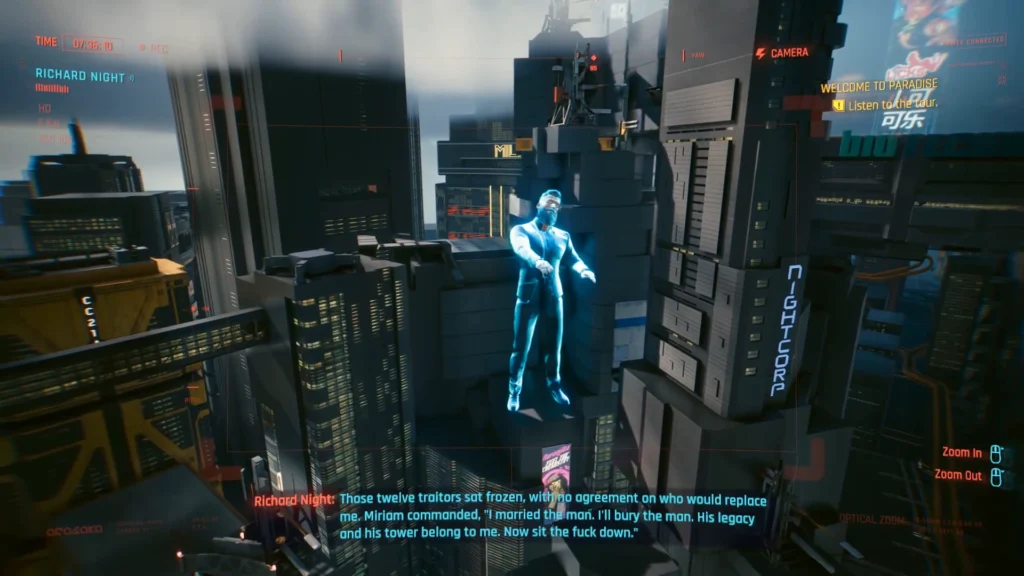
Start at Night Corp Tower in Downtown, City Center, near the Halsey & MLK fast travel point. Enter the building and take the elevator to Floor 3. Follow the walkway to the blue terminal, activate it, and connect to the nearby drone when prompted.
Next, visit Corpo Plaza, near Arasaka Tower. Activate the damaged terminal, listen to the recording, and call Aera afterward.
The third stop is Arasaka Memorial. Use the terminal and approach Richard Night’s hologram when instructed. Stay nearby until his presentation finishes.
Stops 4–6: City Hall, Biotechnica Farms and NCART
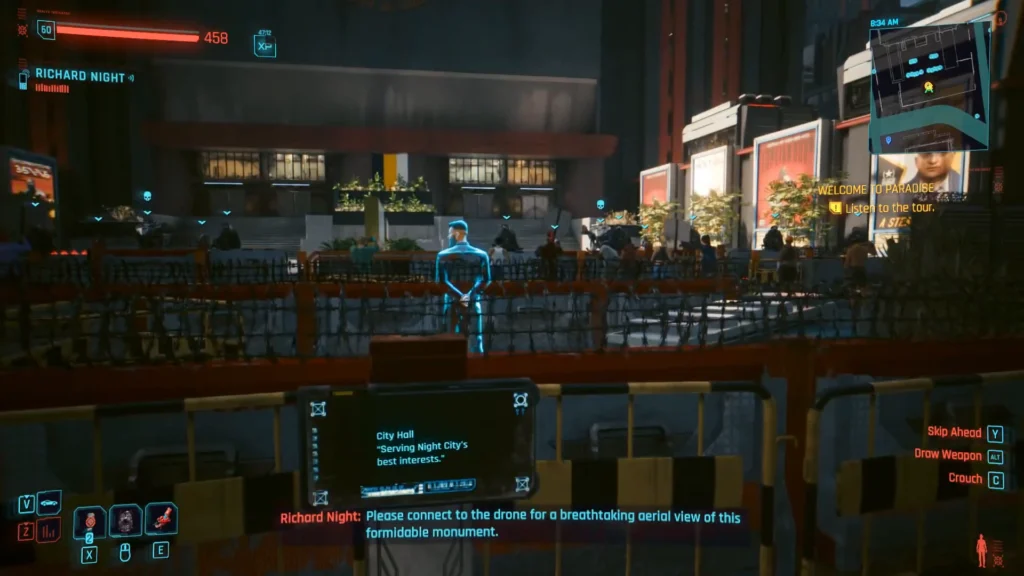
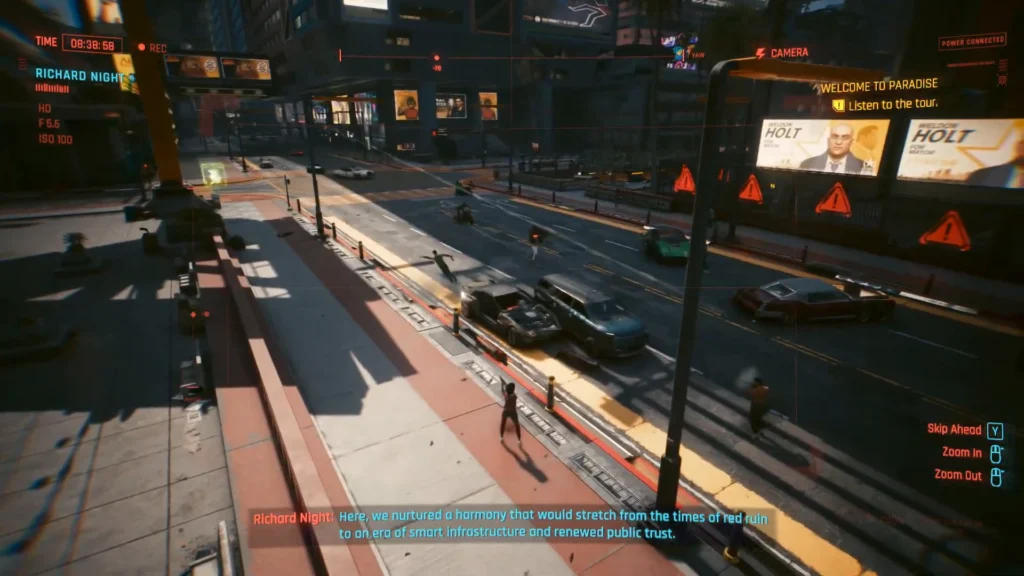
Travel to City Hall in The Glen, Heywood, near Palms View Way. Activate the terminal and connect to the drone. A confrontation unfolds below during the presentation, but you can remain connected until the recording ends.
Your fifth destination is Biotechnica Farms in the Badlands. Complete Richard’s presentation and speak with Aera when she contacts you.
Next, head to NCART, activate the terminal, and follow Richard’s hologram through the station. After the NCART presentation, you’ll receive the objective Decrypt the Tour Shard. You must complete it before continuing.
How to Decrypt the Tour Shard
Open Journal → Shards → Encrypted and find NC Revitalization Project – Identity Cache.
Select Crack Security and complete the hacking sequence. Once you’ve decrypted it, close the menu and continue to Coronado Dam. You’ll need to access this same shard again after Med Center, so remember its name.
Stops 7–9: Coronado Dam, Med Center and Kabuki
At Coronado Dam, eliminate the hostile soldiers near the terminal before starting Richard’s presentation. When prompted, jump over the nearby railing and move to the marked observation point beside his hologram.
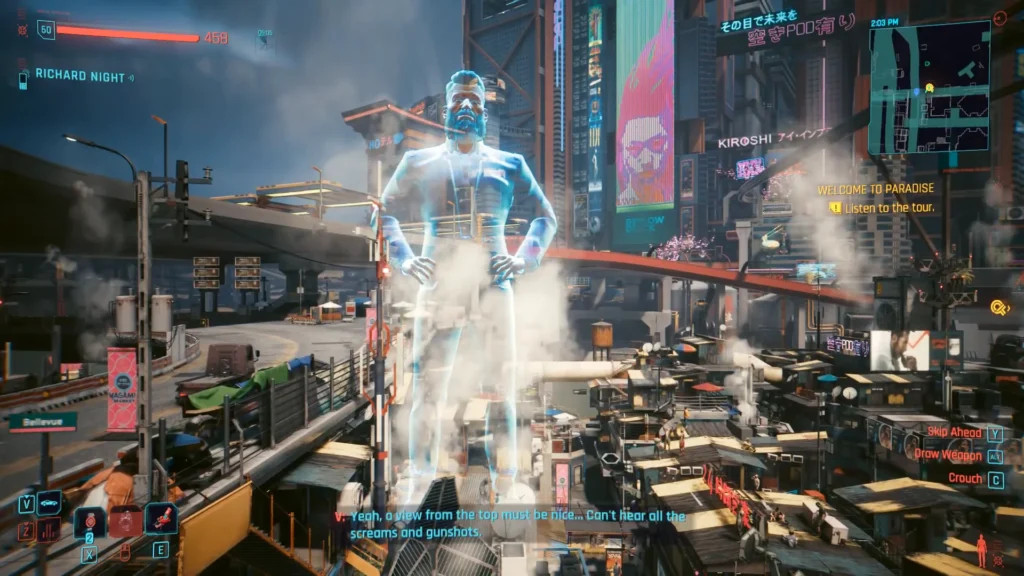
Next, visit Med Center and activate its tour terminal. After the recording, call Aera. The objective now changes to Look for Clues in the Tour Shard.
How to Look for Clues in the Tour Shard
Open Journal → Shards → Other and find the decrypted NC Revitalization Project – Identity Cache.
Read the document until V identifies the Red Caliburn clue, then close the menu. This is the second required interaction with the Identity Cache. Simply decrypting it at NCART doesn’t complete this objective.
When the clue is identified, travel to Kabuki for the ninth and final tour stop. Activate Richard Night’s terminal to finish the presentation.
Where to Find Haze at the Kabuki Bridge
After the final tour, follow the objective toward the nearby bridge. Continue until you reach several children and a body, then walk past them and turn right. Look over the edge toward the beach below, where you’ll spot Militech soldiers.
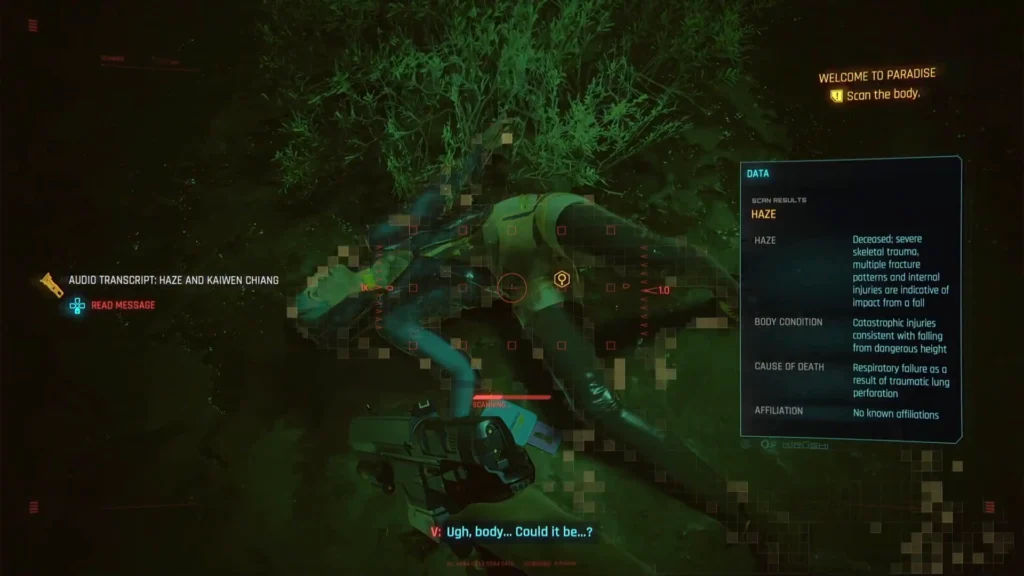
Make your way down and eliminate the soldiers. Search the nearby shoreline to find Haze’s body. Pick up the shard beside her and read it, then scan her face to complete the investigation.
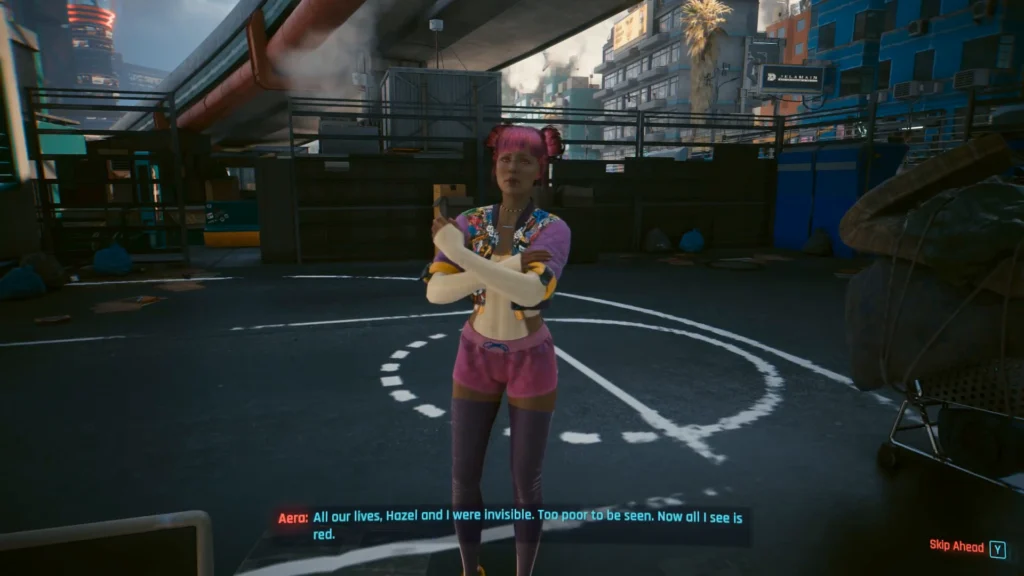
The evidence reveals that Haze was killed while investigating information connected to Night Corp. Message Aera afterward and head to the nearby basketball court. Wait for her to arrive if necessary.
Should You Give Aera the Shard or Refuse?
At the basketball court, Aera asks V to hand over the evidence Haze died trying to uncover. I’d recommend giving Aera the shard, although both options complete the quest and reward you with the same amount of money.
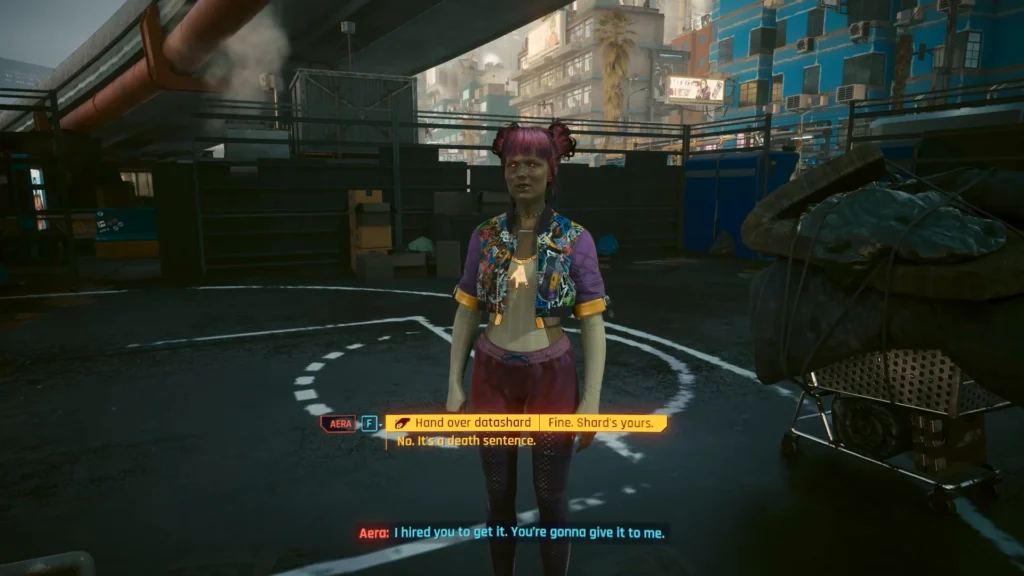
If you give her the shard, Aera thanks V and decides to continue Haze’s investigation despite the risks. If you refuse, she becomes angry and tells V never to contact her again. You don’t receive an additional reward for withholding the information.
Neither choice offers a financial advantage, so it comes down to whether you want Aera to have the evidence. It’s a good idea to make a manual save before the conversation if you want to experience both outcomes.
Welcome to Paradise Rewards: Do You Get the Red Caliburn?
Completing Welcome to Paradise rewards you with €$1,050, regardless of your final decision. Unfortunately, the Red Caliburn isn’t a quest reward. It’s a clue connected to Haze’s investigation, not a new vehicle for V’s collection.
The Red Caliburn isn’t obtainable here, but you can get a different black Rayfield Caliburn for free through the Murk Man Returns Again Once More Forever quest.
You also won’t receive an exclusive Iconic weapon or special outfit. The mission’s main attraction is its story. Richard Night presents a polished account of the city’s history, while Haze’s interruptions expose a darker side of Night Corp’s plans.
For such a lengthy tour, the payout isn’t particularly generous. But the contrast between the two perspectives makes the investigation worth following.
Cyberpunk Welcome to Paradise: Quest Bugs & Fixes
Some objectives can be confusing, particularly the two shard interactions. There are also progression issues worth checking if the quest stops advancing.
Stuck on “Decrypt the Tour Shard” or “Look for Clues”
These are two different objectives involving the same Identity Cache.
After NCART, find the shard under Journal → Shards → Encrypted and crack its security.
After Med Center, find that same file under Journal → Shards → Other and read it again to uncover the Red Caliburn clue.
If the quest won’t progress, double-check that you’ve completed the correct interaction for your current objective.
Stuck on “Talk to Aera”
The final conversation can sometimes leave the objective stuck on Talk to Aera, even after you’ve finished speaking with her.
Try loading a save from before the meeting and repeating the conversation. This can resolve the issue, although it isn’t guaranteed.
Game Crashes During the City Hall Drone Tour
If your game crashes when disconnecting from the City Hall drone, try temporarily lowering your graphics settings before repeating the sequence.
On PC, verifying your installed game files may also help. These are troubleshooting options rather than confirmed fixes for every affected setup.
Is Welcome to Paradise Worth Doing?
Welcome to Paradise is more about Night City’s history than collecting loot. The nine stops can take a while, and the €$1,050 reward isn’t much compensation for all that traveling.
Still, I’d recommend listening to Richard Night’s dialogue at least once. Haze’s commentary gives the tour a darker meaning, turning what seems like corporate sightseeing into a surprisingly interesting investigation.
If you’re exploring more stories from the Cyberpunk universe, check out our guide to Omi in Cyberpunk: Edgerunners 2 to learn who she is in the anime.
Only in Night City can a guided tour end with a body on the beach.

Cyberpunk 2077