

Nuclear Epoch throws a lot at you in the first hour. You build a base, raid instances for loot, manage hunger and try to keep your armor from falling apart, all before the game really explains any of it. The core loop is simple. You leave your home base, get into a dangerous instance, grab what you can, and get out through an extraction point. Die inside and you drop everything you were carrying.
What we cover:
Here is the whole thing at a glance before we go deeper.
| Stage | What you do | The point |
|---|---|---|
| Oasis (home base) | Build, craft, farm, raise dragons | Safe hub, nothing is lost here |
| Instances | Loot, fight, find the exit | This is where gear and materials come from |
| Extraction | Reach the extraction point and leave | Locks in your loot and opens the next map |
| Base upgrades | Research with NPCs, upgrade stations | Unlocks better crafting and automation |
How Nuclear Epoch Works
Your home base is the Oasis. It never resets and you never lose anything stored there. Everything risky happens inside the instances, which are separate raid maps built with procedural generation. So enemy spots and chests, and also the layout shift every time you enter.
One thing confuses everyone at the start. The save slots on the menu show different element artwork (Fire, Ice, Lightning, Poison), but they are just save slots. You do not start in a different place depending on which one you pick. Every world drops you into the same Oasis and sends you toward the same early quests.
Progress on a character is tied to your world, while your inventory and equipped loadout follow the character. So a fresh save slot means a fresh game from the tutorial, no gear, nothing.
Your First Hour
The opening is linear, which is good, because it walks you into the loop without much fuss.
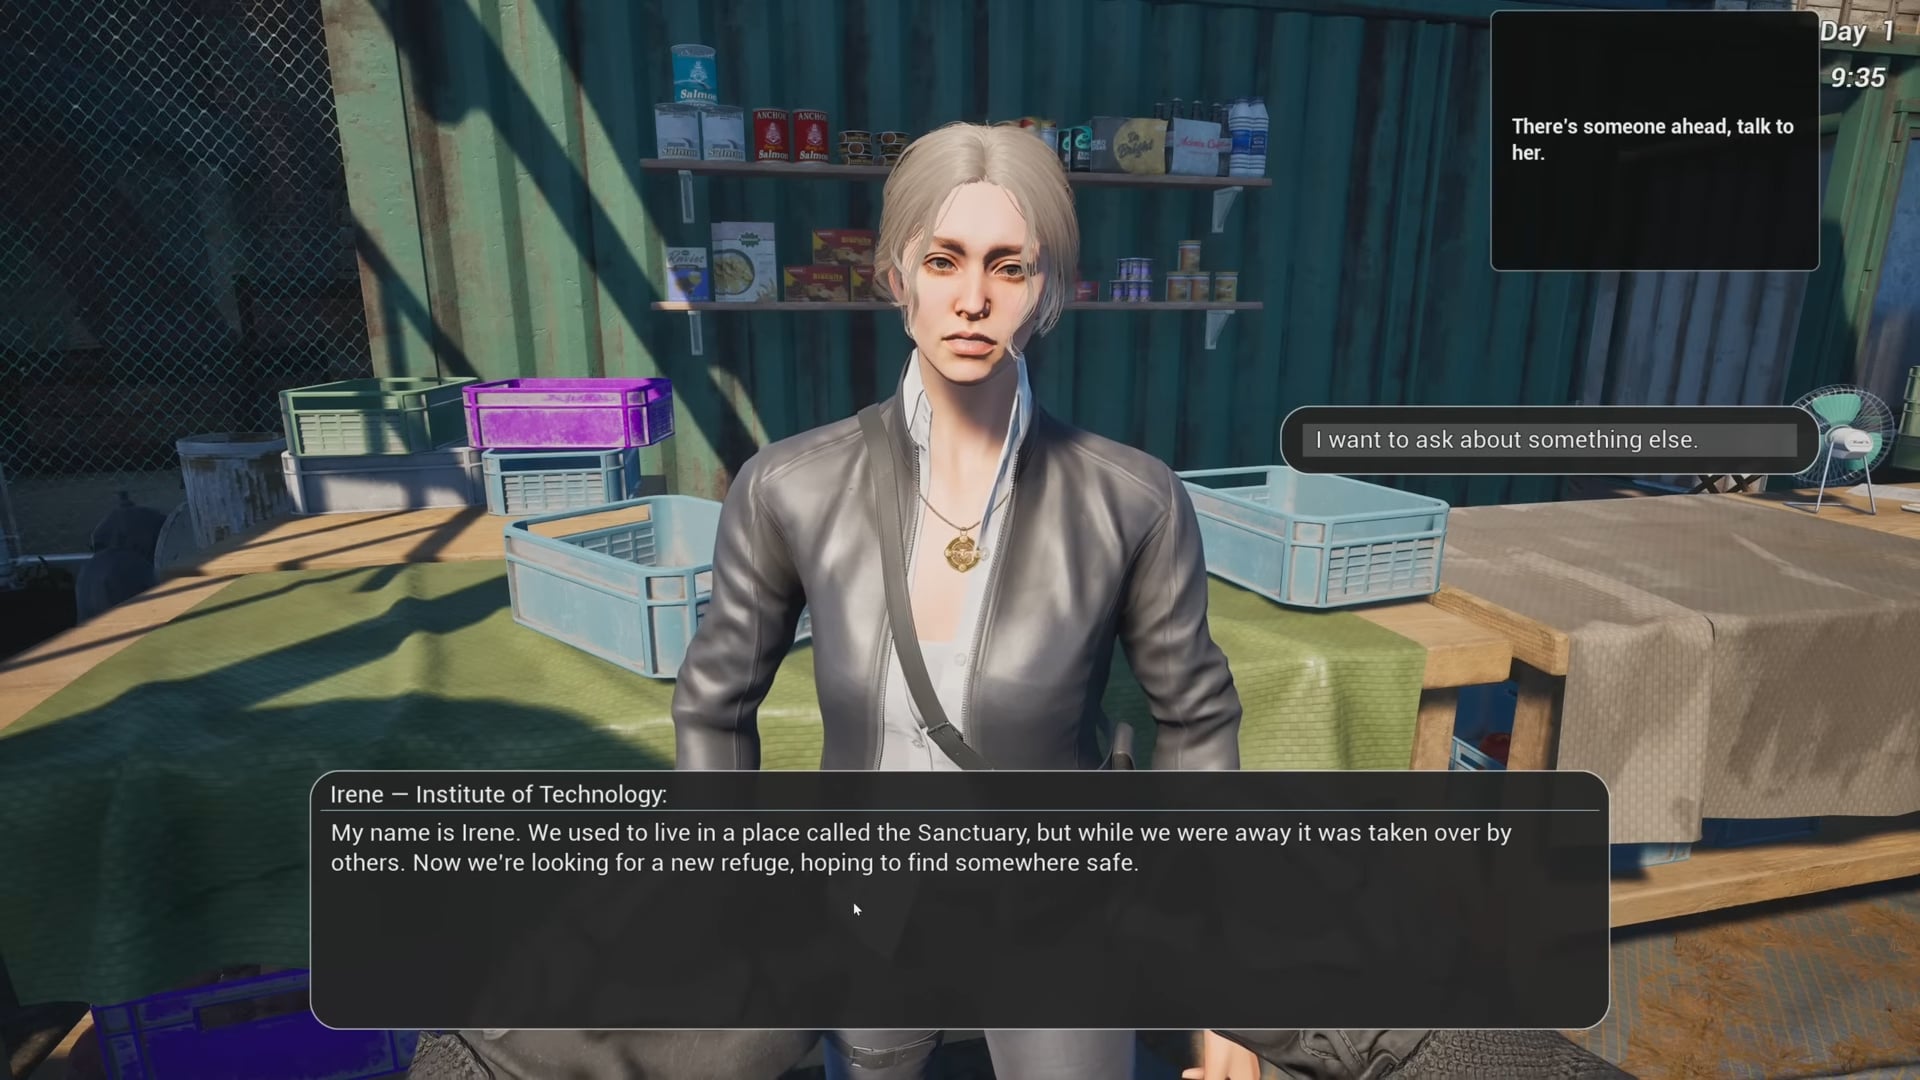
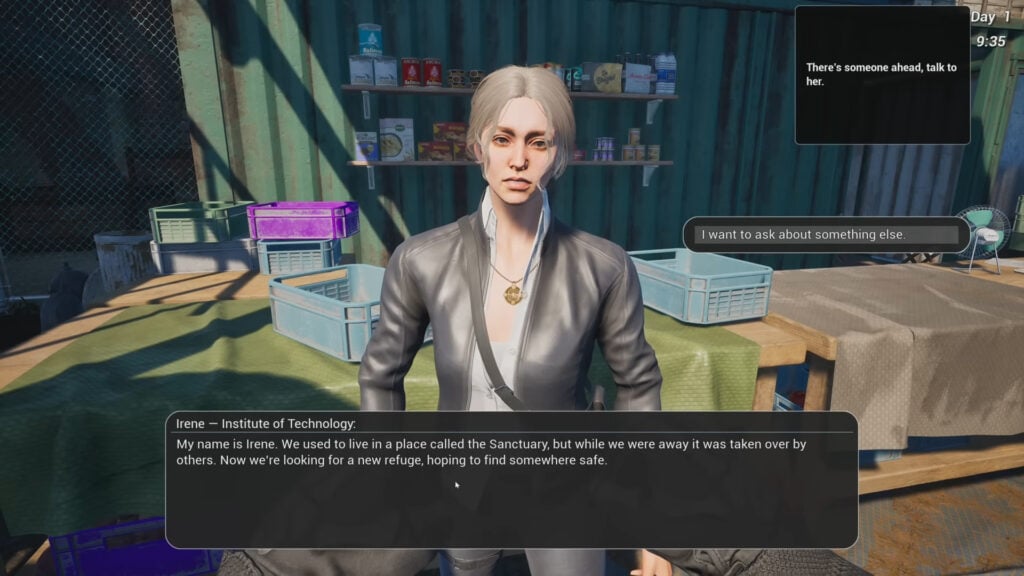
- Talk to Irene after the intro. She sends you to the training ground to test weapons.
- Try the pistol at different ammo levels so you see how weak point damage and armor break scale up.
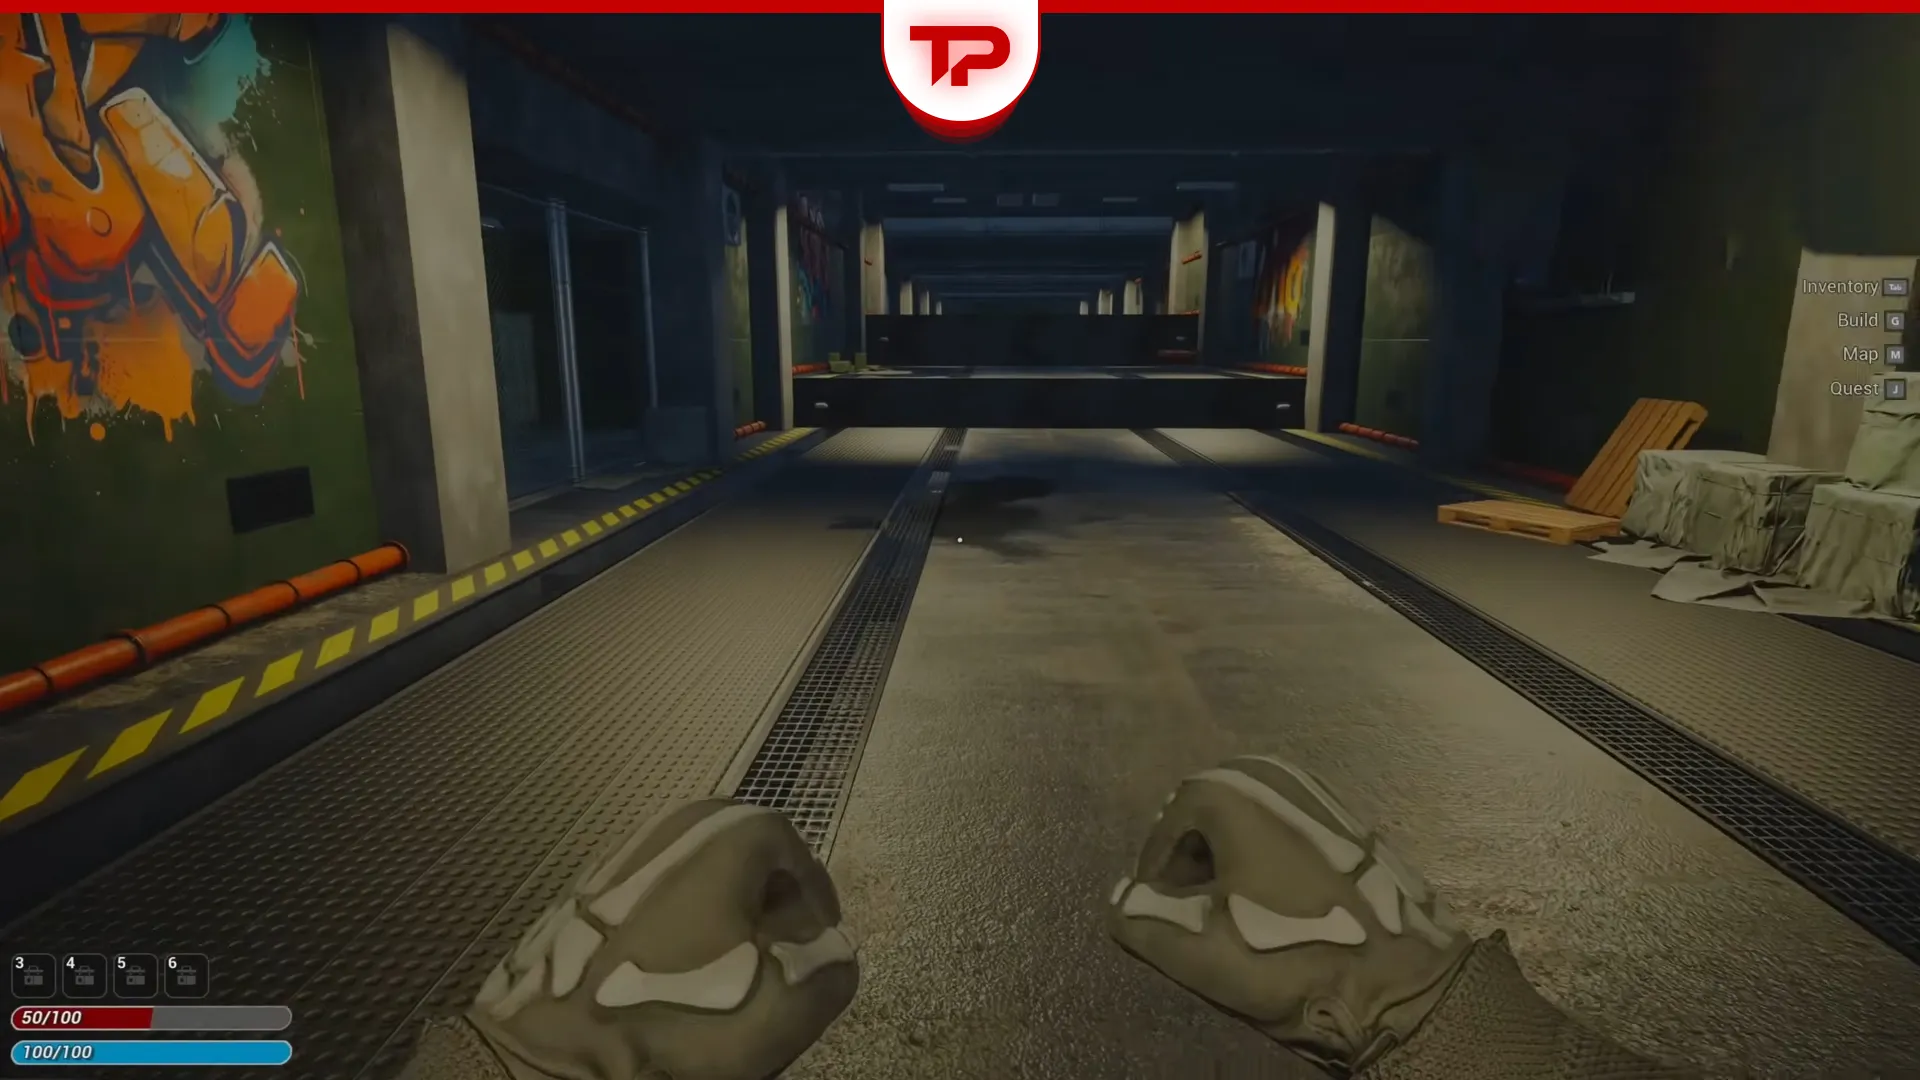
- Head into your first instance to grab resources. Remember, if you die in there, you lose what you are carrying.
- Find the extraction point and leave. You do not need to kill anything to extract.
- Back at the Oasis, build a bus stop. This is the tool that lets you fast travel into instances.
The bus stop is easy to miss as a concept. It is not decoration, it is the door to every dungeon. Build it and the instance menu opens up.
Build Your First Base at the Oasis
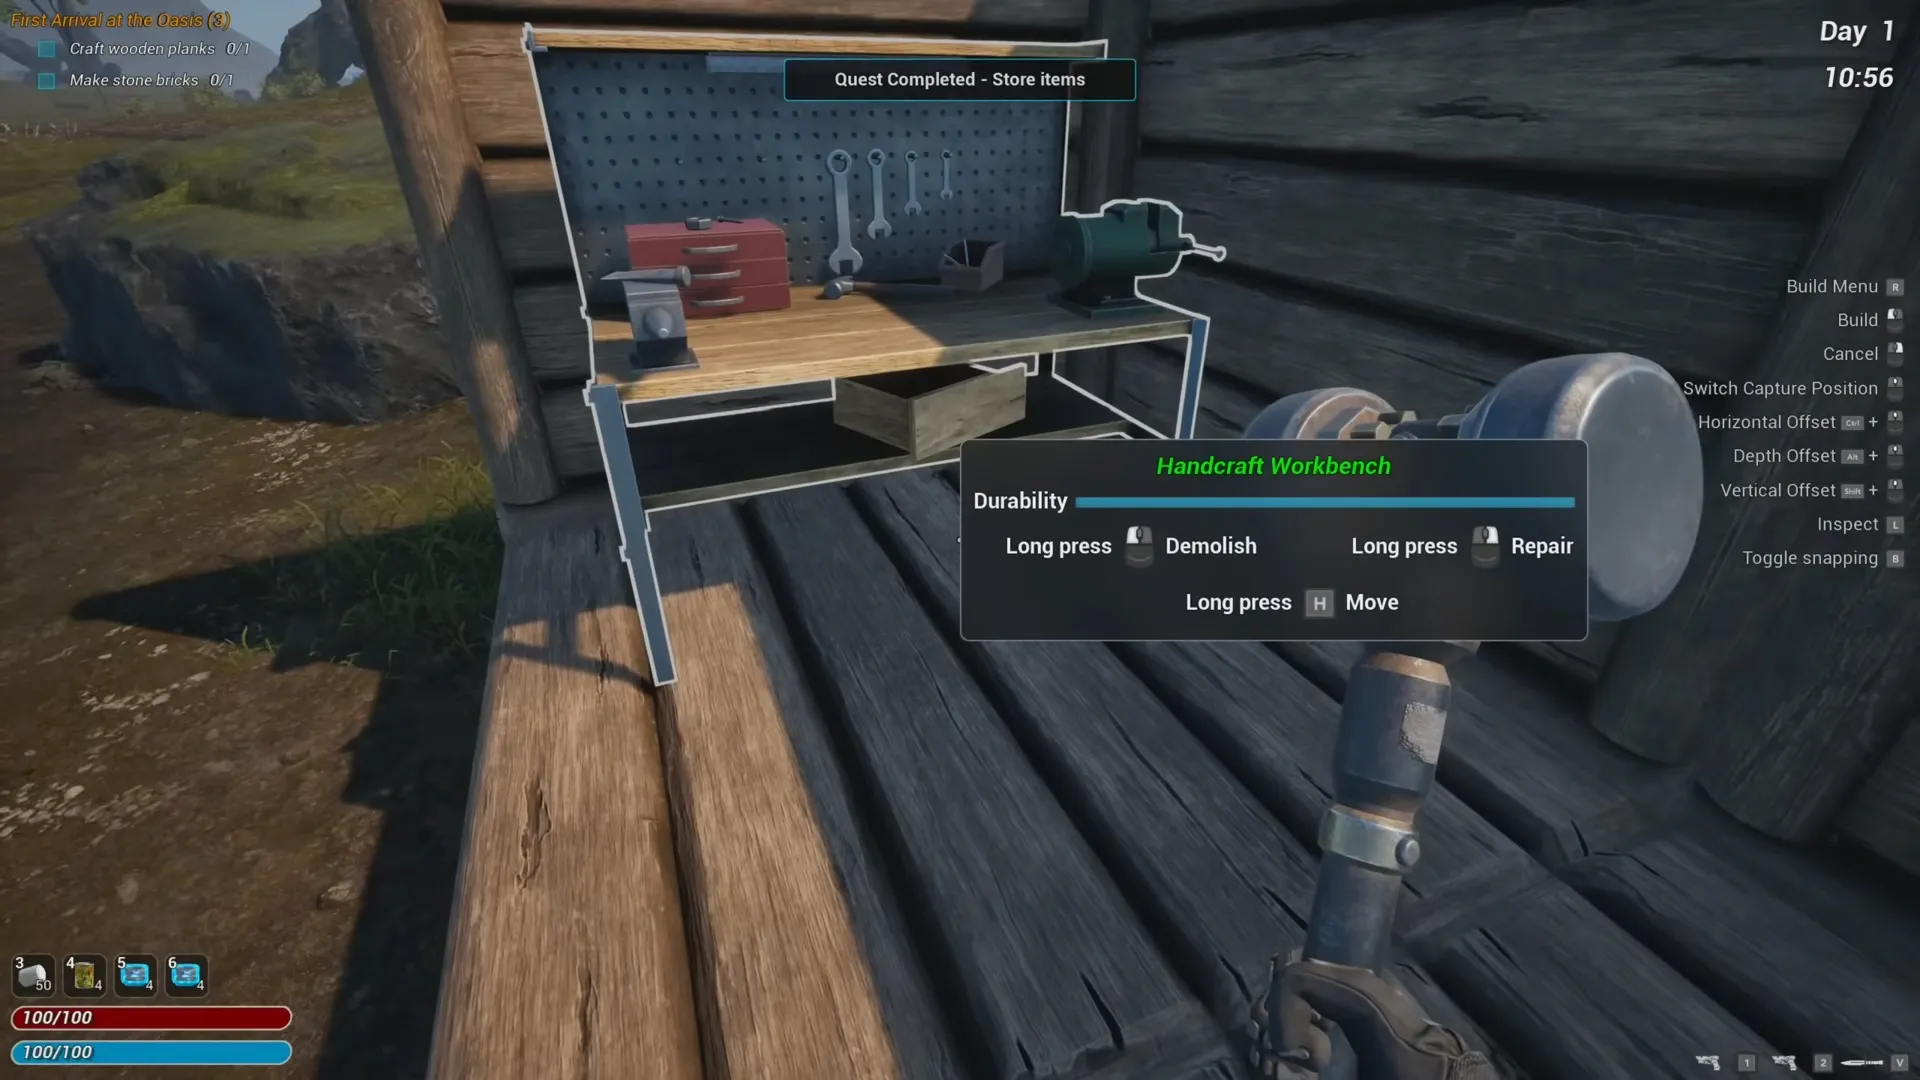
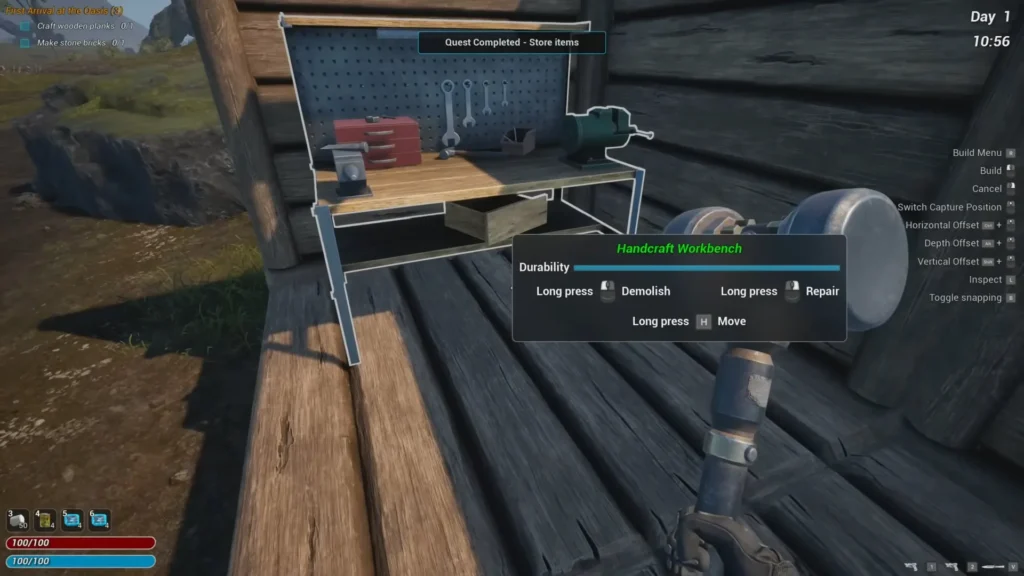
Your first structures are a workbench and a Public Warehouse. The workbench line is straightforward. The warehouse is where new players get stuck and the reason shows up over and over in the discussions.
The Public Warehouse does not appear in the build menu right away. You have to talk to Irene first and research it in her tech tree. Once it is researched, go into build mode (G), switch to outdoor buildings and it will be there. If you skipped the research, the slot stays empty and you will swear the game is bugged. It is not.
Extraction
Extraction is the part that punishes greed. The run only counts when you leave through the extraction point, so scout your exit before you fill your bag.
- Keep your backpack light until you know where you are leaving from.
- Use the Safe Box for the one item you cannot stand to lose. A quest item or a rare drop, not logs and rocks.
- Do not turn your first run into a boss hunt. Learn the exit, get out, repeat.
Death has a safety net a lot of players never notice. In the menu you can turn off the “drop items on death” setting. If you get stuck in geometry or die somewhere brutal, toggling that off before you respawn saves your whole kit. And if you die several times in one run, your original death cross still holds your main loot, so that first bag is the one worth going back for.
Crafting Weapons and Armor
Crafting is where the “I’m missing an ingredient” panic comes from. The recipe looks full, but the game still blocks you. Here is why.
A craft is built from base parts plus alloys plus optional elemental items:
- Base: iron ingot and gun parts (or the armor equivalent).
- Alloy: you need several of the same alloy type, not one. Standard alloy gives physical resistance, an elemental alloy gives that element’s resistance instead.
- Elemental items: orbs, flowers, and pearls slot into the extra spaces for bonus damage or resistance. These are optional.
So a weapon can craft with the elemental slots empty, but armor still fails if you only dropped in a single alloy. Hover the recipe and read the exact count. The alloy is almost always the missing piece.
Every craft is a roll. Base stats and rarity come out random, from Common up to Legendary, and firearms can roll special affixes (Prefixes and Suffixes) that reshape how the gun plays. Better materials push your odds toward the higher rarities, and crafting on an Advanced Weapon Workbench or Advanced Armor Workbench raises the quality ceiling.
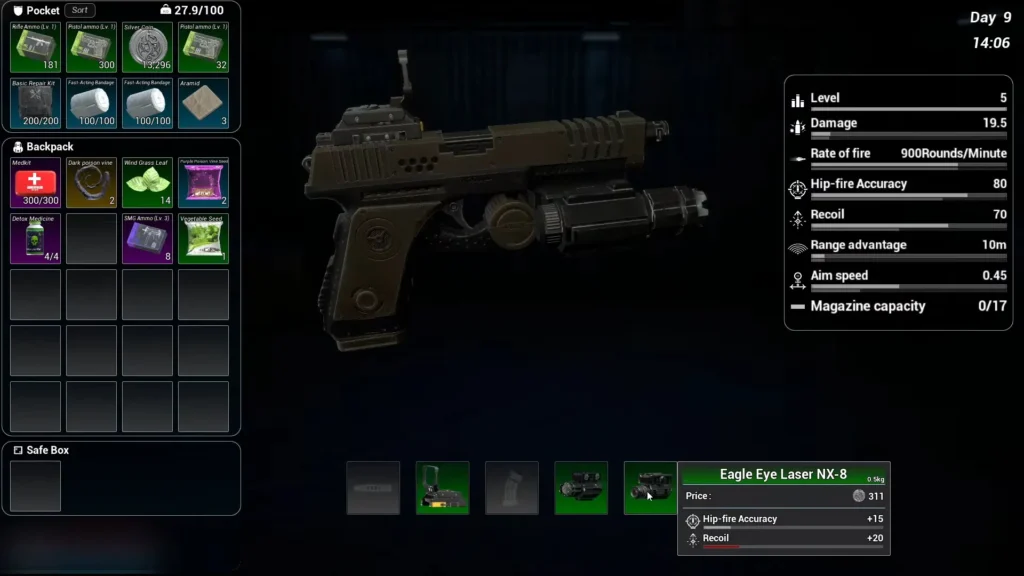
Your gun is not finished when you craft it. Weapons earn XP from kills and level up, and each level rolls random stat gains. Higher rarity weapons gain more per level, so a good high-rarity gun with strong affixes becomes your real endgame tool over time.
You also get five attachment slots to tune handling.
| Slot | What it does |
|---|---|
| Laser | Better hip-fire accuracy without aiming down sights |
| Muzzle | Cuts recoil or changes muzzle flash |
| Underbarrel Grip | Steadier frame, better recoil control |
| Stock | Reduces recoil and improves aim stability while ADS |
| Magazine | More ammo capacity or faster reloads |
There is no single best loadout. A zero-recoil build and a run-and-gun hip-fire build are both valid. It depends on how you play.
The Elemental System and Counters
Four elements drive both offense and defense and they pair off as counters. Fire beats Ice and Ice beats Fire. Lightning beats Poison and Poison beats Lightning. Match the counter-element weapon with the right resistance armor against a themed enemy and your damage against them can double.
| Element | Weapon bonus | Armor bonus |
|---|---|---|
| Fire | Attack Damage | Fire Resistance |
| Ice | Reload Speed | Ice Resistance |
| Lightning | Rate of Fire | Lightning Resistance |
| Poison | Armor Penetration | Poison Resistance |
You can infuse one item with more than one element. When two damage elements sit on the same weapon, the game uses whichever deals more against the target.
Armor Repair and Durability Decay
Armor takes a Repair Kit when it wears down. The catch is that every repair permanently shaves off some maximum durability, so gear slowly dies for good and eventually needs replacing.
Here is where I’ll be honest, because the community is loud about it. In the higher tier instances, armor gets shredded fast, sometimes to half in seconds, and the constant repair cost stacks up against ammo costs to the point that deep runs can feel like a net loss. You can turn the durability-loss-per-repair down to zero in the settings, which helps, but the raw damage armor takes at high tiers is the real complaint. Go in aware of it, and pack repair supplies.
Survival: Debuffs and Food Buffs
Elemental damage does not just chip your health. It fills an attribute gauge, and when a gauge maxes out you take a debuff. Let it fill again and the debuff climbs a tier (up to tier 3) and refreshes.
| Debuff | Effect |
|---|---|
| Fire | Rapid health drain over time |
| Ice | Heavy movement slow, easy target |
| Lightning | Wrecked stamina recovery, no sprint or dodge |
| Poison | Damage over time and shredded armor; hits during it can be lethal |
Two rules keep you alive. Purifying Elixirs wipe a gauge or clear an active debuff, and higher-grade ones cure higher tiers, so match the elixir to the instance you are entering. Food gives buffs like health regen, stamina regen, or elemental resistance, but only one buff of a category runs at once. A stronger food overwrites a weaker one instead of stacking, so pick the single meal that fits your goal.
One useful trick: eat a stamina regen meal before a Wind-Leaf Grass run. Your stamina then recovers as fast as the harvesting drains it, and you can gather almost endlessly.
Farming and Dragons
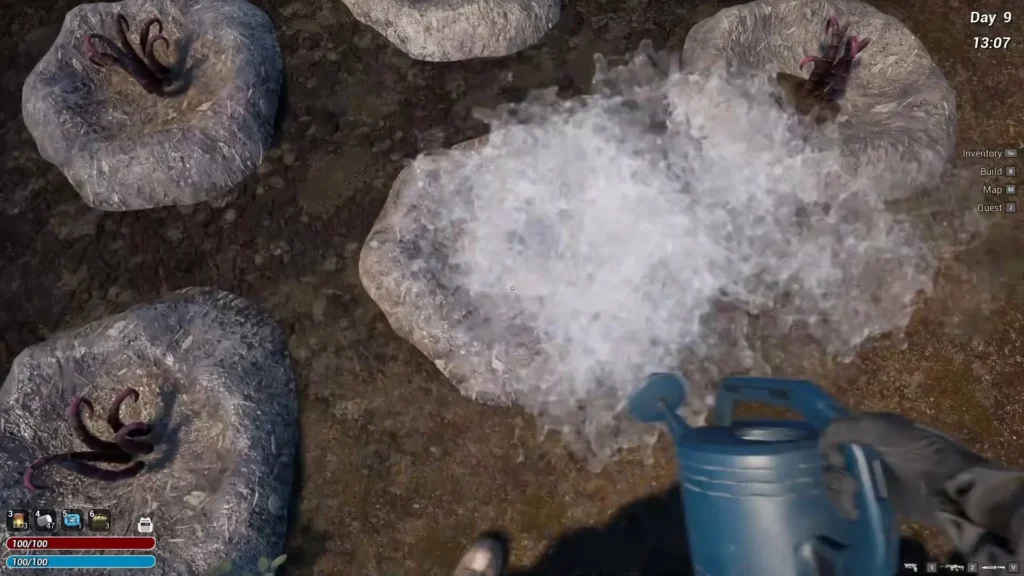
Farming exists for the good materials. Vendors rarely stock Gold and Red tier items, and instances do not always cough up enough, so a garden is your steady supply. Plants match the four elements, and each type only takes its matching fertilizer. Keep them fully watered and fed to push drops toward Gold and Red, then unlock the Auto-Sprinkler and Auto-Fertilizer so the whole farm runs itself.
Dragons are messier and this is the single most-asked question in the forums, so let me settle it. Baby dragons will not eat orbs. Feed them flowers, the elemental flowers, dropped into their trough. That “I cannot eat that” message is the game rejecting the wrong item, not a bug.
A clean breeding strategy from the community goes like this:
- Grow babies to adult on standard Meat, since it is fast and breeding is RNG-heavy anyway.
- Get an adult male and female both to 100% on the breeding bar, then store them until you have a pair you want.
- Breed them, then put the offspring in a separate pen stocked with matching Elemental Food to raise stats.
- Keep one pen for growing to adulthood and a second pen just for optimizing offspring.
Offspring inherit both parents’ traits, which is what makes selective breeding worth it. Feeding elemental materials during the young stage permanently boosts base stats, and kept in perfect condition (full Satiety, Mood, Health) dragons periodically drop rare Dragon Balls used in top-tier crafting.
Set your expectations, though. A dragon does not fly beside you in combat. You slot it into your inventory and trigger its skill like a power, and a lot of players find many of those skills underwhelming right now, especially against flying bosses. There are 16 dragon skills, each across three tiers, but the ability system is clearly still cooking.
The Computing Center and Steam Items
Slaying bosses and cracking special chests drops real Steam Inventory items, tradeable on the Steam Community Market. They fall into three groups.
- Collectibles, like the Helios Crown, are prestige drops with display flair.
- Hashing Items, like Storage Matrix Units, feed the Computing Center for passive daily resources based on your total Computing Power.
- Consumable Tickets, like Lucky Draw Tickets, redeem instantly for a stack of items and make a solid emergency reserve after a bad death.
Now the honest part. The Computing Center sounds great and at least for now, disappoints most people. Players sitting at a few hundred Computing Power, and some near 900, report it handing out a couple of logs or a few ore once a day, stuff you can gather in seconds. Every so often it coughs up something real like a Golden Key, but the odds are low. Build it if you have the Hashing Items, but do not plan your economy around it yet.
Progression: Maps, and Bosses
You unlock the next map by extracting, not by killing. Reach the extraction point in the Temple and the next area opens, the same holds across the maps. There is also a shortcut for opening Temple level 2 and the others: just visit every level 1 area once. Step inside, turn around, walk out, done.
Boss farming is the grind wall, so brace yourself. Special items drop rarely. Community counts land around 20 boss kills in the Temple for a Mask of Wrath and roughly 25 in the Land of Extreme Ice for a Zero-Degree Tear, and you need multiples of these to unlock and craft everything. The devs told one player the Tier 2 map drop rate sits at 65%, though plenty of players swear their real rate feels closer to 20%. Expect bad streaks.
A couple of specific hunts people get stuck on:
- Kaido shows up in the Land of Extreme Flames (L1), around a Coke district. He looks like a normal vendor and is not marked blue on the map.
- The Halberdier is on the Frost Execution Platform in the Land of Extreme Ice, tied to the “Shell of Winter” mission from Marcus of the Chamber of Commerce.
Higher tiers are also where the reward complaints pile up. Boss chests and Mysterious Chests can pay out frost stones, seeds, and spare backpacks, and a Mysterious Key runs 45,000 silver for loot barely better than a common Gold Key chest. Weigh whether the deep runs are worth it for your goals right now.
Quick Fixes
- Split a stack: hover the item, right-click, then drag the bar to the amount you want.
- No compass: there isn’t one. Use the mini map and drop a marker with the middle mouse button.
- Upgrade the Public Warehouse: open the warehouse window and click the small icon at the top left.
- Logistics Training stuck at level 3: the recipe needs ten Basic Repair Kits, not one. Read the count next to it.
- Better harvesting tool: there is no tool upgrade. Raise the gathering sliders in settings to pull far more from each node.
- Crafting The Duke: it is the tier one sniper rifle, cut off in the crafting menu. Scroll right to find it for the “One Shot, One Kill” quest.
- Is farming worth it? for Gold and Red materials, yes. For everything else, vendors and instance loot cover you, so farm only if you enjoy it.
This guide is built from Nuclear Epoch’s official strategy guide, current Steam discussion reports, and community gameplay footage. The game is still being updated, so exact costs and drop rates can shift with patches. It covers the beginner-to-early-mid-game route rather than a full 100% clear.