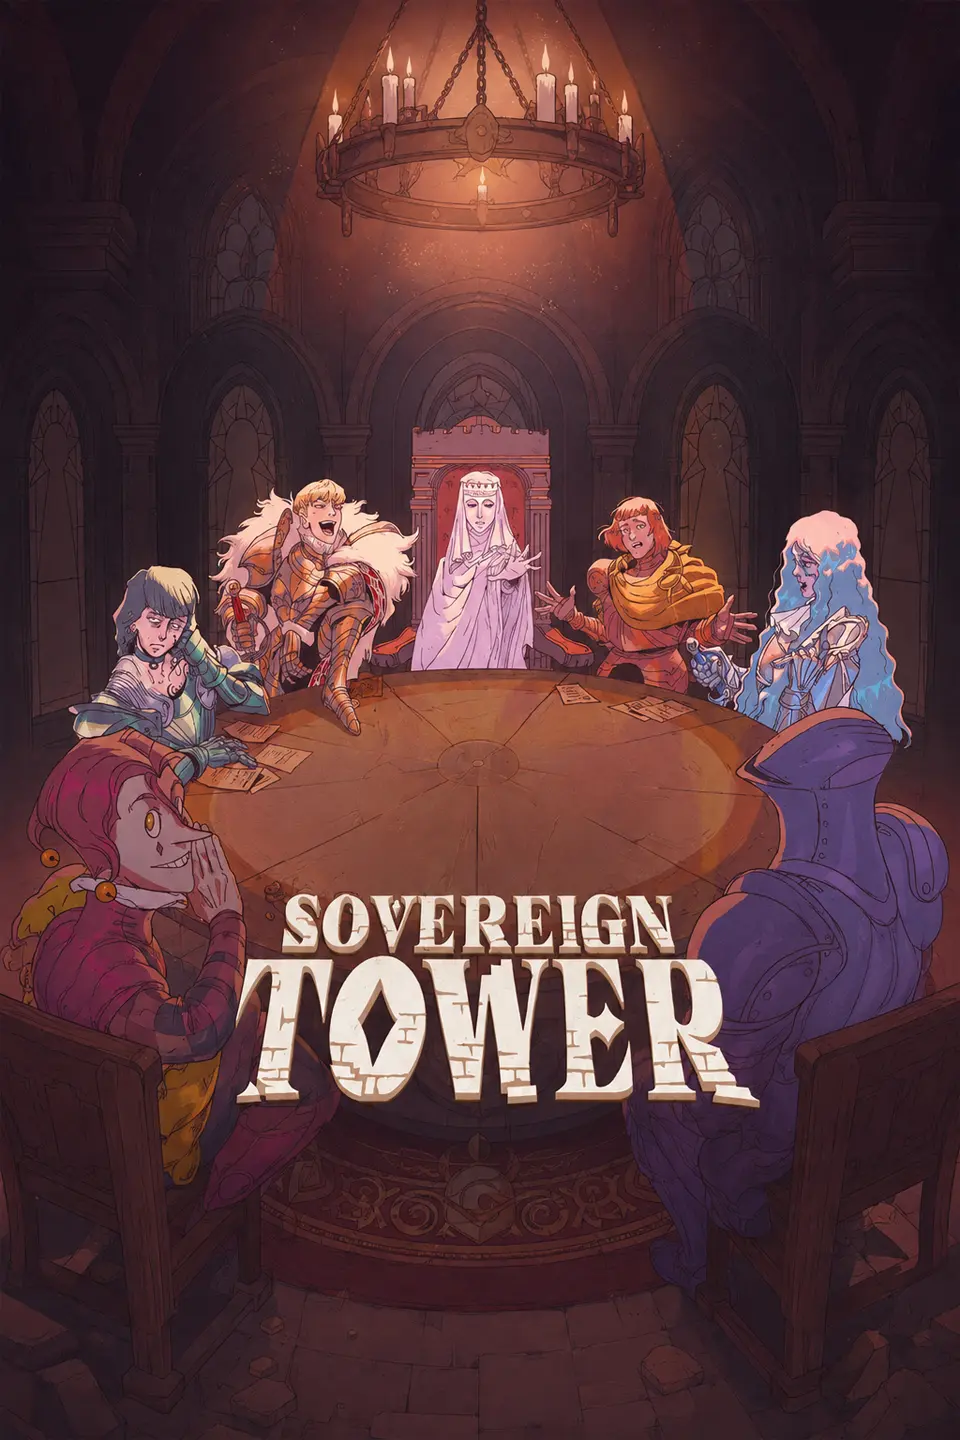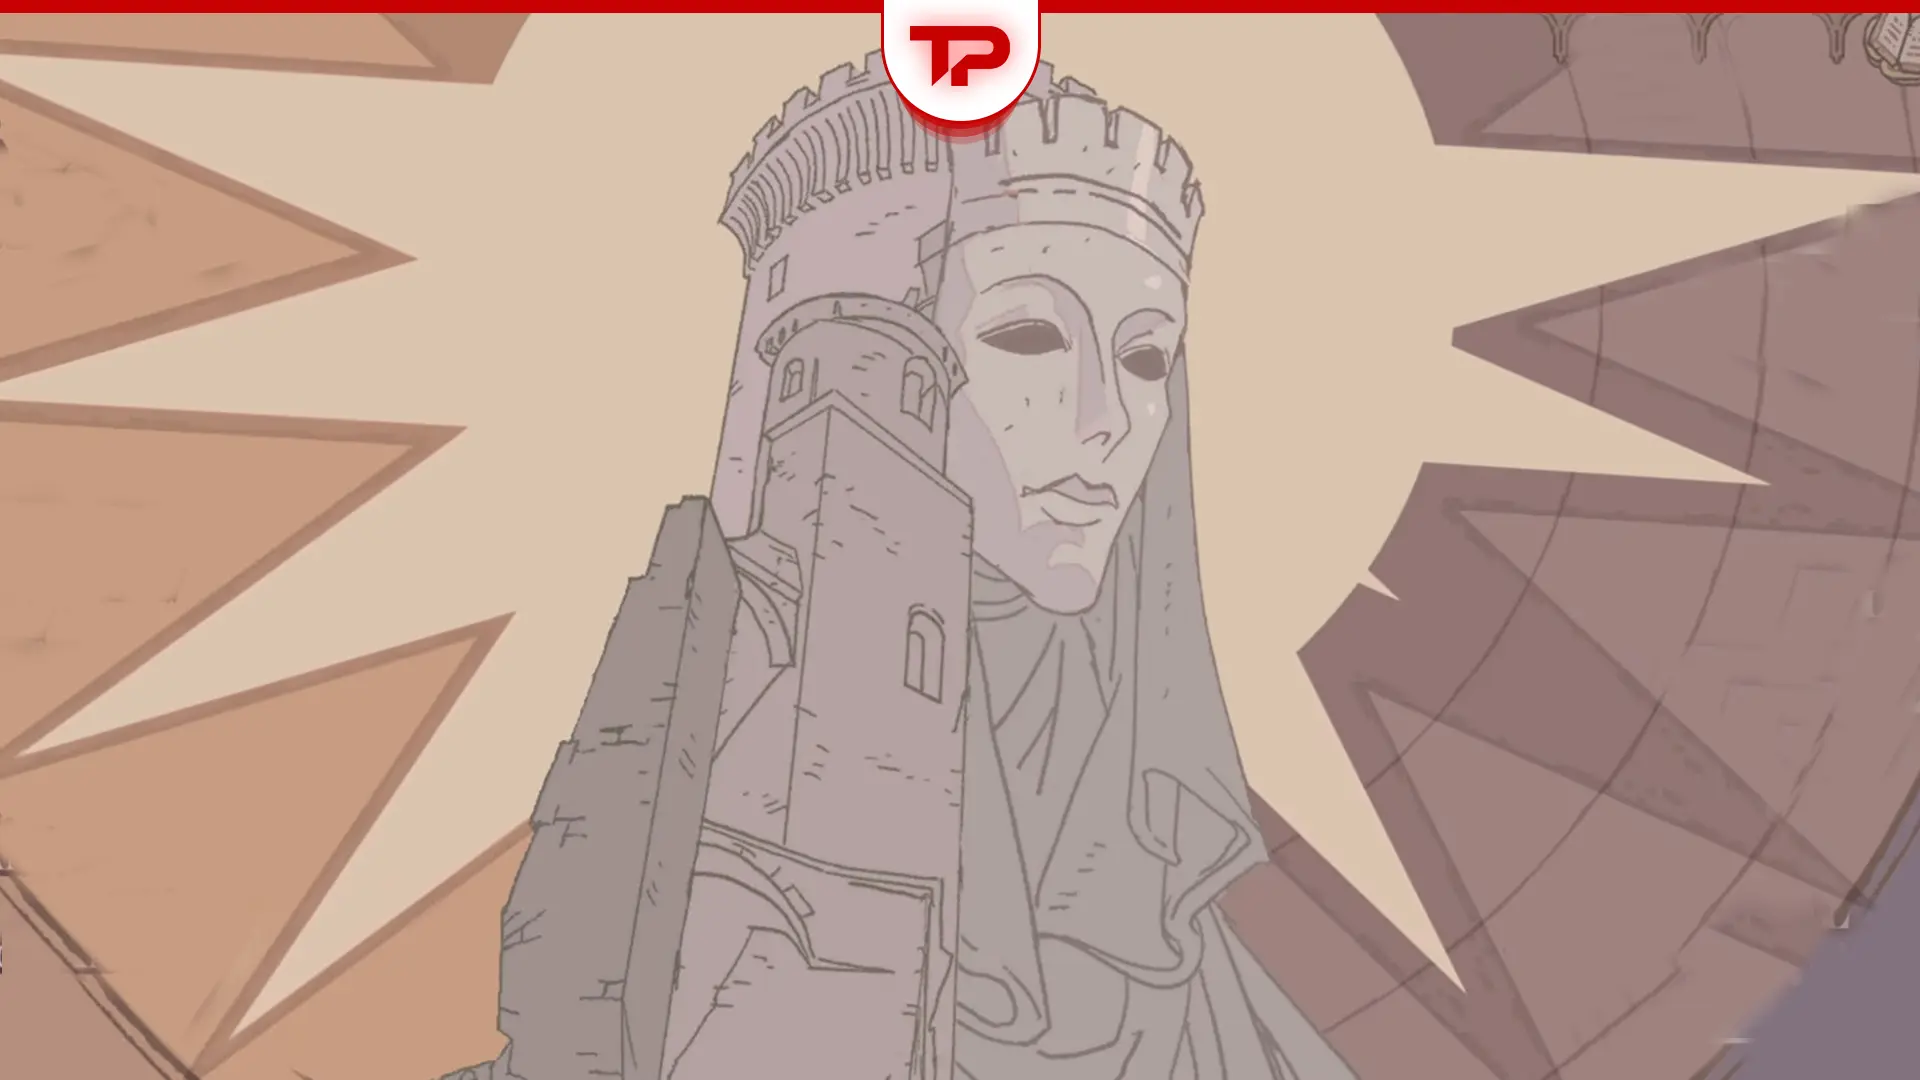


Sovereign Tower basic loop is easier than it first looks. During each cycle, you make decisions in the Audience Chamber, use your free time to learn more about your Knights and Tower, then head to the Round Table and assign the best knights to the quests you accepted.
For your first few cycles, focus on three things: don’t tank one of your faction affinities just to please another, learn your Knights’ strengths and hidden attributes before sending them out, and pay attention to what each quest is actually asking for.
This Sovereign Tower guide explains those systems first, then goes for deeper mechanics.
Your Guide:
The Core Loop at a Glance
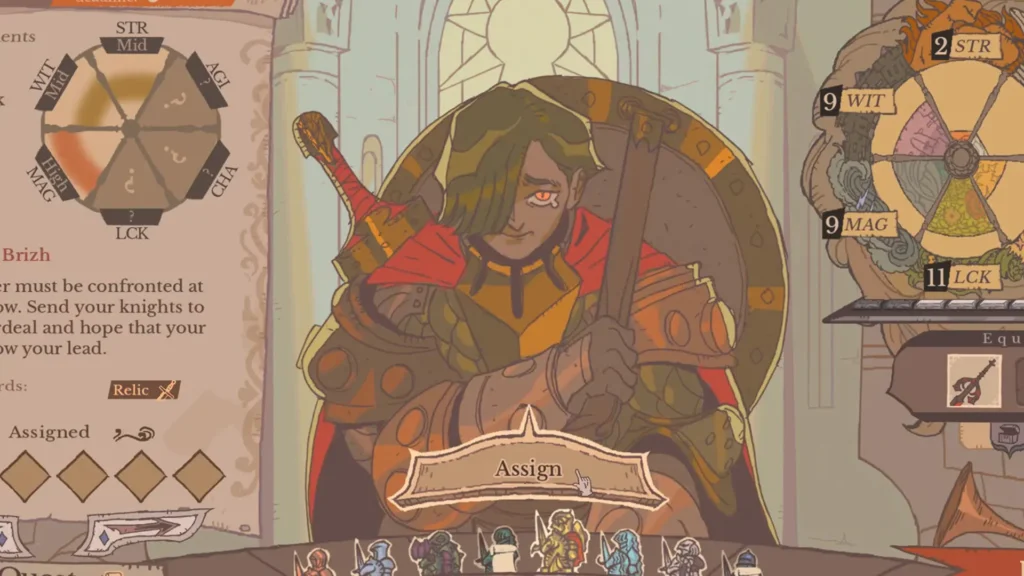
Every in-game cycle (basically a day) follows the same rhythm. I’ve tried to organize them as simply as possible:
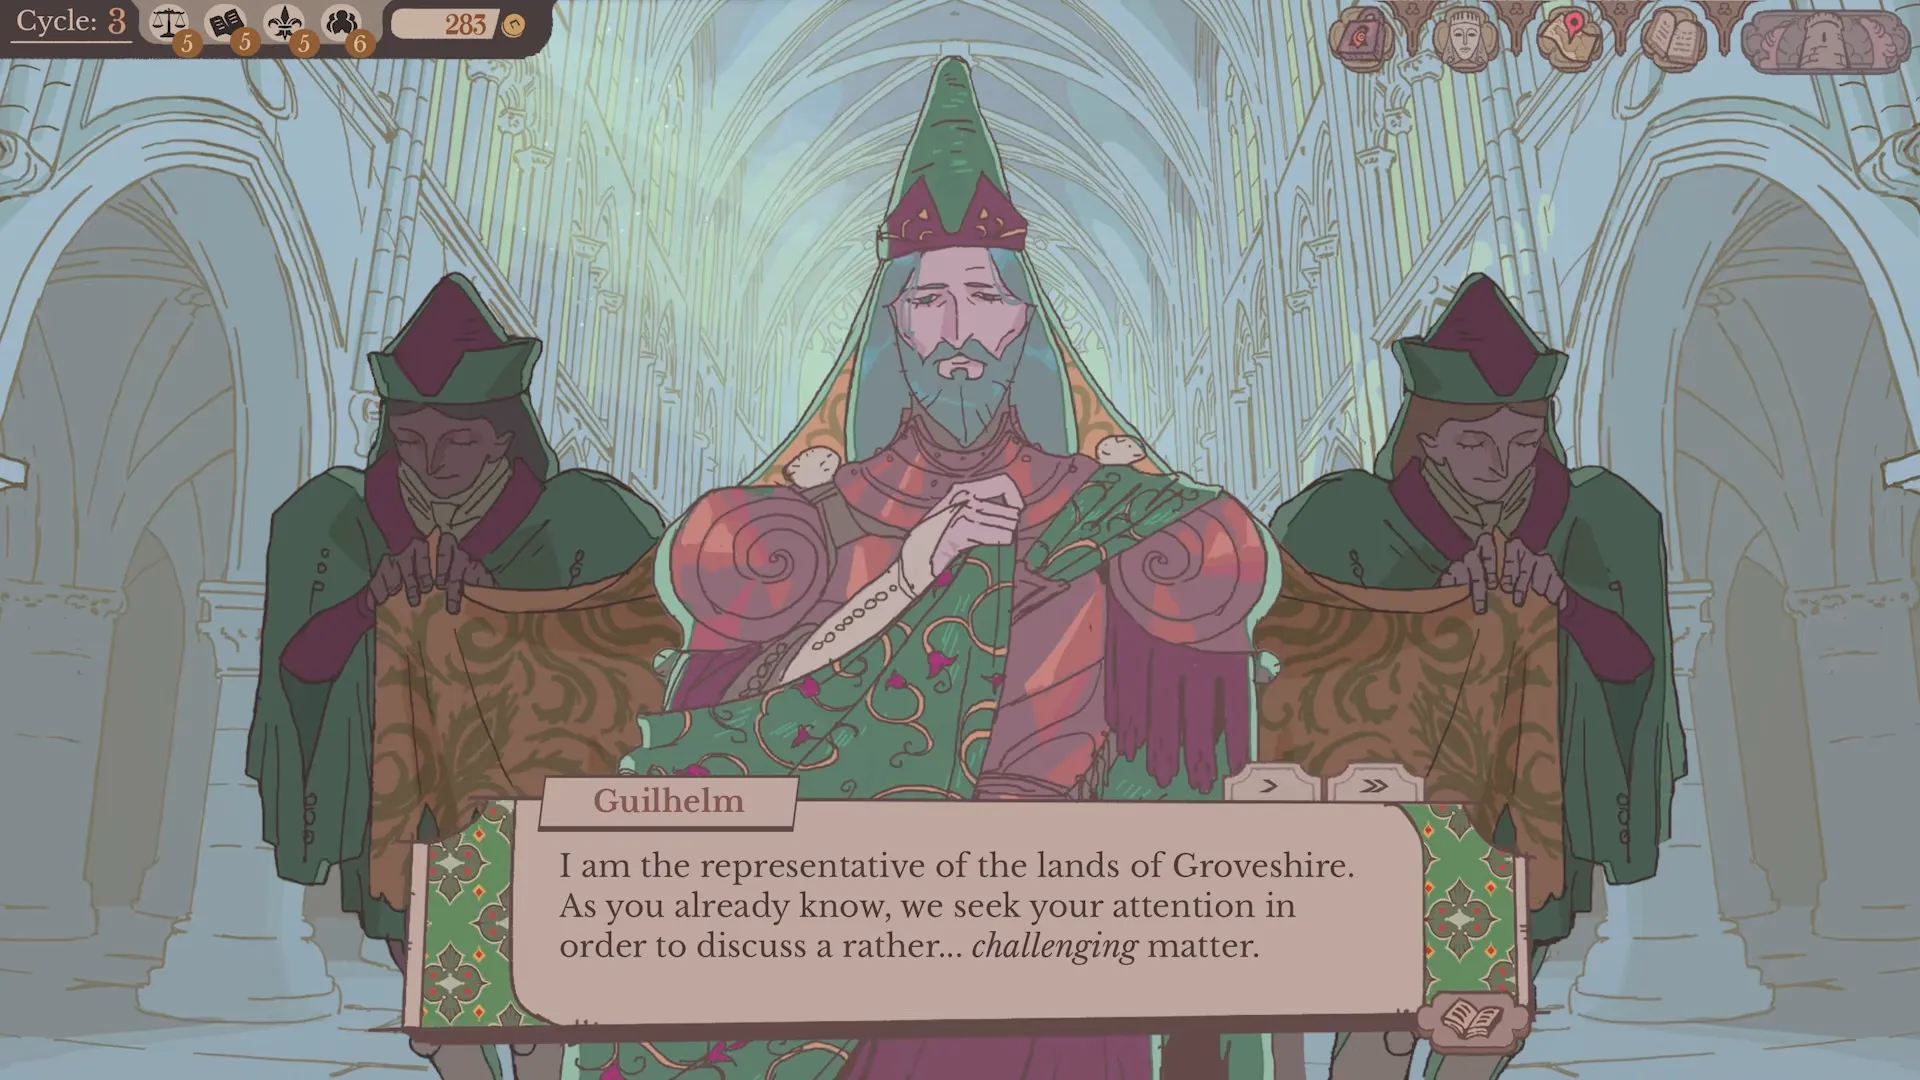
- Hold your morning audience. People arrive with problems, requests and political decisions. Your answers can affect relationships with the different groups in the kingdom, your Treasury and future story options.
- Use your free time. Explore the Tower, speak with your Knights and staff, learn information that can help you later. Hidden Knight attributes and preferences matter, so this part of the day is not just filler.
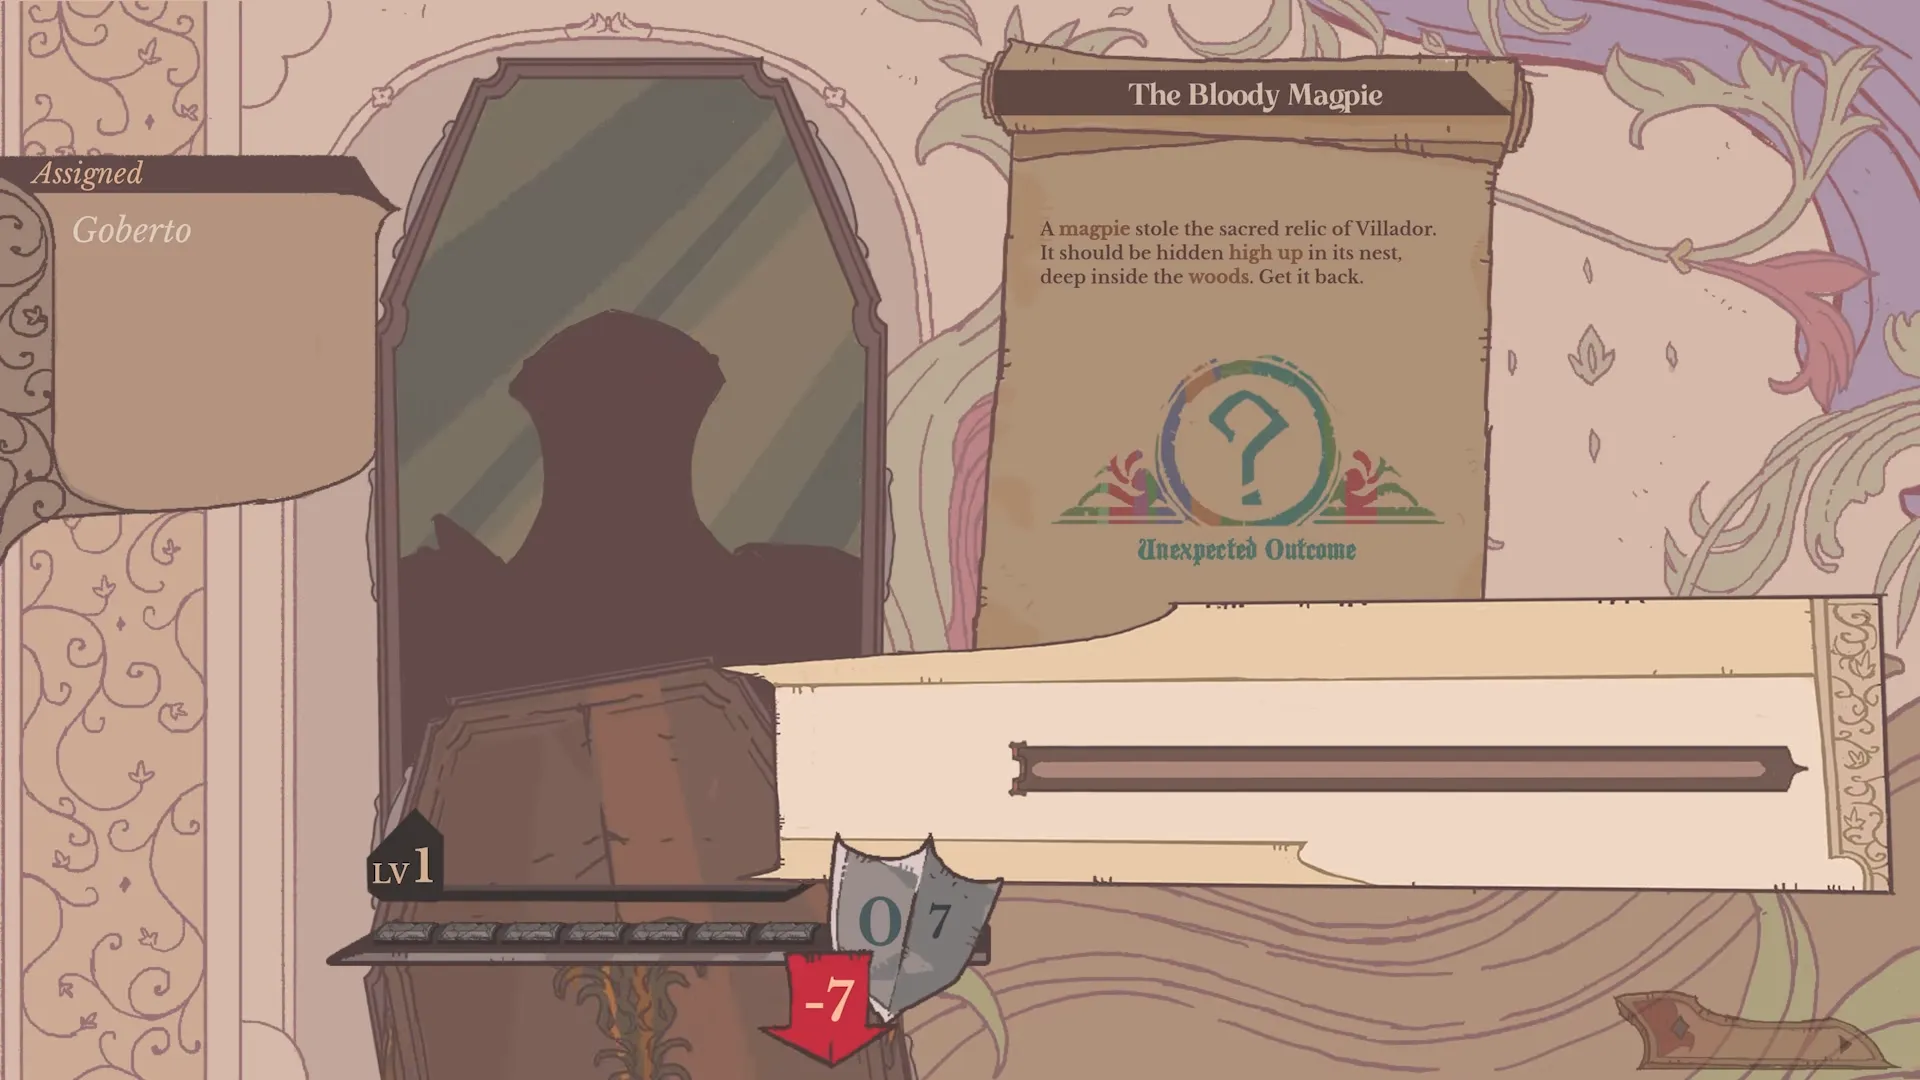
- Visit the Round Table. The quests you accepted during the audience appear here. This is where you decide which Knight or Knights should handle each job.
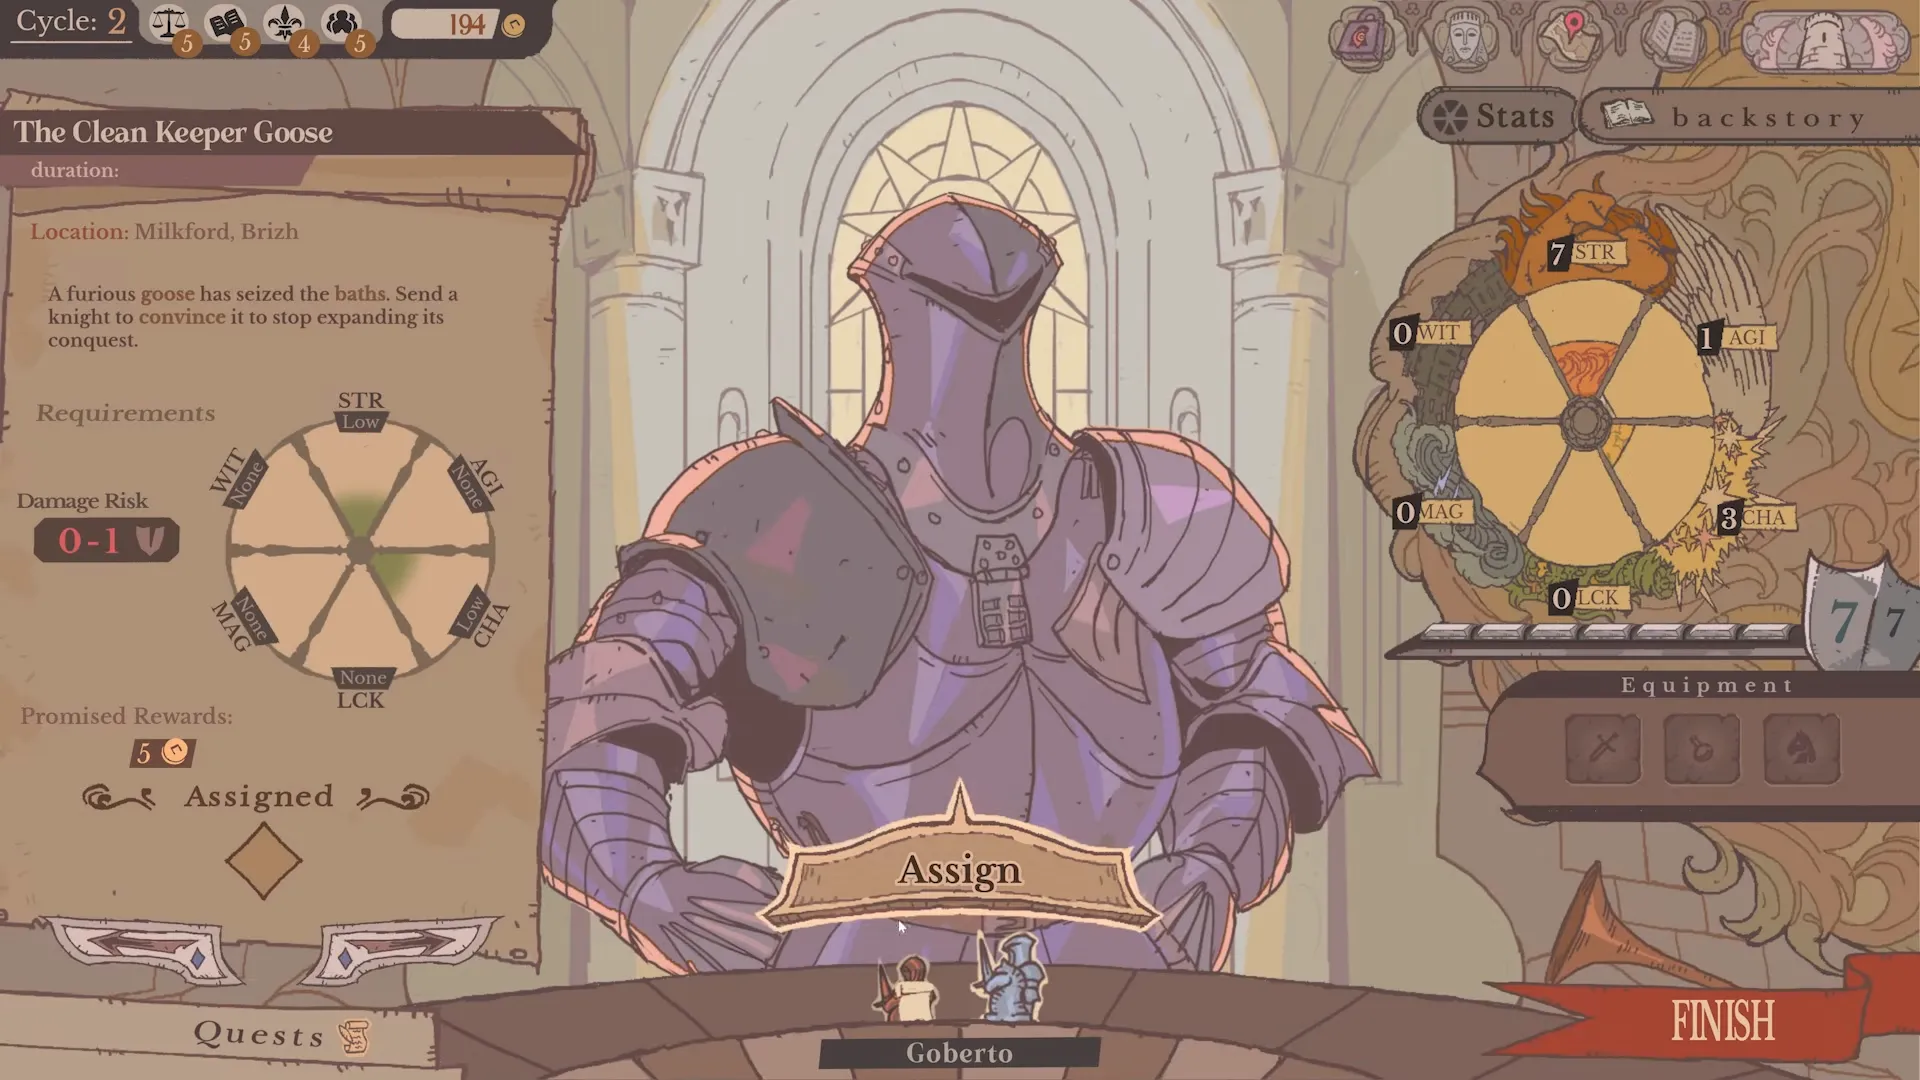
- Match the right knight to the quest. Compare the quest requirements with each Knight’s stats and known attributes instead of automatically sending whoever has the biggest numbers.
- Read the Results: Knights come back with one of three flavors which are:
- Critical Success: Nice rewards, faction love, affinity boosts.
- Success / Unexpected Outcome: Solid or quirky rewards (Unexpected ones often unlock special items or story bits).
- Critical / Major Failure: Damage, possible knight death, faction penalties, missed opportunities.
Roll into the next cycle.

Keeping the Five Factions in Check
Sovereign Tower asks you to balance five major groups:
- Merchants
- Mystics
- Scholars
- Nobles
- People
Your Treasury sits alongside them as another resource you have to watch.
Audience decisions can help one group while upsetting another, so there usually isn’t an answer that makes everybody happy. Some choices can also become available or unavailable depending on your standing.
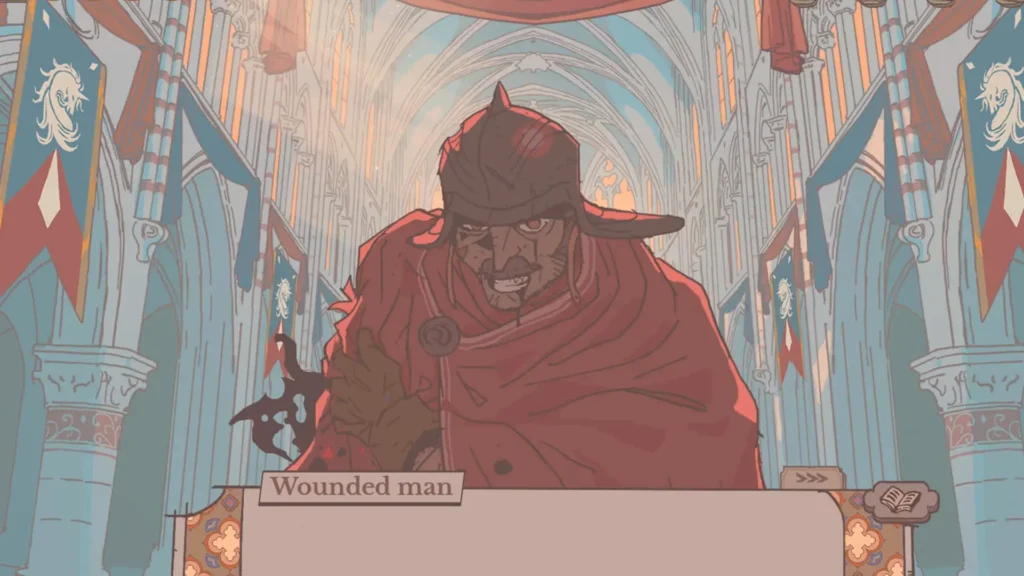
For a first playthrough, I wouldn’t obsess over keeping every meter perfectly equal. Instead, check the consequences before repeatedly siding with the same group. If you consistently favor one side, you can make later decisions much harder for yourself.
Your Sovereign also develops four ruling archetypes through your choices: Audacity, Wisdom, Tyranny and Kindness. These can open additional dialogue and decision options, so your choices are doing more than moving faction meters.
Assigning Knights Without Accidentally Dooming Them
Knights are the real heart of the game and you should know that. Each one comes with:
- Five stats (Strength, Agility, Charisma, Magic, Wit) on a 0–15 scale.
- Visible attributes plus hidden personality traits.
- Affinity toward you (low affinity means they might just leave).
- Armor that takes real damage on quests.
How outcomes work (simplified): Success depends on how well the assigned knight(s) match the required stats, modified by traits, party size and a dash of randomness. A trait that clashes with the quest can turn a sure thing into a mess even if the numbers look fine.
You should know that knights have some romance options (not all of them though, Victoria for example). They have a scale of -10 to +10 affinity for romance. Upper it goes, they have more romance change.
Beginner Tips with Knights
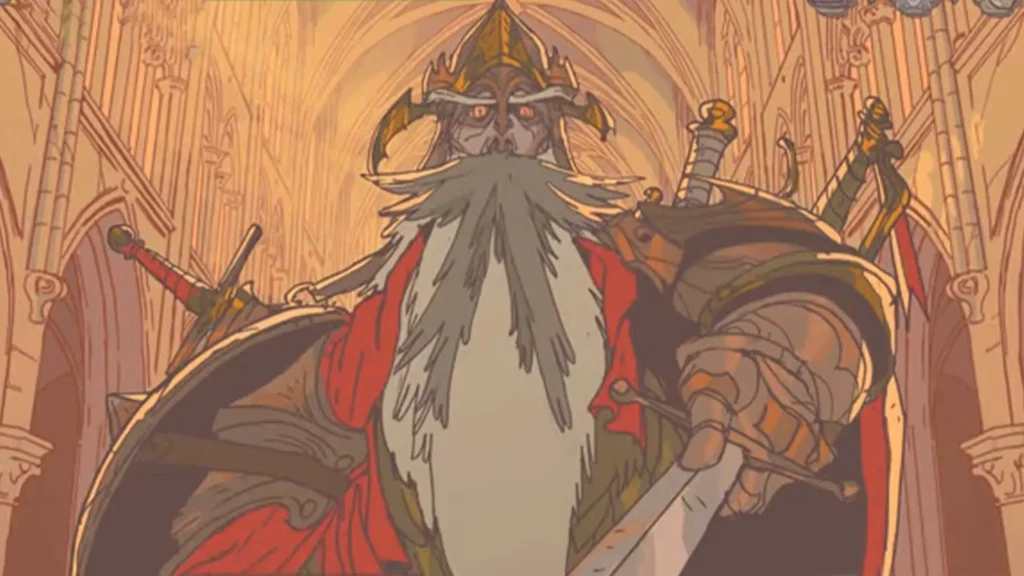
Dealing with knights, you need to know some tips for a better run: First thing is that you should read the quest text carefully. Highlighted words are usually hints about useful or dangerous traits.
Prefer knights whose known stats sit close to or above the requirements. Dig up hidden traits by talking to them, praising the right things or using advisors later. You can often send more than one knight, but early on you’re usually working with one or two.
Tip 1: Armor takes damage even on success (the ranges are shown).
Tip 2: Gear, mounts, potions, and meals give temporary boosts and can nudge affinity.
Affinity is its own thing. Matching preferences, feeding liked meals and picking dialogue they approve of raises it and unlocks personal scenes. It doesn’t directly change quest math, but it keeps your roster happy.
Tower Annexes: What Should You Build First?
Expanding the Tower unlocks new Annexes, positions and ways to prepare your Knights. Two important examples are Carina’s Forge and the Witch’s Alchemy Room, which give you access to equipment and other useful items for quests.
For beginners, prioritize Annexes that solve a problem you are already having. If your Knights need better equipment or repairs and the Forge is available on your route, it is an obvious early investment. If you are relying more on consumables and magical support, the Alchemy Room becomes more useful.
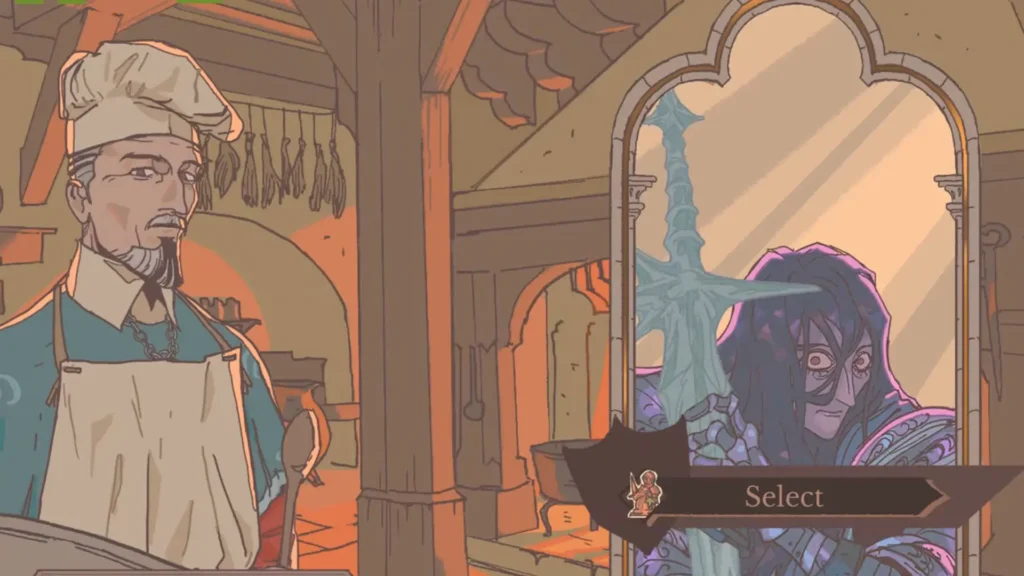
Don’t spend resources just because an upgrade is available. Look at the quests coming up, check what your current Knights are missing, and build around that.
Also keep checking the Tower between cycles. Annexes aren’t just cosmetic upgrades; expanding the Tower opens more options for your court and gives you more ways to influence difficult quests.
A tip: Do not ignore armor repairs. A dead knight costs way more than the gold you spent fixing their gear.
The Time-Rewind Button
Deep in the tower sits a demon (or artifact) that lets you rewind previous cycles. You keep your knowledge and some progress (including Archetype levels), but the timeline itself gets rewritten.
Be aware that this is not free save-scumming:
- Overusing it has narrative and mechanical costs.
- Repeated use unlocks Omniscience levels that slowly reveal more info like hidden traits, success chances, faction previews and eventually deeper secrets about the Tower and the demon.
Higher Omniscience makes optimization easier, but it can also fragment the story and change how characters react to you.
Good Early Reasons to Use It
This option can be really really useful sometimes. Some of those times can be:
- A critical failure that kills a useful knight or tanks a key faction.
- Realizing you sent the wrong person after the results screen.
- Wanting to try a different audience choice without restarting the whole run.
Use it deliberately. The knowledge sticks around for that playthrough path and that’s one of the game’s coolest features.
Common Sovereign Tower Beginner Mistakes
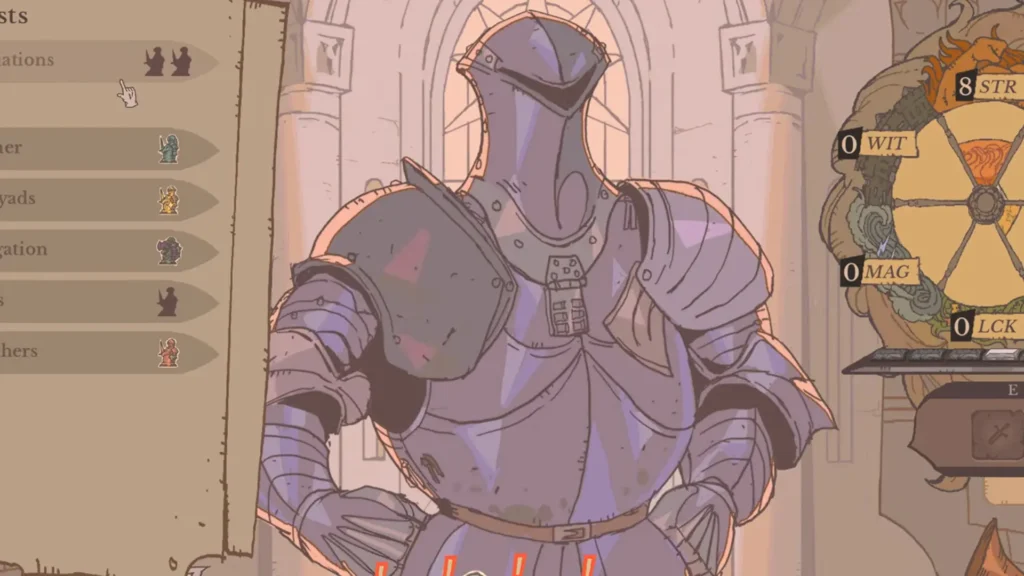
When I first started the game, some mistakes caused me the most problems. I wrote them somewhere because I knew I would write a guide for you about this game. I hope this list is a practical one. Common mistakes are:
- As I said earlier, going all-in on one faction while the others collapse is a mistake.
- Ignoring traits and only looking at raw stats.
- Skipping armor repairs after the first few quests.
- Accepting every petition without thinking about long-term faction or resource costs.
- Sending knights on high-risk jobs when their armor is already low.
- Forgetting to talk to knights and the Lady of the Tower between audiences.
- Treating the rewind like a free “undo” button and ignoring the costs and revelations.
- Rushing past the first cycle without learning the systems.
Practical First-Cycle Checklist
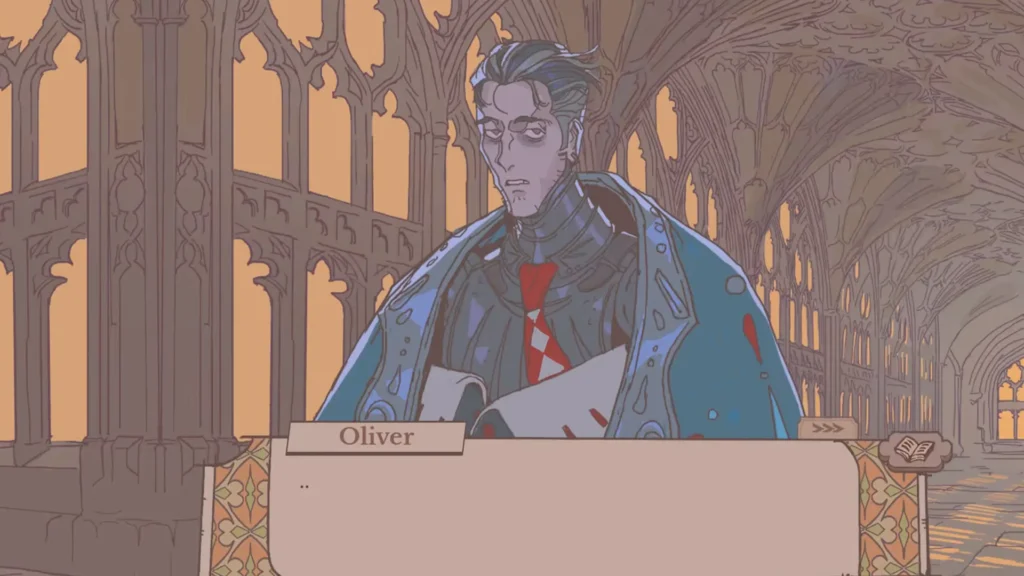
And here is a checklist I know will be practical for you who just starting the game:
- Listen to Arlin’s explanation of the loop.
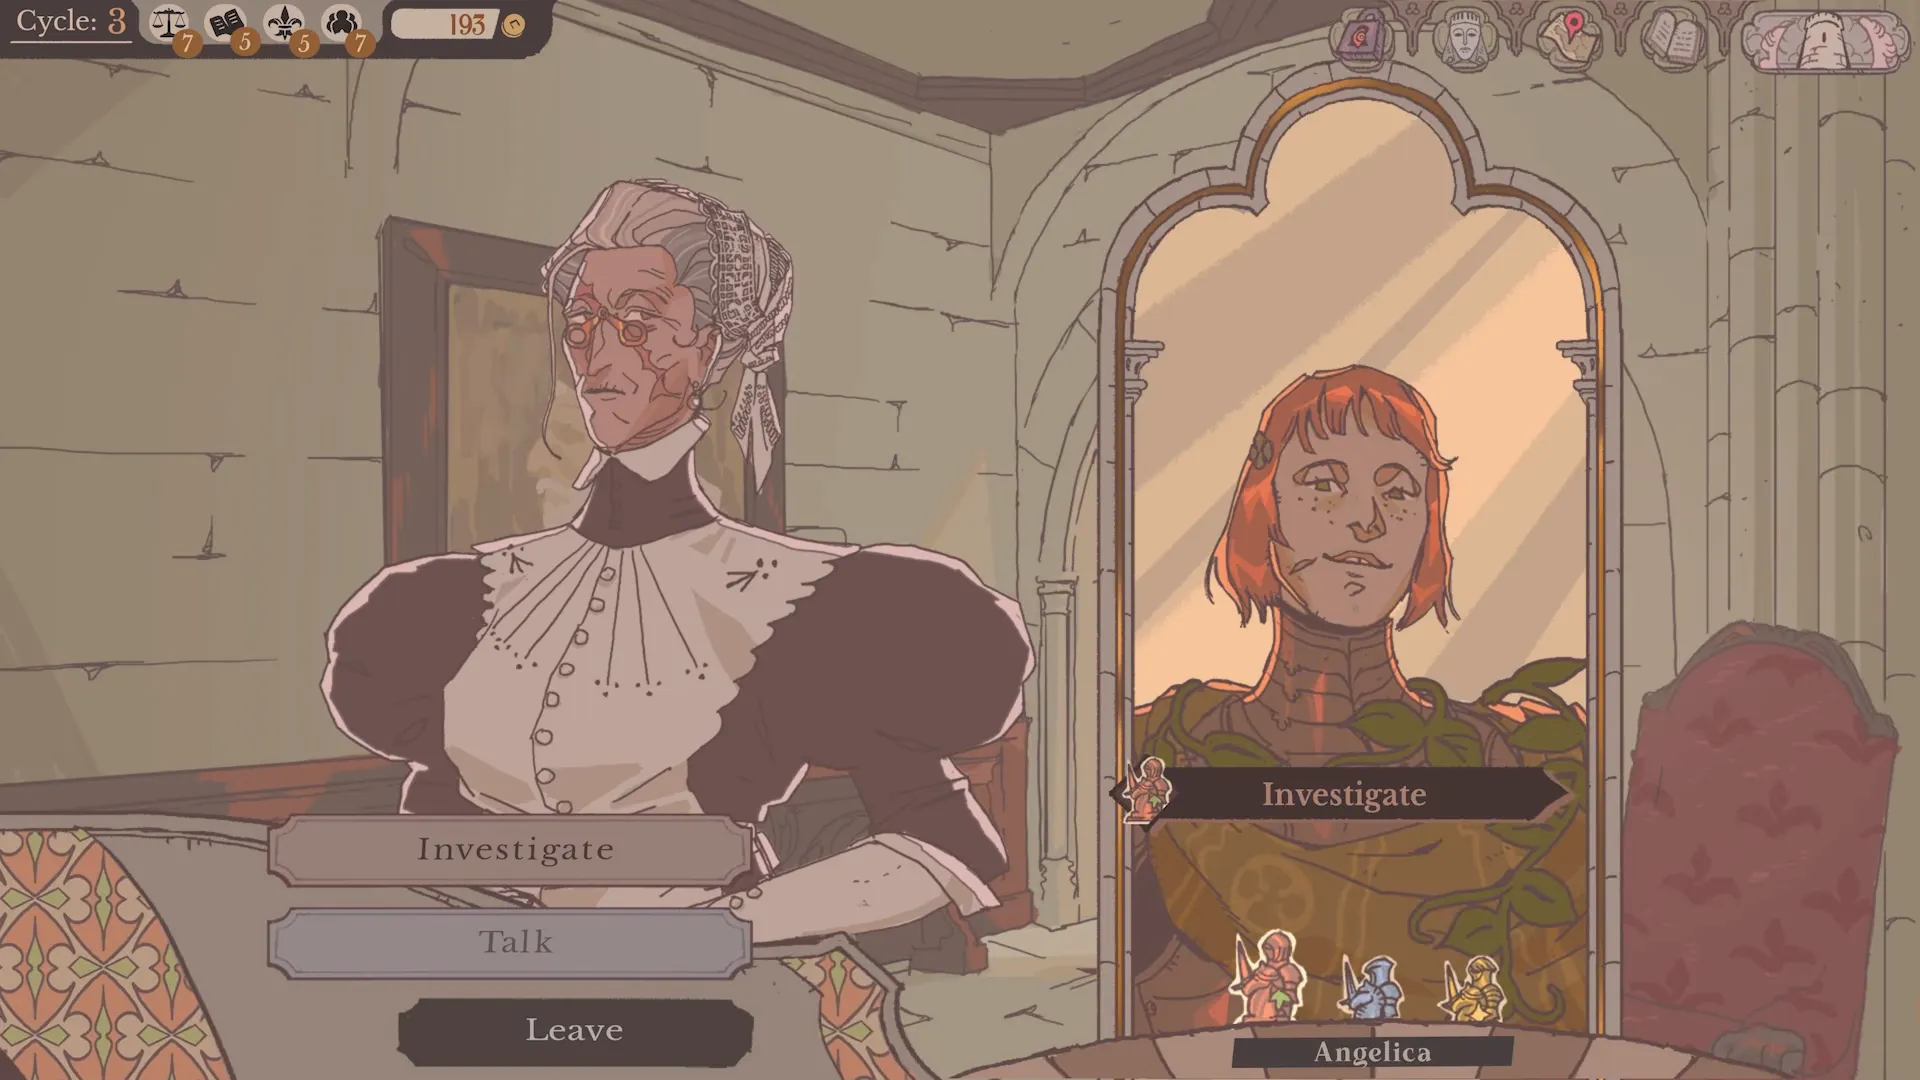
- Recruit Angelica. Letting her keep the cat is a strong early move (affinity up + helps reveal Animal Lover).
- Accept Carina’s request for her missing smithing hammer (“Hammer Lost, Yet Again”). This is the natural path toward the Forge.
- Visit the Lady of the Tower in the gallery.
- Talk to Angelica in the kitchen/tower and praise the cat so you can discover her Animal Lover trait.
- Assign Angelica to the hammer quest (her stats and known traits are a solid match; damage risk is low).
- Check faction reputations, funds, and the map room.
- Finish the cycle and actually read the results and note damage, XP, gold, and any follow-up audience options.
After Cycle 1 you’ll usually unlock more knights (Goberto is a common one) and the Forge path. Cycle 2 also introduces the Crypt and the rewind mechanic more fully.
FAQs
What should I focus on in the first few cycles?
Learn the loop, keep factions reasonably balanced, unlock and use the Forge, dig up knight traits, keep armor repaired, use rewind strategically when it actually matters.
Is this a pure visual novel or a management game?
Both. Heavy narrative and character writing sit on top of real systems: factions, stats, traits, armor, resources, and time rewind.
Should I spam the rewind?
Use it when a mistake would permanently hurt the run. Don’t spam it. The knowledge is valuable; the narrative cost adds up.
Does affinity affect quests?
Not the success calculation itself. It affects whether knights stick around, what dialogue you get and personal story content.
Are there “correct” choices?
Nope. The game is built around branching consequences and the ability to rewrite timelines.