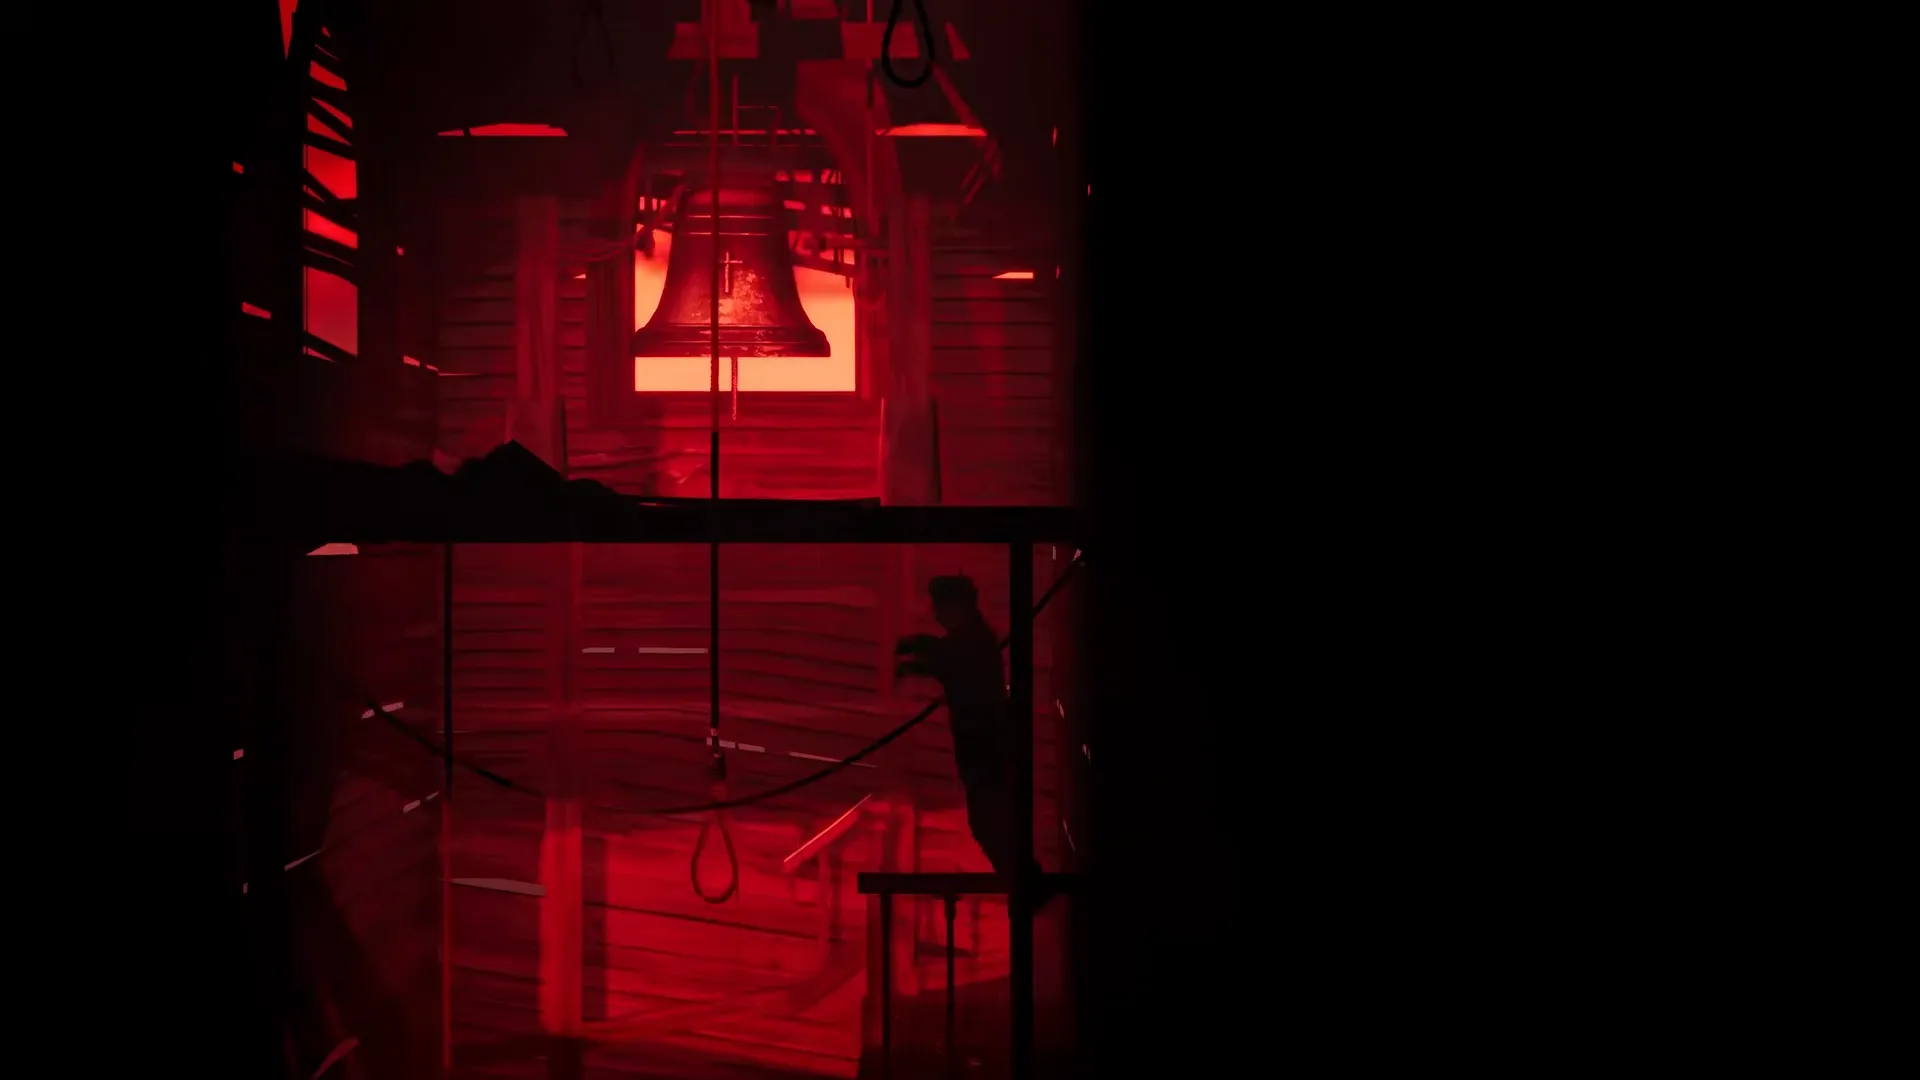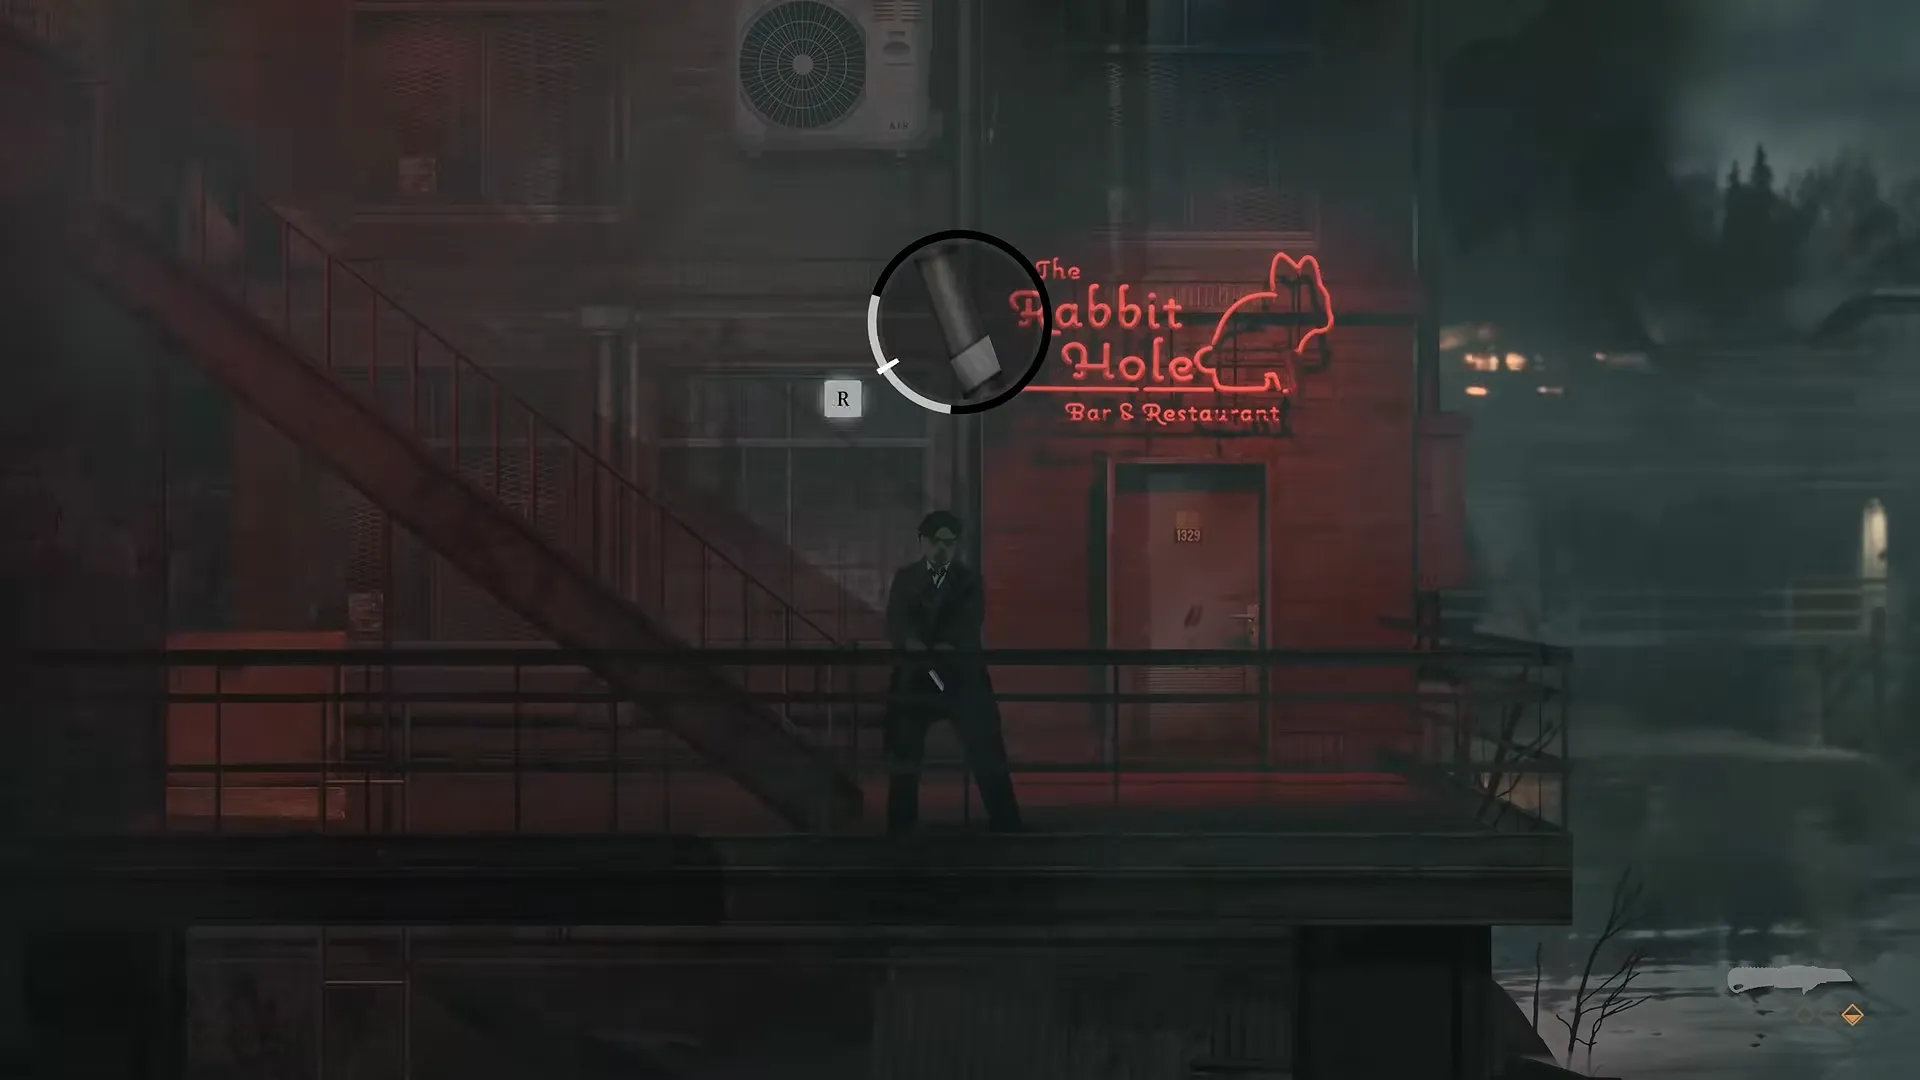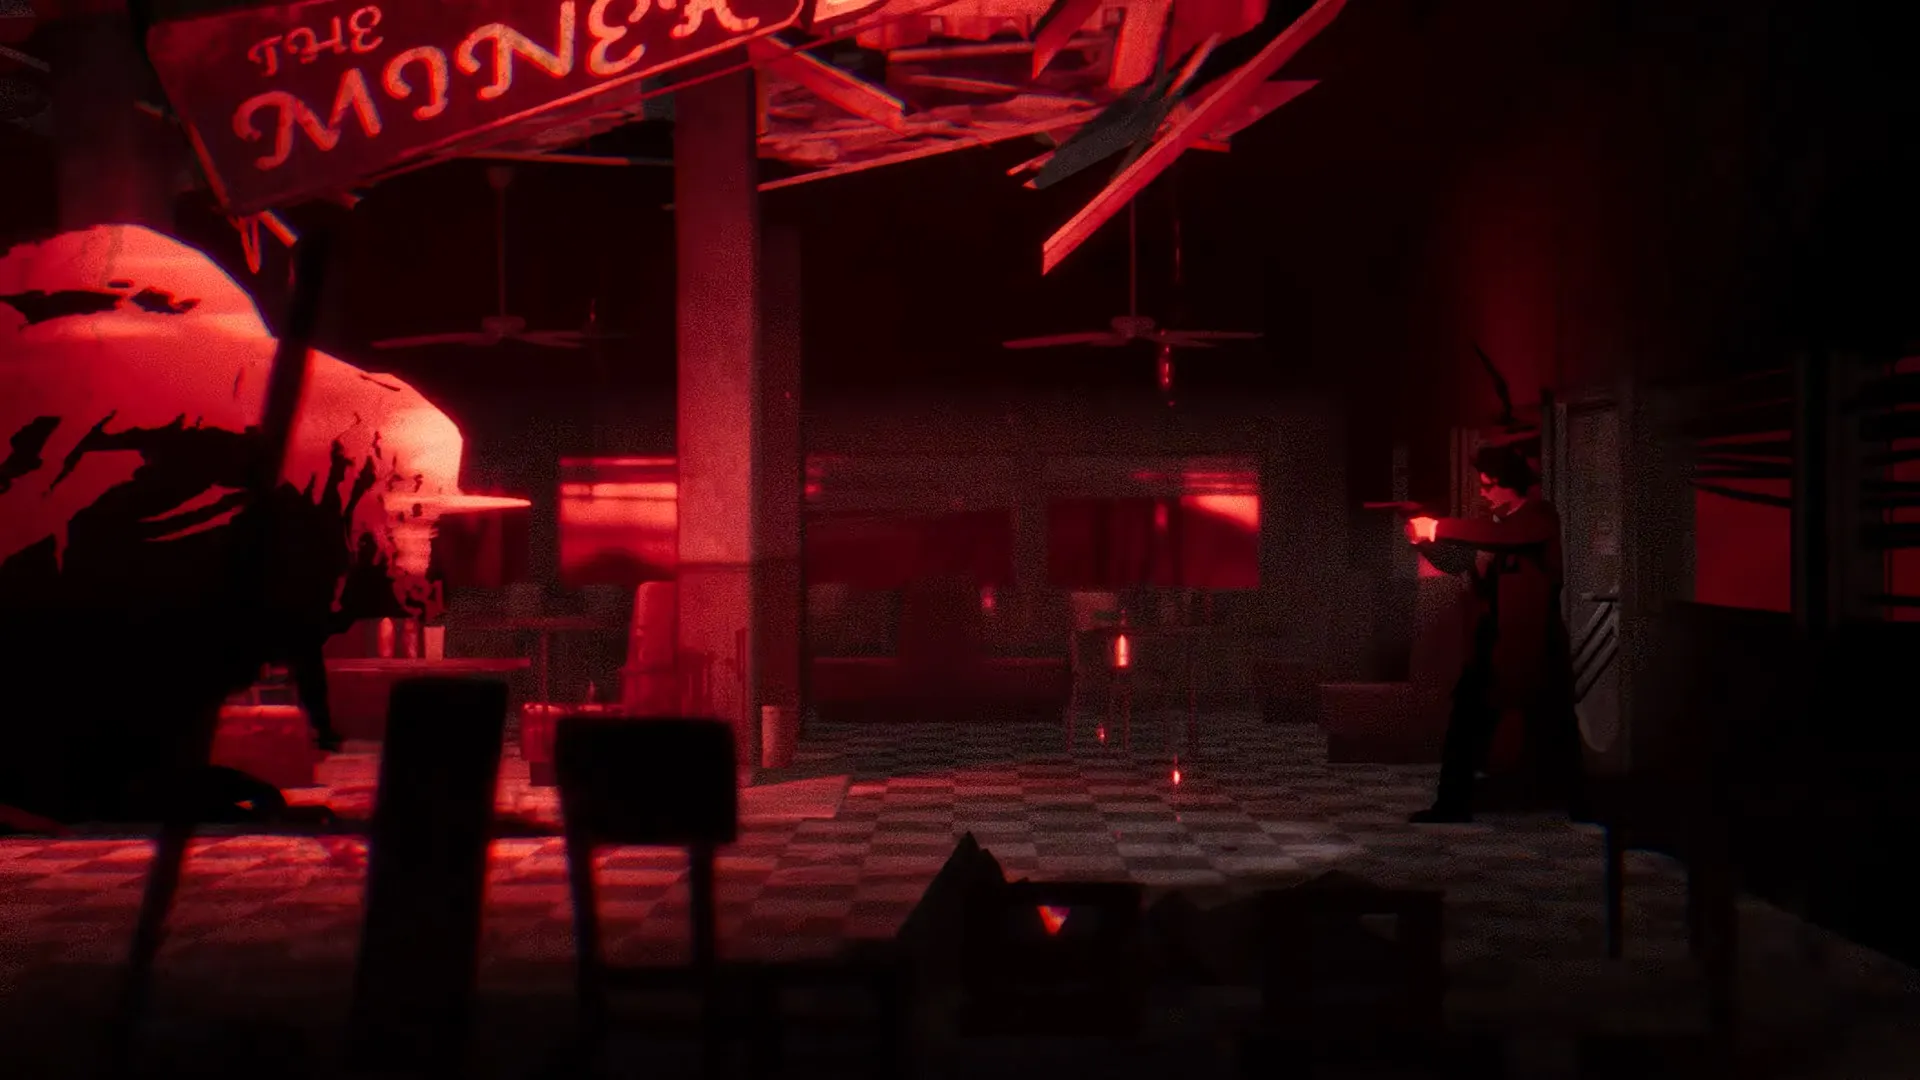


Silver Pines has more than 10 boss fights, and the Driver is in two of them. A red glow around a door or tunnel means one is about to start. For most fights, stay at range and dodge when the boss attacks. Shoot when it opens up. Save before every red glow, because a save costs $1 at a phone.
The Church Hill fight is a wave battle and the Sheriff is a button-prompt struggle. I list both as boss fights, so the count includes them.
What You Will Read:
All Bosses in Silver Pines
| # | Boss | Where | Best weapon |
|---|---|---|---|
| 1 | Tunnel Boss | Tunnel between the Crimson Bear Motel and the Ferry Office | Revolver or shotgun, knife for the shadow enemies |
| 2 | Deputy Roberts | Red door next to the Sheriff’s Office | Model 7 Rifle |
| 3 | Union Apartments Boss | Bathroom in the Union Apartments | M1911 |
| 4 | Town Hall Boss (The Driver) | Main hall of Town Hall, Loomis Park | Any firearm, from a distance |
| 5 | Ship Boss | The ship at the docks | Shotgun |
| 6 | Church Hill Battle | Chapel Tower, Church Hill | Model 7 Rifle and either shotgun |
| 7 | Sewers Boss | Sewers, behind Flow Control Valve B | North Star Shotgun with 12ga Slugs |
| 8 | The Sheriff | Chamber behind the sewers hatch | Button prompts, no weapon |
| 9 | Thelend Broadcasting Boss (Driver rematch) | Stage A, Thelend Broadcasting | Firearms |
| 10 | Final Boss | Strange Tree | Strongest firearm you have |
| 11 | Server Boss (Rest ending) | Alternate version of the Rabbit Hole Bar | Magnum rounds and shotgun shells |
How Boss Fights Work in Silver Pines
The Red Glow Warning
Every boss room gives off a strong red light. This is a signal to run back and save. The tunnel and the Town Hall main hall both glow red. Chapel Tower turns red once you ring the bell.
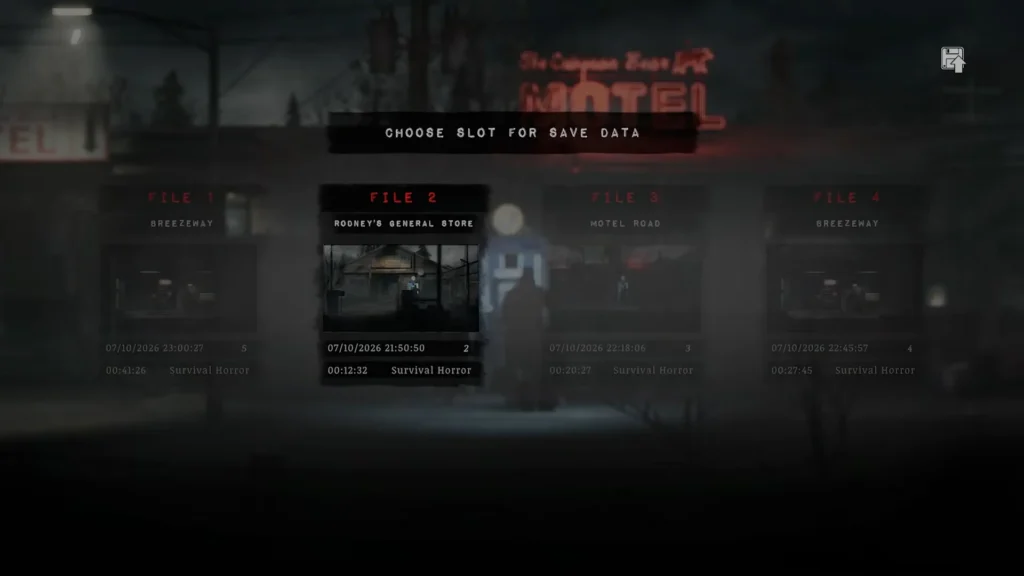
Save Before a Boss
There is no checkpoint at the door. The prep is on you.
- A save costs $1, so keep a coin spare.
- Each phone booth gives one free coin, once.
- The game gives a free call after boss fights and big story moments.
- Use a Storage Container near the fight to swap in ammo and healing.
Best Weapons and Ammo for Bosses
- Model 7 Rifle: the pick for Deputy Roberts and the Church Hill battle.
- M1911: it reloads its whole magazine at once, which suits the Union Apartments boss.
- North Star Shotgun with 12ga Slugs: made for the Sewers boss. A wounded character at the Quiet Hour Cafe hands it over after Church Hill.
- Knife and Duct Tape: the knife handles small shadow enemies, and Duct Tape restores a bit of durability.
Difficulty Levels and Nightmare
There are four difficulty levels, and you can change them at any time. The game calls the third one the intended Silver Pines experience, and Nightmare sits above it.
I found the early fights brutal on Nightmare. The top level adds more enemies and cuts ammo.
Tunnel Boss: How to Beat the First Boss
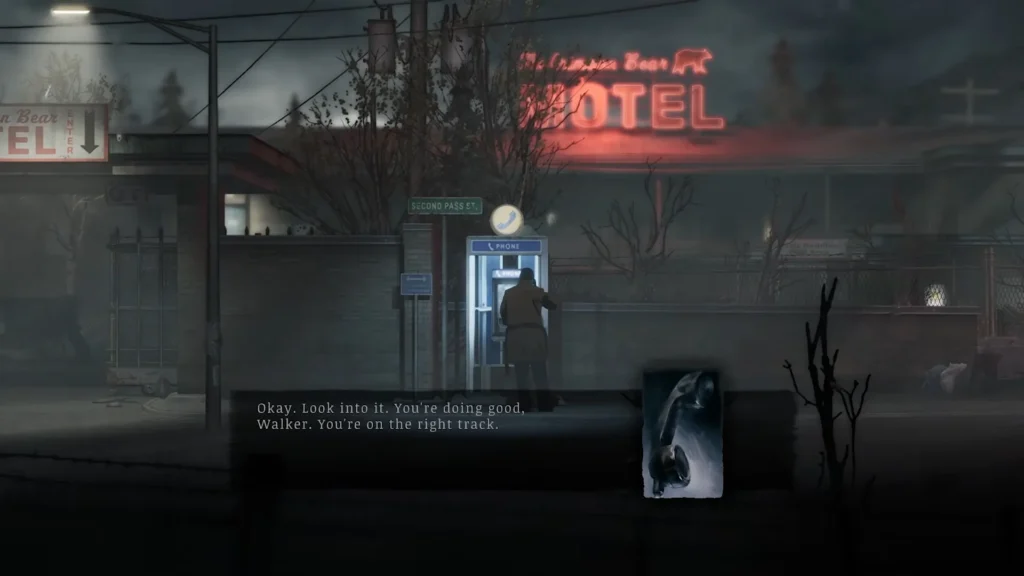
You reach this one on the way from the Crimson Bear Motel to the Ferry Office. Answer the phone outside the motel and head for the tunnel. The red glow tells you what is coming.
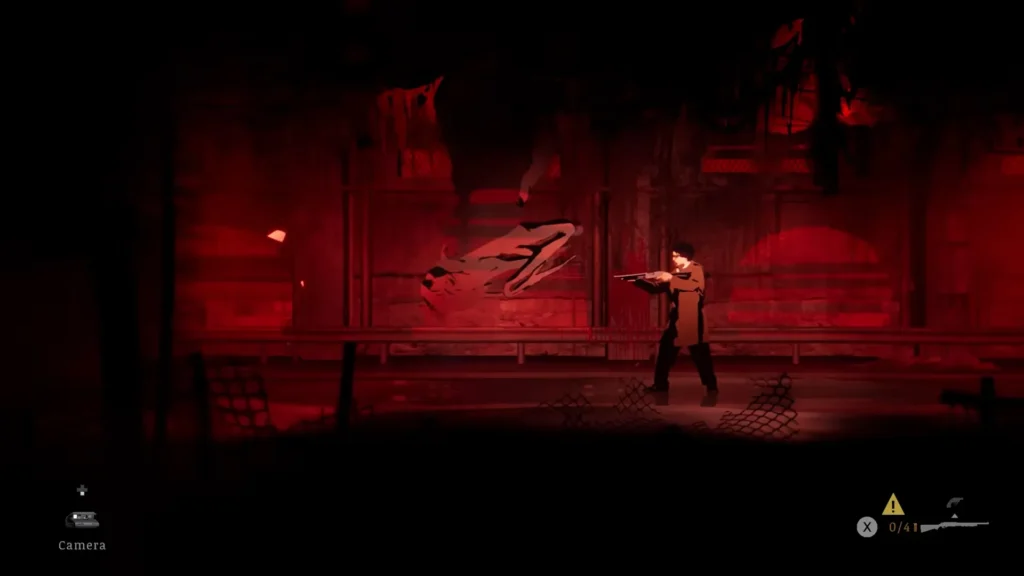
This is the first real difficulty spike. The boss spends most of the fight in the ceiling. Dirt falls where it is about to drop, so move out of that spot before it lands. When it hits the floor, you get a short window to shoot it. Wait until it is fully down, not when it only pokes its head out.
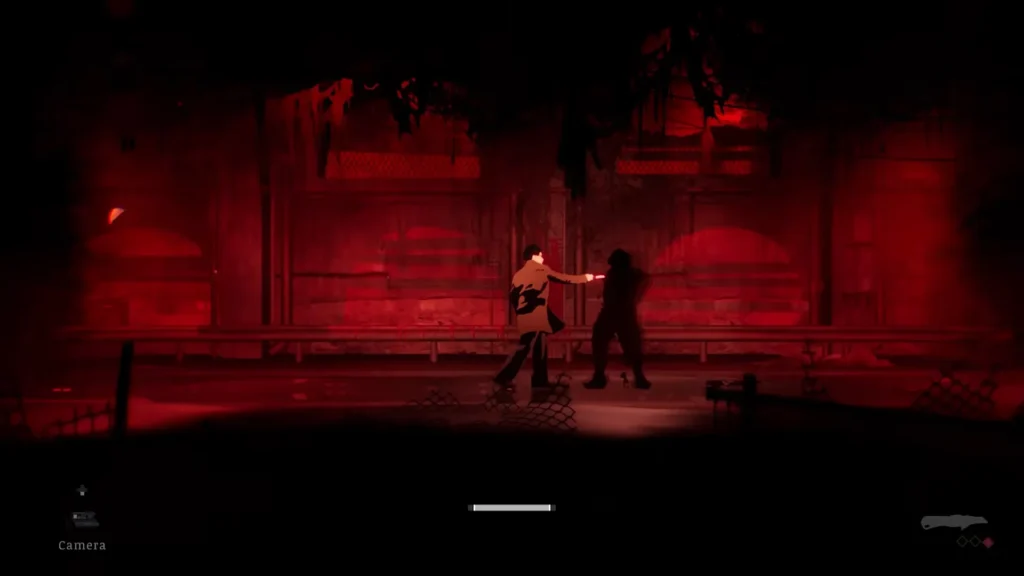
In the second half it starts to spawn shadow enemies. They die to one or two knife hits, so save your shotgun shells and clear them first. The boss pattern does not change, which makes the fight a matter of repeating the same loop.
A broken knife still deals damage. It only loses its stagger effect. If you can, repair it with Duct Tape before the shadow enemies show up.
- Move away when dirt falls from the ceiling.
- Shoot after the boss lands.
- Kill the shadow enemies with the knife.
- Use Duct Tape when the knife breaks.
Once it dies, examine the body for the Corroded Iron Ball Memento. It reduces damage received by 10%.
Deputy Roberts Boss
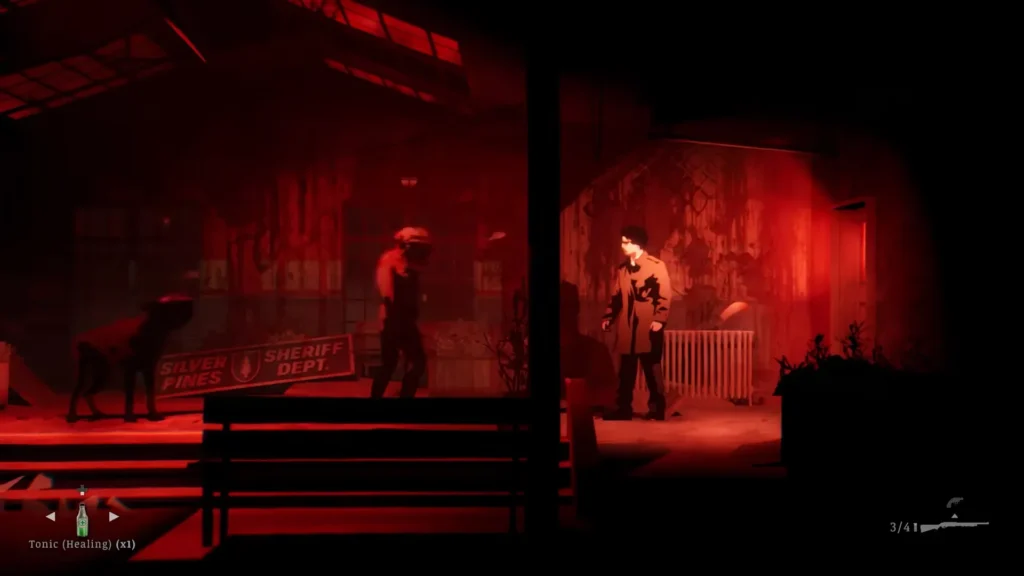
Finish the Sheriff’s Office puzzles and play the Eddie tape, then open the red door next to the Sheriff’s Office. Roberts waits on the other side, and a short talk leads into the fight.
Roberts has no real ranged attack, so there is little reason to stand near him. The Model 7 Rifle is the best tool here. His melee combo is three hits long and it hurts.
A dog fights next to him, and a second dog joins about halfway. Deal with the dogs as soon as you can, then go back to the deputy. Keep circling the arena so you never get boxed in. If he reaches you, dodge through him and sprint to the other side. The rifle can hit both Roberts and a dog when they line up.
When he drops, take the Snake Earring Memento. It raises the rate of fire of firearms by 30%. You then land on Silver Road. Read the diary page on the Silver Road sign, then walk left to the dead end for Cable Station Bell A. The game sends you back to the Sheriff’s Office, where you can save.
Union Apartments Boss
The fight starts in the Union Apartments bathroom. Turn off the faucet at the bath to trigger it, and save first.
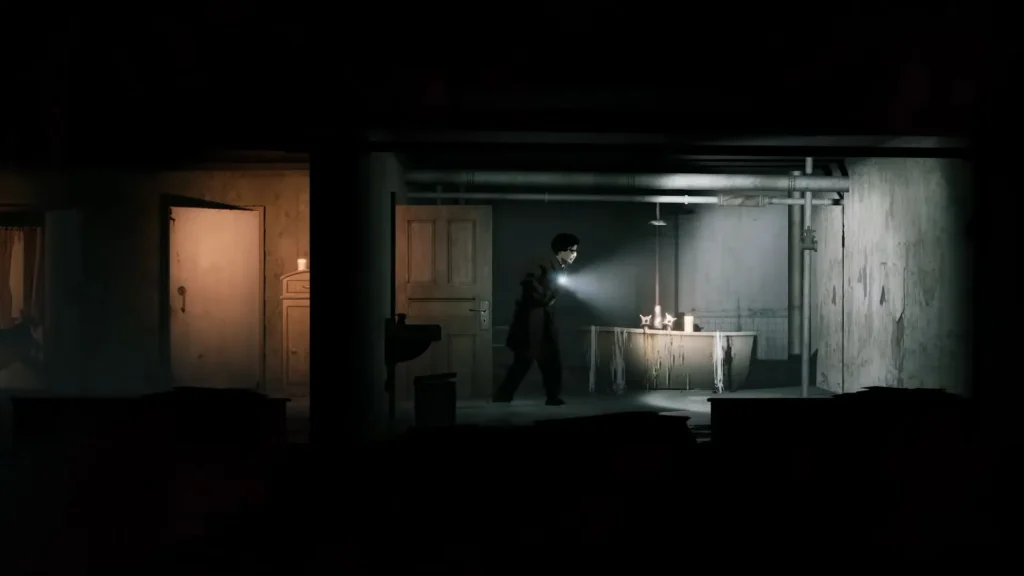
The creature spends most of its time underwater, so firing at random wastes ammo. Watch the surface instead. A splash means spikes are about to burst up, and you should move right away. After the spikes, the boss comes up for a moment. That is when you shoot. The M1911 works well, and the big head makes headshots easy.
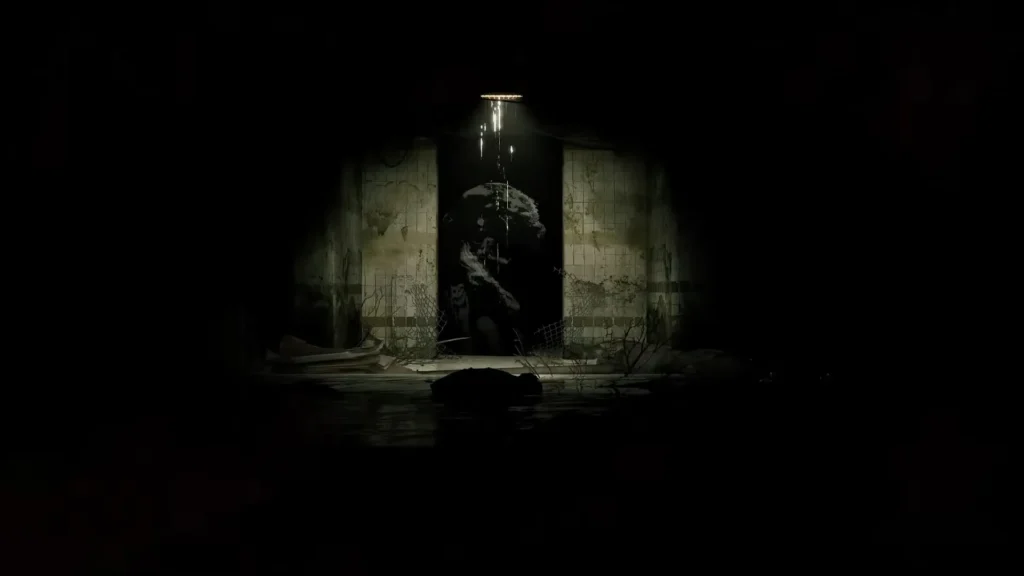
Its next attack depends on where it surfaces. Close to you, it throws spikes out of its body and knocks you back. Farther away, it spits a spike from its mouth, and sprinting out of the line of fire is safer than trying to time a dodge. Keep circling and punish each surface, then move again.
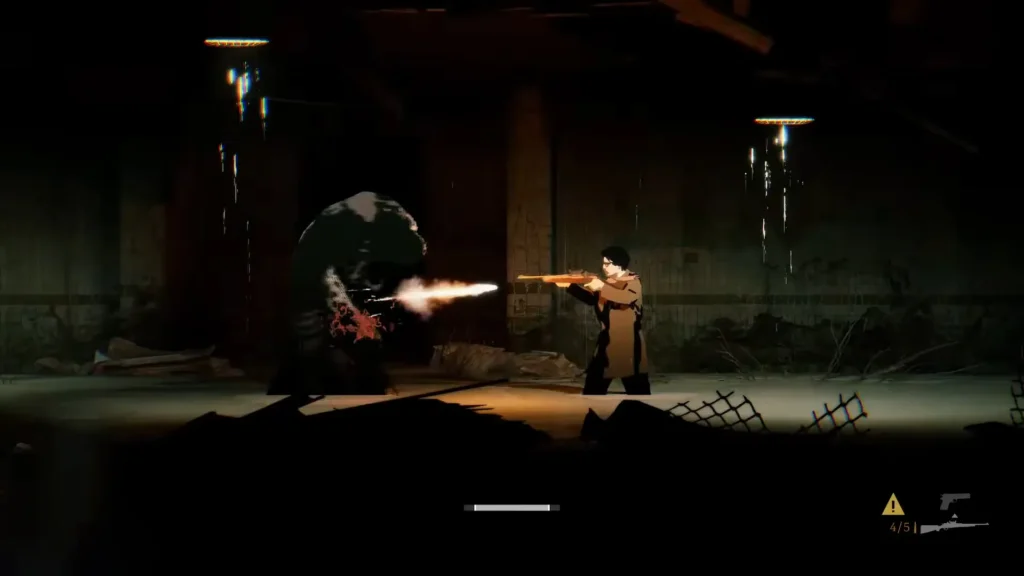
You wake up in a swampy area after the kill. Head west and grab the Sea Polished Glass Shard Memento, then equip it before you swim. It cuts stamina use in water.
Town Hall Boss (The Driver)
Collect what you need in the Town Hall offices, then walk back toward the Three Statues in Loomis Park. As you pass the Main Hall, the lighting turns red and the fight begins.
He soaks up a lot of damage and rushes you with big swings of his giant weapon. For this boss, I think once you learn the pattern, he is easy, but until then he feels like a wall of health.
He either swings once or smashes the weapon into the floor and hurts the area around the impact. Both attacks can be dodged. The best plan is to keep your distance and let him chase you through the hall.
There is a trick: walk away when you get close, and he plods after you without attacking. Turn around and wait for the overhead swing. Dodge through him and hit him two or three times, then walk away again. If he plunges the weapon into the ground, dodge backward and run back in.
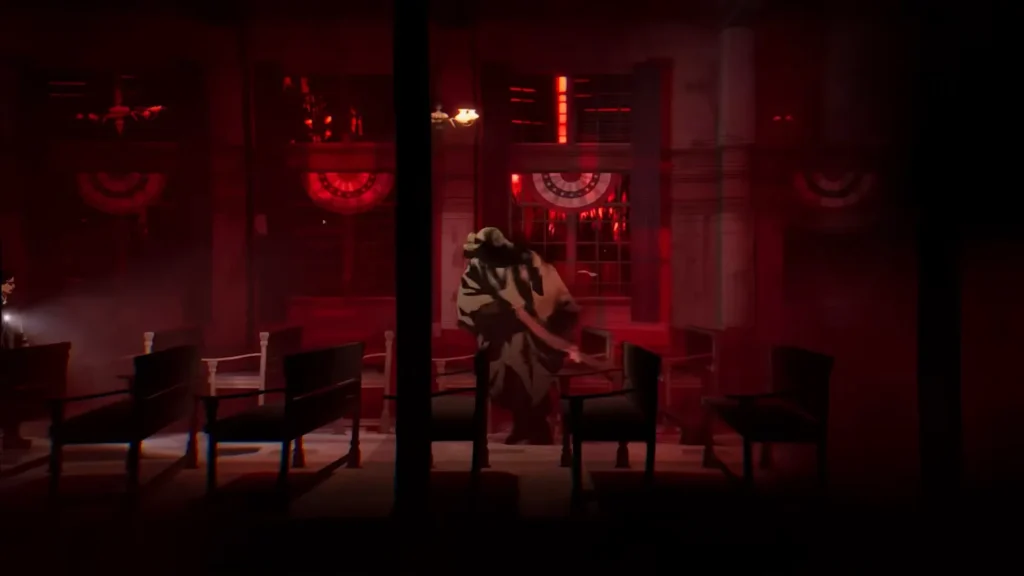
His one ranged attack is a thrown projectile. It hurts, but it does not poison you or knock you down, so you can take a hit when you need to. When he falls, leave Town Hall through the front door.
Ship Boss
Enter the ship at the docks through the hatch. Go left to the door with the red glow.
This one plays a lot like the Union Apartments boss. If you stand still, you get hurt. The boss makes large blades come up out of the ground. Watch where they are about to appear, avoid them, then get your shots in. Repeat until it goes down.
Try to bring a lot of shotgun shells here. The reward is the Worn Silver Buckle Memento. It adds extra damage to a sprinting melee attack.
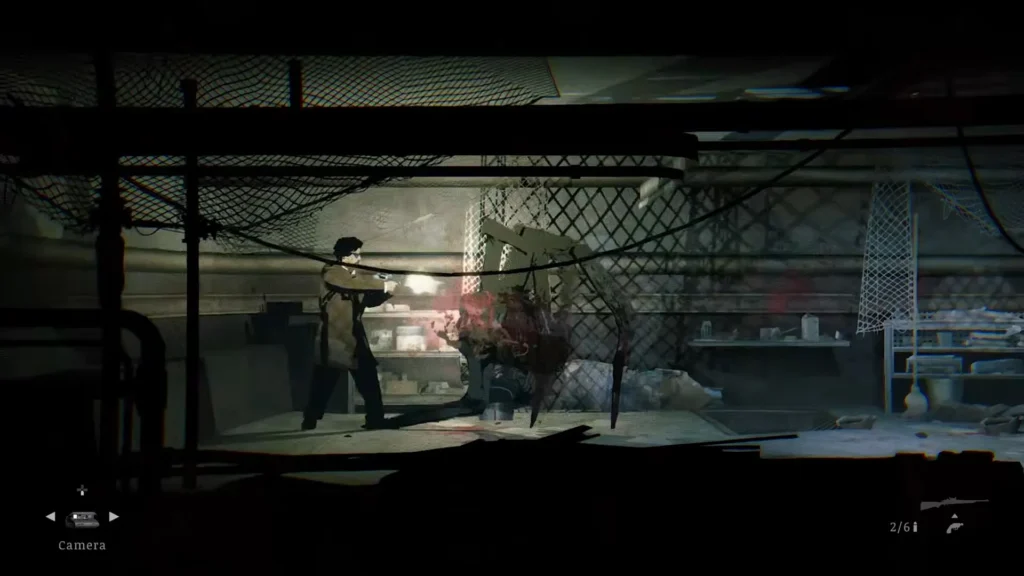
Church Hill Battle (Wave Fight)
There is no single boss at Church Hill. After you ring the bell in Chapel Tower, the surroundings turn red and you have to climb back down. Take it slowly, because a long fall can kill Red instantly. Aim downward with a weapon to see the platforms below before you drop.
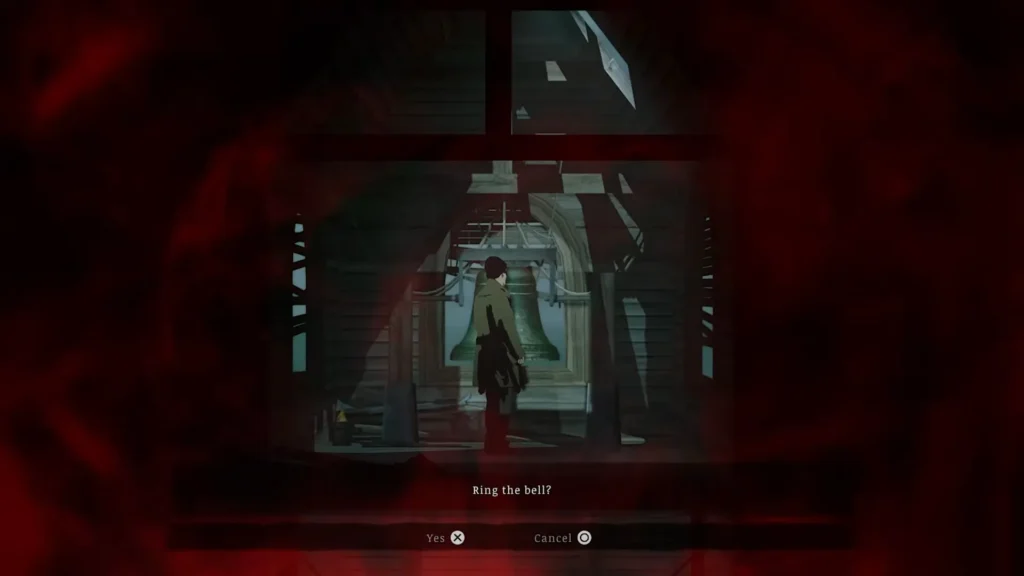
A Storage Container waits at the bottom. Fill up on healing items and ammo, then go through the gap in the wall and the door on the left. Several waves of enemies come at you. The Model 7 Rifle and either shotgun are the best tools.
Keep your distance and shoot from afar. Dodge through enemies when you need space, and go after the dangerous ones first.
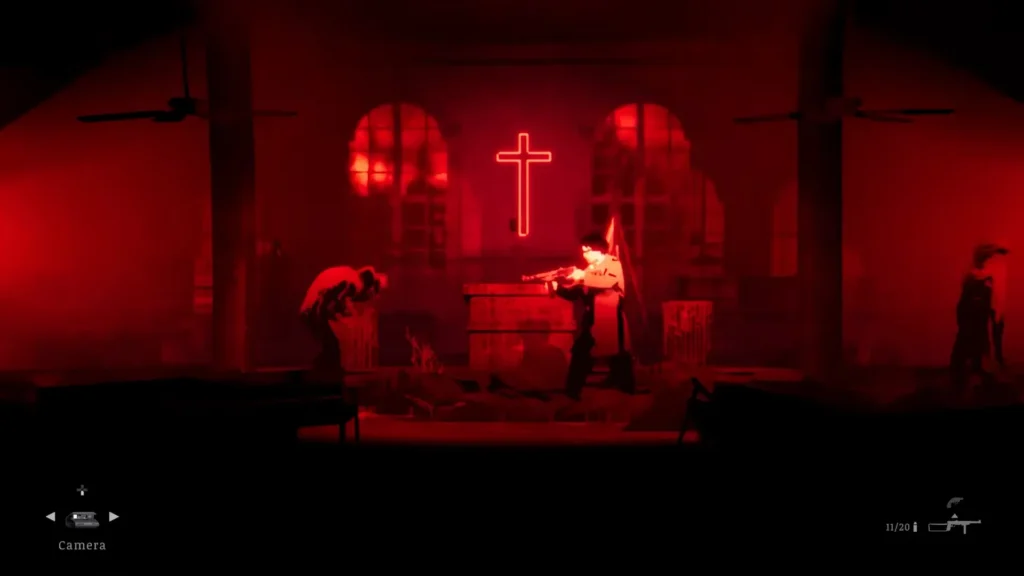
Clear the last wave and go through the door on the left. Cable Station Bell B hangs in the next room. Sit in the confessional chair on your way out. Two new enemy types start to appear around town after that.
Sewers Boss
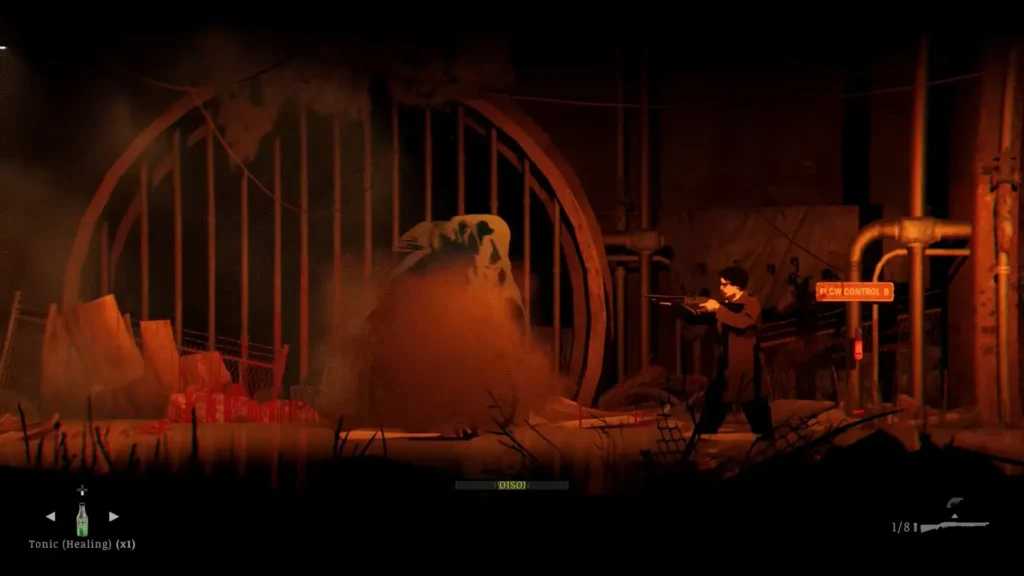
Enter the Sewers from the Docks. Open Flow Control Valve B and the boss fight starts.
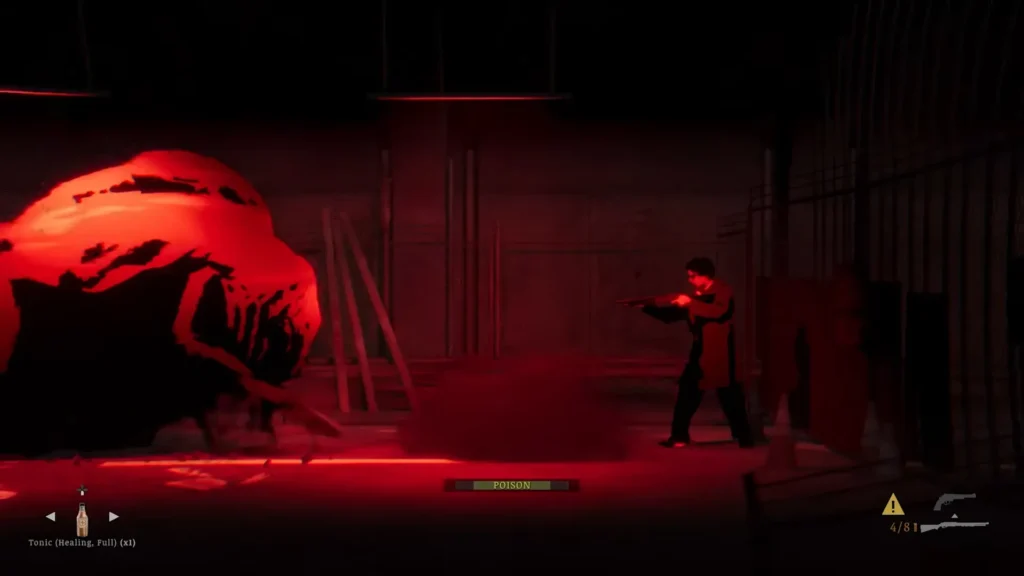
A poison aura surrounds the creature. I would say melee is a bad idea, and even dodging through it fills your poison meter fast. Keep Antidotes ready. The creature walks toward you with melee attacks, so kite it. Back off when it closes in, and fire between its swings.
The North Star Shotgun loaded with 12ga Slugs does massive damage per hit. Go and get it from the wounded character at the Quiet Hour Cafe before you head down.
The Sheriff: Button-Prompt Fight in the Sewers
Go back to the sealed hatch after the Sewers boss. Turn all three valves past the maximum level and wait for the hatch to blow. Then step into the chamber on the right.
The Sheriff pins you down and tries to choke you. Follow the on-screen button prompts to break free. There is nothing else to it.
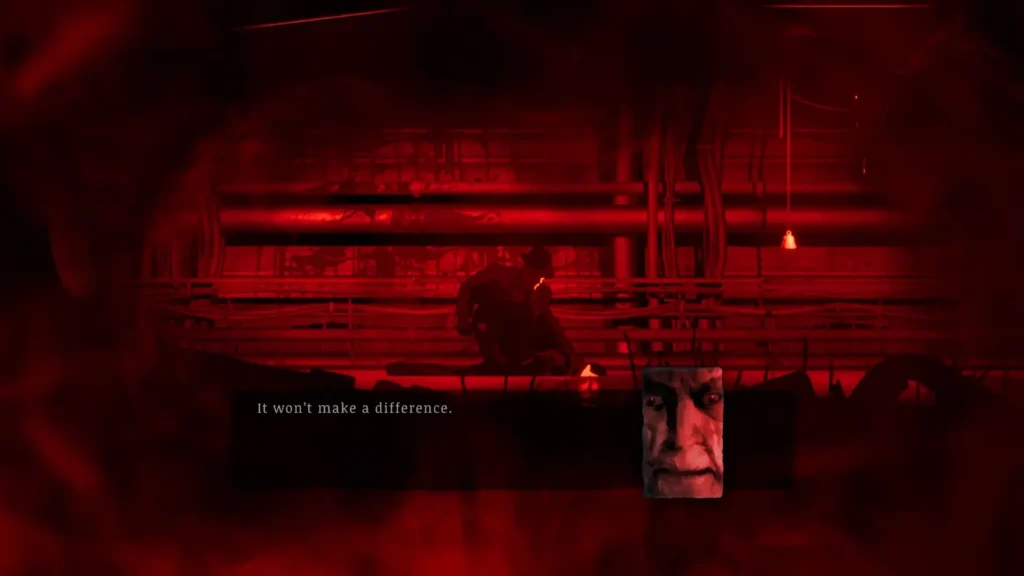
When he is down, take the .44 Magnum. It is the most powerful handgun in the game. Cable Station Bell E hangs on the right side of the chamber, and it is the fifth and final bell. Install all five at the Cable Car Station and ring them in the order shown on the plaque. The Cable Car then takes you to Mount Siah Kopa.
Thelend Broadcasting Boss (Driver Rematch)
The Driver comes back at Thelend Broadcasting. Once the stage door is revealed, return to Stage A and open the new door.
He is stronger and more aggressive this time, but his attacks are the same ones you saw in Town Hall. Keep moving and keep your distance, then use firearms when he leaves an opening. After the kill, take the 8 Ball Gear Shift Memento from his body and enter the stage door.
Final Boss (The Flesh Tree Boss)
Collect all three Metal Spikes first. The final boss starts when you insert the last spike at the Strange Tree, so save before you do it.
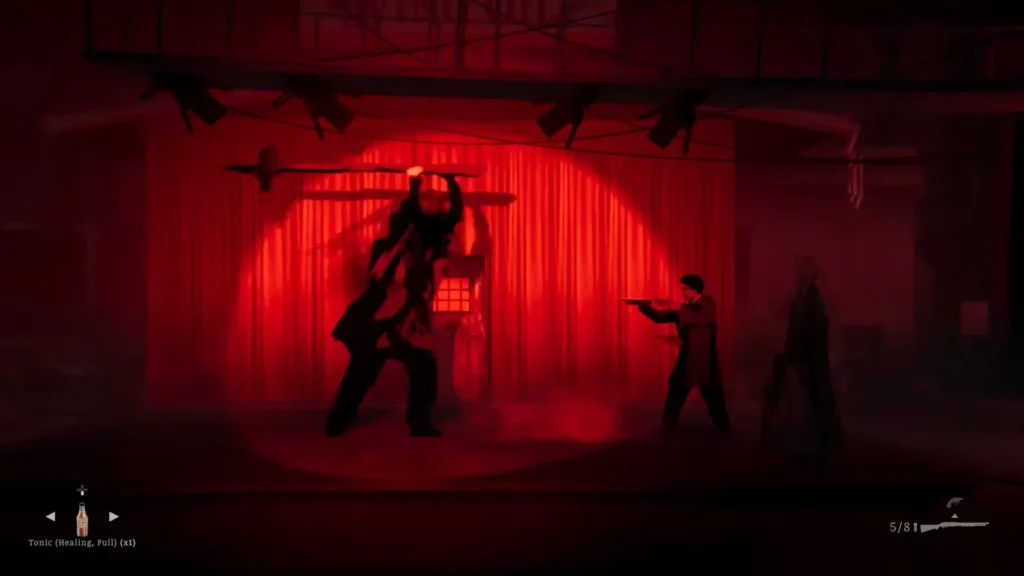
She hits hard and chains long melee combos. She can also knock Red backward. Her scream is the worst part, because it knocks you back and inflicts Madness. When she disappears, move to the center of the arena and get ready to dodge the moment she returns. Once the surroundings turn red, she gets more aggressive. Use your strongest weapons between her combos.
- Bring plenty of healing items.
- Equip a Memento that raises headshot damage.
- Go to the center of the arena when she vanishes.
- Expect the scream to knock you back and add Madness.
After the fight, pick up the Polaroid Negative Memento, the final collectible Memento. Save at the nearby Phone. Eddie Velvet is next.
Server Boss (Rest Ending Secret Boss)
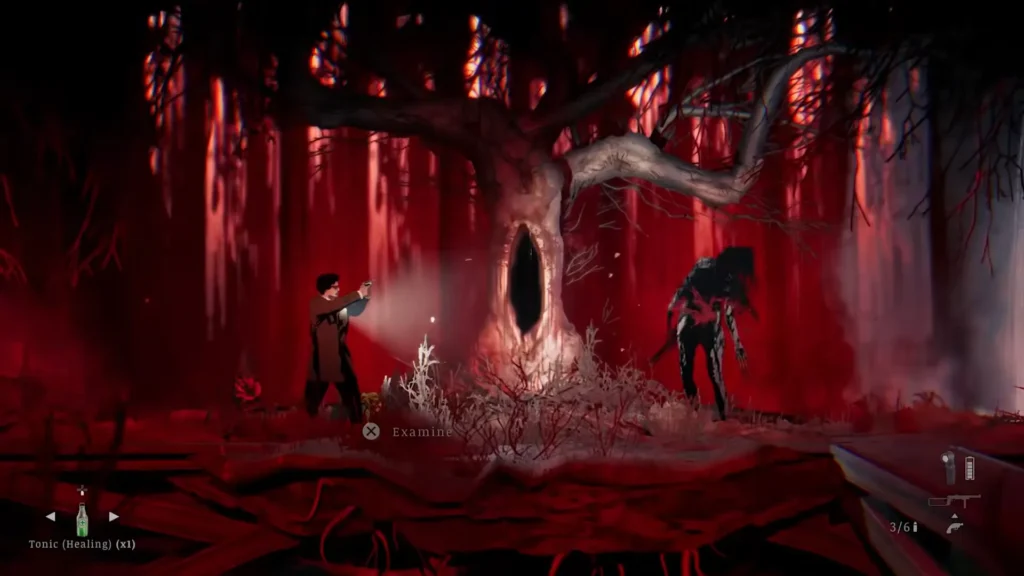
This fight only happens on the Rest ending path. You need two Gold Rings, and you put both into the wall behind the stage at the Rabbit Hole Bar. Red then enters an alternate version of the bar. Talk to the Server, and once he learns you refused to kill Eddie Velvet, he turns into a giant monster.
Prepare at the Storage Container before you speak to him. One Steam player went in with 24 Magnum rounds and 24 shotgun shells on the first run, then came back with more ammo and a melee weapon. Bring more than you think you need.
The fight opens with a chase. Keep running forward and avoid the obstacles until you hit a dead end. Then the boss starts. Dodge falling debris and crouch under its long thrusting attack. Stay out of the poisonous projectiles. When the ground collapses, another chase begins and ends at the Miner Diner.
The boss only steps forward when you stay near the back wall, and the floor collapses only after it finally slams down.
Boss Rewards: All Mementos
| Boss | Reward | What it does |
|---|---|---|
| Tunnel Boss | Corroded Iron Ball | Reduces damage received by 10% |
| Deputy Roberts | Snake Earring, Cable Station Bell A | Raises firearm rate of fire by 30% |
| Union Apartments Boss | Sea Polished Glass Shard | Cuts stamina use while swimming |
| Ship Boss | Worn Silver Buckle | Adds extra damage to a sprinting melee attack |
| Church Hill Battle | Cable Station Bell B | Fourth of the five bells |
| The Sheriff | .44 Magnum, Cable Station Bell E | Most powerful handgun, final bell |
| Thelend Broadcasting Boss | 8 Ball Gear Shift | Effect not confirmed |
| Final Boss | Polaroid Negative | The final collectible Memento |
The Town Hall boss and the Sewers boss have no confirmed Memento drop. The Server fight has none either.
Do Bosses Affect the Endings?
The final boss leads straight into the choice with Eddie Velvet. If you choose Kill Eddie Velvet after speaking with him twice, you get the Leave ending.
The Live ending needs every Memento in the game, and several come from bosses. The Rest ending adds the Server fight on top of the main story. Each ending has its own steps, so check them before you commit.
Silver Pines