

This is your guide for Remothered Red Nun’s Legacy puzzles. It follows the main story from the moment you arrive at Villa Ashmann all the way to the final burning chaos.
Focus is on where to go, what to pick up, how each puzzle works and the exact solutions. Optional collectibles only get a mention when they actually help you progress.
The Puzzles:
Quick Answers: Every Major Puzzle Solution
Time matters, so I made the table below and you may find your answer just in a few words:
| Puzzle | Solution |
| Hidden Key | Move the plant pot on the table near the starting door |
| Music box | Insert the Groom Figurine next to the bride; take the Doves Medal to the Reception Hall metronome |
| First pillar puzzle | Woman → Snake → Skeleton → Heart (left to right) |
| Hidden Doorknob | Knock three times on the bathroom mosaic |
| Family safe | 73 → 31 → 52 |
| Convent double doors | Place the Jesus Figurine into the missing religious-figure socket |
| Second pillar puzzle | Use the mirror behind you to reveal each pillar’s unique symbol, then stop them facing forward |
| Gloria’s locked door | Crawl through the bathroom gap into Stefano’s study and take Gloria’s Key |
| Family puppet theatre | Mother (far left) → Father → Son → Daughter (far right) |
| Broken metronome | Small Key → music-room container → Metronome Arm → repair it (unlocks Moth Manipulation) |
| Final pillar puzzle | Stop all four pillars with the flame symbol facing forward |
| Alchemy door | Skull → Water Drop → Rising Sun → Heart |
| Catacomb gate | Attach both Rope and Pulley to the mechanism near the save point |
| Final burning-villa sequence | Search the wardrobe through the right-hand door, the bench in the back room on the right and the remaining figure on the upper route. Use repeated-press prompts |
1. Getting Inside Villa Ashmann
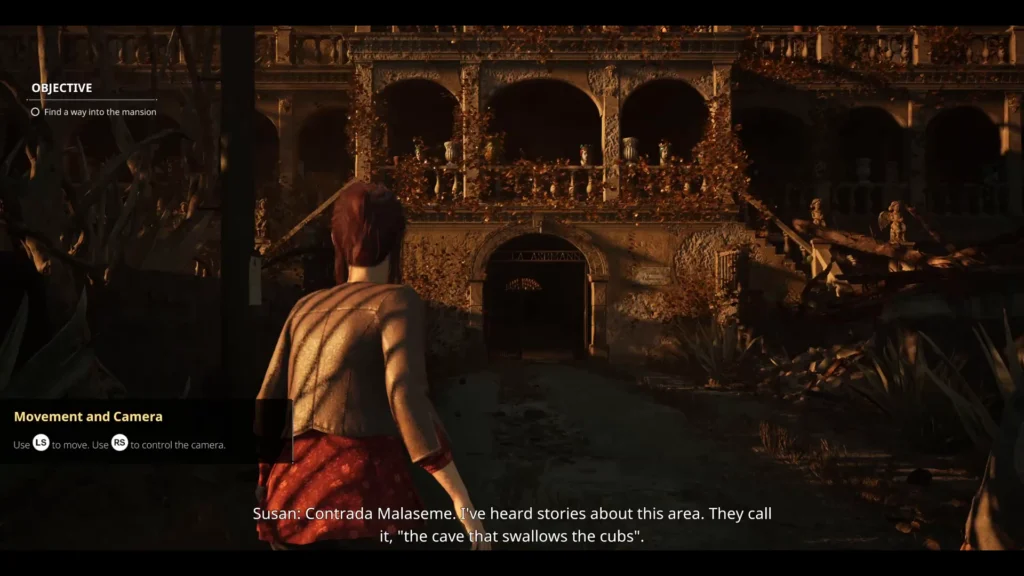
You start outside the boarded entrance. Check the table right next to it and move the vase. There’s a Hidden Key underneath. Use it on the nearby door to reach the courtyard.
The main front door is a no-go for now. Head left past the entrance, find the ground-level sewer grate and drop in. Follow the tunnel (you’ll spot Agata’s bracelet), climb the stairs, and you’re inside the villa.
2. First Metronome and the Music Box
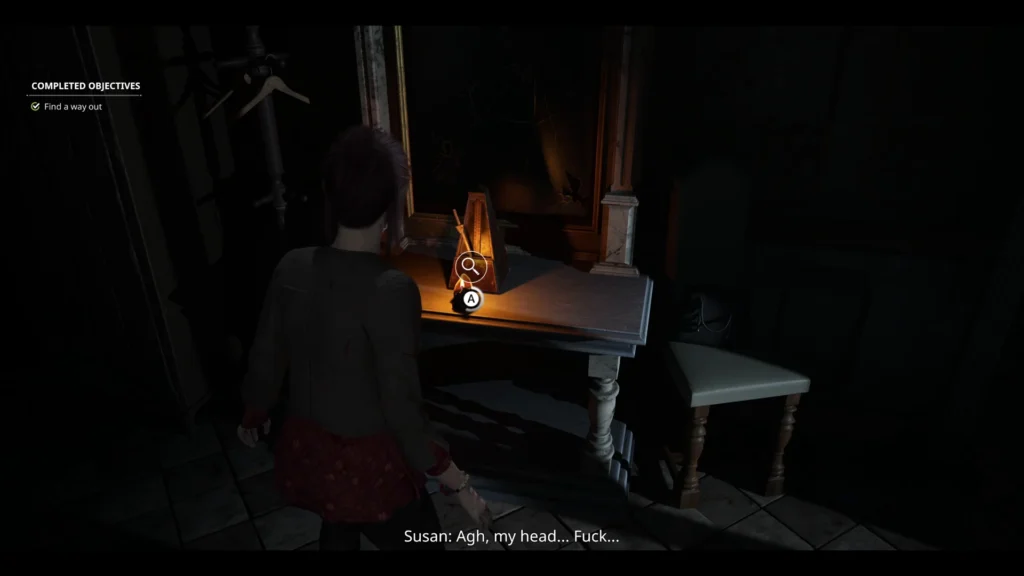
Inside, explore the bathroom and the room with the metronome. When you hear someone coming, hide behind the bench the game highlights and wait it out.
Interact with the metronome to jump into the convent sequence. Grab the Rusty Key by the bed and follow the corridor until the Red Nun scene plays.
Back in the villa, your next job is fixing the music box so you can free the Doves Medal.
You’ll need these in order:
- Compass Rose Key: On the cabinet near the fireplace in the Art Gallery. Opens the compass-rose door.
- Library Key: Inside the blue book on the vanity in Sala delle Meraviglie (Room of Wonders).
- Groom Figurine: Upstairs in the Library on a small table.
- Doves Medal: Appears once the music box is fixed.
Grab the Compass Rose Key, unlock the Room of Wonders and pull the Library Key from that blue book. Enter the Library, pick up the Safe Combination Note near the projector while you’re there then go upstairs for the Groom Figurine. The lower door locks behind you, so follow the upper balcony around until you can drop back down.
Take the figurine to the Art Gallery and slot it next to the bride in the music box. The Doves Medal pops out. Carry it to the Reception Hall and use it directly on the metronome. Interact with the mechanism to continue into the next convent sequence.
Troubleshooting tip: If the route back to the Reception Hall feels blocked, go through the library and use the upstairs connection instead.
3. First Pillar Puzzle: Woman, Snake, Skeleton, Heart
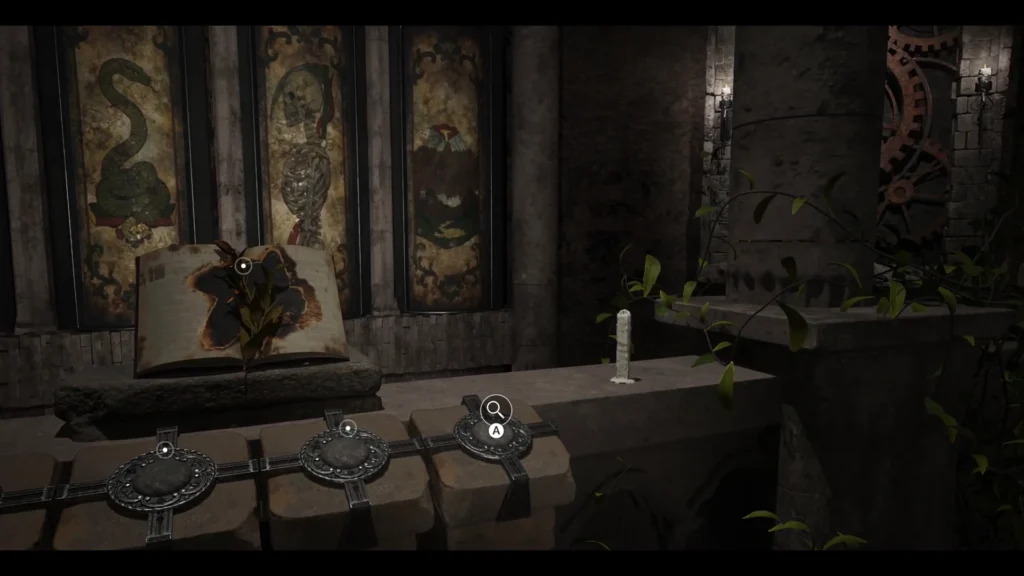
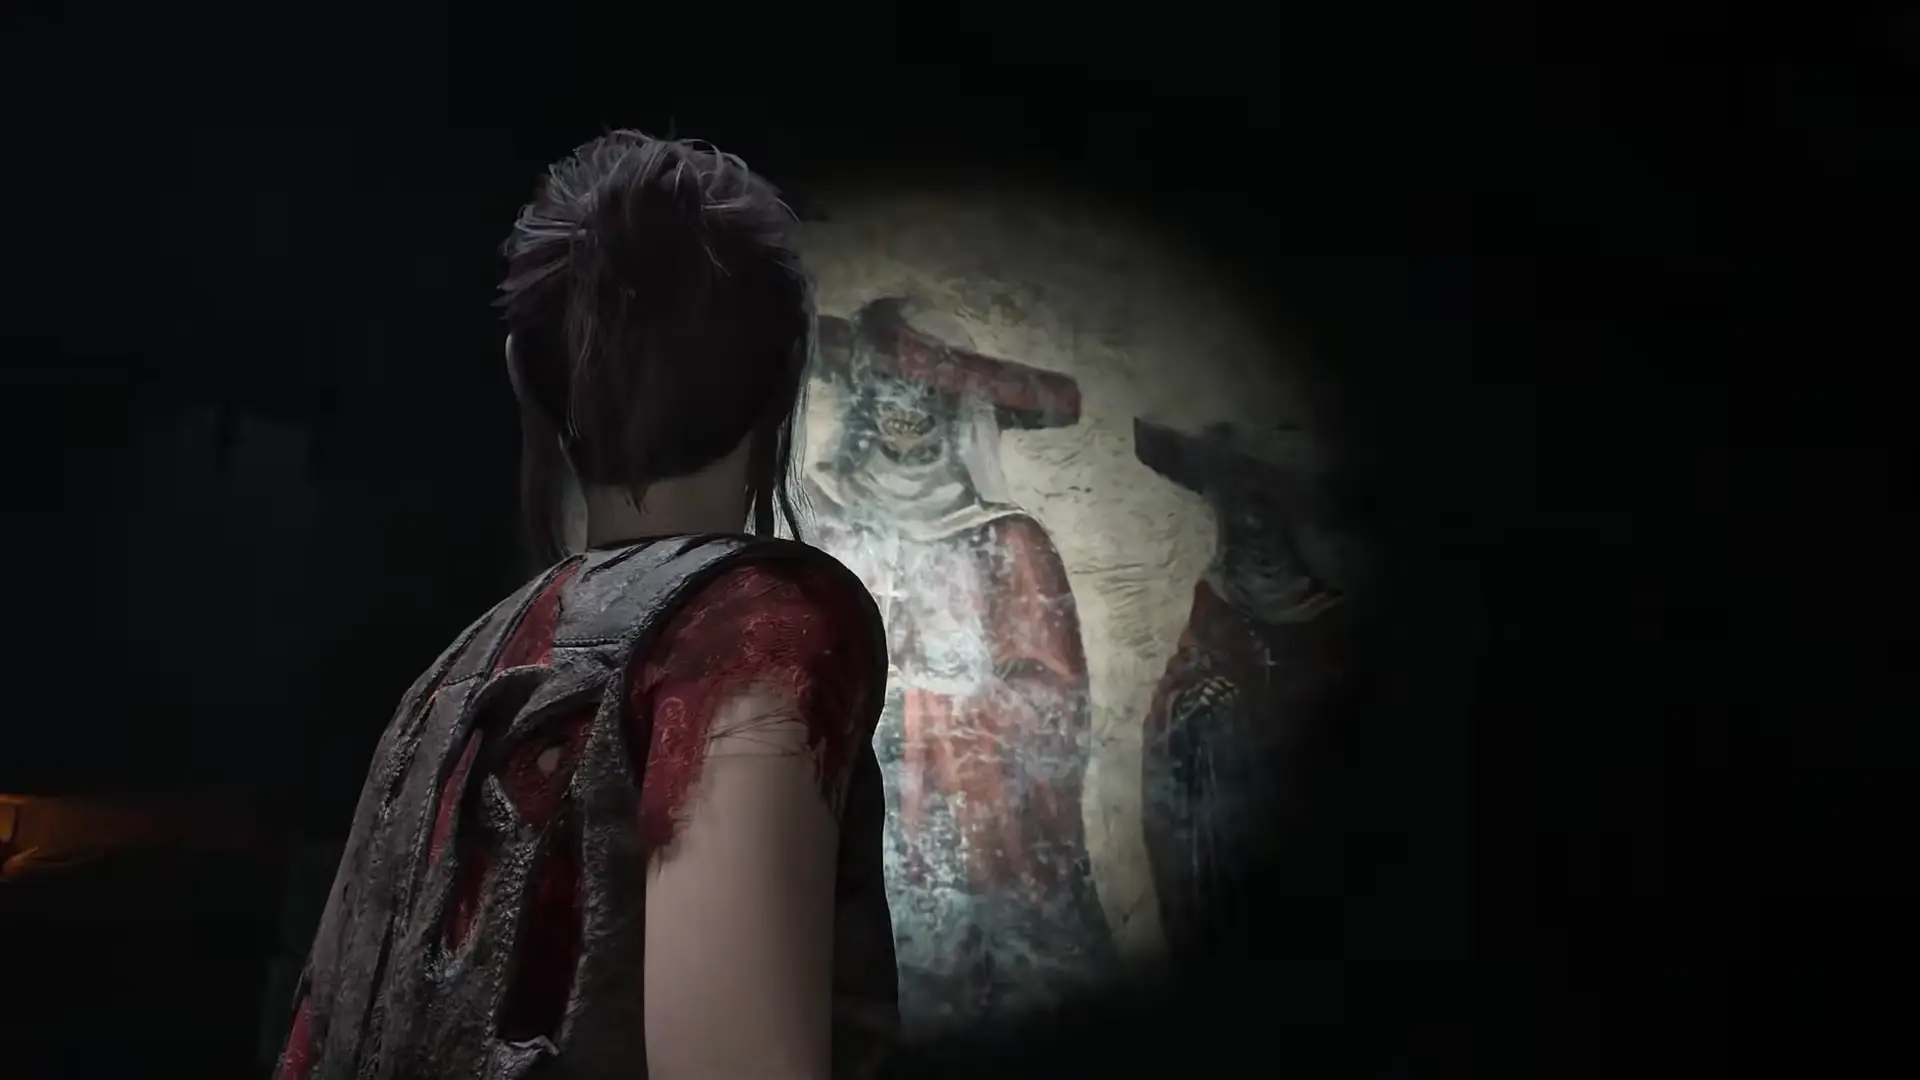
Susan already has Retrocognition at this point. Use it on objects in the convent bedroom, then on the mask on the table in the corridor. The nuns’ portrait will change, move it to reveal a recess and grab the Mysterious Fluid. Apply the fluid to the lily door.
Follow the passage to the book on the pedestal and use Retrocognition on it for the riddle.
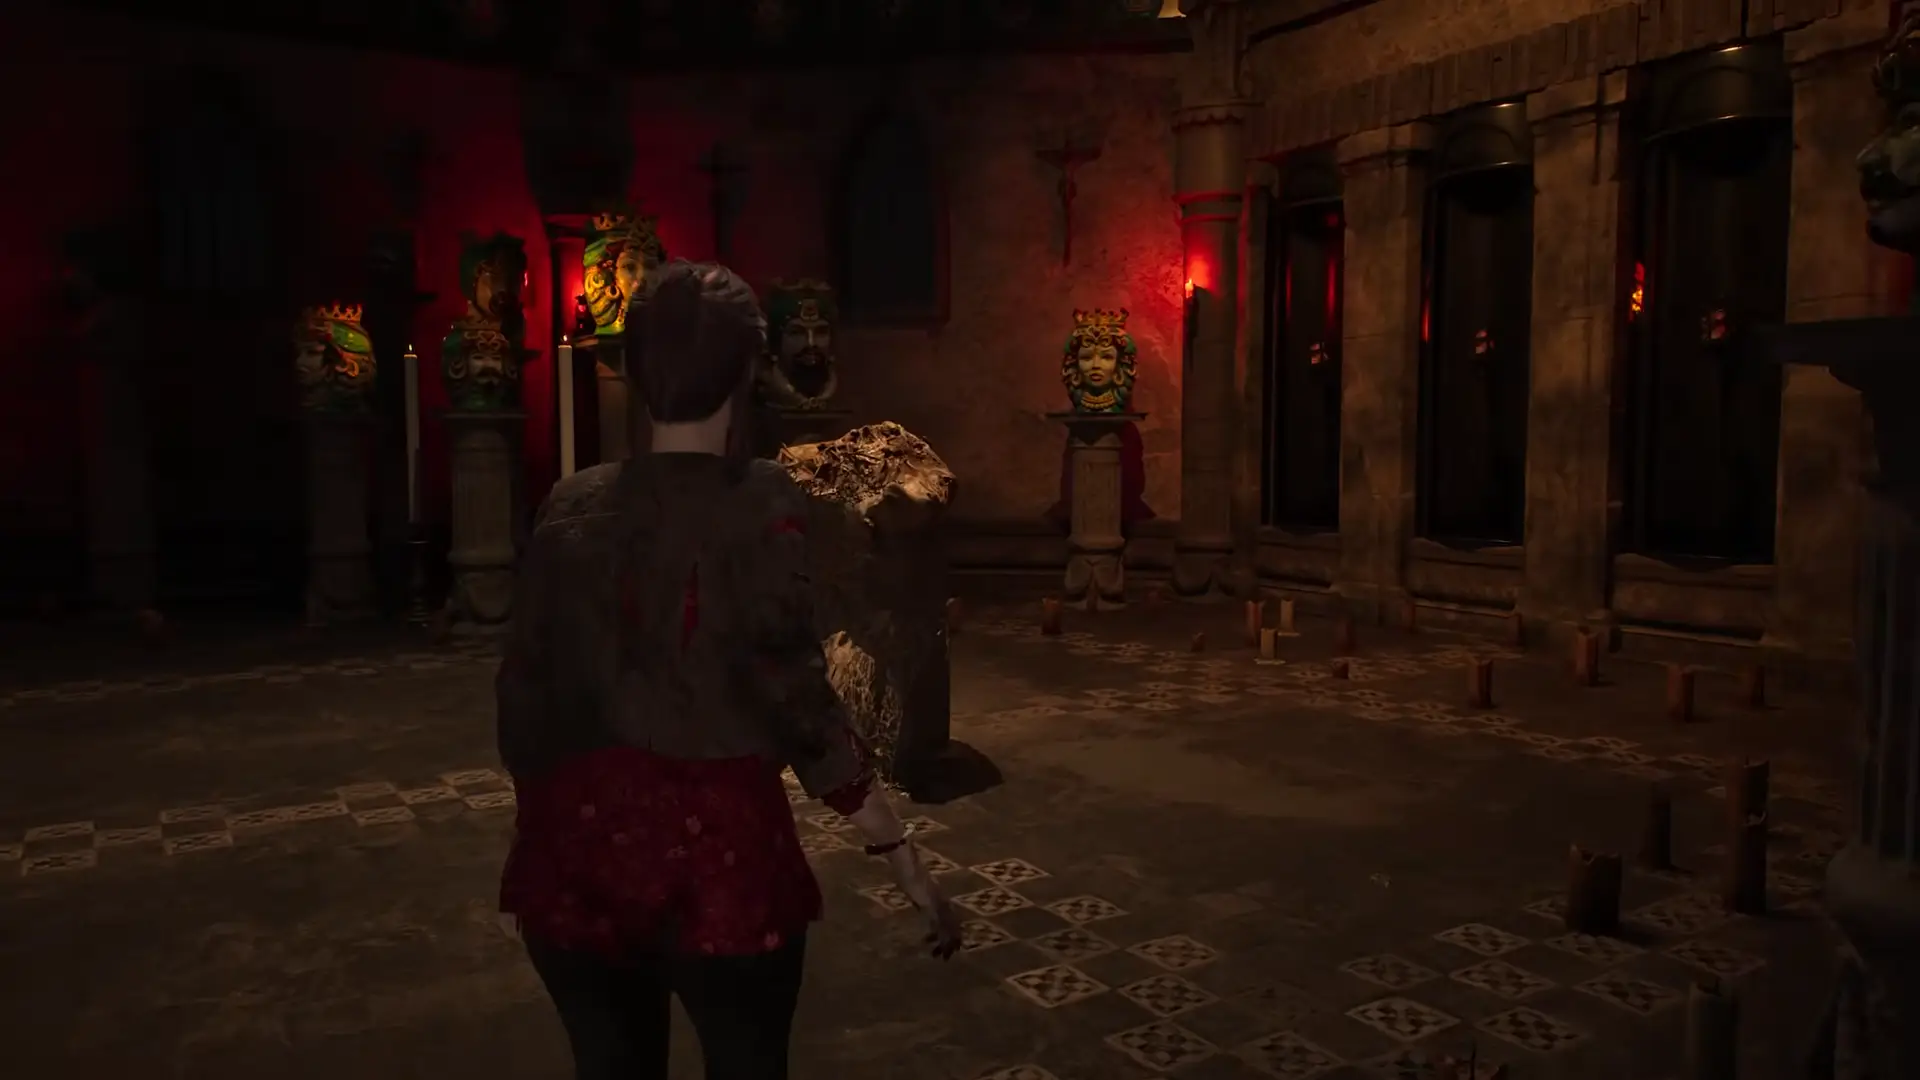
The pillars spin automatically. Each button only stops its pillar; it doesn’t rotate it to a chosen face. From left to right, stop them on:
- Woman
- Snake
- Skeleton
- Heart
Mess one up? Just hit the button again and wait for the correct symbol to come back around. When all four symbols match, the passage opens. Follow it to continue through the convent and return to the villa with the next part of the story unlocked.
4. The Hidden Doorknob
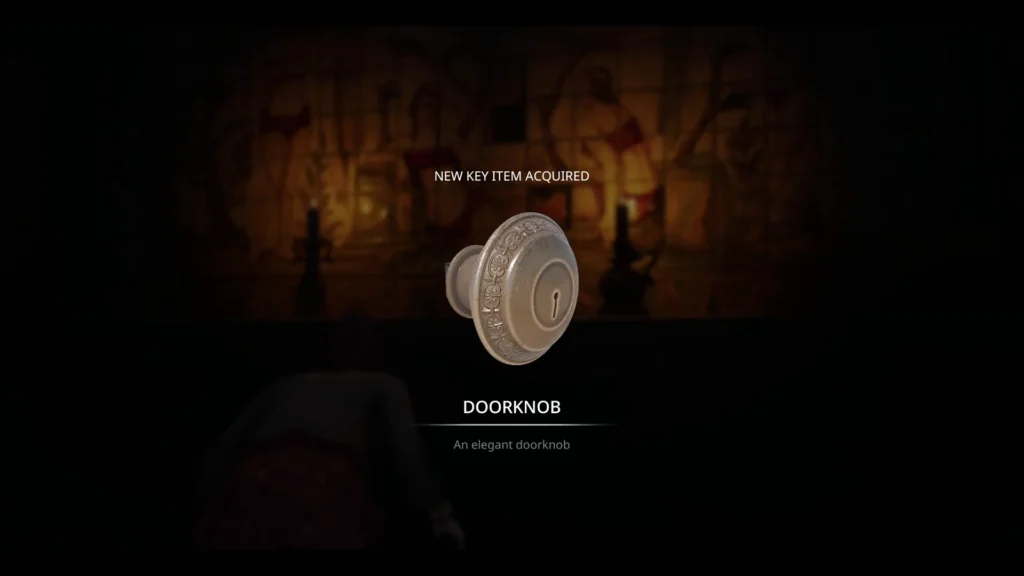
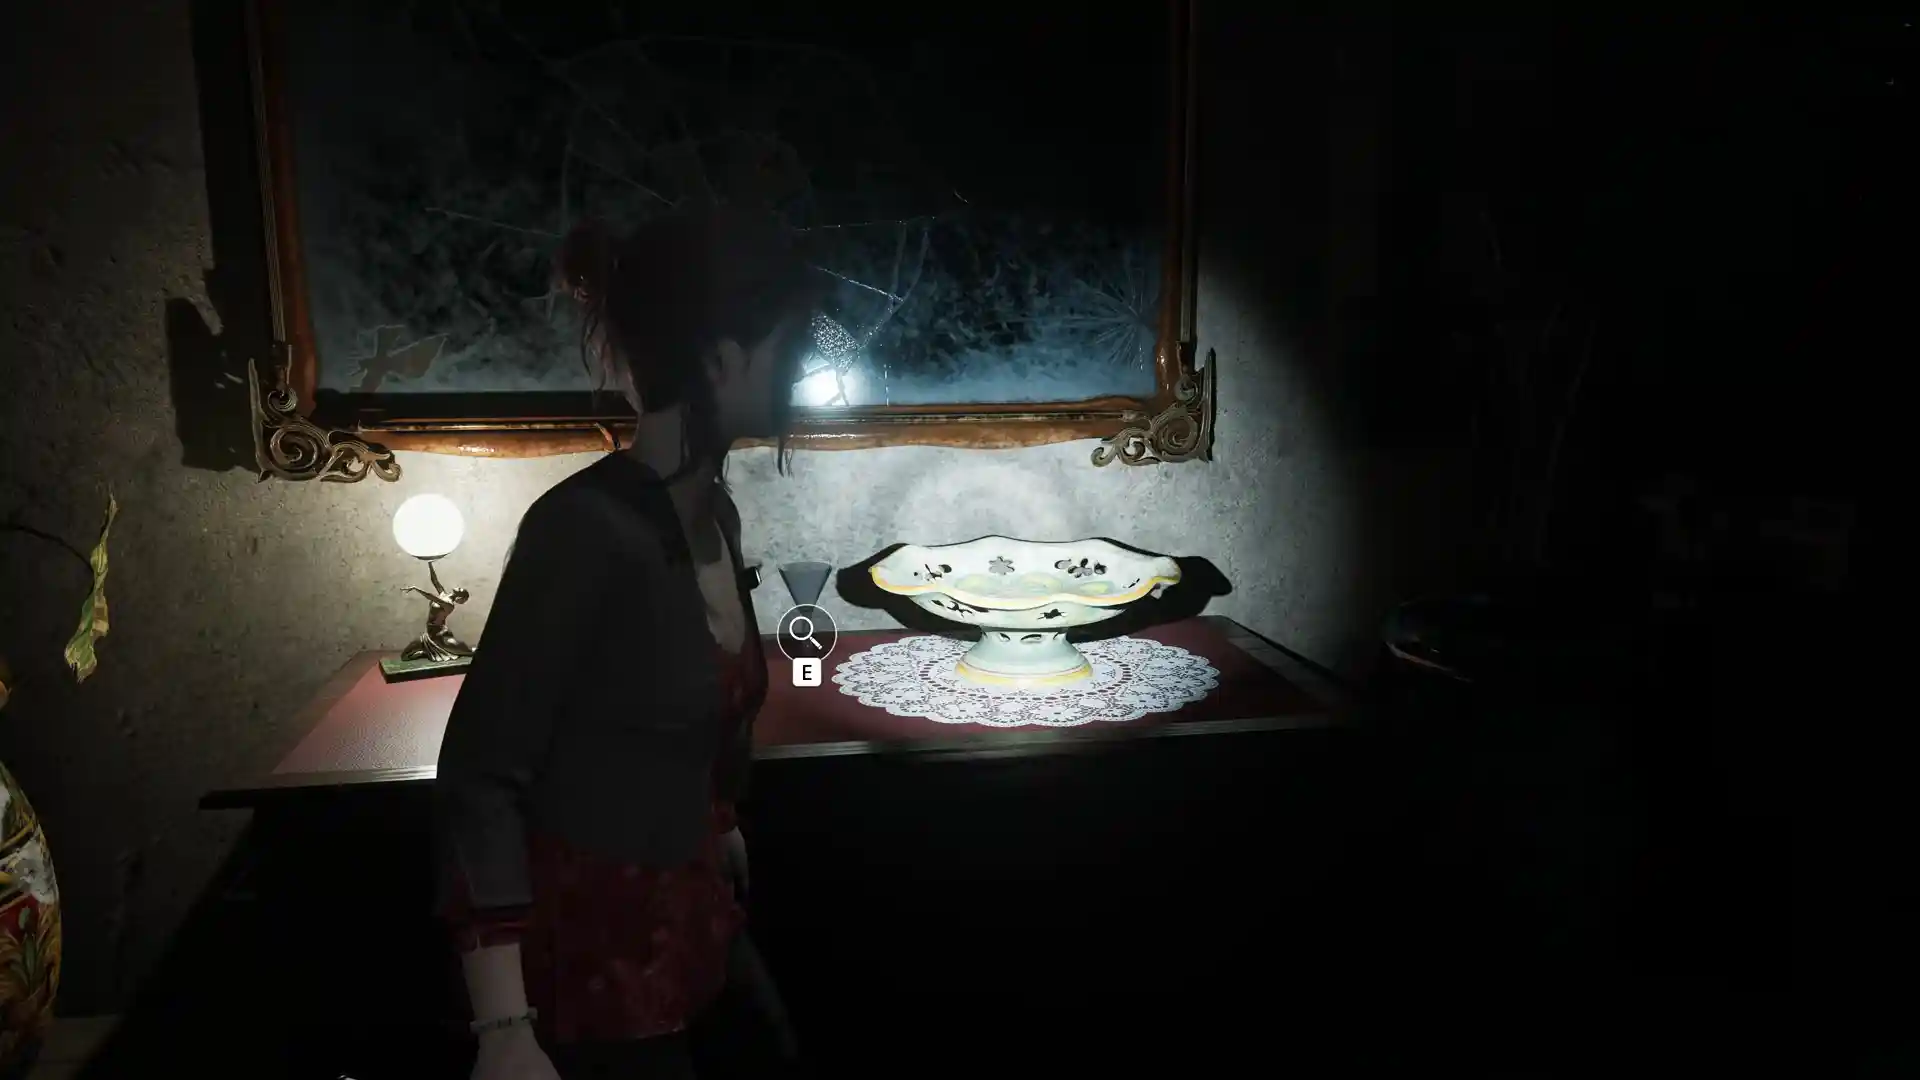
The Library office door is missing its handle. Inspect the painting beside it and focus on the butterfly for a memory clue. Then go to the bathroom near the Reception Hall, look at the mosaic of bathing women and knock three times.
The Doorknob is in the secret compartment. Attach it to the office door and take the Slides Wheel from the desk.
5. Projector, Family Safe & the Ashmann Ring
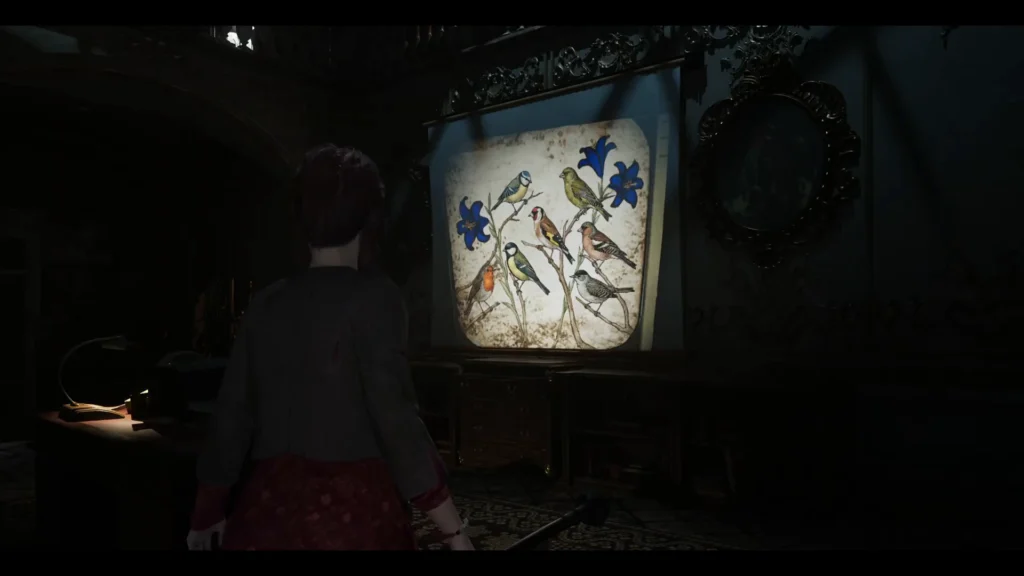
Install the Slides Wheel on the Library projector. The slides show pairs of images (birds & flowers, moths & torch, fish & lily pads). Use them together with the Safe Combination Note you found earlier.
Head back to Sala delle Meraviglie and examine the pyramid painting of birds in flight. Shift your view toward the right edge of the frame until you can push the painting aside. The safe is behind it.
Code is 73 → 31 → 52. Open it, take the Ashmann Family Ring and use the ring on the Reception Hall front door. After the car scene you’ll be forced back inside. Dodge the Bride and get back to the metronome when it’s safe. This starts the next convent sequence and unlocks Secrets in Mirrors.
6. Jesus Figurine and the Second Pillar Puzzle
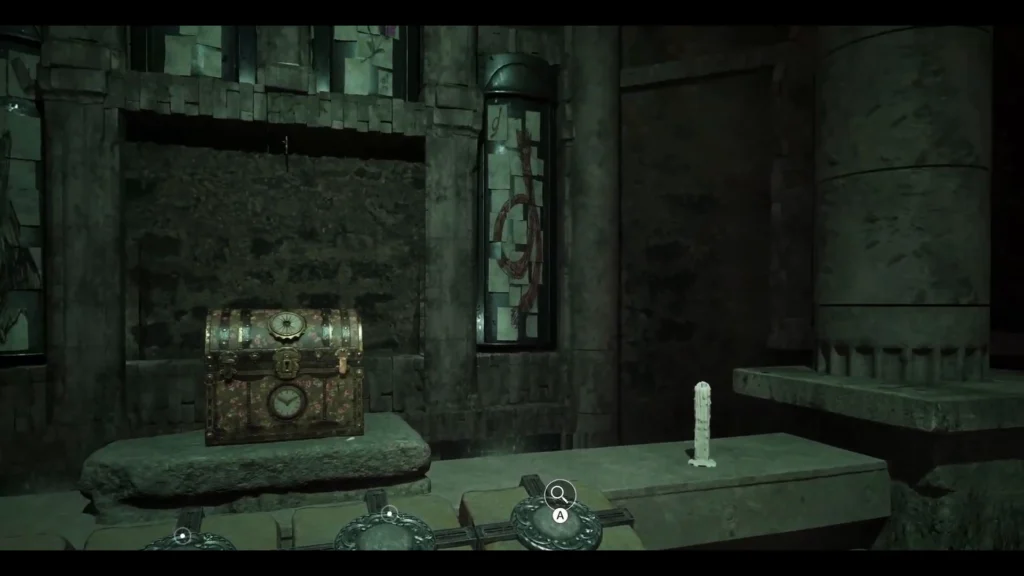
Secrets in Mirrors lets you see objects and passages that aren’t visible normally. You’ll use it constantly from here on.
In the convent starting room, look in the mirror and focus on the hidden door until it appears in the real world. Go through it. Head toward the large double doors (they’re missing a religious figure). Use the mirror beside them to reveal a wall cabinet containing the Old Key.
Unlock the bedroom across the hall, inspect the objects inside then follow the blood trail and the crying to the crib. Take the Jesus Figurine and insert it into the empty socket on the double doors.
Continue until you reach the next room with four rotating pillars. These start blank. Stand at the mirror at the rear of the room and focus on each pillar to reveal its personal symbol.
Once you know all four, stop every pillar when its revealed symbol faces forward. Grab the Handmade Necklace that appears, place it on the statue in the next room, and unlock the next ability.
7. Mirror-Hopping Through the Villa
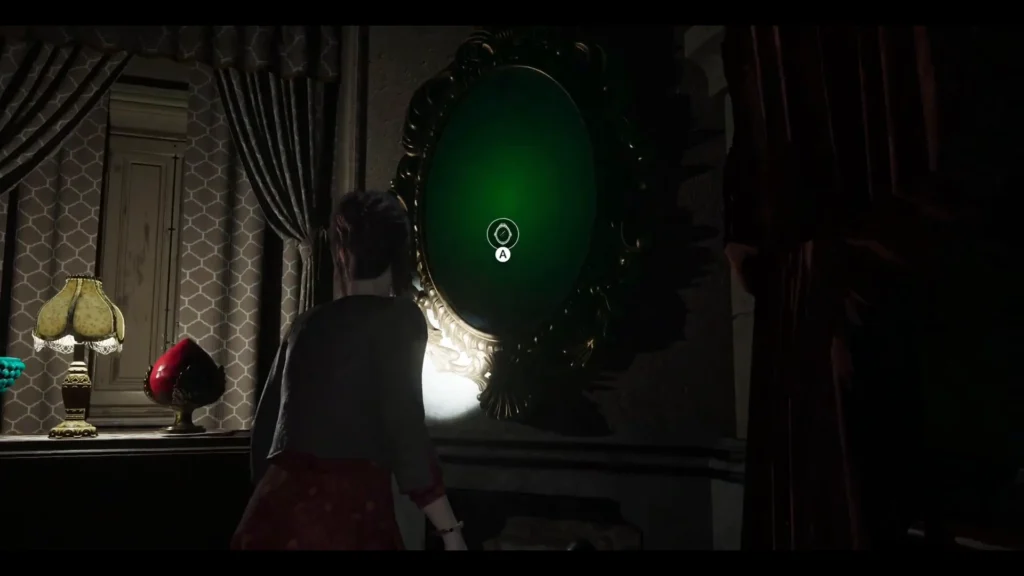
Now you’re following a chain of hidden passages. One mirror can hide more than one secret, so keep scanning until the fog effect clears and the colors return to normal.
- Start at the mirror by the metronome to reveal the next mirror and a child’s figure.
- Use that new mirror to open the way toward the stairs.
- Upstairs, another mirror reveals a doorway to the right.
- Keep going and use the next mirror for another doorway.
- In the Library the mirror shows a table on the right and a doorway on the left.
- In the Art Gallery the mirror opens a passage through the fireplace.
Crawl through into the research room. Check the photographs hanging on the line, the Crown Key is hidden among them. Use it on the exit beneath the red light.
Outside, the residential wing’s front door is locked. Go left to the barrels, climb in through the window and drop into the laundry area. You’re now in the residential section.
8. Gloria’s Key and the Eclipse Door
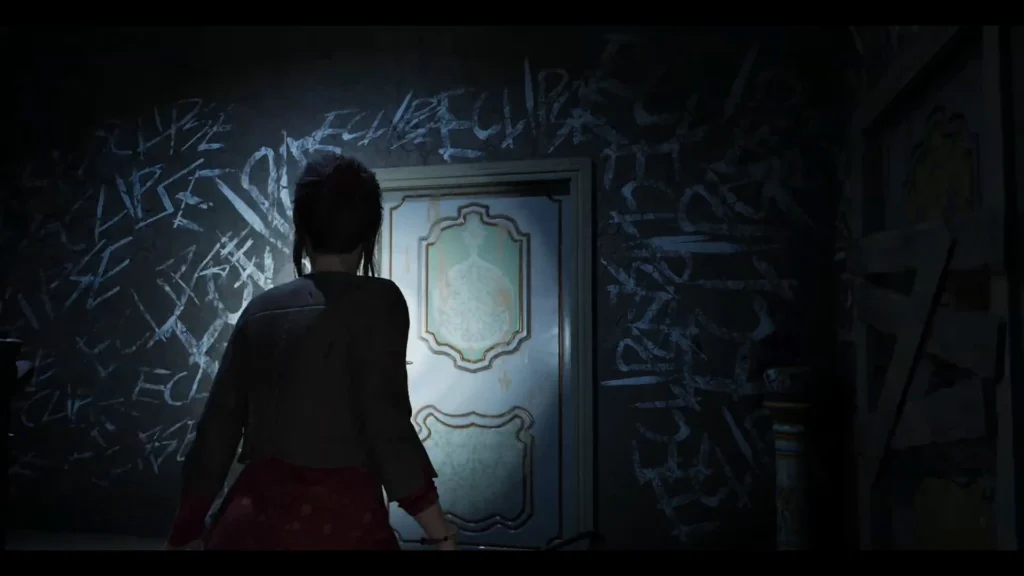
The Eclipse door leads to Gloria’s bedroom and needs her key. From the laundry, follow the corridor and climb the stairs so you can see the locked door upstairs. Then go back down and into the bathroom opposite the stairs.
There’s a low gap in the wall, crawl through, turn the camera as far left as possible and climb out into Stefano’s room on the other side. Search the small study beyond the bedroom and take Gloria’s Key from the desk. Crawl back the way you came (don’t exit the same hole or you’ll just end up in the bathroom again) and unlock the Eclipse door.
9. The First Puppets & Fixing the Metronome
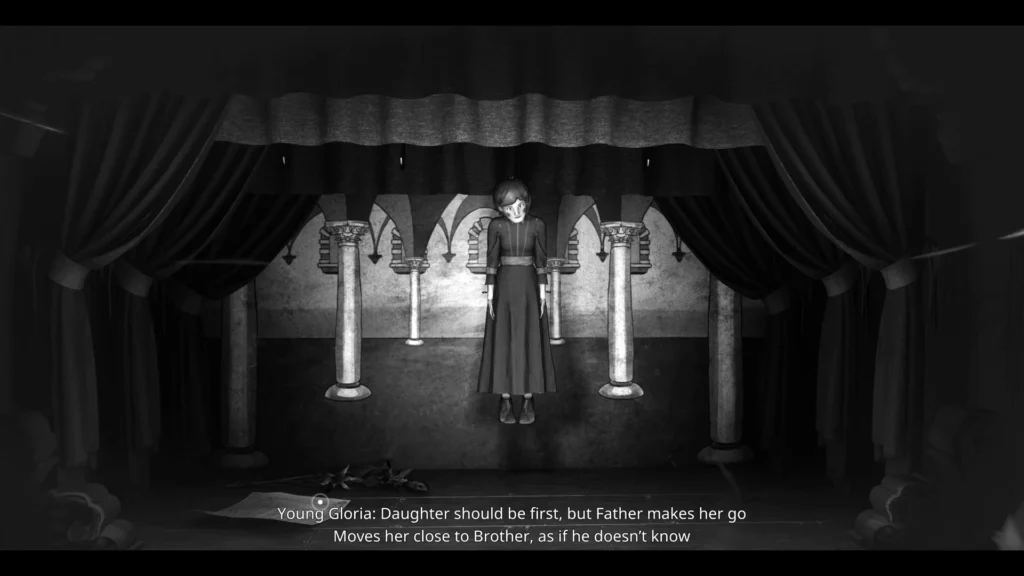
The puppet theatre needs four family members, but the order of operations matters.
First, collect the Daughter and Father:
- Daughter: In the toy room, use Secrets in Mirrors. This also reveals the small theatre and the Balcony Key.
- Father: In the damaged room with rubble, use Secrets in Mirrors on the statue.
Follow the kitchen mirrors down to the cellar. Inspect the broken metronome and take the Small Key beside it. Use the key on the container in the music room, grab the Metronome Arm and install it on the broken metronome. Repairing it unlocks Moth Manipulation.
Before using the dumbwaiter, search the room off the side corridor that opened during the Bride encounter and collect its lever. Return to the small dining room upstairs and install the lever on the dumbwaiter. Operate it to drop the Mother puppet to the kitchen below, then go downstairs and collect the Broken Doll.
With Moth Manipulation available you can reach the workshop bench, repair the Mother and then find the Son inside the engine compartment of the yellow toy car.
10. Solving the Family Puppet Theatre
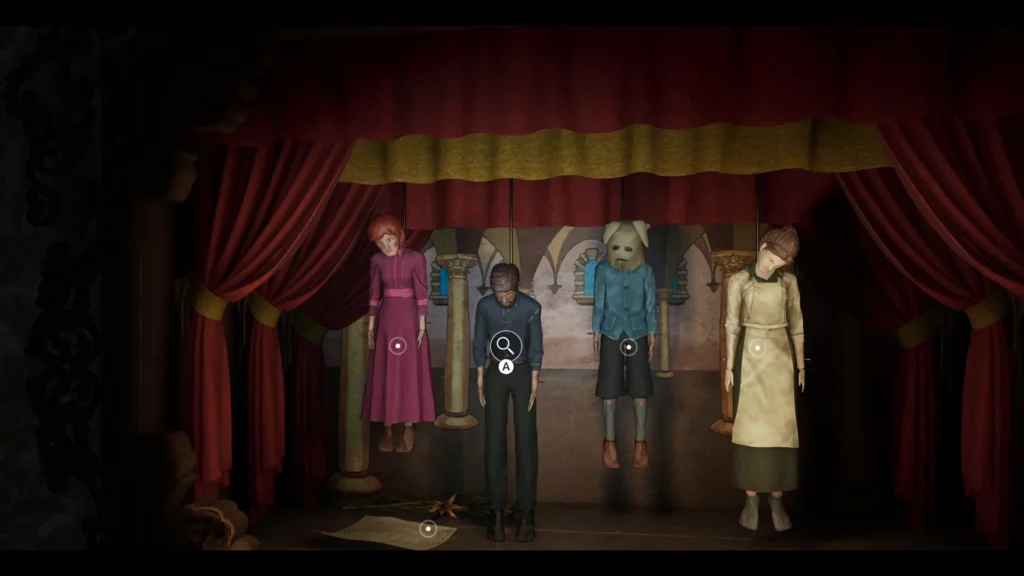
Once you have all four puppets, return to the room with the four hooks. Place them left to right:
Mother (far left) → Father → Son → Daughter (far right)
A secret room opens to the left. Head through for the next story scene.
11. Final Pillar Trial
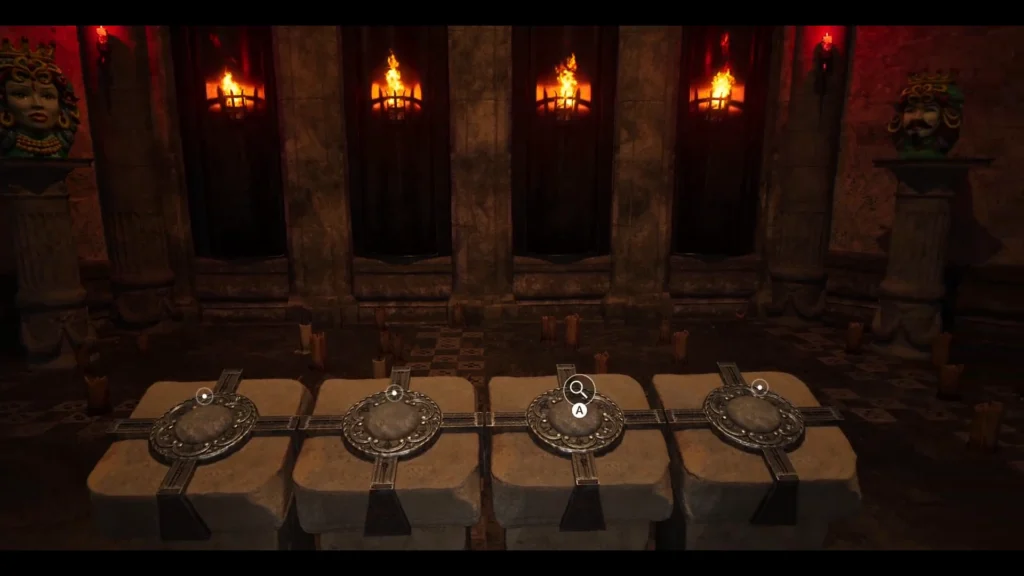
This one requires the moth ability to reach the controls. Unlike the first pillar puzzle, every pillar must show the flame symbol facing forward. Stop them one by one until all four match. The path opens.
12. The Alchemy Door
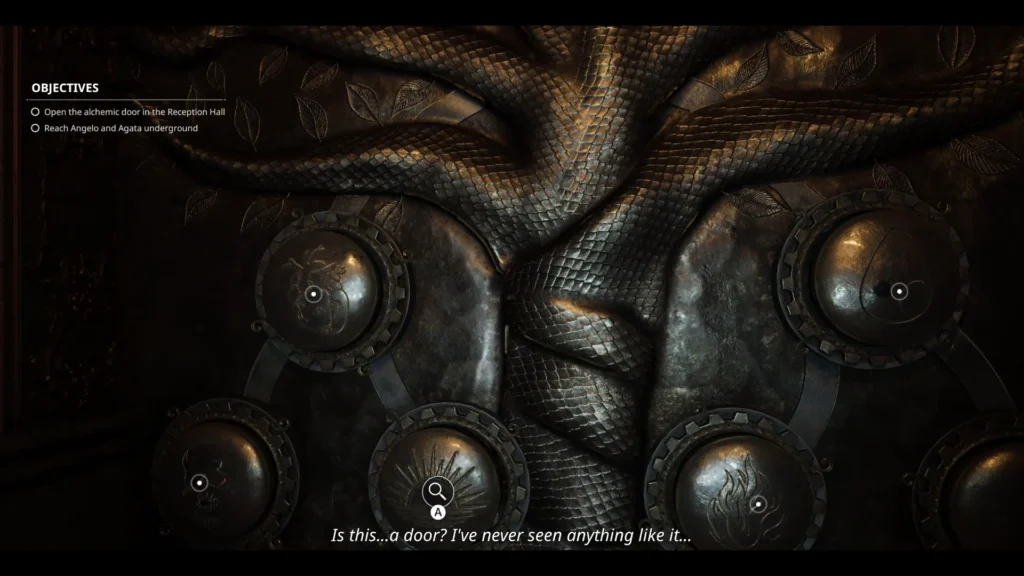
This happens near the end, right before the catacombs. In the Library area, use the moth ability to access a hidden room, then the mirror to reveal a further passage. Activate the altar with the moth ability and inspect it for the correct sequence.
Return to the large alchemy door in the main hall and enter the symbols in this order:
- Skull: bottom-left button
- Water Drop: top-right button
- Rising Sun: bottom row, second button from the left
- Heart: top-left button
Leave the fire and moon symbols untouched. The door opens.
13. Opening the Catacomb Gate
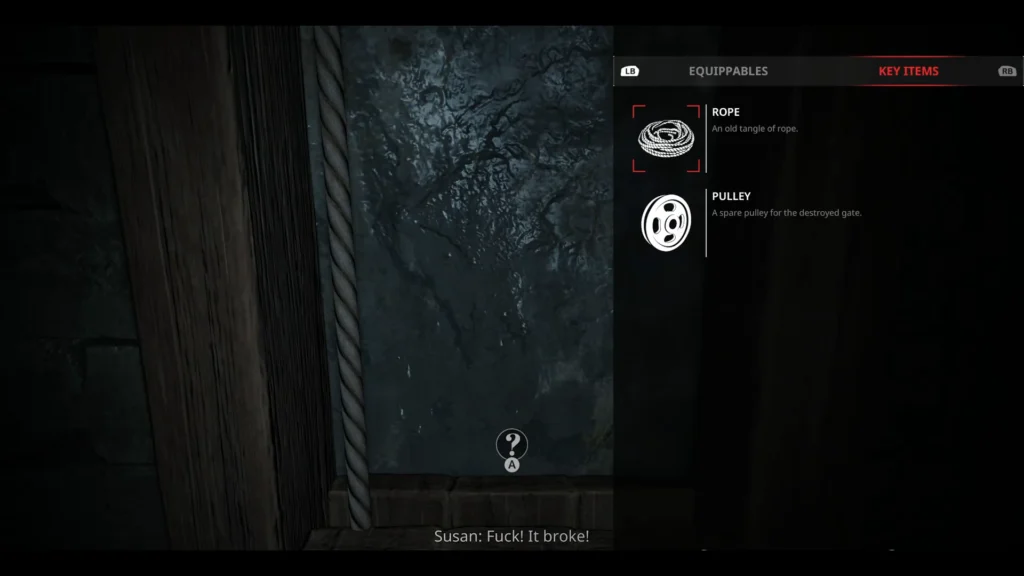
No code this time, it’s just about hardware. Follow the catacomb passage to the well, continue toward the chamber containing the Mother’s Remains, clear the cocoon on the adjoining door, and collect the Rope.
Return to the starting save point in the area, clear the cocoon covering the mirror, reveal the hidden room and collect the Pulley. Attach both the Rope and the Pulley to the gate mechanism near the save point, then operate it. The gate opens.
14. The Final Stretch
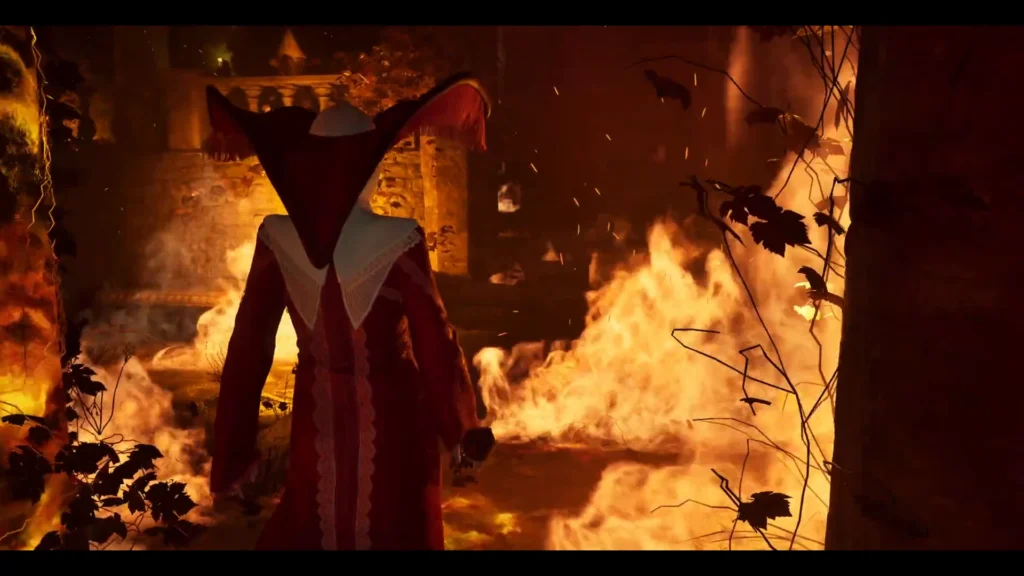
Once the catacomb gate is open, keep following the new routes. Use mirrors and the moth ability whenever the path looks blocked. During the burning-villa sequence:
- Search the wardrobe through the door on the right
- Check the bench in the back room on the right
- Deal with the remaining figure on the upper route
Use the repeated-press prompts the game gives you. The figures blocking your way can only be temporarily slowed or incapacitated, they can’t be permanently defeated. Keep moving forward.
The game has only one ending, so no alternate puzzle branches to worry about.
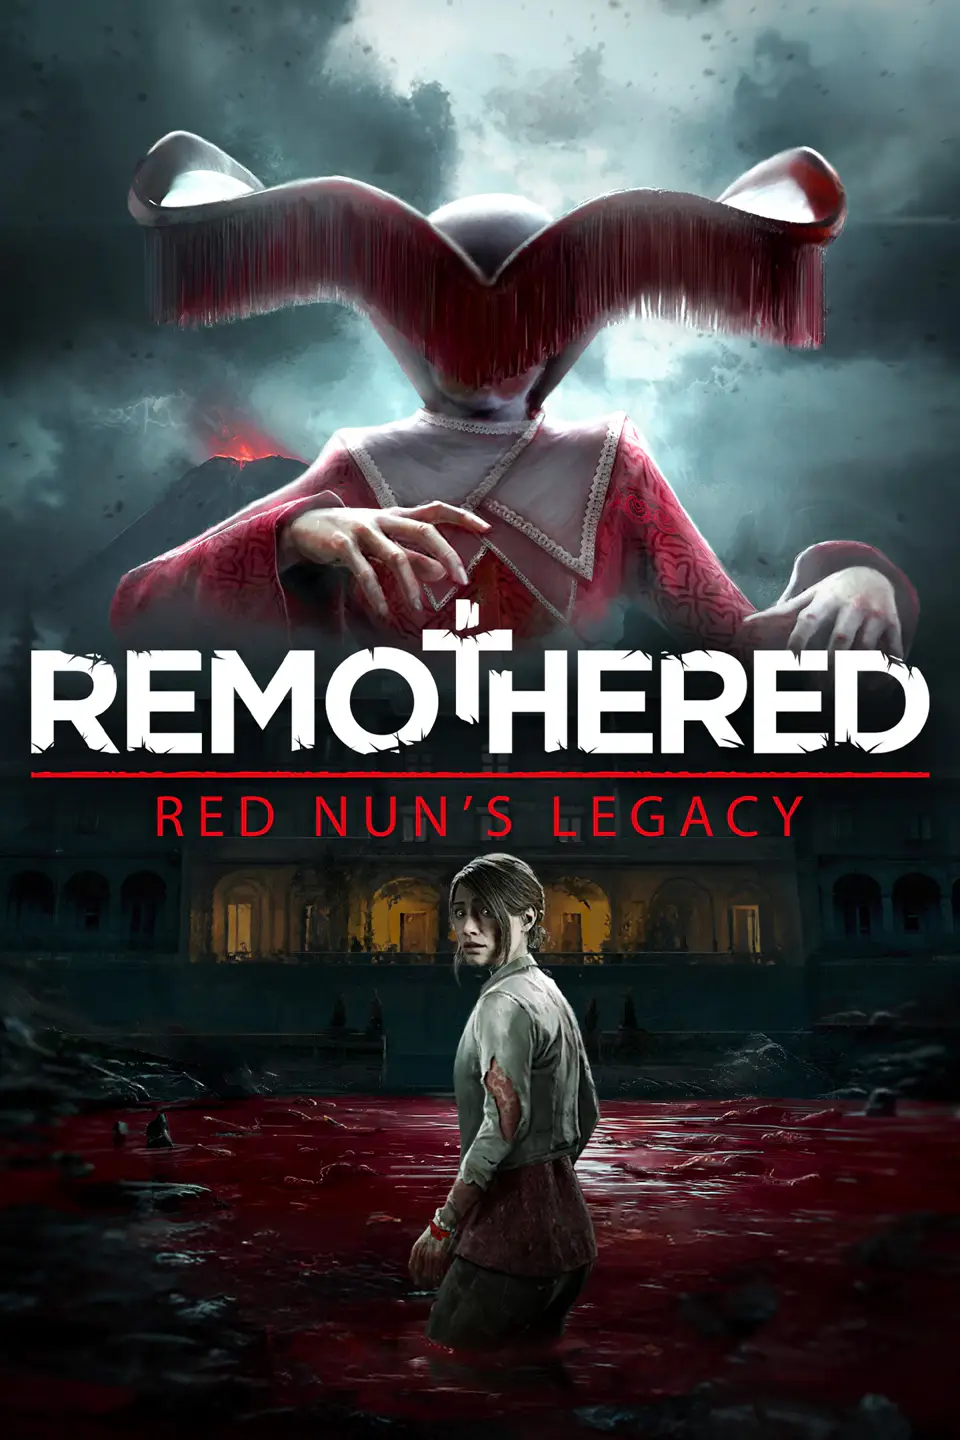
Remothered: Red Nun's Legacy