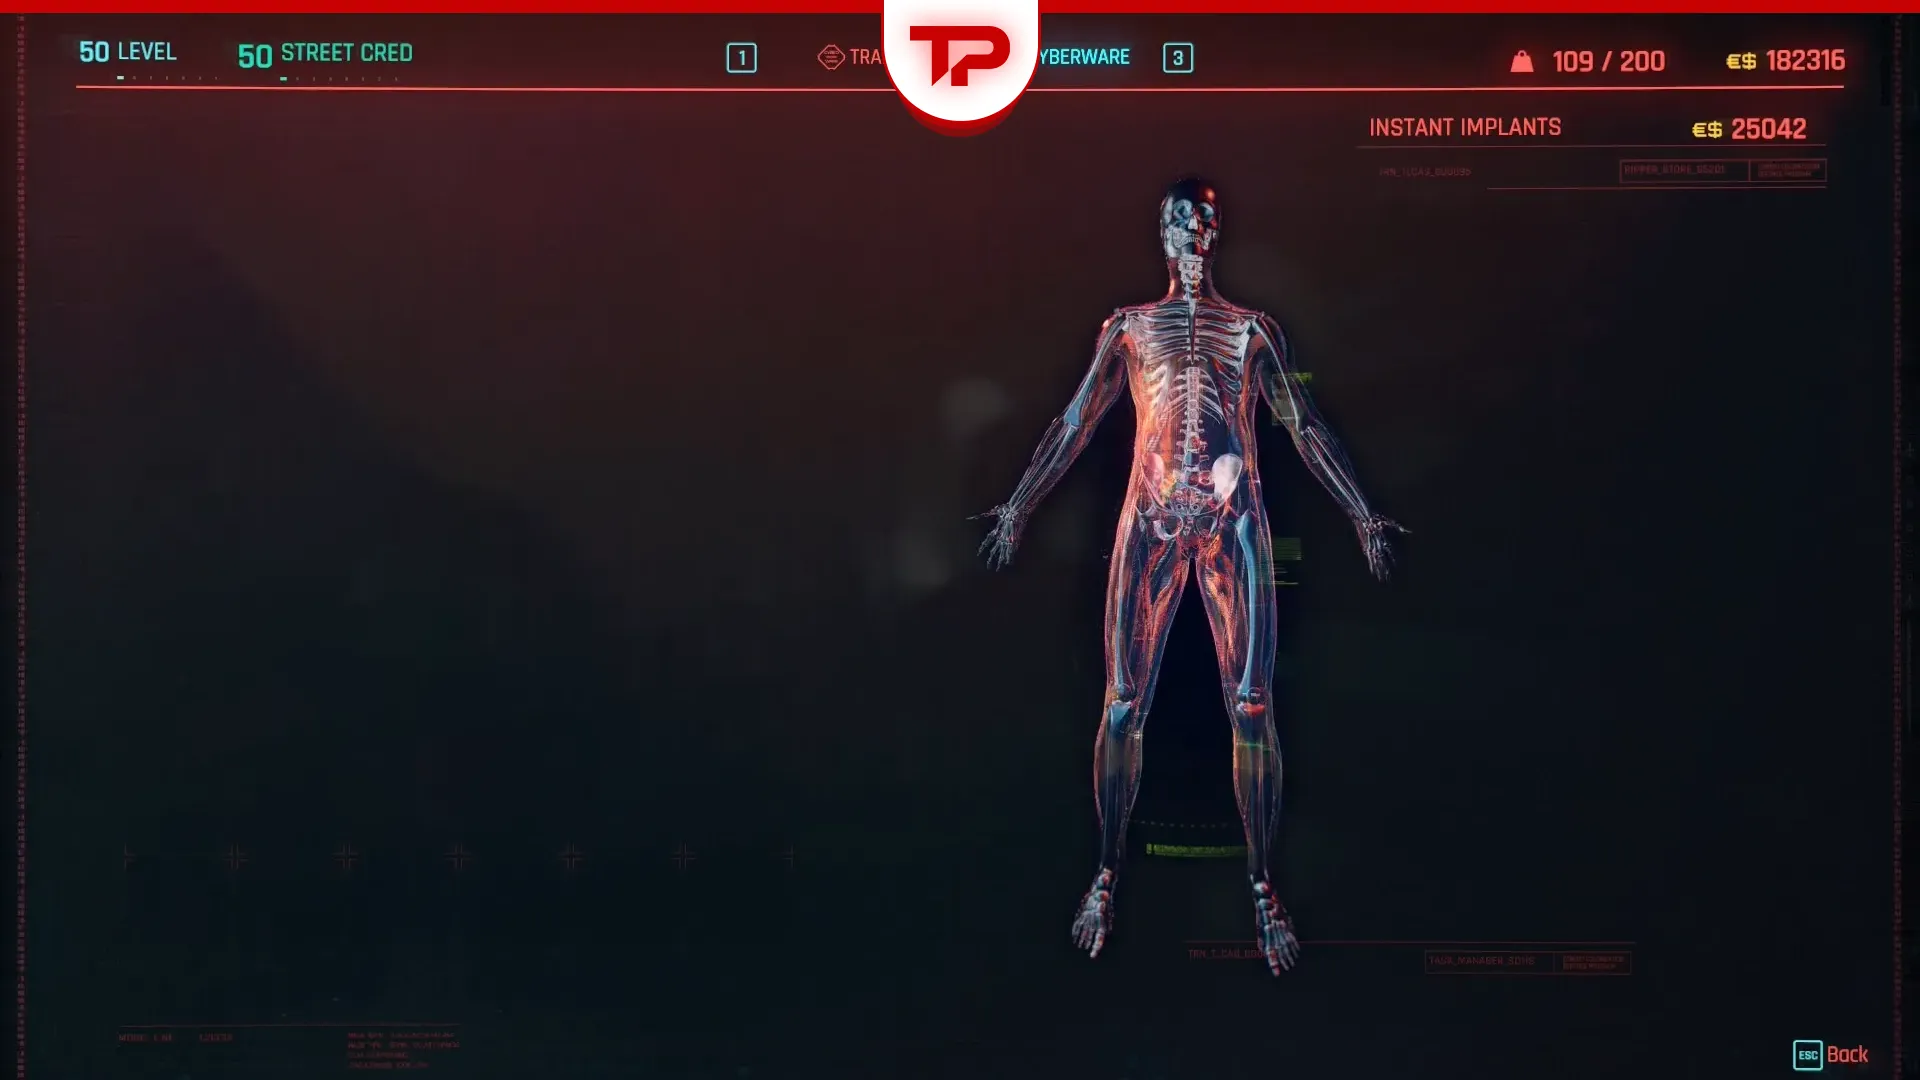


Skeleton cyberware among the whole Cyberware system is the boring slot. Nobody makes a build video about it. There’s no Sandevistan here, no Mantis Blades, no monowire to slice a Tyger Claw in half.
What’s here is armor, health, carrying capacity and mitigation. This is exactly the stuff that decides whether you survive the first ten seconds of a Dogtown ambush.
It’s also the slot where cyberware capacity hurts most. A single Epimorphic Skeleton costs 40 capacity at Tier 5. Rara Avis costs over 50. You are not fitting both plus a third implant without serious Technical Ability investment. The choices here matter more than the flat stat lines suggest.
Table of Contents
How Skeleton Cyberware works in Cyberpunk 2077
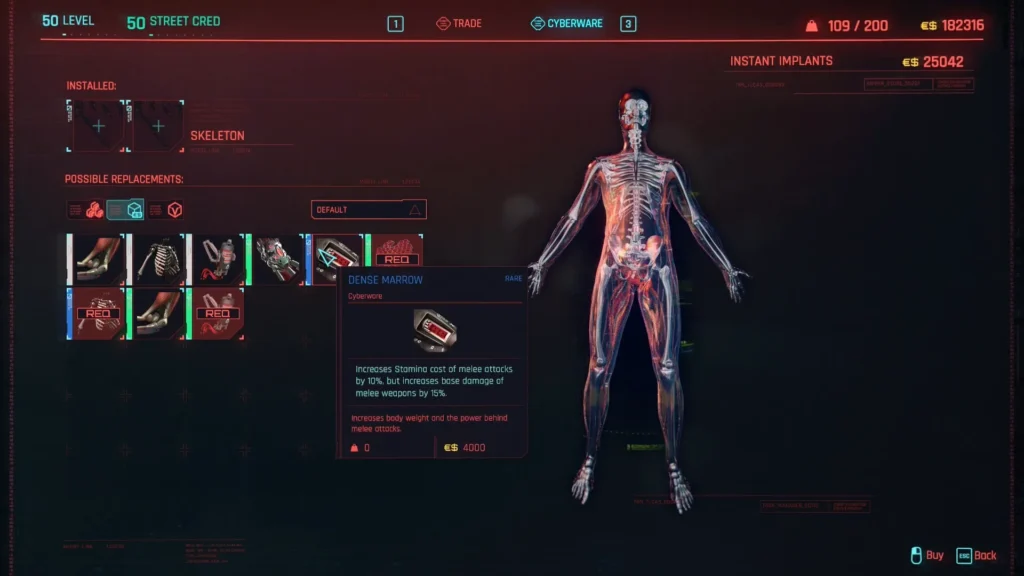
You get two Skeleton slots by default. A third unlocks through License to Chrome in the Technical Ability tree, and honestly it’s one of the better reasons to put points there if you’re building tanky.
Every implant sells at a tier matched to your level: Tier 1 from the start, Tier 2 at level 10, Tier 3 at 20, Tier 4 at 30, Tier 5 at 40. You can also pay a Ripperdoc to upgrade chrome you already own using components. Each piece carries a main effect, an attribute-attuned bonus that scales with one of your attributes (Body, Reflexes, Technical, or Intelligence), and one or two smaller stat bonuses on top.
Two mechanics
Mitigation Chance is your odds of a hit being mitigated. Mitigation Strength is how much damage that mitigated hit loses, defaulting to 50% and capped at 90% total. Spring Joints raises the strength. Kinetic Frame raises the chance. They stack fine together and do very different jobs.
The numbers below are Tier 5 unless noted.
All Skeleton Cyberware in Cyberpunk 2077
| Implant | Capacity | Price | Attuned To |
|---|---|---|---|
| Bionic Joints | 8 | 9,974 | Technical |
| Titanium Bones | 6 | 3,990 | Body |
| Epimorphic Skeleton | 40 | 27,926 | Body |
| Universal Booster | 25 | 84,778 | Technical |
| Scarab | 14 | 50,869 | Technical |
| Spring Joints | 16 | 50,869 | Body |
| Scar Coalescer | 20 | 50,869 | Body |
| RAM Recoup | 14 | 50,869 | Intelligence |
| Kinetic Frame | 16 | 50,869 | Reflexes |
| Dense Marrow | 16 | 50,869 | Reflexes |
| Para Bellum | 25 | 84,778 | Technical |
| Rara Avis | 52 | 120,562 | Body |
Flat armor, nothing else. The behavior is well known: a straight additive armor bump with no conditions attached.
What makes it quietly excellent is the cost. Eight capacity at Tier 5, under 10,000 eddies. Nothing else in the slot gives you defence that cheap. The Technical attunement adds 0.5% armor per attribute point, plus 1.3% decreased enemy vision and 1.8% reload speed.
Flat armor beats percentage armor when your base armor is low, which describes most of the early and midgame. Bionic Joints is the default pick until it isn’t.
Cyberpunk 2077 Skeleton Cyberware: Complete List
Titanium Bones
+62% carrying capacity at Tier 5, and 3,990 eddies makes it the cheapest implant in the category. Body-attuned, giving 0.5 health per attribute point, 3.9 armor, and 2.6% melee damage.
Carrying capacity is a quality-of-life stat, not a combat one. But if you loot everything and spend half your session over-encumbered and walking back to a drop point, six capacity is a small price for never dealing with that again. The small armor and melee bumps mean it isn’t a dead slot in a fight either.
Epimorphic Skeleton
+13% Max Health at Tier 5, with the Body attunement adding 0.5 health per attribute point on top. With Body maxed out, the total health increase lands closer to 26%. It also gives 0.5% Mitigation Strength and 1.3% health item effect.

Forty capacity is a genuine commitment. That’s five Bionic Joints’ worth. The case for paying it: armor has diminishing returns against big single hits, while raw health scales with everything, including your health item effectiveness and any regen you’re running. On a Body build that already leans on Second Heart and health items, this is the strongest defensive piece in the slot that isn’t Phantom Liberty exclusive.
Universal Booster
Health items get a second job. Using one now also grants 9% armor for 5 seconds and cuts all stamina costs by 27% for 55 seconds. The effects don’t stack with themselves, so spamming injectors gains you nothing.
That 55-second stamina window is the real draw and it’s easy to overlook while reading the tooltip. Stamina gates sprinting, blocking, melee swings, and power weapon fire, so a build that lives on stamina gets more out of this than the armor line suggests. At 25 capacity and nearly 85,000 eddies it’s a late-game purchase.
Scarab
Crouch and gain 110 armor at Tier 5, at the cost of 20% movement speed. Technical attuned, with 13 carrying capacity and 2.6% grenade recharge speed attached.

This is a stationary-shooter implant. It’s the backbone of the crouched LMG playstyle, where you park behind cover, layer it with the crouch-based mitigation perks, and become extremely hard to shift. Play mobile and it does nothing at all. Fourteen capacity for a conditional 110 armor is a great rate if the condition matches how you actually play, and a wasted slot if it doesn’t.
Spring Joints
+16% Mitigation Strength at Tier 5. Remember the 90% total cap, and that the default strength is 50%, so this is pushing an already-decent number higher rather than enabling something new. Body-attuned with 13 carrying capacity and 2.6% weapon handling.

Mitigation Strength only pays off if you’re actually mitigating hits. Pair it with sources of Mitigation Chance or it’s the weaker half of a combo you haven’t finished building.
Scar Coalescer
+20% armor once you drop below 50% health. Body-attuned, adding 3.9 armor and 2.1% damage over time resistance.

Twenty capacity for a bonus that only shows up when you’re already in trouble is a hard sell, and most build guides skip it for that reason. There is one context where it earns the slot: Berserk and other builds that deliberately sit at low health for damage bonuses. If half-health is your normal operating state rather than an emergency, the “conditional” tag stops mattering.
RAM Recoup
Taking damage restores RAM equal to 0.28% of the damage received, plus 2 Max RAM. Intelligence attuned, with 3.9 armor and 0.13 RAM regen from neutralizing an enemy.

Patch 2.1 multiplied this effect by roughly ten, and it went from a joke to a real netrunner tool overnight. Before that you’d eat a near-lethal hit and recover about two RAM. Now a tanky quickhacker taking sustained fire generates a meaningful RAM stream just by being shot at, which is a strange but effective loop. Fourteen capacity is cheap for what it does on an Int build.
Kinetic Frame
+16% Mitigation Chance while your stamina is above 85%. Reflexes attuned, with 1.3% health regen bonus and 2.6% headshot damage multiplier.

The stamina condition is stricter than it reads. Sprint for a couple of seconds, fire a power weapon, swing a blade, and you’ve dropped below the threshold. It suits netrunners and pistol builds who move deliberately and rarely burn stamina, and it’s the natural partner to Spring Joints since one raises how often mitigation triggers and the other raises what it’s worth.
Dense Marrow
+24% melee damage, +15% melee stamina cost at Tier 5. Reflexes attuned, adding 3.9 armor and 5.2 bonus stealth damage.
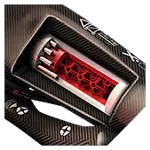
The stamina penalty is the whole conversation. Twenty-four percent more damage per swing is excellent, but you swing fewer times before you’re gassed, so it wants either high Body, Universal Booster, or the stamina perks to offset it. Melee builds run this anyway. Nothing else in the slot touches melee damage.
Para Bellum
+12% armor, applied as a percentage of your existing armor rather than a flat addition. Technical attuned at 0.5 armor per attribute point, plus 2.6 health and 2.1% melee damage resistance.

Percentage armor scales with what you already have, which flips the Bionic Joints comparison late in a run. Stack Chitin, high-armor clothing mods, and a fully kitted build, and 12% of a large number beats a small flat bonus. Early on, with thin base armor, it’s the worse buy. Twenty-five capacity, 84,778 eddies, and it’s available at any ripperdoc from level 20.
Rara Avis
The Phantom Liberty iconic, and the closest thing this category has to a trophy. It’s a scaled-up Para Bellum, granting armor in the 30–40% range depending on tier, alongside health that scales with Body.
You pay for it in every currency the game has. Buy it from a Dogtown ripperdoc, or get lucky with a Dogtown airdrop once you’ve started Lucretia My Reflection. Needs Phantom Liberty.

Whether it’s worth 52 capacity is a real question rather than a rhetorical one, since armor suffers diminishing returns against the biggest hits and that capacity could buy you three or four useful implants elsewhere in your body. For an armor-stacking Body build it’s still the ceiling.
Picking Skeleton Cyberware for your build
- If you’re netrunning: RAM Recoup and Feen-X cover the RAM economy keep your Operating System Cyberware firing, and Kinetic Frame fits since you’re not burning stamina anyway.
- Melee or Body: Dense Marrow for damage, Epimorphic Skeleton for the health pool, Universal Booster if the stamina cost of the first one is choking you.
- Gunslinger, on the move: Bionic Joints early, Para Bellum once your armor is high enough for the percentage to beat the flat number.
- Gunslinger, dug in behind cover: Scarab and it isn’t close.
- Short on eddies or capacity: Bionic Joints and Titanium Bones together cost 14 capacity and under 14,000 eddies, and cover armor plus the encumbrance problem. That combination carries you comfortably to the point where you can afford to think harder

Cyberpunk 2077