

The Nervous System is the slot most players fill last and regret filling badly. It bends time and makes you faster, which turns out to matter a lot more than the numbers on the tooltip suggest.
Since Cyberpunk 2077 Update 2.0 rewired the whole cyberware system, V has three Nervous System slots. There are twelve implants competing for those three spots and three of them are iconic that only exist if you own Phantom Liberty.
Jump to
Cyberpunk 2077 Nervous System cyberware: Quick Guide
| Implant | Tier | Capacity | Attuned Attribute | Effect |
|---|---|---|---|---|
| Adrenaline Converter | 1 | 6 | Cool | Grants +20–40% Movement Speed for 3–9 seconds when combat begins. |
| Adreno-trigger | 3 / Iconic | 20 | Reflexes | Grants +20–30% Movement Speed for 10–35 seconds when combat begins. |
| Atomic Sensors | 1 | 5 | Cool | Movement Speed scales with enemy detection outside combat, up to +20–64%. |
| Deep-Field Visual Interface | 3 / Iconic | 40 | Cool | Crit Chance increases with distance, reaching 70–100% at 85–100 meters. |
| Kerenzikov | 2 | 12 | Reflexes | Allows aiming and firing while sliding, dodging or dashing. Slows time by 60% for 2–3.75 seconds. |
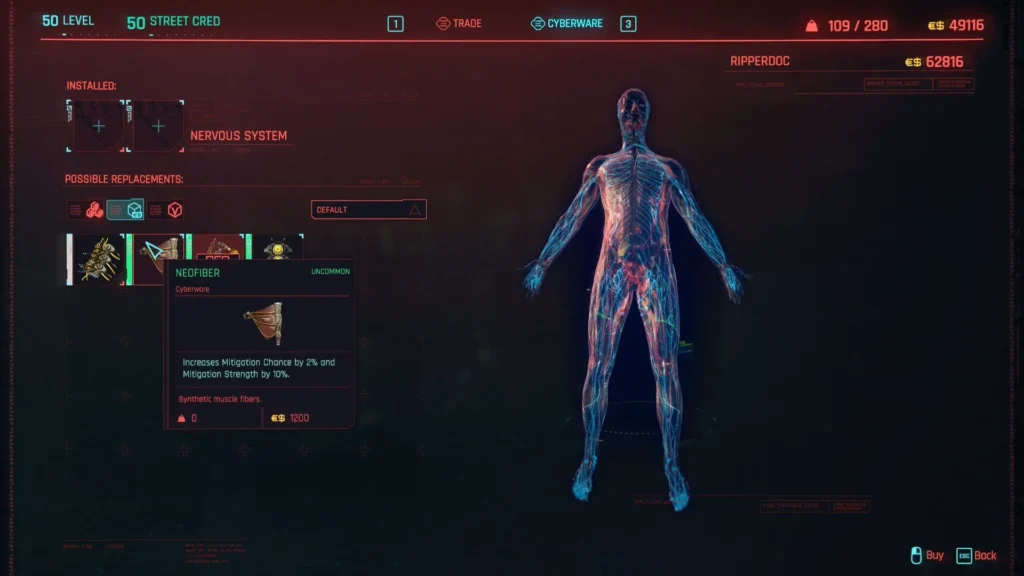
| NeoFiber | 3 | 14 | Reflexes | Increases Mitigation Chance by 8–11% and Mitigation Strength by 5–11%. |
| Reflex Tuner | 1 | 5 | Cool | Slows time by 20–60% for 2–4.5 seconds when Health falls below 25%. |
| Revulsor | 3 / Iconic | 35 | Cool | Slows time by 40–60% for 3.5–4.5 seconds below 25% Health, without reducing movement speed. |
| Stabber | 2 | 12 | Reflexes | Increases Crit Chance by 10–20% with Blades and Throwable Weapons. |
| Synaptic Accelerator | 2 | 5 | Cool | Slows time by 20–50% for 2–4.5 seconds when enemy detection reaches 50%. |
| Tyrosine Injector | 1 | 8 | Cool | Takedowns grant increased Headshot Damage and Movement Speed for 15 seconds. |
| Visual Cortex Support | 1 | 20 | Cool | Crit Chance increases with distance, up to 16–30% at 30 meters. |
How the slot works
Every implant costs Cyberware Capacity and Nervous System pieces range from dirt cheap to genuinely expensive. Synaptic Accelerator costs 5 capacity. Deep-Field Visual Interface costs 40. That gap is the single biggest thing shaping what you can realistically run, especially before you’ve picked up capacity shards and the Technical Ability perks that raise your ceiling.
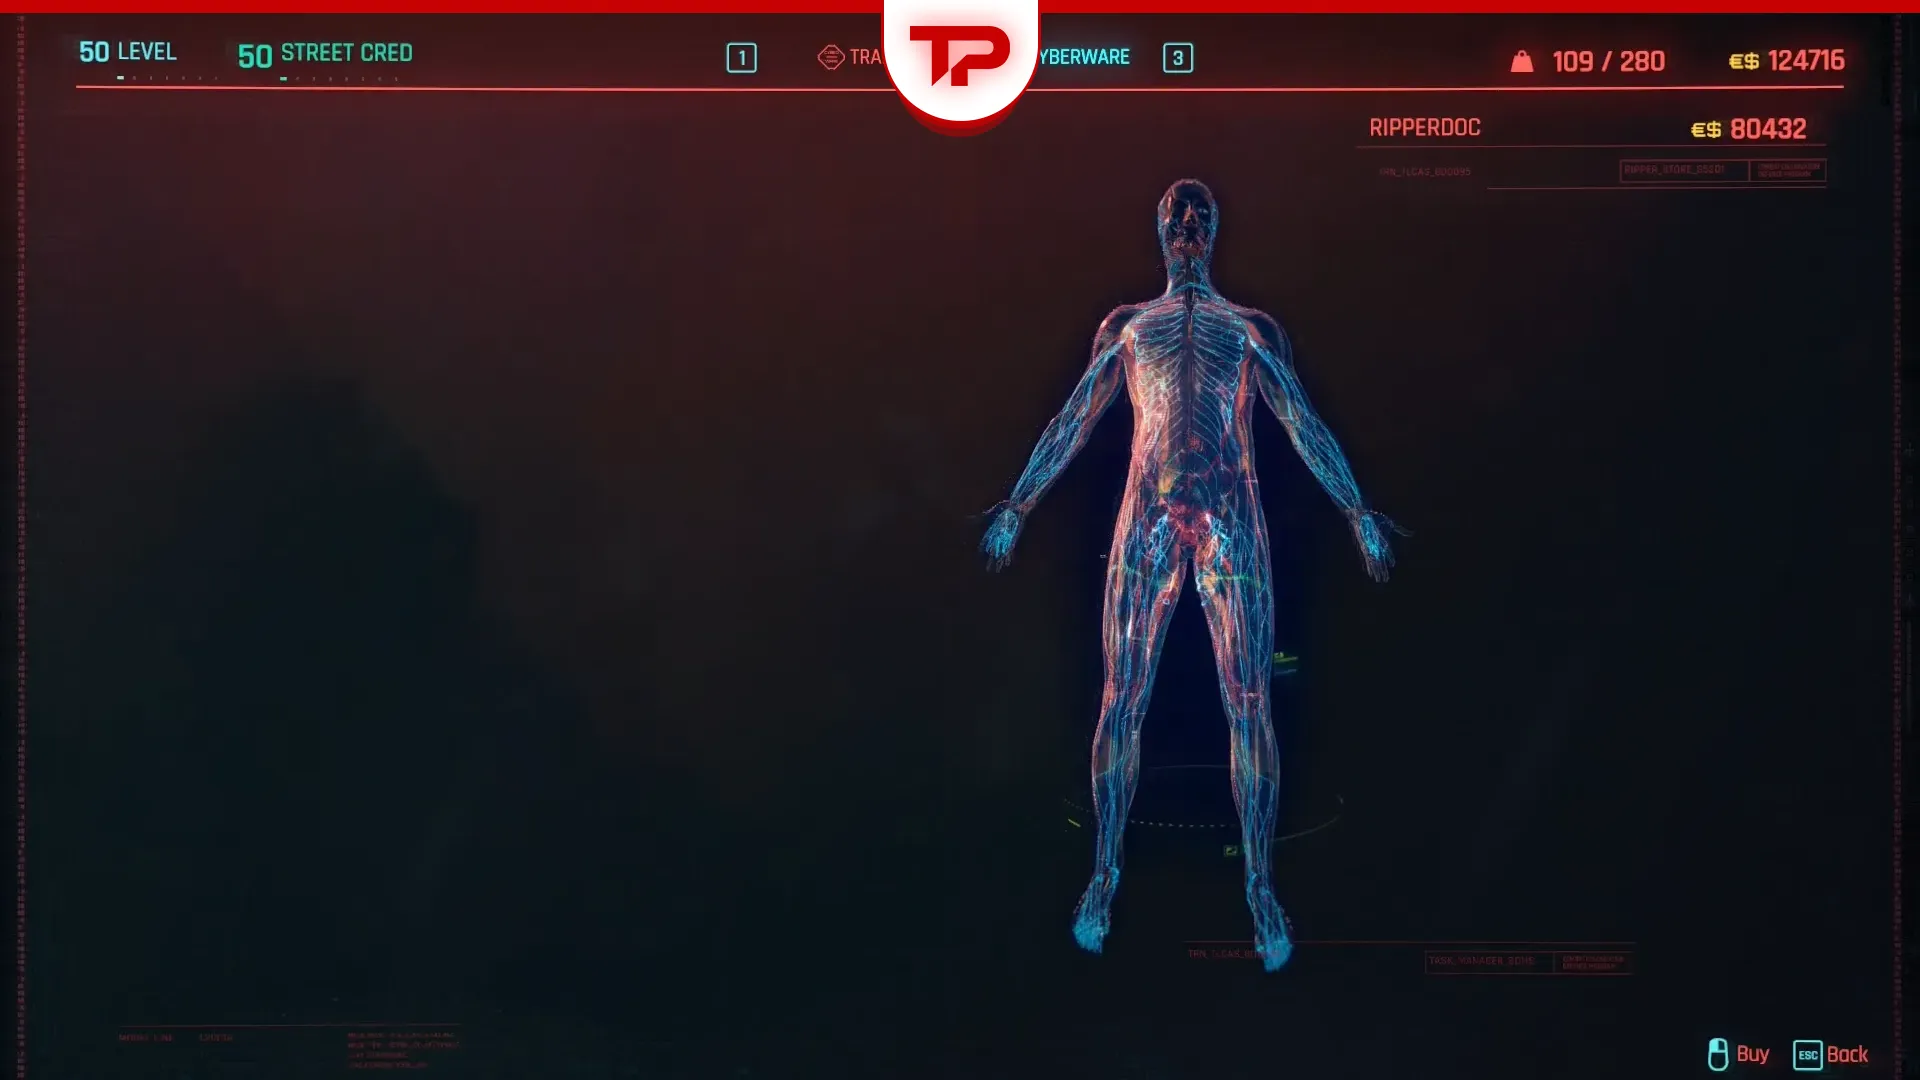
Rarity is gone. Tiers replaced it, running 1 through 5+ and you upgrade at a Ripperdoc rather than crafting. Higher tiers scale the effect, sometimes dramatically: Reflex Tuner slows time by 20% at the bottom tier and 60% when maxed.
Most Nervous System implants are attuned to either Cool or Reflexes, which means they gain a small extra bonus per point you’ve invested in that attribute. Cool-attuned pieces on this list tend to give headshot and weakspot damage. Reflexes-attuned ones tend to give crit chance. It’s a modest bonus per point. However, it’s free and it quietly rewards you for not spreading your attributes thin.
The time-slow implants
Four of the twelve slow time and they trigger on completely different conditions. That’s the actual design of this slot. It’s the reason to care about it at all.
Kerenzikov
Tier 2, 12 capacity, Reflexes attuned. Lets you aim and perform ranged attacks while sliding, dodging or dashing and slows time by 60% for 2 to 3.75 seconds when you do. Cooldown runs 8 seconds down to 6 at higher tiers.
This is the most fun implant in the slot and the one that actually changes how you play. On a shotgun or pistol build it turns every doorway into a slide-and-shoot opportunity. It also pairs with Kerenzikov Boost System, a Frontal Cortex implant that kills the stamina cost of shooting while Kerenzikov is active and deepens the slowdown further. If you like Kerenzikov at all, run both.
Synaptic Accelerator
Tier 2, 5 capacity, Cool attuned. Slows time by 20 to 50% for 2 to 4.5 seconds the moment enemy detection reaches 50%. Cooldown 60 seconds.
Five capacity for a stealth safety net is close to free. It fires when a guard is halfway to spotting you, which buys you the window to duck behind cover or land the shot before an alarm goes out. There is almost no argument for leaving this off a stealth character.
Reflex Tuner
Tier 1, 5 capacity, Cool attuned. Slows time by 20 to 60% for 2 to 4.5 seconds when your Health drops below 25%. Cooldown 60 seconds, dropping to 35 at max tier.
The budget panic button. It’s cheap enough that you can run it on any build without thinking and at low levels it saves runs. The drawback is that it slows you along with everything else, so you’re crawling toward cover rather than sprinting.
Revulsor
Tier 3, iconic, 35 capacity, Cool attuned. Slows time by 40 to 60% for 3.5 to 4.5 seconds below 25% Health, and your own movement isn’t slowed. Cooldown 50 seconds down to 35.
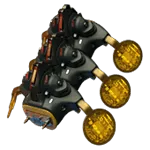
Strictly better than Reflex Tuner in effect. Longer, stronger and leaving your movement at normal speed means you can actually get somewhere instead of wading through syrup. The price is 35 capacity against Reflex Tuner’s 5, which is a real decision rather than an obvious upgrade until you’re deep into capacity shards.
The speed implants
Four implants that make you move faster under different conditions. They’re the least exciting group and the one I’d cut first.
Adrenaline Converter
Tier 1, 6 capacity, Cool attuned. Grants 20 to 40% movement speed for 3 to 9 seconds when you enter combat.
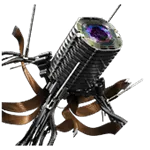
Cheap, and the effect is real, but the window is short and it fires at the exact moment you’re usually least interested in running. Fine as filler in an empty slot at low level.
Adreno-trigger
Tier 3, iconic, 20 capacity, Reflexes attuned. Grants 20 to 30% movement speed for 10 to 35 seconds when combat starts.
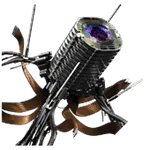
The iconic version of Adrenaline Converter, trading a bit of peak speed for a duration that covers most of a firefight. Twenty capacity is steep for what amounts to a movement buff, and I’ve never found a build where it beat spending that budget elsewhere.
Atomic Sensors
Tier 1, 5 capacity, Cool attuned. Movement speed increases in proportion to how close enemies are to detecting you outside combat, peaking at 20 to 64% when detection hits 80%. The effect ends when combat begins.
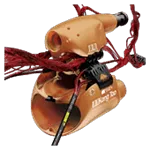
A genuinely clever piece of design: the closer you are to being caught, the faster you can get out of the sightline. At 5 capacity it’s an easy include on stealth builds, and it does nothing whatsoever once shooting starts.
Tyrosine Injector
Tier 1, 8 capacity, Cool attuned. Successful takedowns grant 10 to 21% headshot damage and 5 to 11% movement speed for 15 seconds.
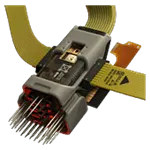
A snowball implant. Clear one guard quietly and the next fifteen seconds are your best window to clear the next. Useless on a build that never performs takedowns, which is most loud builds.
The crit chance implants
Three implants that boost Crit Chance, two by distance and one by weapon type.
Visual Cortex Support
Tier 1, 20 capacity, Cool attuned. Crit Chance climbs the farther you are from your target, capping at 16 to 30% at 30 meters.
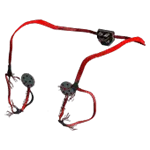
Thirty metres is a distance you actually fight at, which is the whole case for this one over its iconic sibling. Twenty capacity isn’t cheap, but a flat 30% crit chance on any ranged build is worth paying for.
Deep-Field Visual Interface
Tier 3, iconic, 40 capacity, Cool attuned. Crit Chance climbs with distance, up to 70 to 100% at 85 to 100 meters.
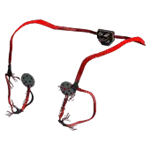
The number is spectacular and the requirement is brutal. You need to be standing roughly a football field away to collect it, which means sniper builds and nothing else. At 40 capacity, the most expensive implant in the slot, it’s a trap for anyone who reads the tooltip and not the distance.
Stabber
Tier 2, 12 capacity, Reflexes attuned. Adds 10 to 20% Crit Chance with Blades and throwable weapons.
Straightforward and strong if you’re swinging a katana or throwing knives. Worth noting that it covers throwables as well as blades, so knife-throwing builds get double value from one implant.
The defensive implant
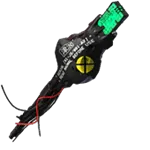
NeoFiber
Tier 3, 14 capacity, Reflexes attuned. Adds 8 to 11% Mitigation Chance and 5 to 11% Mitigation Strength.
The only implant in the slot that reduces incoming damage. Mitigation gives you a chance to cut a hit down by your Mitigation Strength, so NeoFiber works best stacked with other mitigation sources like Spring Joints or Kinetic Frame rather than as a standalone. On melee builds that are eating hits by design, it earns its 14 capacity.
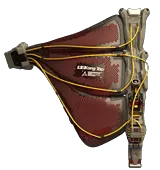
What I’d actually run
- For stealth: Synaptic Accelerator, Atomic Sensors, and Tyrosine Injector. Combined they cost 18 capacity, which is nothing, and they cover getting spotted, moving between patrols, and snowballing off a successful takedown.
- For a blade or melee build: Stabber for the crit chance, NeoFiber for the mitigation, and whichever panic button you can afford.
- For guns: Kerenzikov, Reflex Tuner or Revulsor, and Visual Cortex Support if you’re shooting from range.
Getting the iconics
Revulsor, Adreno-trigger and Deep-Field Visual Interface all came with Phantom Liberty, and all three are sold by Ripperdocs inside Dogtown rather than dropped by a specific enemy or tucked in a quest chest. Unlike base-game Ripperdocs, the Dogtown docs each stock the full iconic selection, so you don’t need to hunt a particular one.
Revulsor starts appearing around level 20, with higher tiers unlocking roughly every ten levels after that. The tier on offer depends on your level when you buy, though you can upgrade it later at a Ripperdoc for components. Don’t panic-buy at level 21 if you’re planning to keep playing.
Cyberpunk 2077