

If you have hit a brick wall trying to find or clear the Adventures of Elliot Rainbow Lotus dungeon, you are not alone. I myself got stuck in this infamous area, which bankrupted my Tul reserves, mostly thanks to its boss, the Lord of the Maw.
In this guide, I will help you find the Rainbow Lotus dungeon and walk away with the Moonmirror, a valuable item you need for clearing puzzles in the later stages of the game.
Table of Contents
How to Get to the Rainbow Lotus Area?
First of all, fast travel to “Eastern Eddartrayl”. Once in the area, head toward the stairs and go left to find a stack of wood-stocks. Climb them and light the torch.
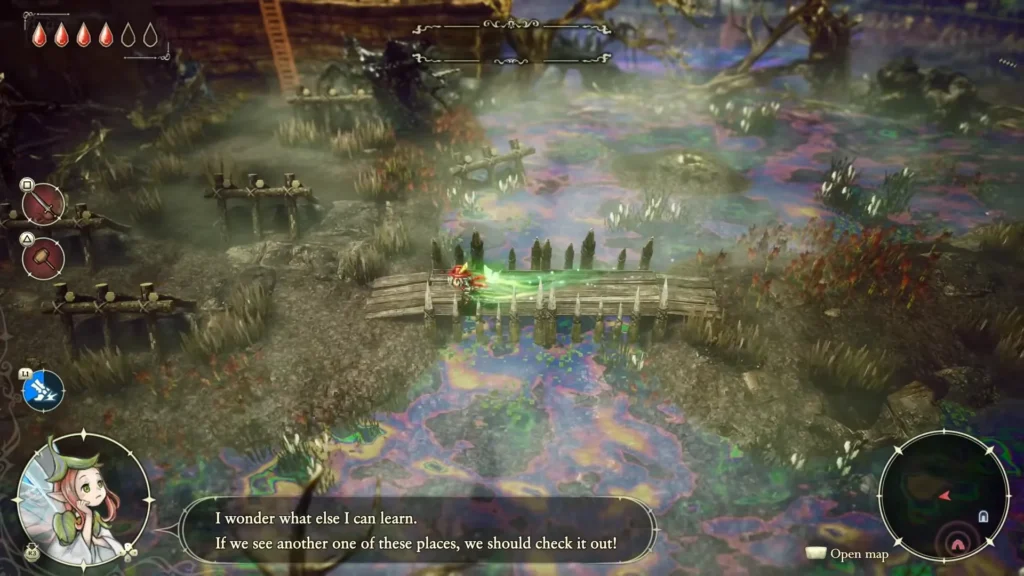
The gate will open; head straight through it to see a ladder. Climb down and go left to find a bridge surrounded by spikes. The Rainbow Lotus is right in front of you! However, it is not time to rejoice just yet, because the real trouble starts inside the dungeon.
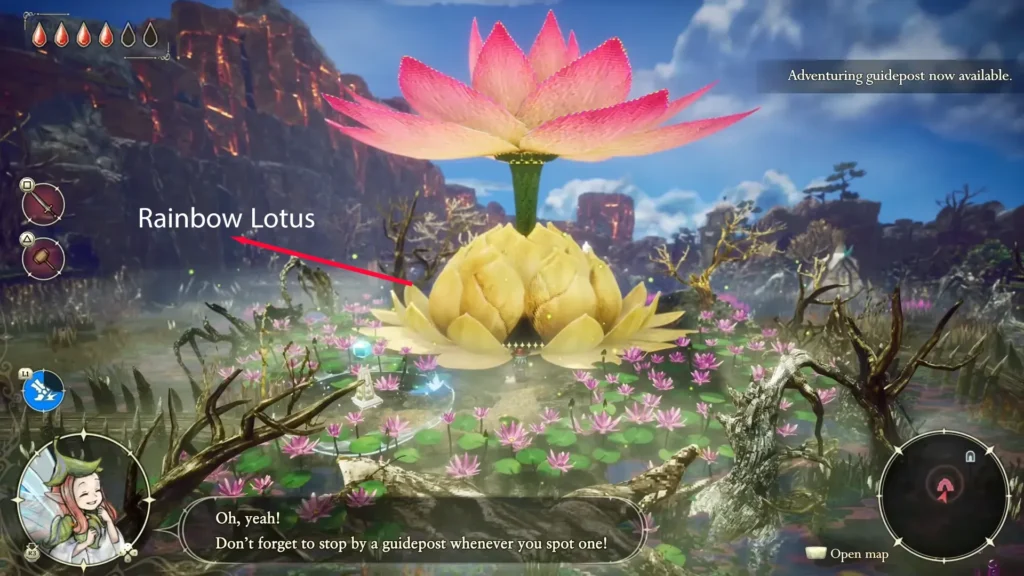
Tip: To maximize your XP, try to sweep the area and defeat all of the enemies. Believe me, you will need that XP.
Inside the Rainbow Lotus: Loot All Chests
You are now on the first level of the Rainbow Lotus. These are the 6 chests I found in the game:
Main Level
- Marked chest (shown on map): Enhanced Knock Back 2 (+20% hammer knockback vs. enemies)
- Eastern area chest: 230 Tul
- Central area chest, near the stairs: Red Rainbow Lotus Key
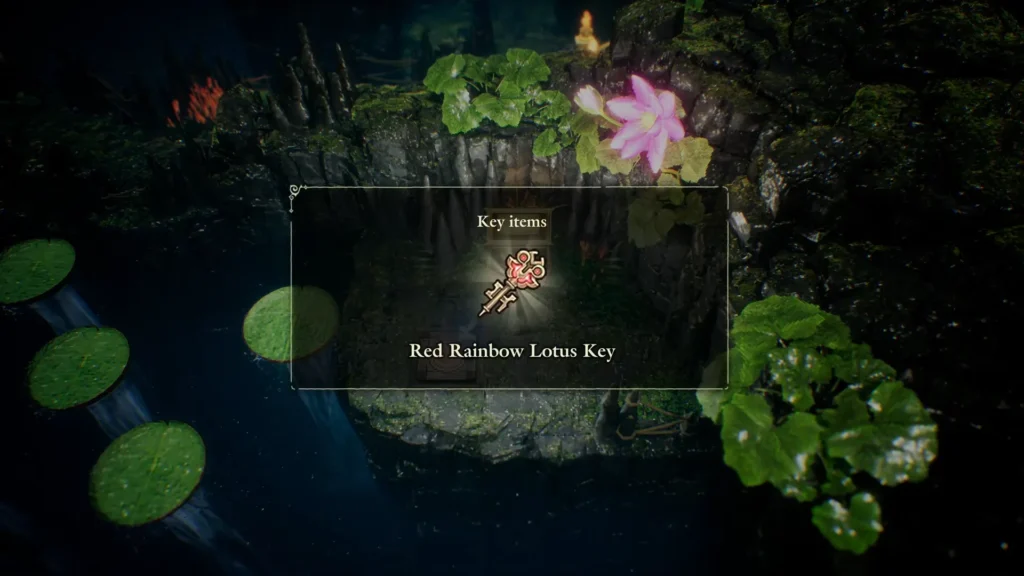
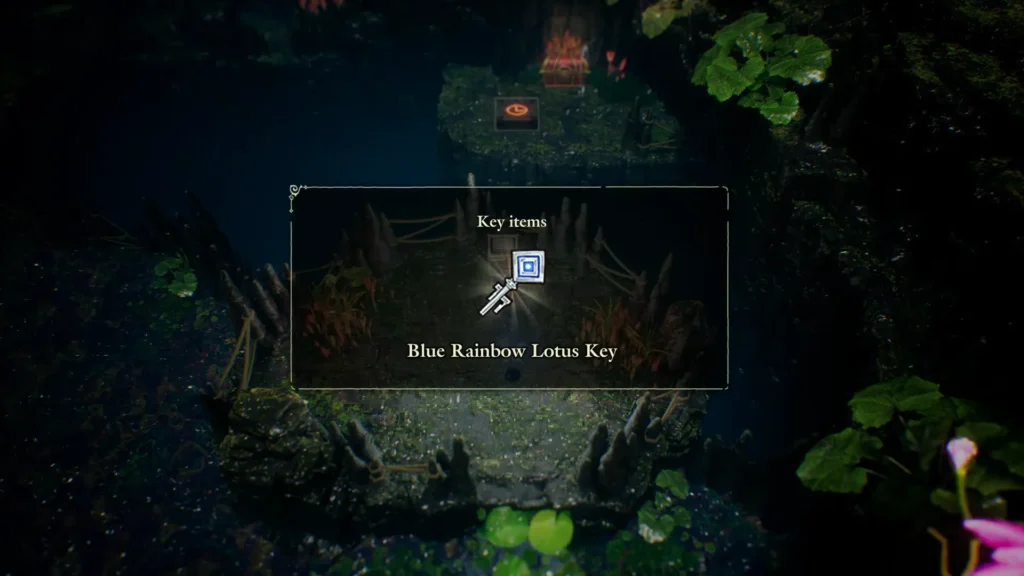
Sub-Level One (atop two raised stone platforms, guarded by enemies. Watch for Maw traps, bomb them to destroy)
- Chest: Blue Rainbow Lotus Key
- Chest: Scythe Chain (raises attack to 18, wide-reaching weapon)
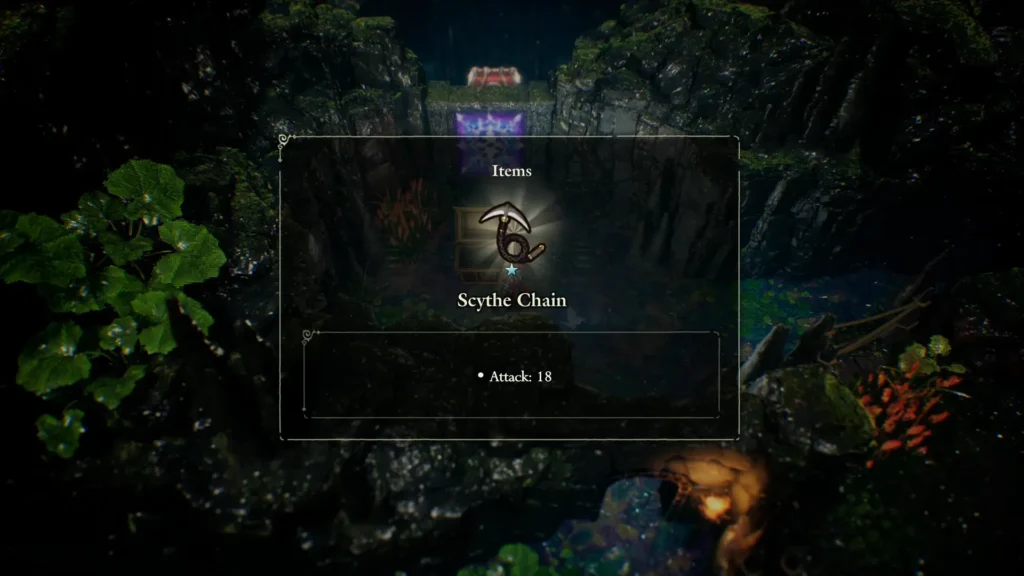
Lord of the Maw Area
- Red Chest: Moonmirror (Stamina 10)
Tip: It’s highly recommended to equip the Flutterer’s Cape for this dungeon, as it makes reaching the floor switches much easier.
Use the Red Key to open the door to the boss of the Adventures of Elliot Rainbow Lotus: the Lord of the Maw. The real challenge begins now. Sit tight!
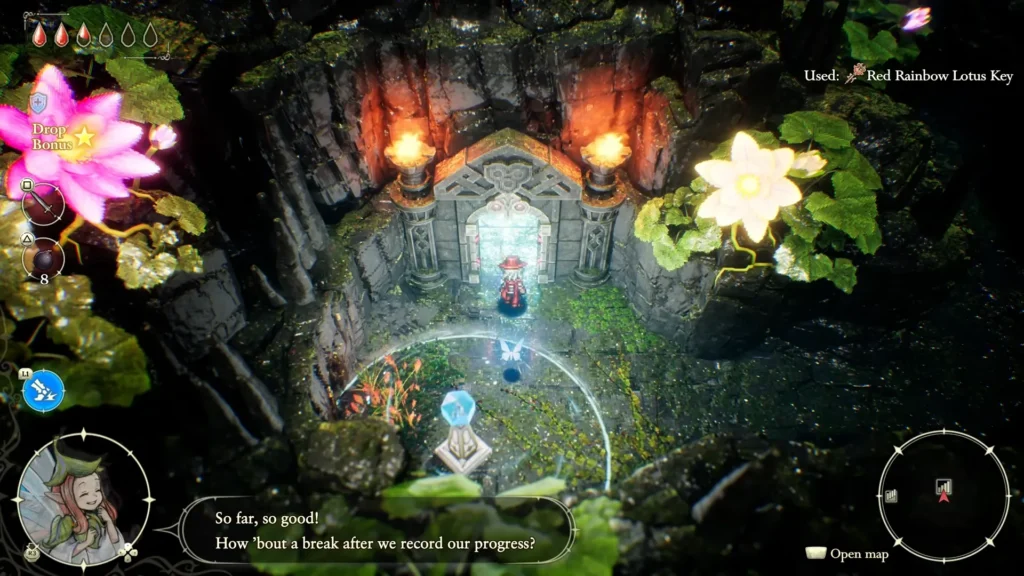
Rainbow Lotus Boss Fight: Be Prepared
Before starting the fight with the Lord of the Maw, you need three important items. I learned these tricks after dying multiple times, so heed them and you shall survive!
- Purchase the Cape for 1,000 Tul before challenging the boss. This item is strictly required during Phase 2, as it allows you to hover over incoming tidal waves. Without it, the attack becomes impossible to avoid and will deal massive damage every time it appears.
- It is also a good idea to equip Bombs in your primary quick-item slot before entering the arena. While the boss’s summoned frogs can occasionally replenish your stock, relying on those random drops is risky. Keep Faie’s Ignite equipped as well to maintain steady bonus damage throughout the fight.
- Pack at least 3 to 5 high-tier healing items. The arena gets incredibly chaotic very quickly.
How to Defeat Lord of the Maw?
The boss fight divides into two phases:
Phase 1: Orb Weaving and the Bomb Stun
The battle is a strict test of positioning and precise timing. The boss dominates the edge of the arena, limiting your movement space and threatening to corner you.
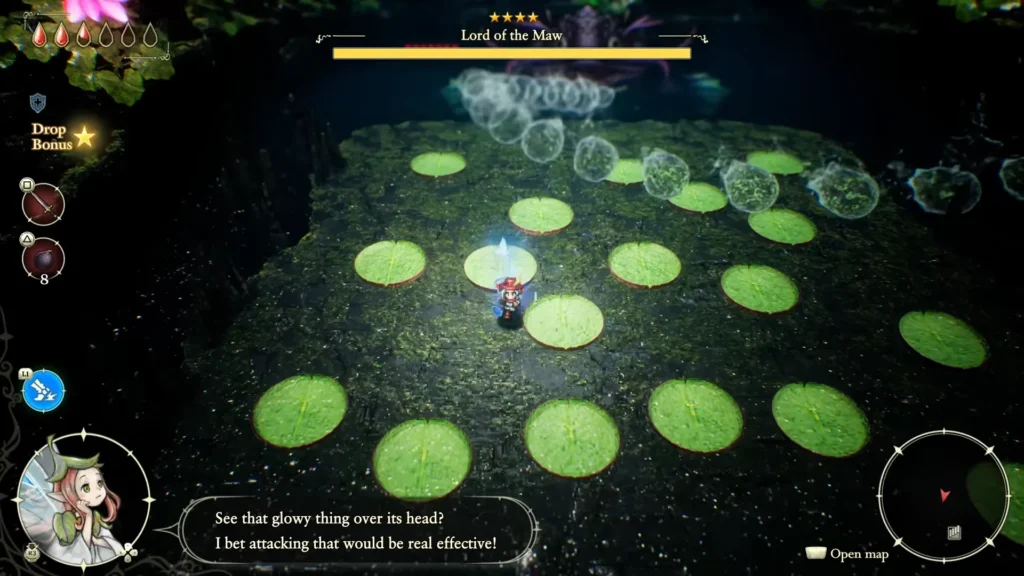
Orb Wave Defense (Keep Your Feet on the Ground): Panic-jumping during the initial projectile wave is a trap that almost always results in taking massive damage. Instead, watch for the boss to wind up his animation and immediately sprint to the arena’s back boundary.
The water projectiles naturally fan out into a wide cone the further they travel. They leave massive safe zones on the floor that you can easily step right through.
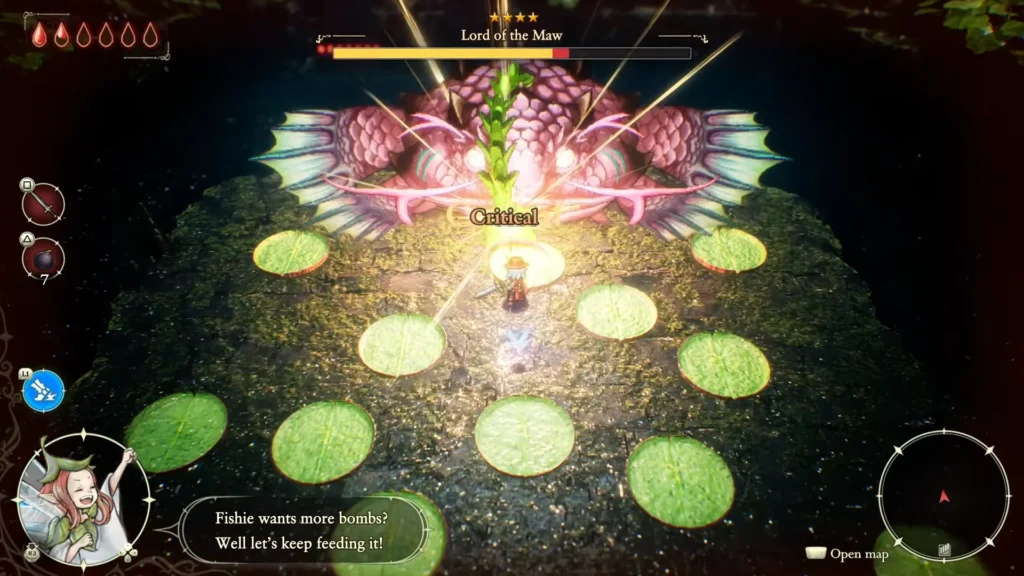
The Bomb Swallow Trick: The boss’s Inhale is his deadliest attack, but it is also your primary opening. The moment you hear a distinct vacuum sound effect, cycle to your bombs and toss one right into his open mouth (aiming for the green orb). He will ingest the explosive, suffer a crushing blow and lie completely incapacitated.
Maximize Your Stun Windows: While he is down, sprint into point-blank range, pop Faie’s Ignite, and hit him with your most powerful physical attack sequences. Retreat to safety the second he starts to stir.
Phase 2: Surviving the Tidal Wave
When his health bar drops below 50% HP, the encounter shifts dramatically as the arena introduces arena-wide tidal mechanics.
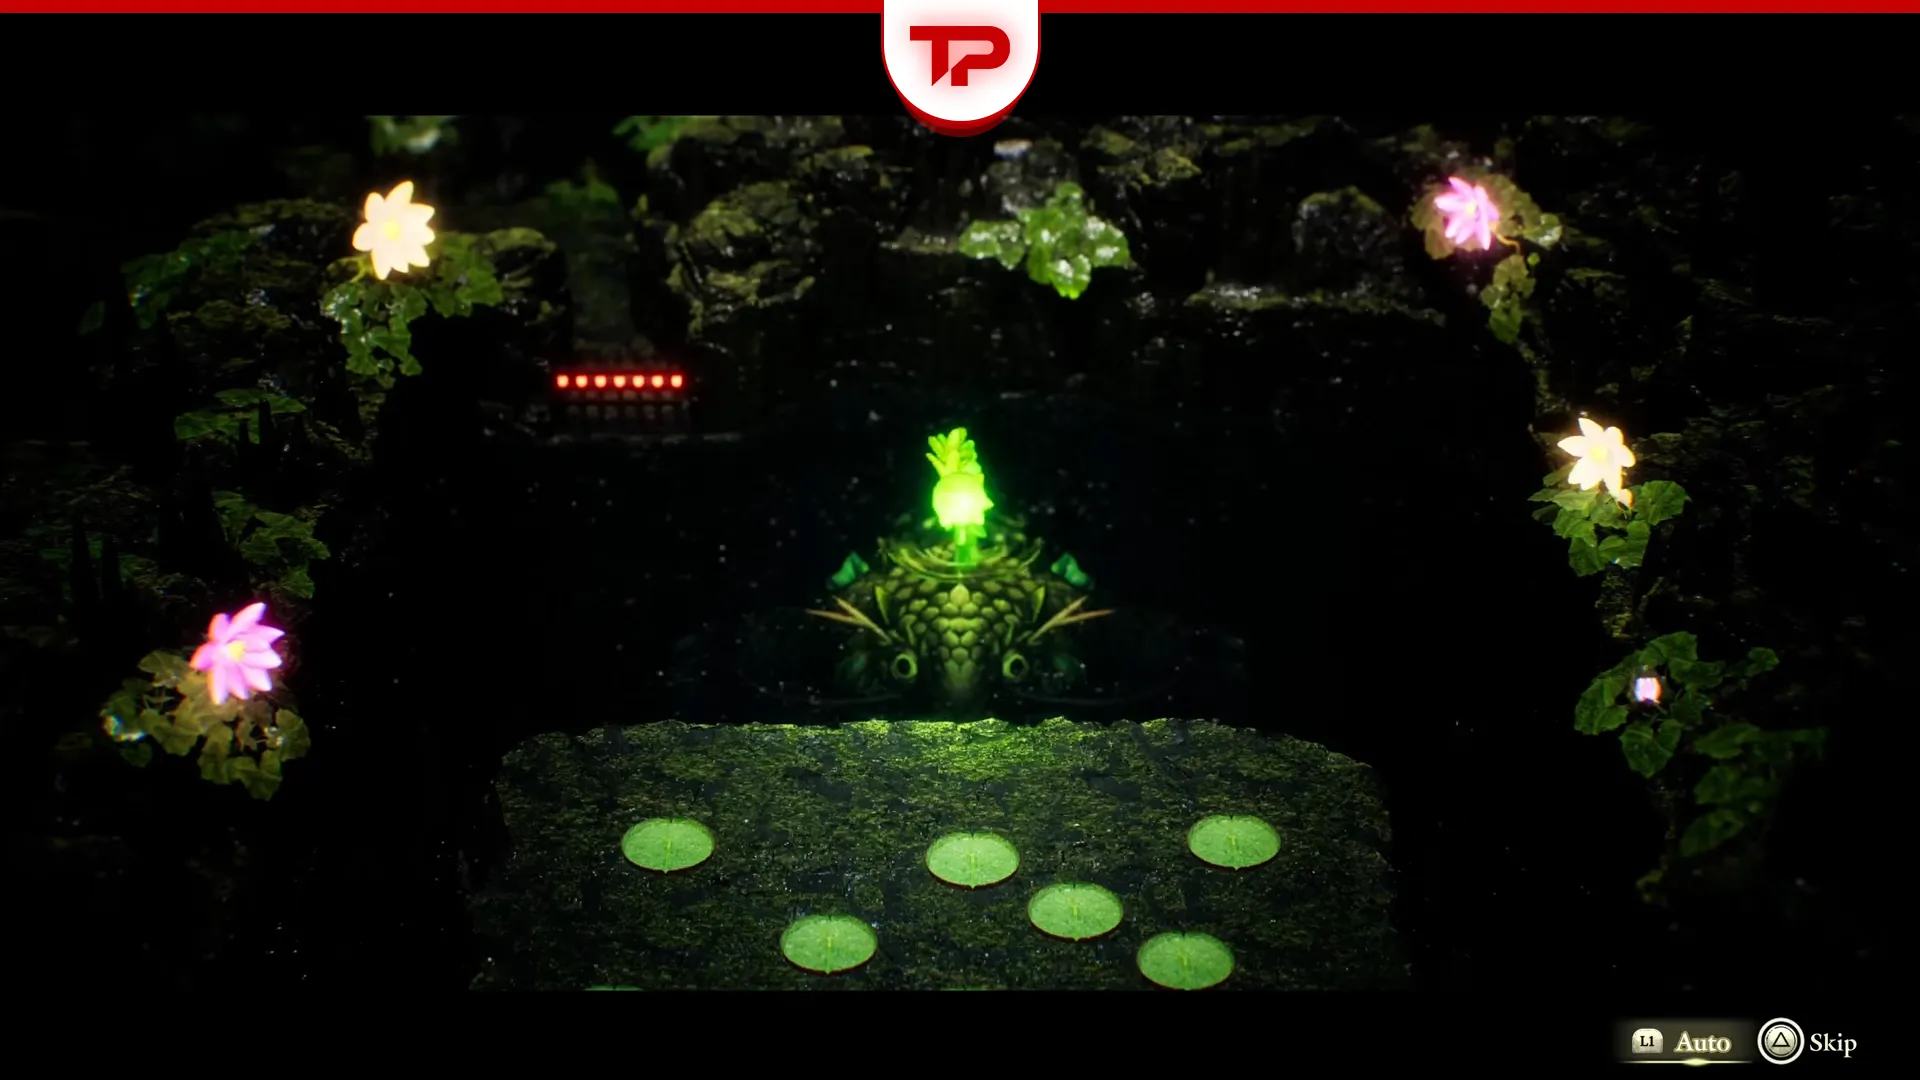
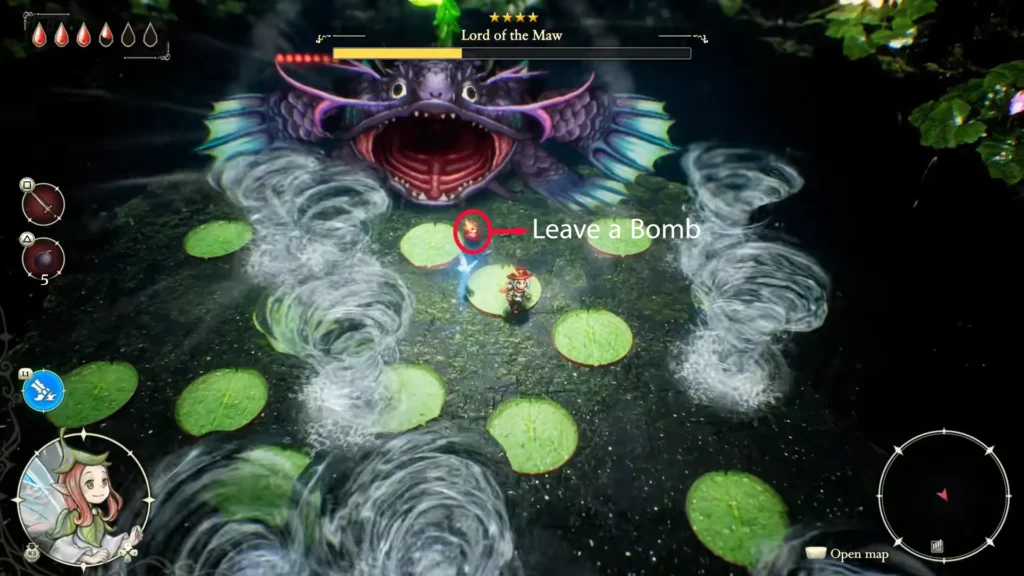
The Lilypad Ripple: When the large lilypads on the surface begin vibrating, a massive tidal wave is imminent. Step onto one of the active lilypads immediately.
The Glide Escape: Standing on the pad alone won’t protect you. The wave is too tall. Wait until the wall of water is right in front of your character, press jump and activate your Flutterer’s Cape to hover suspended in the air as the wave rolls beneath you. Mistiming this jump means landing early or getting hit mid-ascent.
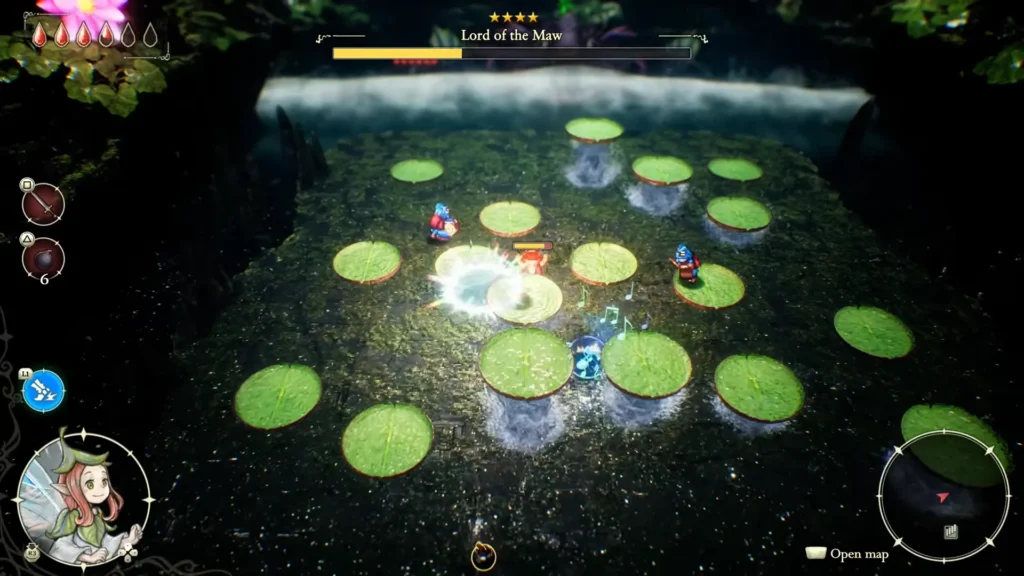
Whirlpool Safety: Vortexes will periodically tear across the arena floor during this phase. Cease all offensive pressure when they spawn and concentrate entirely on dodging until they vanish.
Rainbow Lotus Moonmirror: How to Get it?
Defeating the Lord of the Maw rewards you with a valuable item called the Moonmirror.
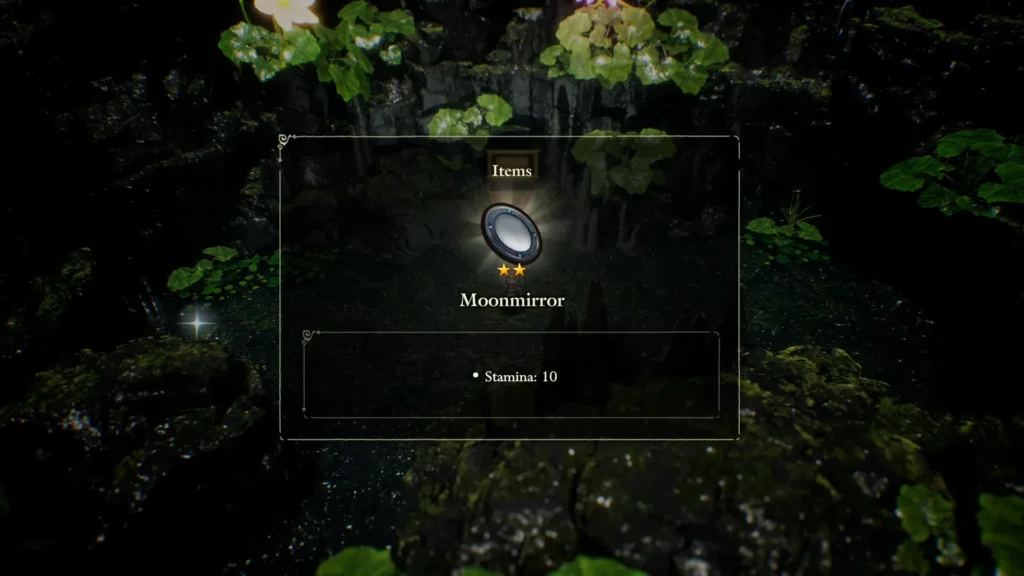
It will be essential for many late-game puzzles, and key story objectives during the Age of Reconstruction require progress beyond this point. Defeating the Lord of the Maw serves as a major mid-game milestone, and the rewards are well worth the challenge.

The Adventures of Elliot: The Millennium Tales