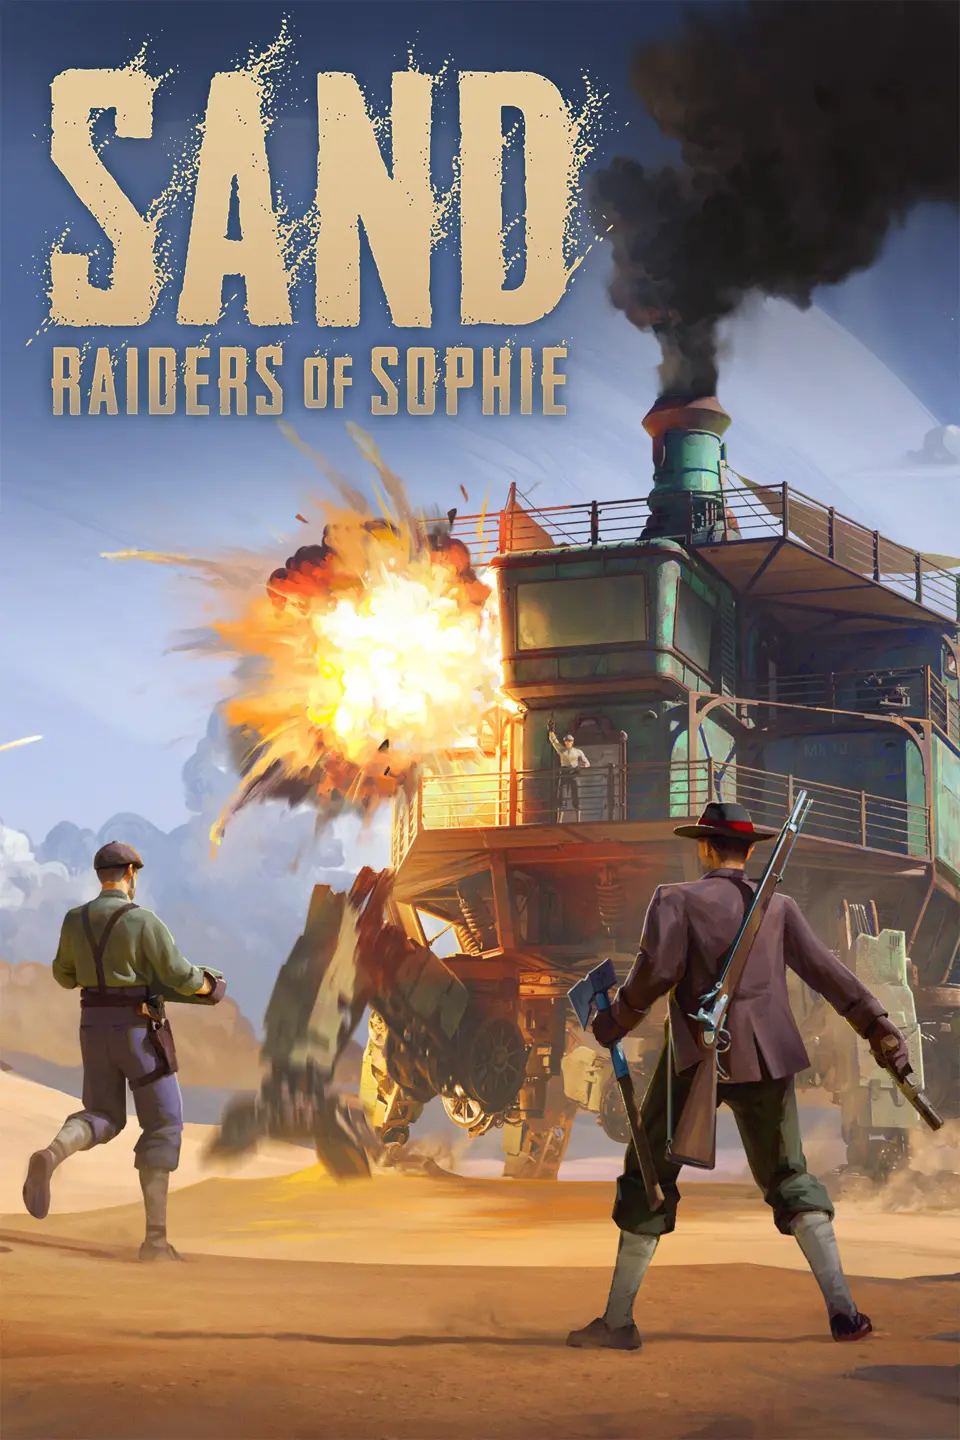
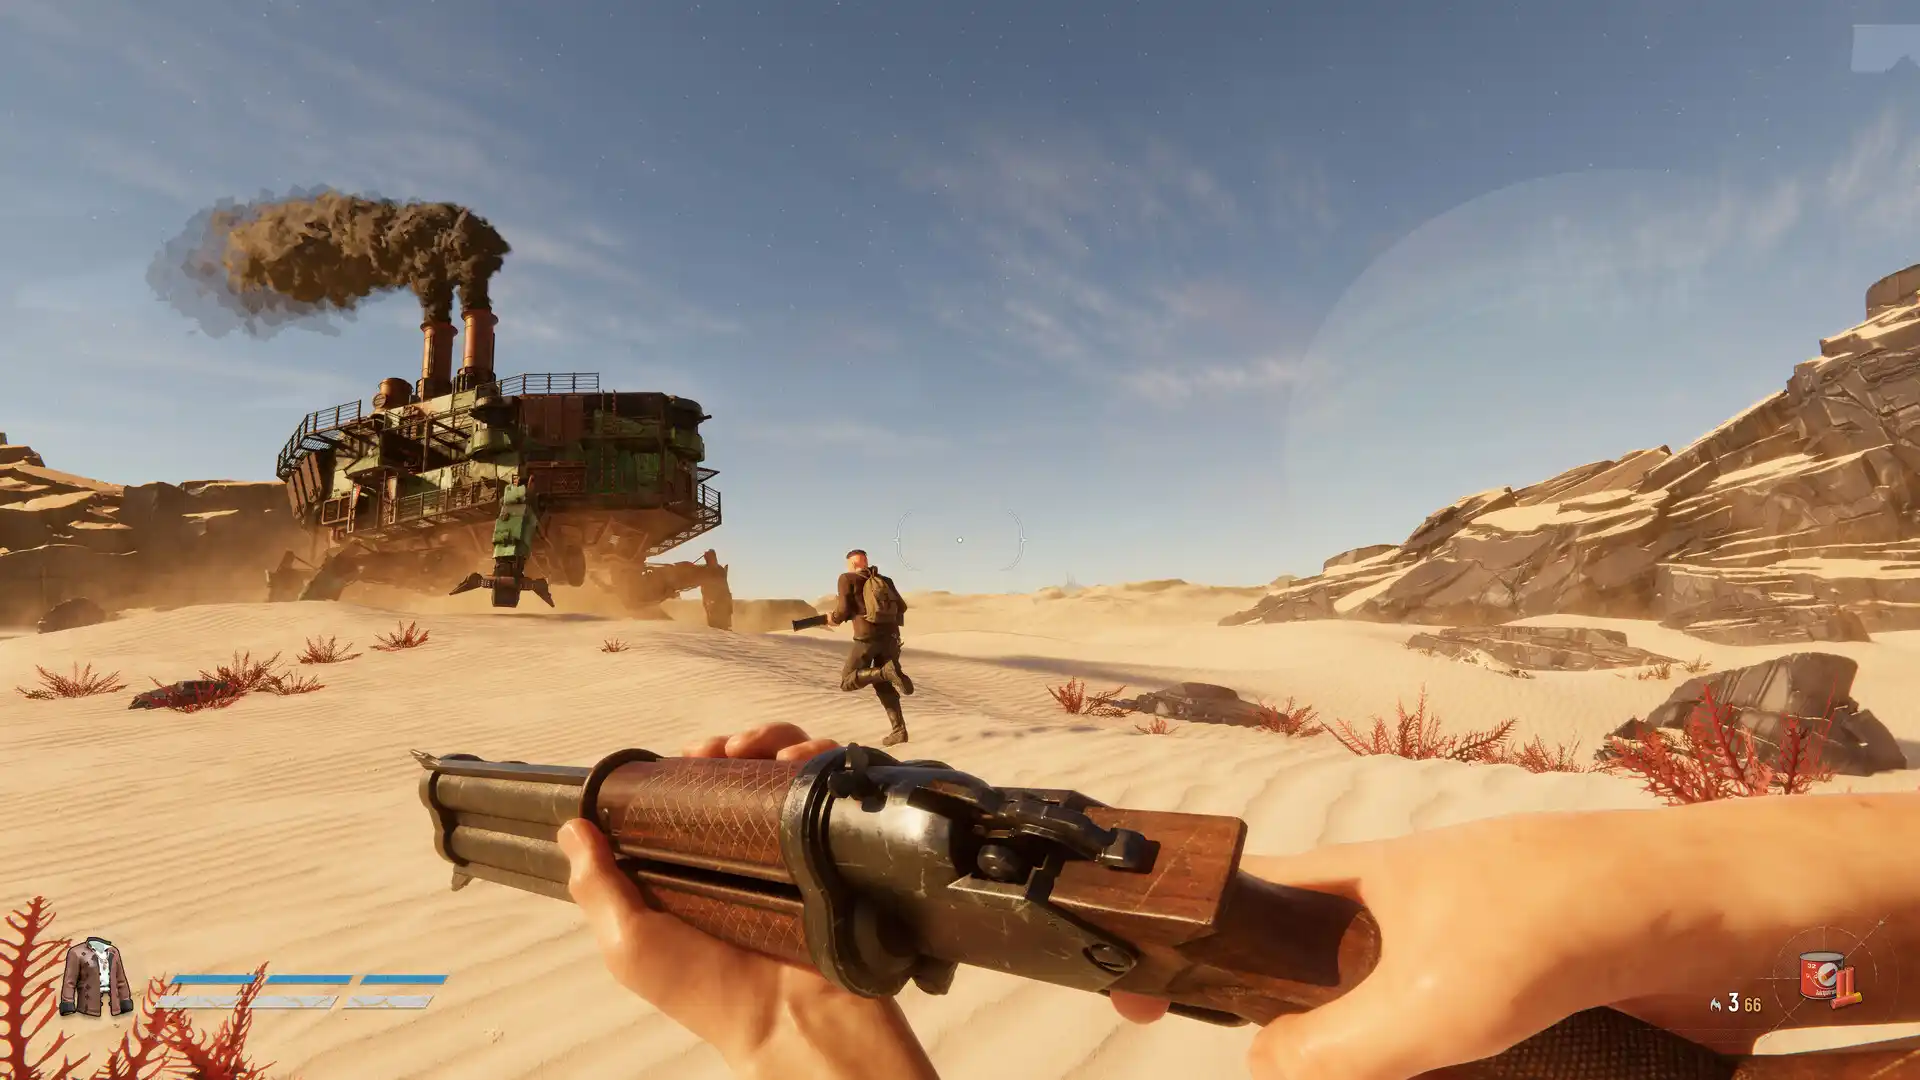
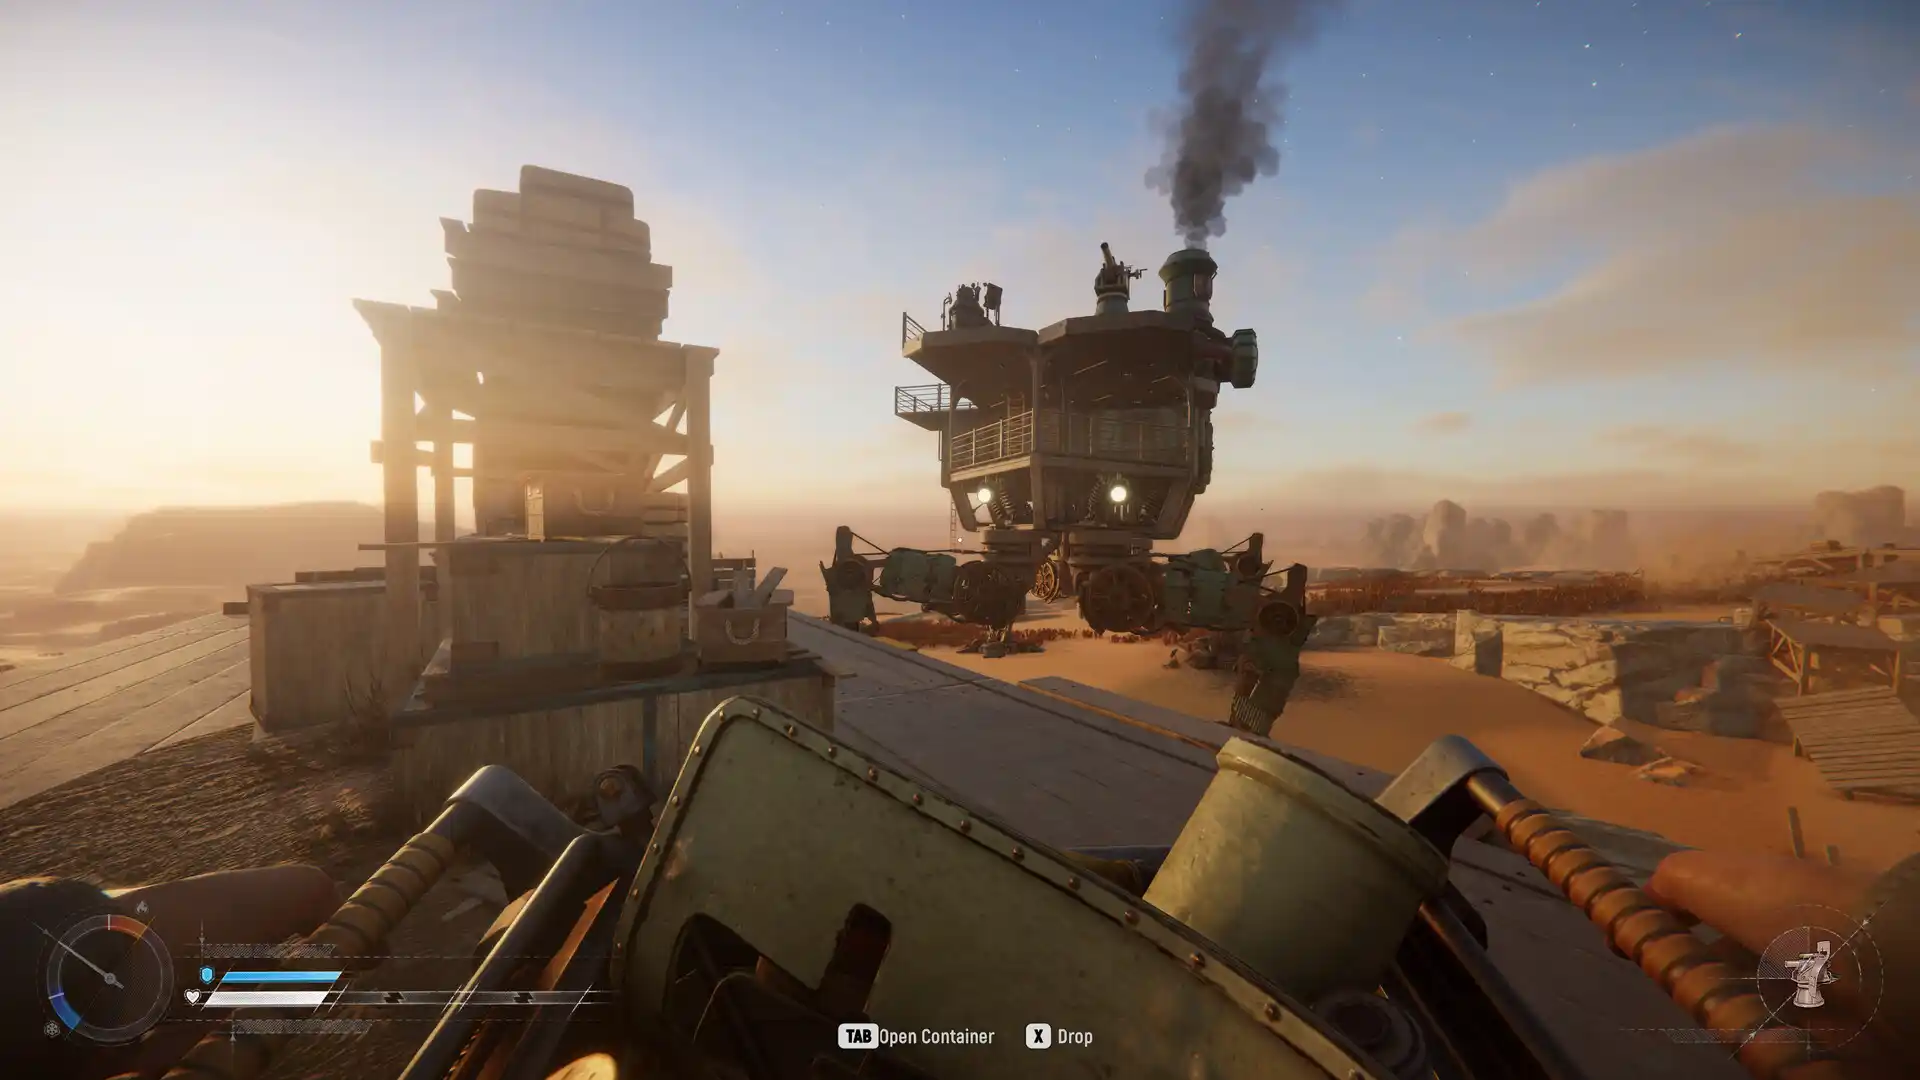
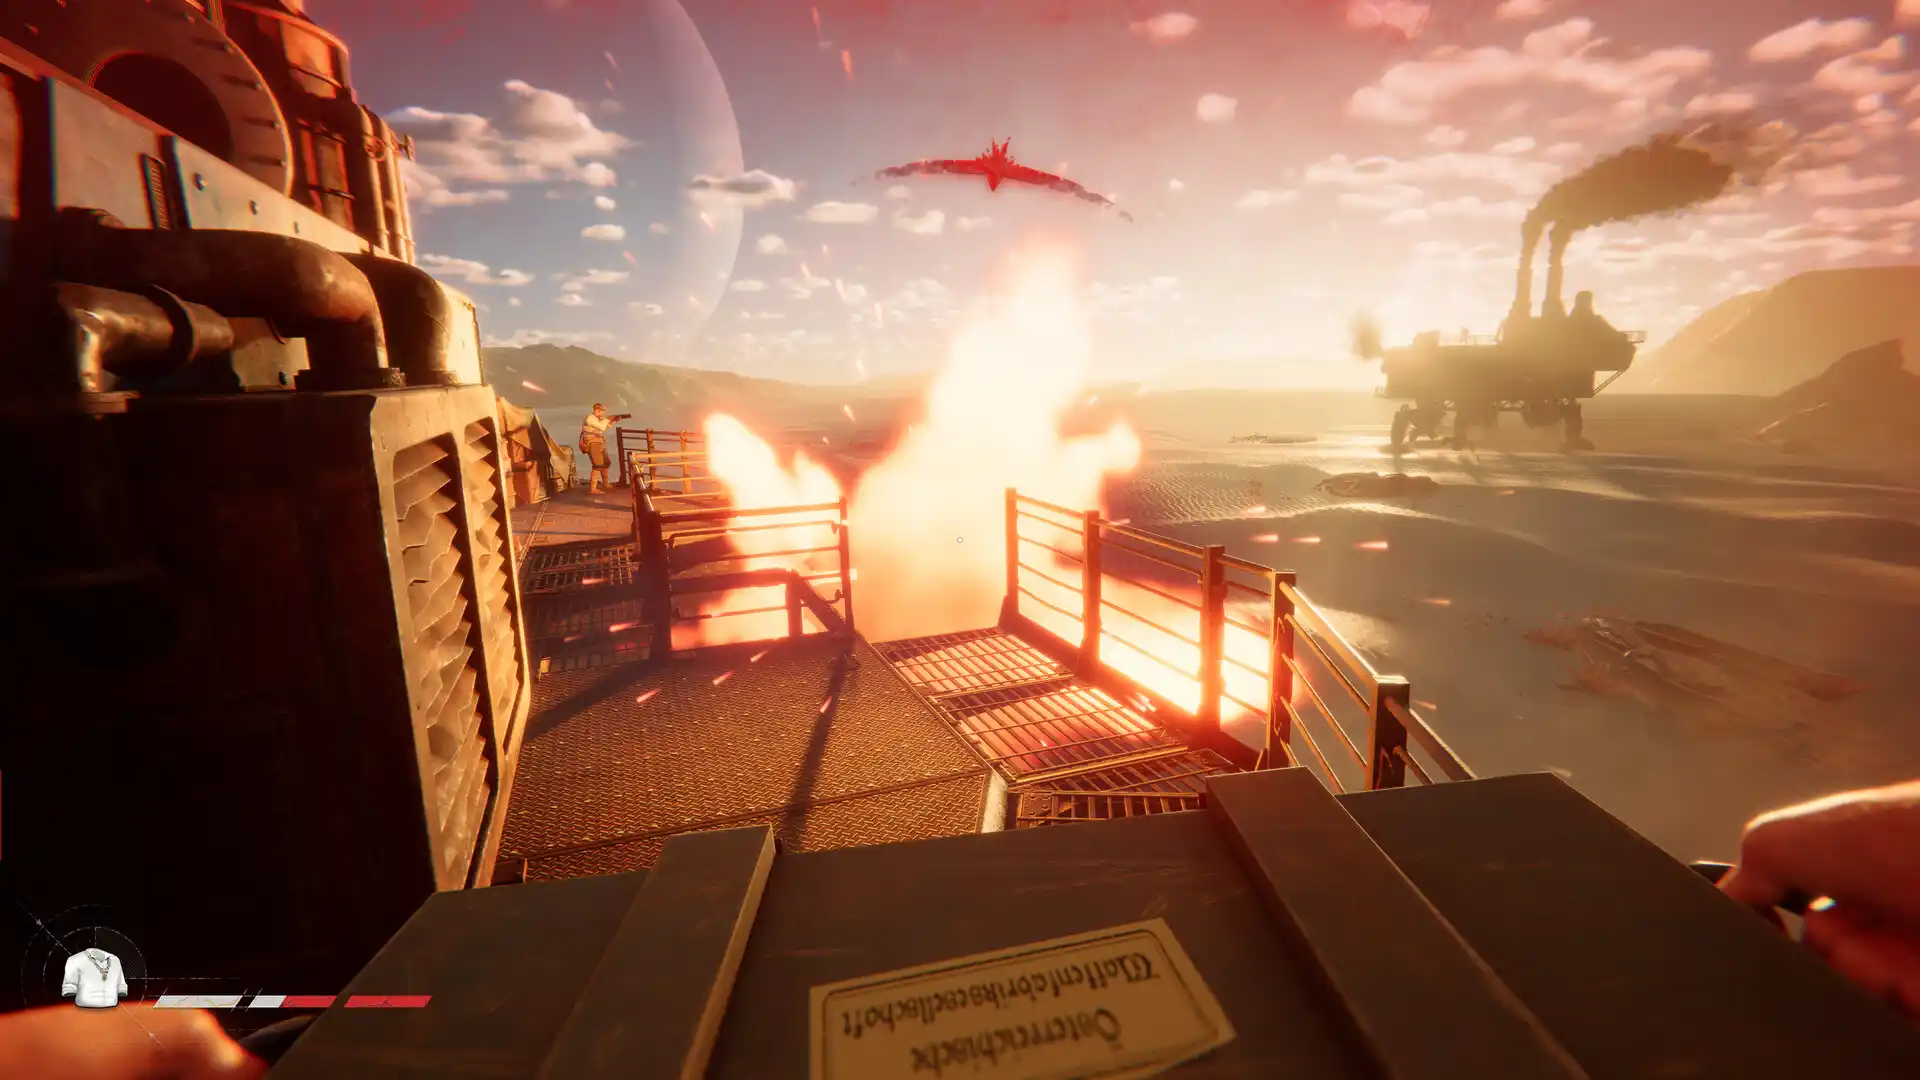
Dropping into the deserts of Sophie is a brutally fast way to lose everything you own. In SAND: Raiders of Sophie, your Trampler isn’t just a vehicle. It is your only lifeline against rival crews.
If you look for the immediate guide sheet to survive Early Access, here is your answer:
- Prioritize Godlewski’s tech tree first for your engines
- Pair a Heavy Autocannon with Flak Artillery to handle both mechs and boarders
- Never forget that unsecured loot on the floor disappears forever if you die.
This complete Sand Raiders of Sophie guide breaks down the exact blueprint math behind those survival rules. Let me explain what I have learned during my playtime.
This guide was written during Early Access and reflects the game as of June 2026. SAND: Raiders of Sophie is actively in development. Weapon stats, tech tree costs and game mechanics are subject to change. I will update this guide as major patches roll out.
Table of Contents
Core Gameplay Mechanics Explained
Here is the main point. SAND’s core systems are essential. It helps you survive expeditions and protect your Trampler.
Game Modes
SAND currently offers two ways to play. Voyage Mode is a persistent, lower-stakes open world where you set your own pace. It is ideal for testing new Trampler blueprints and learning the map without the pressure of a timer.
Storm Dive is the high-stakes alternative: better loot and greater rewards, but a relentless sandstorm steadily shrinks the playable area. It funnels crews together and making PvP encounters increasingly unavoidable as the match progresses.
Reactor Core System
The Reactor powers your entire Trampler and is a primary target during PvP. Protect it with reinforced compartments and interior armor to prevent catastrophic damage.
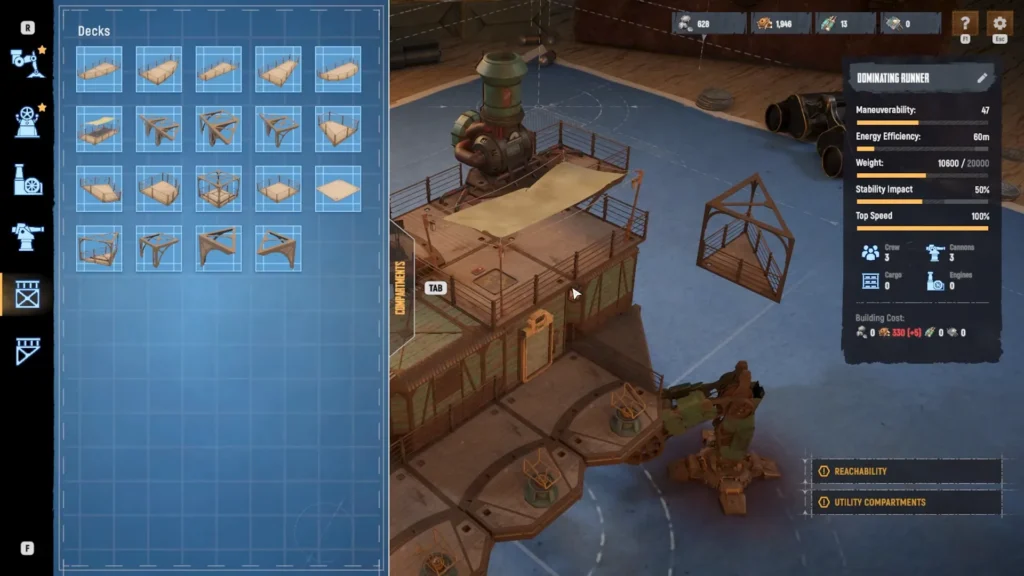
Modular Building
Tramplers are built compartment by compartment. This allows you to customize chassis size, weapon platforms, storage, crew beds and corridors. More armor increases durability but reduces mobility.
Manual Extraction
Loot must be physically stored inside cargo holds or on shelves. If your crew dies before extracting, unsecured items are lost permanently.
PvPvE Threats
Besides enemy players, you will encounter Upiors. These creatures pose little danger to armored Tramplers but can quickly overwhelm players on foot.
Ironclads are a second AI threat that operates differently from Upiors. Rather than roaming freely, Ironclads drop into the expedition area and then begin actively tracking any crew that lingers in one location for too long.
Where Upiors punish players who explore on foot, Ironclads punish players who stay still.
Best Trampler Builds in SAND
According to my experiences in the game (after several deaths), here are the best builds of Trampler:
Iron Dreadnought
Focus: Heavy Armor and Firepower
- Reinforced core
- Dual weapon platforms
- Large cargo capacity
It is known for its high durability and strong artillery resistance. Best suited for large crews.
Dune Runner
Focus: Speed and Looting
- Small chassis
- Single Reactor
- Compact storage
- Rear boosters
Ideal for solo players and duos seeking fast extractions. Tip: for players like me who likes solo runs, this build is really helpful. Try it and share your thoughts with me.

Outpost
Focus: Squad Support
- Triple-level storage
- Multiple respawn beds
- Defensive turrets
Acts as a durable mobile fortress for coordinated teams.
Sand Raiders of Sophie Guide: Best Weapons and Attachments
Choosing best weapon in SAND is a tough challenge. However, Below are some of the best weapons in the game to help you get started:
| Weapon | Role | Range | Recommended Attachment |
|---|---|---|---|
| Heavy Autocannon | Armor damage | Medium-Long | Reinforced Gun Shield |
| Flak Artillery | AoE damage | Short-Medium | High-Capacity Ammo Drum |
| Sniper Cannon | Precision strikes | Extreme | Thermal Tracking Scope |
- Heavy Autocannon: Effective against armor. Gun Shield protects exposed gunners.
- Flak Artillery: Excellent for Upior swarms and boarders. Ammo Drum reduces reloads by 40%.
- Sniper Cannon: Thermal Scope highlights weak points and hidden Reactors.

How to Pilot and Recharge Your Trampler
Once your deployment airship drops you and your machine onto the desert sands, jumping straight to the helm won’t get you moving. You must manually boot up and maintain the vehicle’s power grid before taking the wheel.
The Startup and Parking Sequence
To get your mechanical fortress moving and keep it hidden while you are out exploring on foot, follow these operational steps:
- Locate the Main Breaker: Climb up to your mech’s main deck or upper deck and look for the large exhaust chimney. The primary power switch sits directly underneath it. Press and hold your interact button to boot the grid.
- Take the Helm: Walk over to the primary steering wheel to engage the movement thrusters.
- Kill the Power When Parked: Whenever you stop at a landmark to scavenge, manually flip the power switch back off. This prevents your internal battery from draining and cuts the thick chimney smoke, which acts as a massive visual beacon for rival raiders across the map.
Trampler Movement Controls
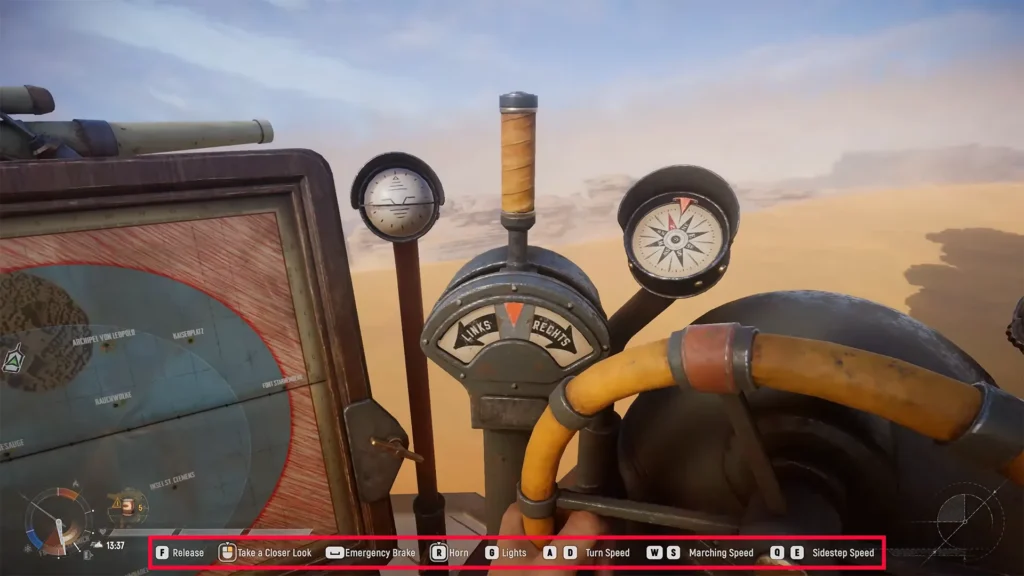
Piloting a colossal walking machine requires managing your momentum and gear shifting. The core driving inputs translate across platforms as follows:
| Action | PC (Keyboard) | Xbox Controller | PlayStation Controller |
| Drive Forward | Tap W once (Slow) / twice (Fast) | Tilt Left Stick up once / twice | Tilt Left Stick up once / twice |
| Reverse | Hold S | Hold Left Stick down | Hold Left Stick down |
| Steer | Tap A / D once (Slow) / twice (Sharp) | Tilt Left Stick Left / Right once or twice | Tilt Left Stick Left / Right once or twice |
| Crab Sidestep | Press Q / E | Press LB / RB | Press L1 / R1 |
| Emergency Brake | Press Spacebar | Press B | Press Circle (O) |
| Headlights | Press G | Press X | Press Square |
Recharging the Power Drive
Your Trampler’s internal engine is fueled strictly by Energy Rods. A freshly inserted rod provides roughly 10 to 12 minutes of continuous operational driving time before the reactor goes completely dark.
When your power reserves hit zero, grab a spare Energy Rod from your storage crates, equip it in your hands and slide it directly into the dedicated slot beside the Main Switch. Every newly created character spawns with five Energy Rods inside their inventory. Additional rods must be looted from landmark zones or purchased directly from the in-game merchant.
How to Load Ammo in SAND Raiders of Sophie
None of your weapons spawn loaded when you drop into a raid. Your ammo appears separately, in a green box near the weapon racks. It has to be manually loaded before either will fire. Because your personal inventory only holds a shell or two at a time, do not try to load a cannon round by round.
Instead, pick up the cannon kit (or bring it to a storage box) and interact while holding it to transfer the entire ammo stack into the kit in one go.
Once it is loaded, mount the cannon onto your Trampler’s turret slot (on PC, this is done by holding Tab). The same process applies to your sidearms and rifles.
It is easy to miss on your first few runs. However, it is arguably the single most important early habit to build, since getting caught with an empty cannon mid-fight is one of the fastest ways to lose your Trampler and everything in it.
Complete Tech Tree and Upgrade Guide in SAND: Raiders of Sophie
Progression in SAND: Raiders of Sophie revolves around a massive technology tree divided between three engineering factions. Unlocking new blueprints expands your building options and grants access to stronger weapons, larger chassis designs, improved reactors and more advanced utility modules.
Keep in mind that the Crown and material requirements below only unlock the blueprint itself. Crafting the item afterward requires additional resources.
Godlewski’s Expedition Upgrades
Godlewski’s Expedition focuses on power generation, medical equipment, crew facilities and advanced structural components. Players looking to create larger and more efficient Tramplers should prioritize this branch.
Tier I Upgrades
| Upgrade | Crown Cost | Materials |
|---|---|---|
| Crew Room I | 700 | None |
| Stairs (Multiple) I | 600 | None |
| Small Chassis I | 900 | None |
| Motor-Reactor I | 1,000 | None |
| Energy Rod I | 1,500 | 150 Coral Chunk, 15 Weird Coal |
| Framed Stairs I | 1,250 | 75 Coral Chunk |
| MedKit I | 1,500 | 15 Weird Coral, 400 Mixtures |
| Motor-Reactor I Variant | 1,750 | 15 Weird Coral, 200 Mixtures |
Tier II Upgrades
| Upgrade | Crown Cost | Materials |
|---|---|---|
| Wooden Corridor II | 2,750 | 75 Coral Chunk |
| Captain’s Cabin II | 2,800 | 75 Coral Chunk |
| Middling Chassis II | 3,200 | 375 Mixtures |
| Middling Chassis 832U II | 3,200 | 375 Mixtures |
| Motor-Reactor II | 3,250 | 4 Raw Aurogen Crystal, 15 Alloy Steel, 375 Mixtures |
| Crew Room II | 3,500 | 100 Coral Chunk |
| Motor-Reactor II Advanced | 4,000 | 4 Raw Aurogen Crystal, 15 Alloy Steel, 270 Coral Dust, 475 Mixtures |
| Crew Room II Variants | 4,300 | 125 Coral Chunk |
| Small Engine II | 4,900 | 5 Raw Aurogen Crystal, 550 Mixtures |
| Shovel II | 5,000 | 2 Raw Aurogen Crystal, 30 Weird Coral, 400 Coral Dust |
Tier III Upgrades
| Upgrade | Cost (Crowns) | Required Materials |
|---|---|---|
| Crafting Materials III | 8,000 | 40 Weird Coral, 100 Optic Lenses, 200 Coral Chunk, 750 Coral Dust |
| Metal Corridor III | 5,500 | 150 Coral Chunk, 360 Leviathan Skin |
| Motor-Reactor III | 6,500 | 6 Raw Aurogen Crystal, 30 Alloy Steel, 360 Coral Dust, 750 Mixtures |
| Medium Engine III | 6,300 | 4 Raw Aurogen Crystal, 40 Weird Coral, 360 Coral Dust, 750 Mixtures |
| Great Chassis III | 5,700 | 5 Alloy Steel, 150 Coral Chunk, 360 Leviathan Skin |
| Smoke Grenade III | 8,000 | 3 Raw Aurogen Crystal, 200 Coral Chunk, 750 Leviathan Skin |
| Motor-Reactor III Advanced | 7,600 | 6 Raw Aurogen Crystal, 30 Alloy Steel, 185 Coral Chunk, 410 Coral Dust |
| Great Chassis III Variant | 6,700 | 5 Alloy Steel, 100 Optic Lenses, 410 Leviathan Skin, 1,100 Mixtures |
| Great Chassis III Variant | 6,700 | 5 Alloy Steel, 100 Optic Lenses, 410 Coral Dust, 1,100 Mixtures |
Tier IV Upgrades
| Upgrade | Cost (Crowns) | Required Materials |
|---|---|---|
| Smokeless Rod IV | 12,000 | 3 Raw Aurogen Crystal, 1 Ficus, 150 Optic Lenses, 750 Coral Dust |
| Royal Chassis IV Variant | 9,000 | 5 Raw Aurogen Crystal, 2 Ficus, 50 Crystal, 150 Optic Lenses |
| Royal Chassis IV Variant | 9,000 | 5 Raw Aurogen Crystal, 2 Ficus, 50 Crystal, 150 Optic Lenses |
K.K. Landwehr Upgrade Tree
If your approach to survival centers on withstanding intense bombardment and excelling in close-range ship engagements, K.K. Landwehr is the tree to prioritize. This contractor focuses exclusively on ballistic protection, ammunition production and specialized equipment designed for breaching operations.
Tier I Upgrades
| Upgrade | Cost (Crowns) | Required Materials |
|---|---|---|
| Weapons I | 1,500 | 200 Scrapped Ammo |
| Artillery Decks I | 1,000 | None |
| Framed Steering I | 700 | None |
| Small Armament Workshop I | 700 | None |
| Wooden Vestibule I | 1,000 | None |
| Armor I | 1,500 | 200 Scrap Metal |
| Framed Artillery Deck I | 1,750 | 200 Scrapped Ammo |
| Large Open Steering I | 1,250 | 200 Scrap Metal |
| Large Framed Steering I | 2,000 | 225 Scrap Metal |
Tier II Upgrades
| Upgrade | Cost (Crowns) | Required Materials |
|---|---|---|
| Large Armament Workshop II | 2,750 | 375 Scrap Metal, 375 Scrapped Ammo |
| Steering II | 3,000 | 1 District Officer’s Portable Safe, 1 Black Box, 375 Scrap Metal |
| Armored Artillery Compartment II | 3,250 | 2 Black Box, 375 Scrapped Ammo |
| Armor Plate II | 3,500 | 30 Weird Coral, 475 Scrap Metal |
| Weapons II | 4,000 | 1 District Officer’s Portable Safe, 1 Black Box, 450 Weapon Parts |
| Time Bomb II | 4,000 | 1 District Officer’s Portable Safe, 1 Black Box, 450 Gunpowder |
| Armored Artillery Decks II | 4,000 | 5 Alloy Steel, 2 Black Box, 475 Scrapped Ammo |
| Battering Ram II | 4,500 | 40 Alloy Steel, 2 District Officer’s Portable Safe, 360 Weapon Parts |
Tier III Upgrades
| Upgrade | Cost (Crowns) | Required Materials |
|---|---|---|
| Armor Plate III | 5,500 | 240 Weapon Parts, 500 Scrap Metal |
| Armor III | 6,000 | 2 District Officer’s Portable Safe, 2 Black Box, 750 Scrap Metal, 750 Scrapped Ammo |
| Steering III | 6,000 | 10 Alloy Steel, 3 District Officer’s Portable Safe, 410 Gunpowder, 750 Scrap Metal |
| Steering III Variant | 6,000 | 3 Black Box, 40 Weird Coral, 410 Gunpowder, 750 Scrap Metal |
| Armored Vestibule III | 6,000 | 1 District Officer’s Portable Safe, 1 Black Box, 410 Gunpowder |
| Embrasure III | 6,000 | 270 Gunpowder, 270 Weapon Parts, 500 Scrapped Ammo |
| Framed Armored Artillery Deck III | 6,500 | 10 Alloy Steel, 3 Black Box, 360 Weapon Parts, 750 Scrapped Ammo |
| Grenade III | 7,500 | 3 Black Box, 350 High-Grade Gunpowder, 400 Gunpowder |
Tier IV Upgrades
| Upgrade | Cost (Crowns) | Required Materials |
|---|---|---|
| Improved Ammo IV | 9,000 | 70 Weird Coral, 350 High-Grade Gunpowder, 600 Gunpowder, 1,000 Scrapped Ammo |
| Enclosed Artillery Compartment IV | 9,000 | 2 Ficus, 5 Black Box, 50 Crystal, 350 High-Grade Gunpowder |
| Weapons IV | 12,000 | 1 Ficus, 3 Black Box, 15 Crystal, 750 Weapon Parts |

Kaiser’s Friends Upgrade Tree
Kaiser’s Friends is centered around cargo management and offensive weapon systems. This faction grants access to larger storage spaces, improved resource production, and powerful artillery.
Tier I Upgrades
| Upgrade | Cost (Crowns) | Required Materials |
|---|---|---|
| Wooden Decks (Multiple) I | 600 | None |
| Balconies (Multiple) I | 1,300 | 200 Threads |
| Cargo Deck I | 1,400 | None |
| Shotgun Cannon I | 1,500 | 150 Threads |
| Auto Cannon I | 1,500 | 150 Fabric Straps |
| Small Chassis I | 1,700 | 200 Fabric Scraps |
Tier II Upgrades
| Upgrade | Cost (Crowns) | Required Materials |
|---|---|---|
| Armored Balconies (Multiple) II | 2,500 | 375 Threads |
| Middling Chassis II | 3,000 | 375 Fabric Scraps |
| Middling Chassis II Variant | 3,000 | 375 Fabric Scraps |
| Cargo Hold II | 3,500 | 15 Weird Coral, 1 Canned Sea Deer XL, 1 Crate of 1889 Chardonnay, 475 Threads |
| Cannon II | 5,000 | 10 Alloy Steel, 2 Crates of 1889 Chardonnay, 300 Fabric, 300 Metal Rods |
| Shotgun Cannon II | 5,000 | 10 Alloy Steel, 2 Canned Sea Deer XL, 300 Gunpowder, 300 Leviathan Skin |
| Autocannon II | 5,000 | 10 Alloy Steel, 2 District Officer’s Portable Safe, 300 Gunpowder, 300 Metal Rods |
| Cargo Bay II Variant | 6,000 | 1 Canned Sea Deer XL, 300 Leviathan Skin, 500 Fabric Scraps |
| Cargo Bay II Variant | 6,000 | 1 Crate of 1889 Chardonnay, 300 Metal Rods, 500 Threads |
| Cargo Bay II Variant | 6,000 | 300 Fabric, 100 Reinforced Leather Strips, 500 Threads |
Tier III Upgrades
| Upgrade | Cost (Crowns) | Required Materials |
|---|---|---|
| Armored Deck III | 6,000 | 360 Metal Rods, 750 Threads |
| Great Chassis III | 6,000 | 360 Fabric, 750 Fabric Scraps |
| Cargo Hold III | 6,000 | 30 Weird Coral, 2 Canned Sea Deer XL, 2 Crates of 1889 Chardonnay, 360 Metal Rods |
| Great Chassis III Variant | 7,000 | 410 Fabric, 1,100 Fabric Scraps |
| Great Chassis III Variant | 7,000 | 1,100 Threads, 410 Metal Rods |
| Cargo Hold III Variant | 7,000 | 30 Weird Coral, 2 Canned Sea Deer XL, 2 Crates of 1889 Chardonnay, 410 Leviathan Meat |
| Resources III | 7,000 | 15 Alloy Steel, 410 Gunpowder, 410 Leviathan Skin, 1,100 Fabric Scraps |
| Cannon III | 9,000 | 20 Alloy Steel, 2 Black Box, 500 Gunpowder, 1,100 Fabric Scraps |
| Shotgun Cannon III | 9,000 | 40 Weird Coral, 2 Black Box, 500 Metal Rods, 1,100 Threads |
| Autocannon III | 9,000 | 70 Weird Coral, 2 Black Box, 150 Reinforced Leather Strips, 500 Leviathan Skin |
Tier IV Upgrades
| Upgrade | Cost (Crowns) | Required Materials |
|---|---|---|
| Resources IV | 9,000 | 200 Reinforced Leather Strips, 2 Canned Sea Deer XL, 2 Crates of 1889 Chardonnay |
| Royal Chassis IV Variant | 9,000 | 2 Ficus, 1,200 Fabric Scraps, 450 Metal Rods, 150 Reinforced Leather Strips |
| Royal Chassis IV Variant | 9,000 | 2 Ficus, 50 Crystal, 1,100 Threads, 510 Leviathan Meat, 150 Reinforced Leather Strips |
| Cargo Bay IV Variant | 9,000 | 450 Metal Rods, 15 Crystal, 2 Crates of 1889 Chardonnay, 2 Canned Sea Deer XL |
| Cargo Bay IV Variant | 9,000 | 450 Leviathan Meat, 15 Crystal, 2 Canned Sea Deer XL, 2 Crates of 1889 Chardonnay |
| Cargo Bay IV Variant | 9,000 | 150 Reinforced Leather Strips, 15 Crystal, 2 Crates of 1889 Chardonnay, 2 Canned Sea Deer XL |
| Cannon IV | 12,000 | 2 Ficus, 5 Black Box, 30 Crystal, 150 Reinforced Leather Strips |
| Shotgun Cannon IV | 12,000 | 2 Ficus, 5 Black Box, 80 Weird Coral, 150 Reinforced Leather Strips |
| Autocannon IV | 12,000 | 2 Ficus, 5 Black Box, 75 Alloy Steel, 150 Reinforced Leather Strips |
Which Upgrade Tree Should You Prioritize?
Each faction supports a different playstyle:
- Godlewski’s Expedition focuses on reactors, engines, medical equipment, and structural upgrades.
- K.K. Landwehr specializes in armor, artillery compartments, and explosive weaponry.
- Kaiser’s Friends provides better storage options and access to powerful cannons.
For solo players, Godlewski’s Expedition and Kaiser’s Friends offer a strong balance between mobility and firepower. Larger crews that frequently engage in PvP may benefit more from prioritizing K.K. Landwehr’s defensive technologies.
FAQs
Difference Between Voyage Mode and Storm Dive?
Voyage Mode is a lower-risk exploration mode designed for testing new blueprints and collecting basic resources at a relaxed pace. Storm Dive, on the other hand, offers higher rewards and better loot but features a relentless sandstorm that steadily shrinks the playable area, forcing crews into frequent high-intensity PvP encounters.
How Do You Handle Upiors in SAND: Raiders of Sophie?
Upiors are vicious mutated creatures that wander the abandoned cities and ancient landmarks of Sophie. While they struggle to threaten a moving, heavily armored Trampler, they can easily overwhelm players exploring on foot.