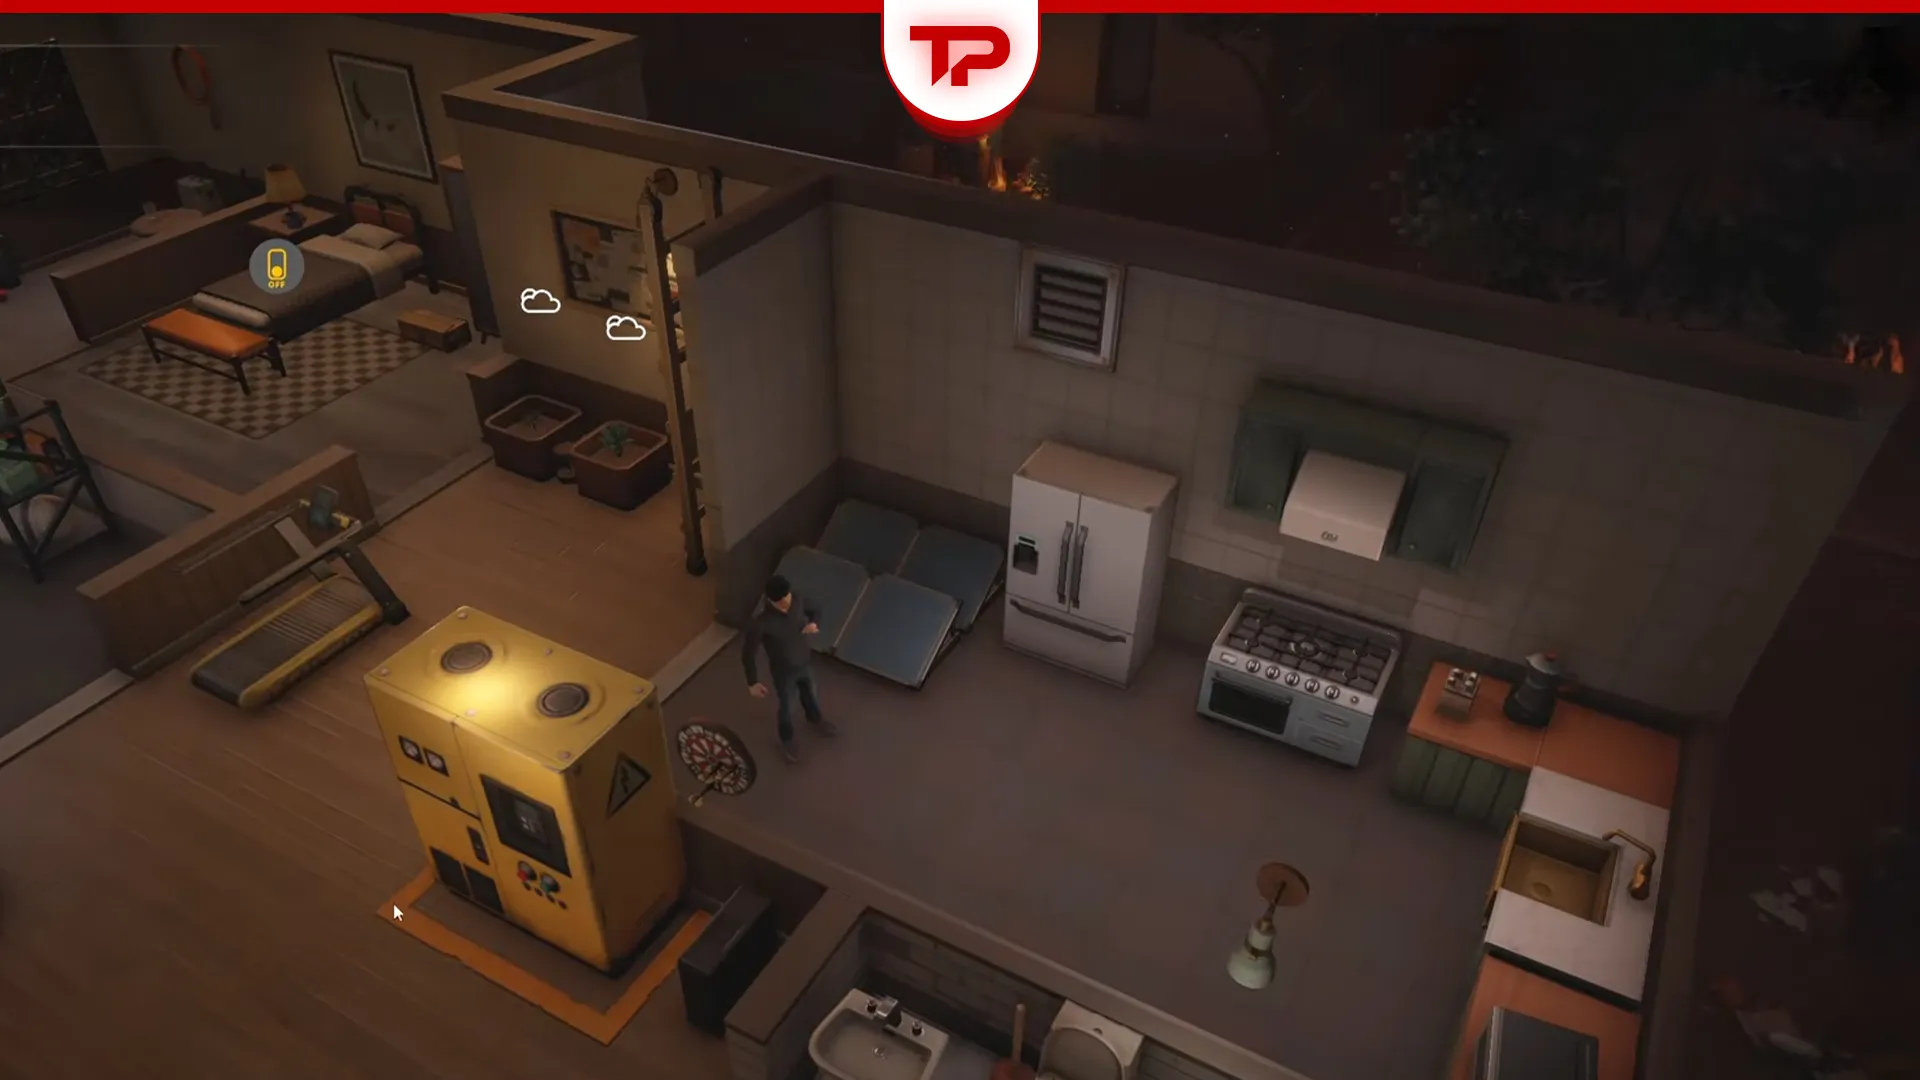


This Survival Log guide starts where the game does. You get ten hours before the outbreak, and what you buy in that window decides whether you ever see Day 50. That sounds dramatic. It isn’t. Two purchases matter more than everything else, and both of them are appliances. A Medium Diesel Generator keeps your power running when the late hordes bring days of rain with them, and an Air Conditioner is the only thing standing between you and the Cold Wave.
The defense answer is just as short. Spike Barriers carry the early waves, and Chainsaw Traps at defense level 4 flatten the difficulty curve almost entirely. Everything below is the detail behind those two sentences, from the full prep shopping route to how you unlock the Warehouse Manager.
What we cover:
How the Time Loop and Planning Points Work
Survival Log runs on three separate currencies and explains none of them well.
| Currency | How you get it | What it does |
|---|---|---|
| Morale | Daily activities, food you like, the neighbor, entertainment items | Converts into Survival Points |
| Survival Points | Spent Morale, plus bonuses for clearing hordes and crises | Buys abilities inside the current run |
| Planning Points | Earned across a whole loop | Buys permanent bonuses for your next loop |
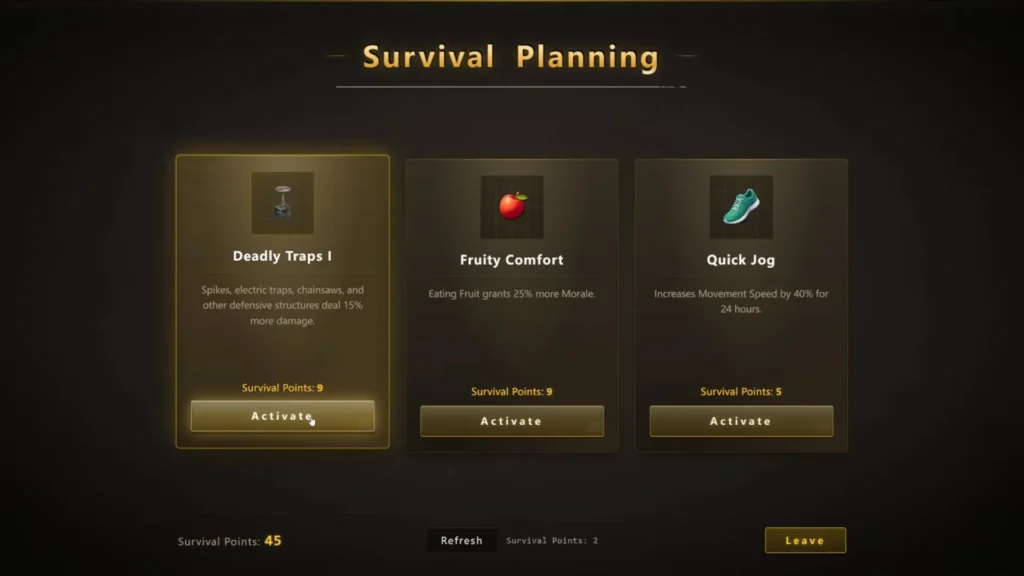
There’s one trick worth knowing on day one. Don’t spend Survival Points early. Bank them to 200 first, because saved points earn 5% interest. I ignored this on my first read-through, and over 50 days it costs you more than you’d guess.
Abilities worth grabbing when they appear include Deadly Traps, which makes Spike Barriers, Electric Traps, Chainsaw Traps, and other defensive structures deal 15% more damage. Penny Pincher knocks 15% off costs. Warm-Up gives 20% more Morale when you heat the house during a Cold Wave, which pairs nicely with the Air Conditioner you’re about to buy.
How Many Revival Chances Do You Get?
Three. When you die, you can flip back through the journal to an earlier day, which costs Planning Points but no revival chance. Or you flip back to the title page and restart the whole prep phase, which burns one of your three.
The game expects you to die. A run that reaches Day 40 and collapses is not a failure, because the Planning Points carry over and your next attempt starts far stronger. On New Game Plus, put those points into starting time, starting money, maximum loan size, and carry weight.
Survival Log Prep Phase Guide: What to Buy in 10 Hours
You start with $1,000. The wallet on the table has $70, the quick loan gives you $500, the woman in the produce section of the discount supermarket hands you $100 the first time you talk to her, and the flowerpot refund is worth $10. That’s $1,680 to work with.
Here’s the loadout that keeps showing up in the runs that survive.
| Buy this | Reason |
|---|---|
| 2x Medium Diesel Generator | Late hordes arrive with days of rain. Solar makes nothing then. These unlock very late if you don’t buy them now. |
| 2x Home Power Storage | You want 8,000–12,000 stored power by Day 50. |
| Air Conditioner | The Cold Wave will kill you without it. Not optional. |
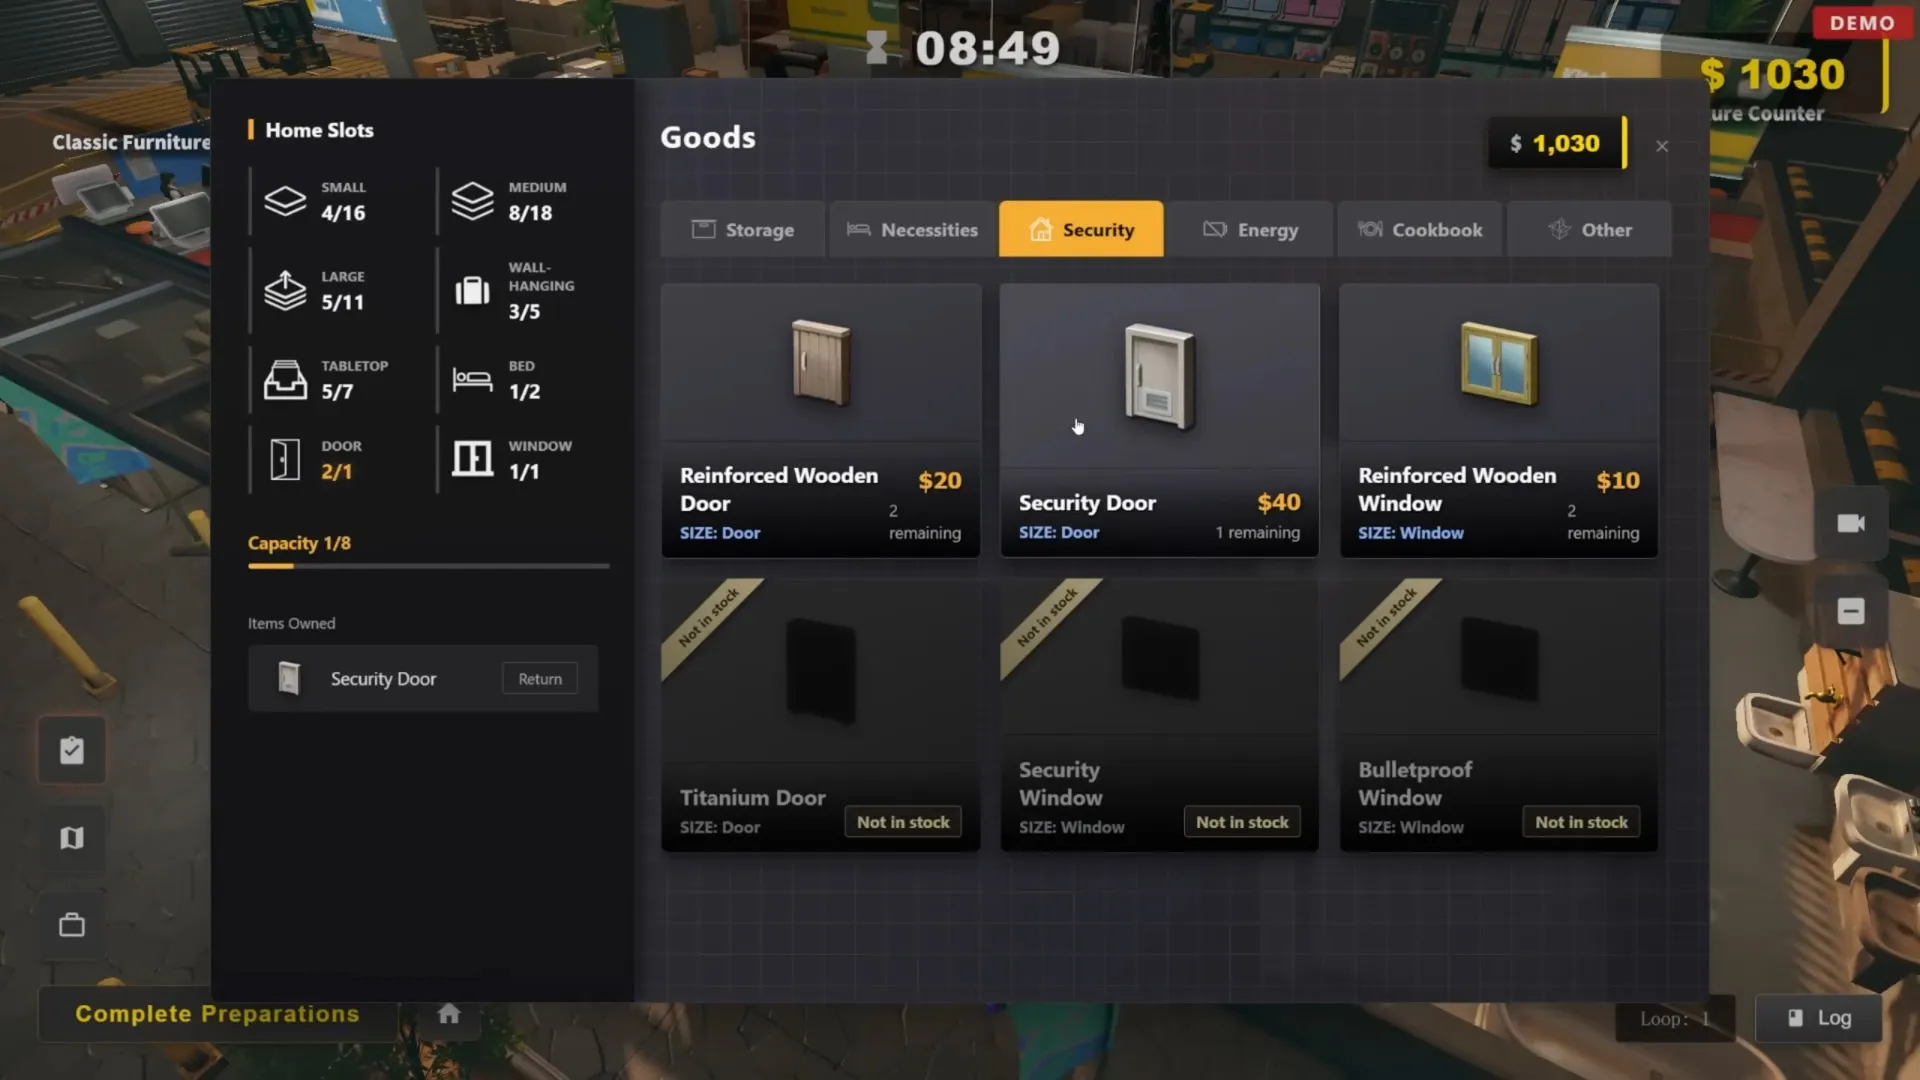
| Titanium Alloy Door and Bulletproof Windows | One of each. Buys breathing room for the first two hordes. |
| Juicer | Mandatory since the 8/13 patch. This is your whole trade economy. |
| Electric Stove or Electric Oven | You need one cooking appliance that runs on power. A Microwave works if money is tight. |
| Full-Spectrum Hydroponic Station | Fastest crop growth, and it never suffers pests or drought. |
| Freezer | Craftable, but only very late. |
| Diesel x5, Broken Glass x6, Scrap Metal x6, Waste Plastic x6 | Cheap now, and you’ll be short on all of them by day 10. |
Route matters as much as the list. Every trip eats countdown time, so plan the order before you walk out the door.
Renovation Company: Your biggest single stop. Titanium Alloy Door, Bulletproof Windows, both generators, Home Power Storage, Air Conditioner, and a cooking appliance. Interact with the computer and the sofa while you’re there, since both hand you free materials.
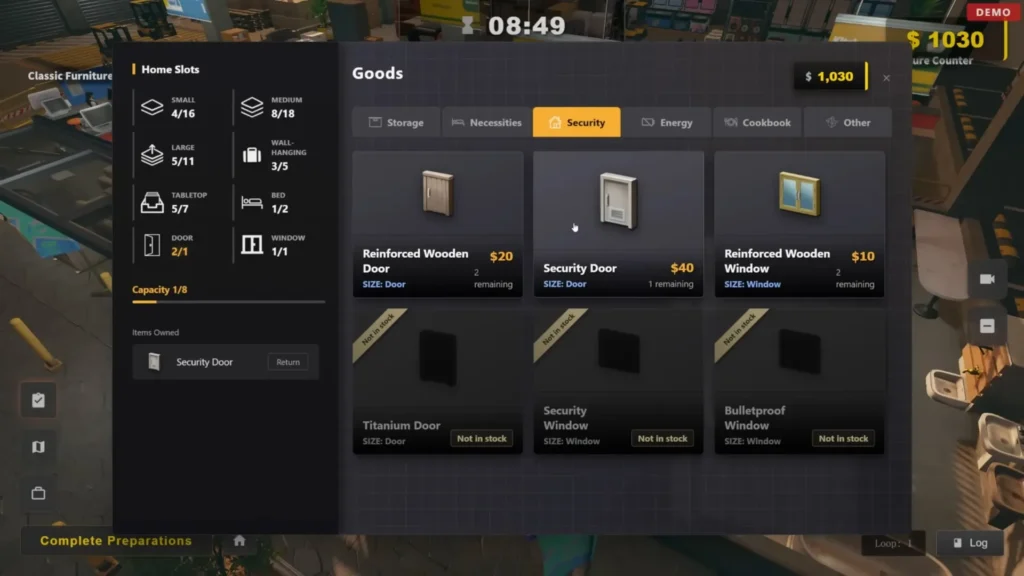
There’s an NPC to the right of the main door who buys used furniture. Sell her everything except your bed and your toilet. That’s free money most players walk straight past.
Tool Shop: Six Broken Glass, six Scrap Metal, six Waste Plastic, and five Diesel. Buy every random material pack you see.
Farmers’ Market: Full-Spectrum Hydroponic Station and a Large Plant-Light Cultivation Box. For seeds, strawberry comes first and tomato second. Corn and garlic both earn their space because they brew well. You can ignore mushrooms entirely, though a few potato seeds are handy for the small pots since potatoes level your gardening skill quickly.
Discount Supermarket: Buy all the rice. One bag cooks eight meals, and rice plus any single ingredient makes a full dish. Grab the ration biscuits and every $5 ham sausage on the shelf.
Should You Buy a Car on Your First Loop?
Players disagree here, and it’s worth laying out both sides instead of pretending there’s a clean answer.
The Chinese guides say buy the small car in the middle of the Used Car Dealership for $500, then refund it before the countdown runs out. A one-hour trip drops to roughly 35 minutes, and the car adds about 80 storage. Since you get the money back, the only real cost is the time spent on two trips.
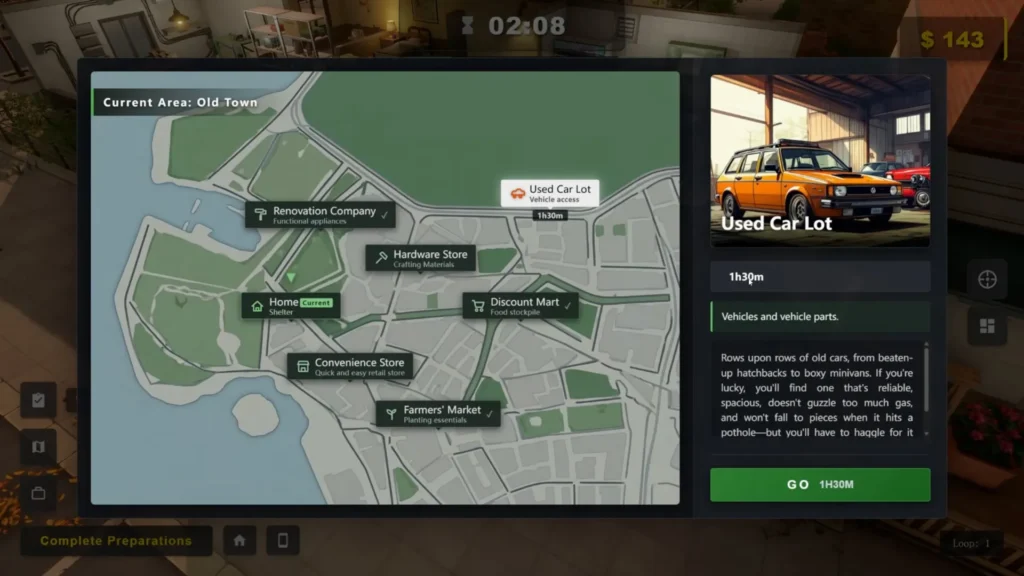
One detailed English forum post argues the opposite. It says to skip the vehicle on loop one because you can’t spare those trips, and to buy it on New Game Plus instead, when your extra starting time makes it affordable.
I’d buy it. The 45% travel saving compounds across every stop after that, and you’ll want the storage during the panic-buying window at the end. If you’re brand new and reading every menu slowly, though, the forum advice is fair.
Free Items You Should Collect Before You Spend Anything
- Hold Alt to highlight every interactable object on screen. This one habit saves you hundreds of dollars, because a lot of what you’d otherwise buy is lying on the floor.
- The Used Car Dealership has a hidden section on the west side of the map. Move your view west and you’ll find a pile of free materials plus a small store built into the area.
- At roughly 2 hours 32 minutes on the clock, the radio announces panic buying. Hit the Discount Supermarket for its free-purchase window, then the Renovation Company, then the Farmers’ Market. Ration biscuits and expensive food start appearing on the ground.
- If you move fast enough to have 33 minutes left after the Farmers’ Market, squeeze in one more Discount Supermarket run before the game sends you home automatically.
Best Power Setup in Survival Log
Solar panels are fine between hordes and useless during them. Every late-game horde comes packaged with several consecutive days of rain, which is exactly why those Medium Diesel Generators sit at the top of the shopping list.
Target 8,000 to 12,000 stored power by Day 50. Chainsaw Traps drain a serious amount, and there’s currently no way to switch defenses off between attacks, so they eat fuel around the clock. Diesel comes from drone trade once you unlock the group that sells it, which takes somewhere north of 20 completed trades.
The rat wheel is better than it looks. That number reads as 12 power per minute rather than per day, which works out to roughly 1,700 power daily. A recent patch added an auto-on toggle for generators, so check your settings if yours aren’t kicking in by themselves.
Best Crops and Food Setup in Survival Log
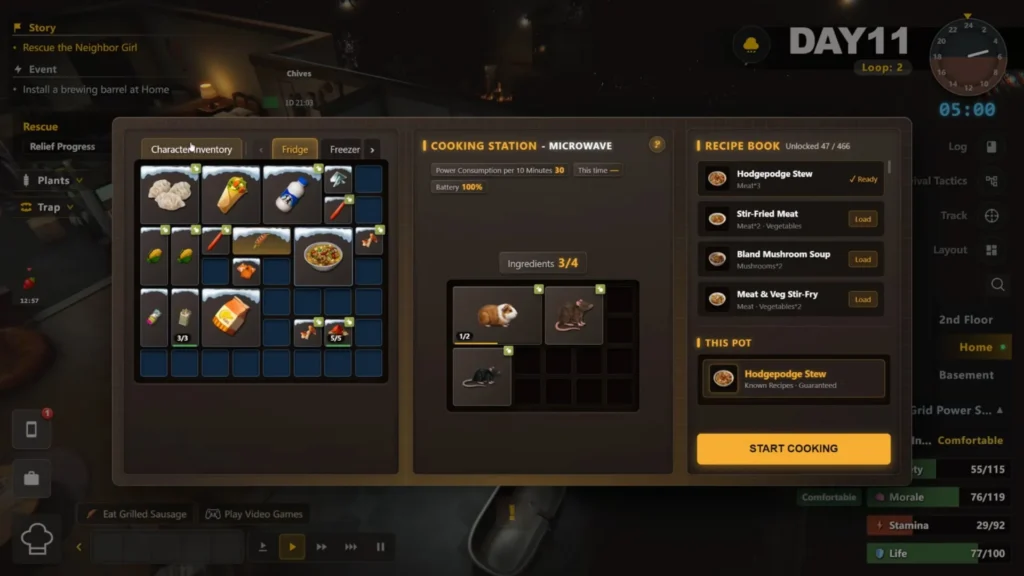
Your trade economy lives in the kitchen, and juice is the product. One fruit plus a small amount of vegetables goes through the Juicer and comes out as a full meal, which you then trade to survivors for materials at a rate that feels almost broken.
A few things took me too long to work out.
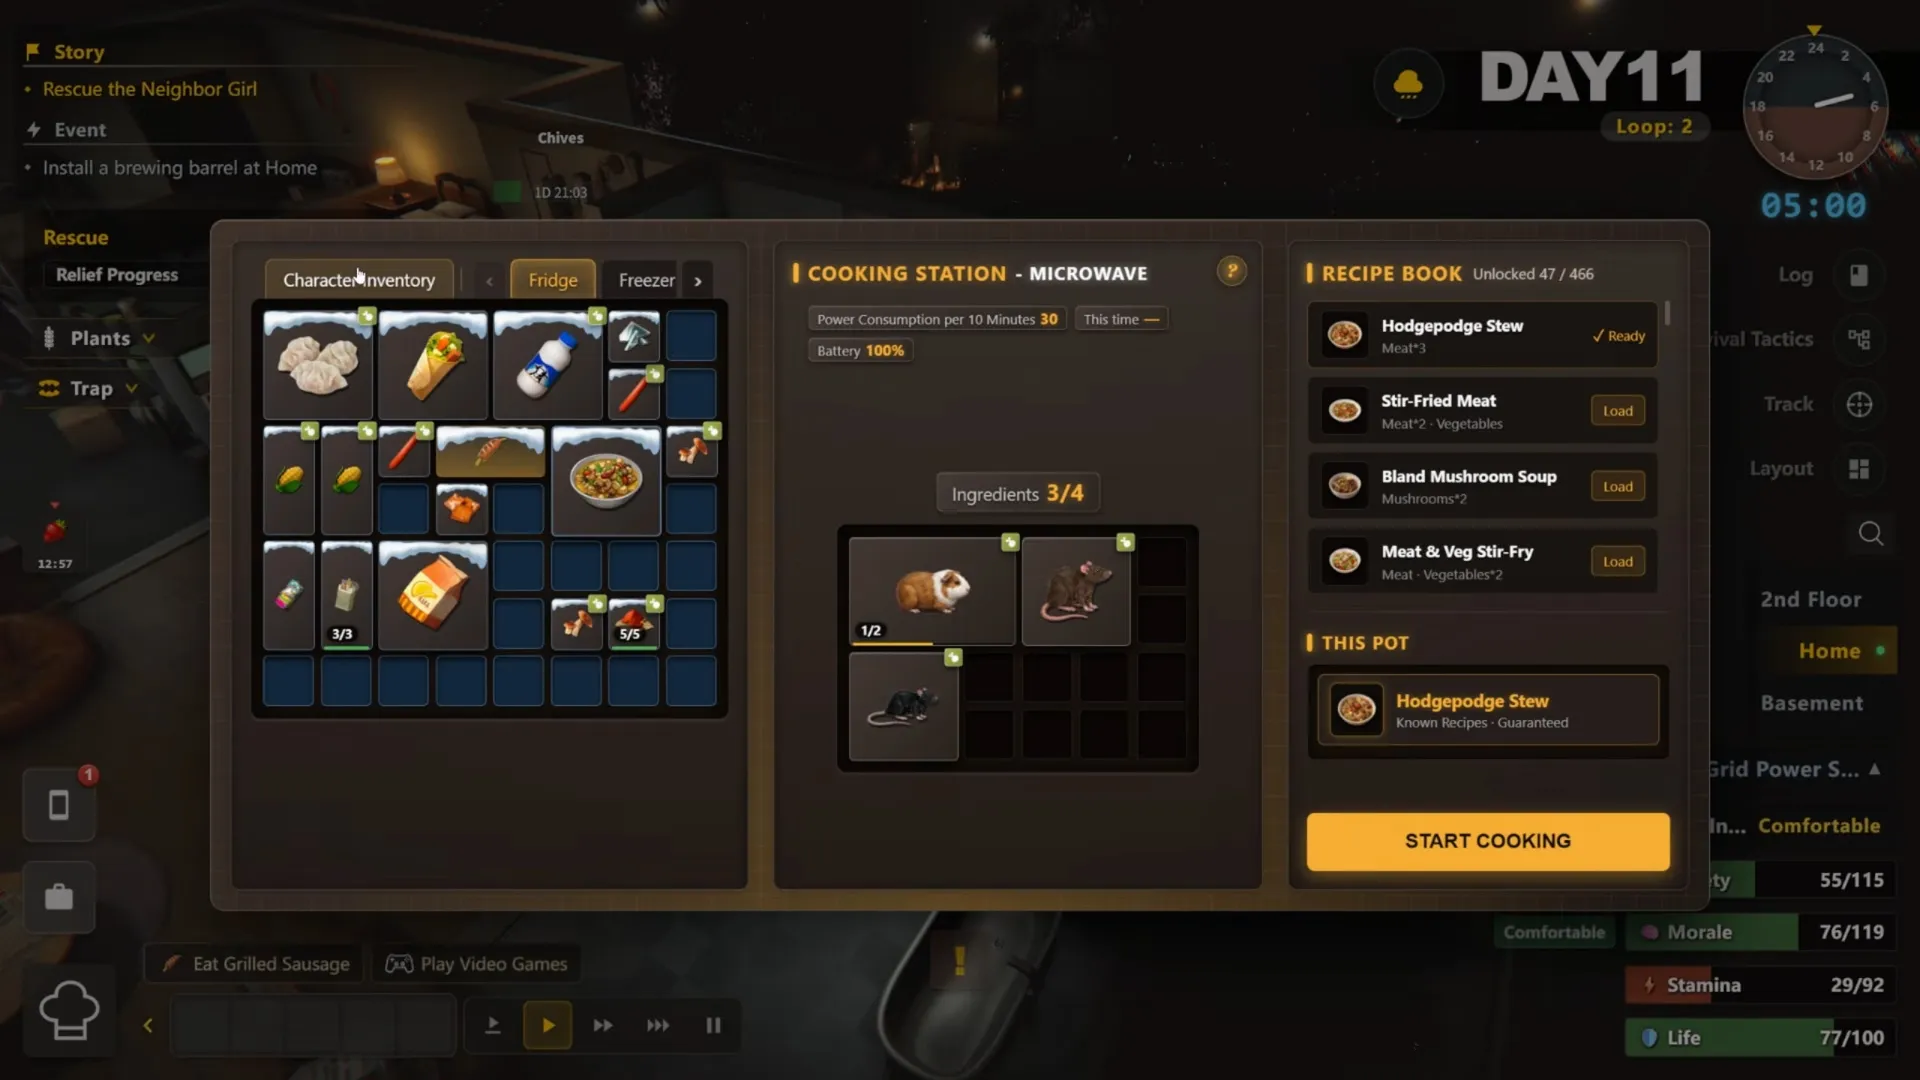
- Microwave cooking runs on its own. Set the order and press Esc, then go do something else while it finishes. Fill all four ingredient slots so each batch runs longer and returns more satiety.
- Hot pot ignores recipes. Throw anything in for double satiety, and you can eat multiple portions from one pot. Watermelon comes out at around 120 satiety, which is absurd.
- Hydroponics grow 0.2 faster than lighted boxes and never pick up pests or weeds. Lighted boxes still have a place in the basement.
- Don’t build more than about six planters. You’ll grow more than you can eat or process.
Pull two sheets of tissue paper a day and you’ll never run short on paper materials. The toilet gives two free fertilizer daily, which is exactly as dumb as it sounds.
Survival Log Base Defense Guide: Which Traps Actually Work
| Defense | When it’s worth it | Notes |
|---|---|---|
| Spike Barrier | Wave 1 through roughly Day 30 | Costs Broken Glass. Place at every diagonal and the center point of your door and window. |
| Sandbags | From wave 2 onward | Lay them 5×1 at each entrance so they cover the square diagonally out from the opening. |
| Electric Trap | Early to mid game only | 140 HP, damages a circular zone including diagonals. Several players call it useless by Day 50. |
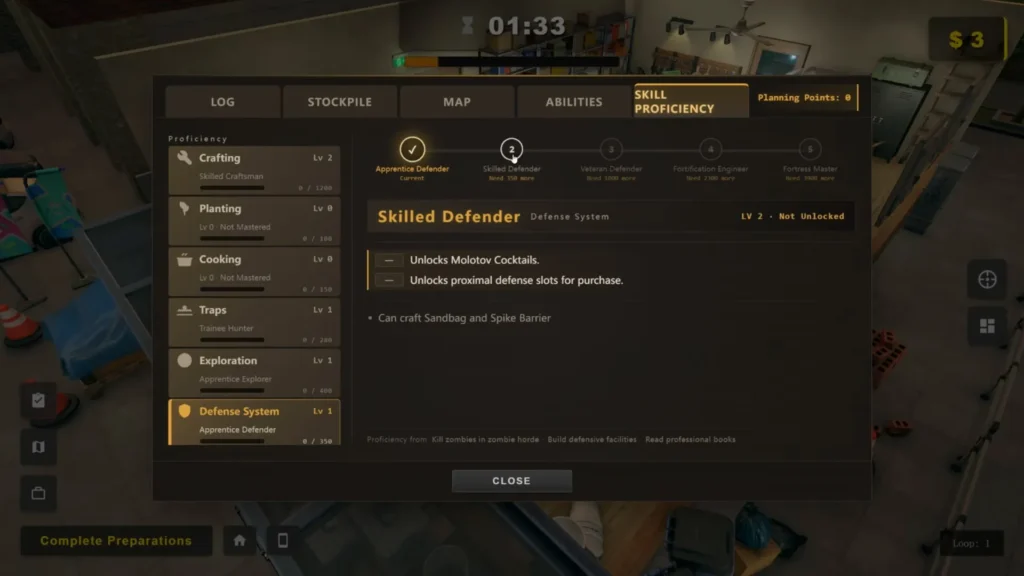
| Chainsaw Trap | Defense level 4 onward | The actual answer. Shreds everything, including the juggernaut. |
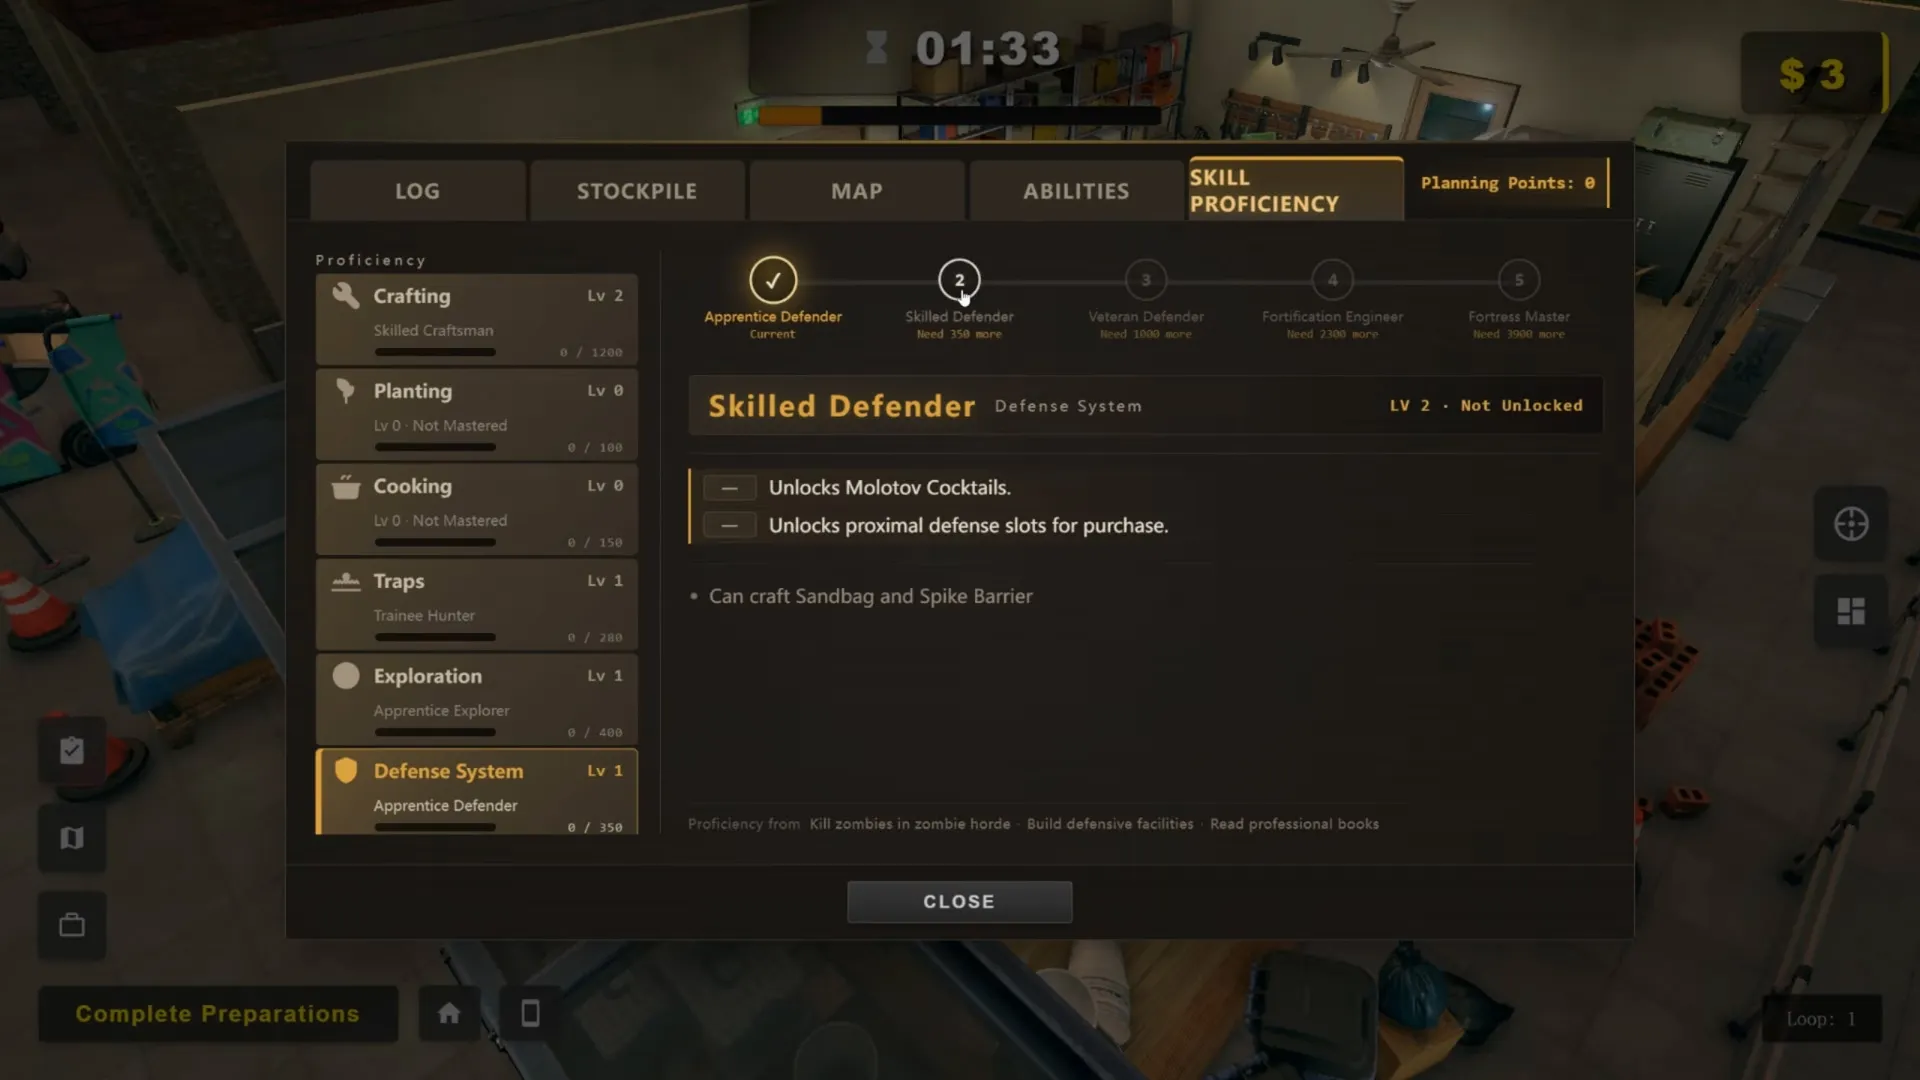
Before Day 30 you don’t strictly need traps. An advanced repair kit restores about 500 durability per use, so you can simply repair-spam the door through the first horde. You do want the kills for defense XP, though, and that XP is what carries you to level 4.
The sandbag pattern people use looks like this, with S as sandbags and X as trap slots.
SXXXXXS SXXXXXS
SSSSSSS SSSSSSS
Surround the sandbags with Spike Barriers at first, then swap those out for Chainsaw Traps once you unlock them.
How to Beat the Day 50 Horde
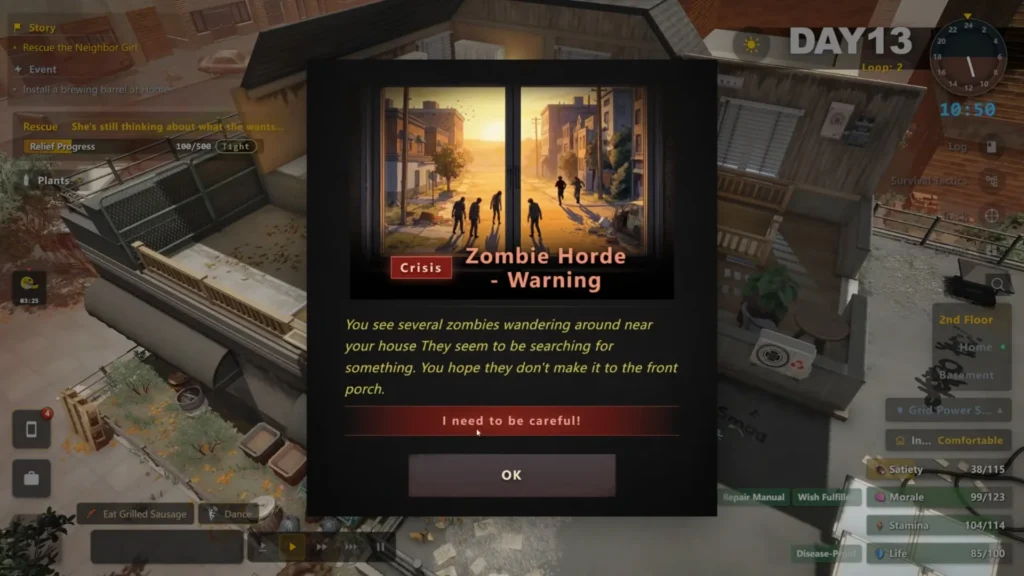
Day 49 is where most runs end. The forum thread about it is one of the busiest on the game’s Steam page, and the reason is that the wave lands alongside simultaneous crises. One of them saddles your character with an illness that stops you repairing the door and window while zombies chew through both.
Here’s what you need in place before it hits.
- Reinforce your door at least five times. Players who survive comfortably report door durability around 5,000.
- Stock ten or more repair patches for the door and window, kept somewhere you can reach in a hurry.
- Place three sandbags in front of both the door and the window, then three Chainsaw Traps in front of each set. Put extra on the door, since more zombies target it.
- Fill your power storage, because the traps will drain it hard during the fight.
Once Chainsaw Traps are up in numbers, everything above becomes optional. You can cover the outside of the house, sleep normally, fast-forward through waves, and drop in every five or six days for an advanced repair worth close to 1,000 durability. It’s a genuinely strange difficulty cliff, brutal on one side and nearly automatic on the other.
Coffee helps enormously in the runs where you don’t have chainsaws yet. Buy a coffee machine, a coffee planter, coffee bean seeds, and every energy drink you can find on the floor. Past Day 50 you often can’t sleep through a horde at all, because you’re repairing constantly.
How to Make Molotovs, and Why the College Student Can’t
Molotovs come from the Brewer, and watermelons are the best input. Three watermelons produce seven or eight high-proof alcohol, and watermelons need very little light to grow. They just need a large box. Higher-quality alcohol widens the blast radius rather than raising raw damage, and a high-proof Molotov covers nearly every spot zombies attack from.
They one-shot ordinary zombies and take three or four throws to kill the big one. Build more than one Brewer if you want them in volume.
The College Student has no access to Molotovs at all, so if you like that character, learn the chainsaw setup instead.
How to Explore Without Filling Your Exposure Bar
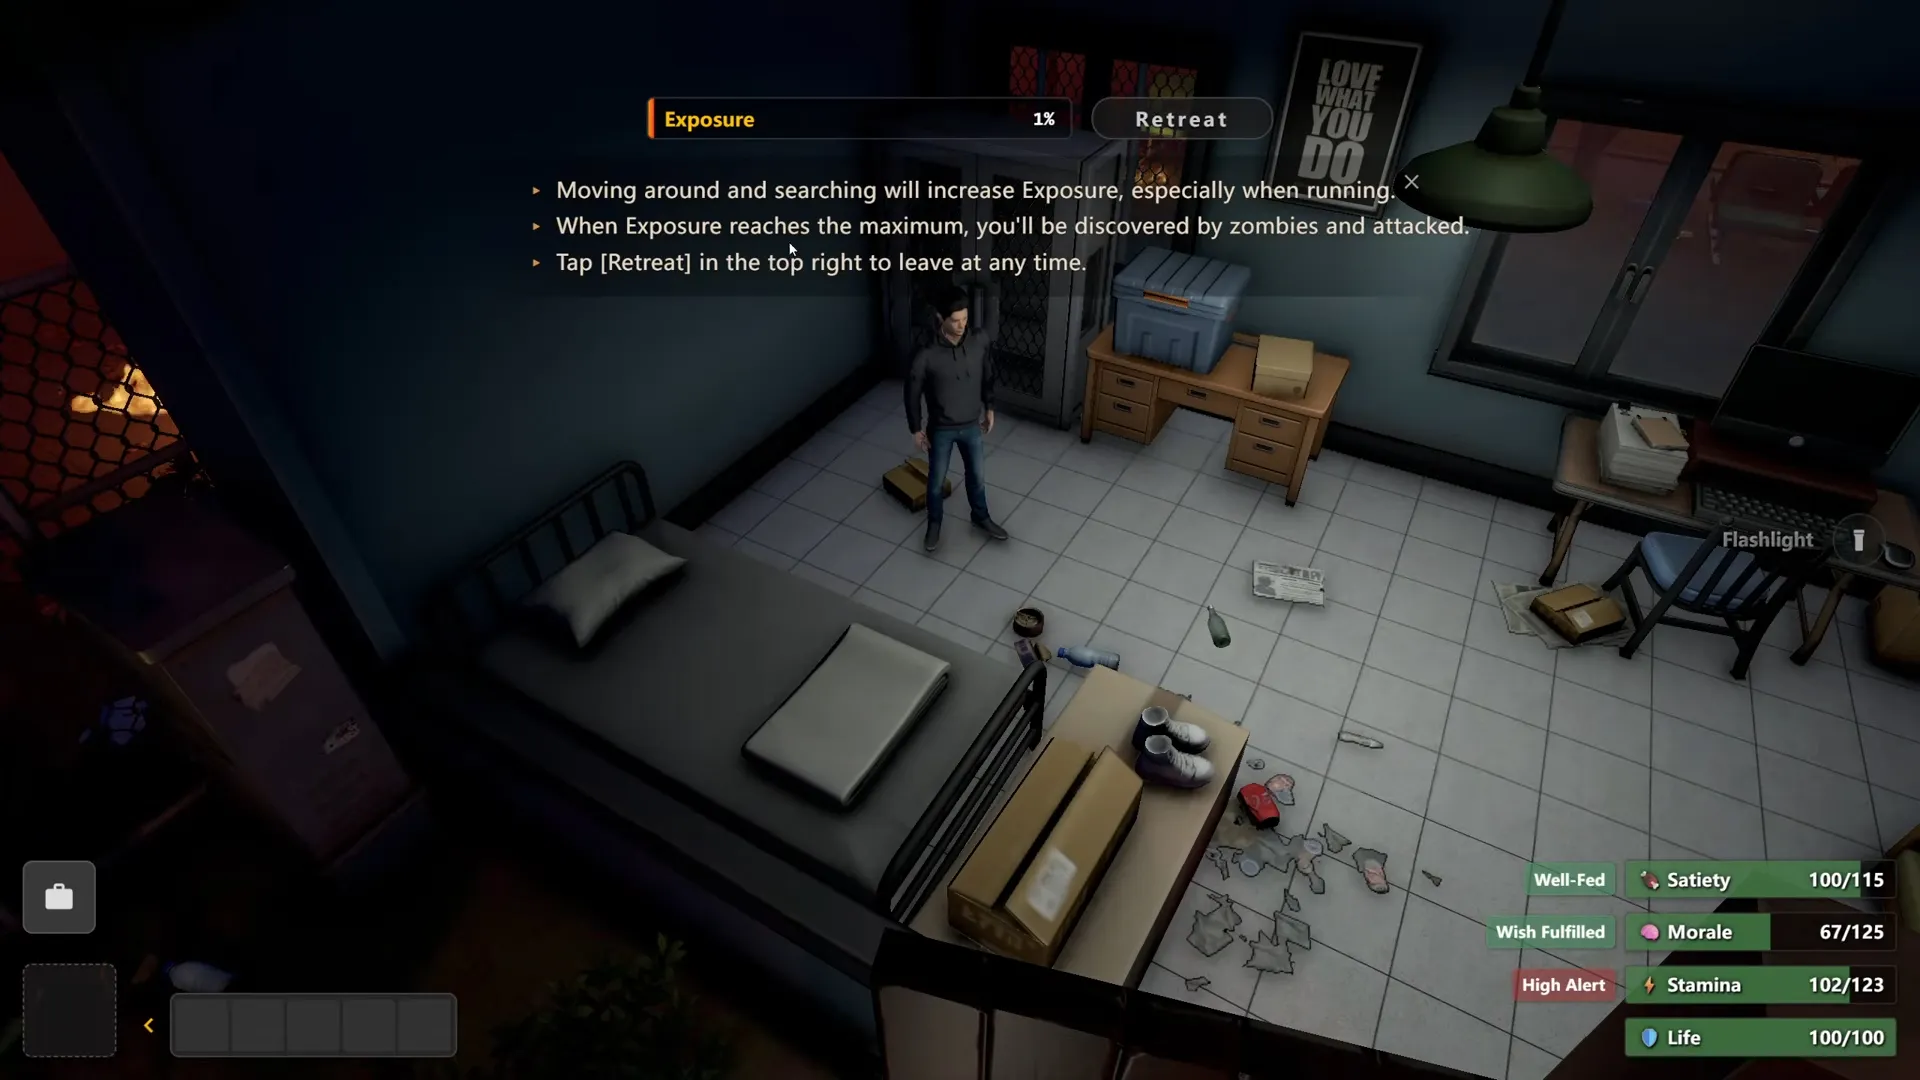
Exposure climbs fast, and there’s no pause button while you’re out. Every container you search burns somewhere between 10% and 20% of the bar, which means four or five searches and you’re heading home.
Movement and searching both raise it, and running raises it faster. If you pry a truck open with a crowbar, that costs far more than opening a bag. Bring chocolate or cola for the stamina, since more stamina lets you cover more ground per trip.
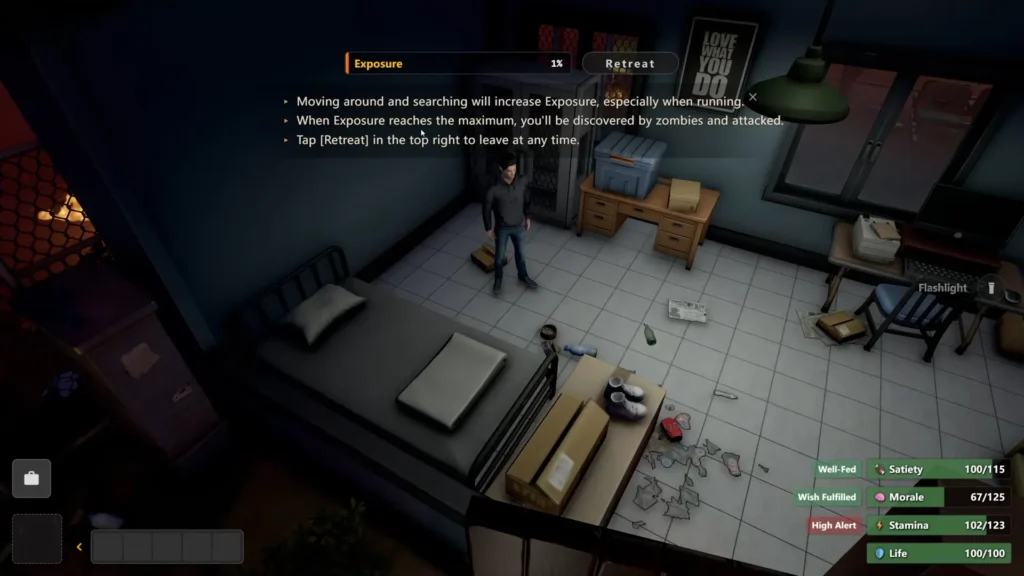
You need a Noisemaker to enter locations, and Noisemakers need Broken Glass. That’s the bottleneck that traps most new players indoors.
Exploration levels up as you go, which extends how long you can loot and lets you shift heavier obstacles. Level 4 exploration in particular opens up a few blocked rooms.
How to Survive the Cold Wave in Survival Log
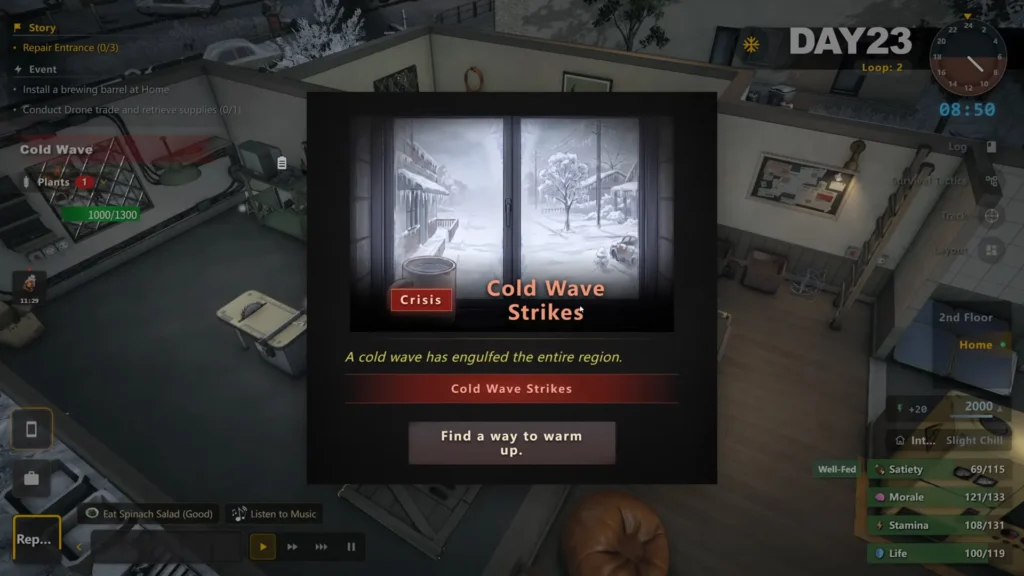
The Cold Wave engulfs the whole region and drains four Safety and one Morale every hour, plus a point of Life. One of the streamers I watched lost an entire run to it while zombies weren’t even on screen.
Turn the Air Conditioner on the moment it starts. Cooked food fights the cold, and so does sleeping. Move your outdoor planters inside, because you can relocate a pot without losing the plant. Reports of when it arrives vary between roughly day 22 and day 35, so treat the AC as something you keep ready rather than something you install once you see the warning.
You get a solid Morale payout when it passes, so it’s survivable. It just punishes anyone who treated the appliance list as optional.
How to Unlock the College Student and Warehouse Manager
College Student: Rescue Zoe, the neighbor. Give her a surplus of whatever she asks for each day until you hit the rescue target. Each unique item you hand over counts for a bonus, so vary what you give her rather than dumping ten of the same thing. She unlocks inside the Wage Slave’s path.
She’s a strong pick once available. She starts with gardening and cooking ability, and her ability rolls lean toward those same skills. She can also grow vines that reinforce your defenses, and she gets extra starting money if you talk to the Wage Slave in the grocery store, which works once per save across all loops.
Warehouse Manager: This one needs a step outside the game. Open your Steam library, right-click Survival Log, go to properties, and switch the version to the preview branch. From there you can unlock him while playing as either the College Student or the neighbor.
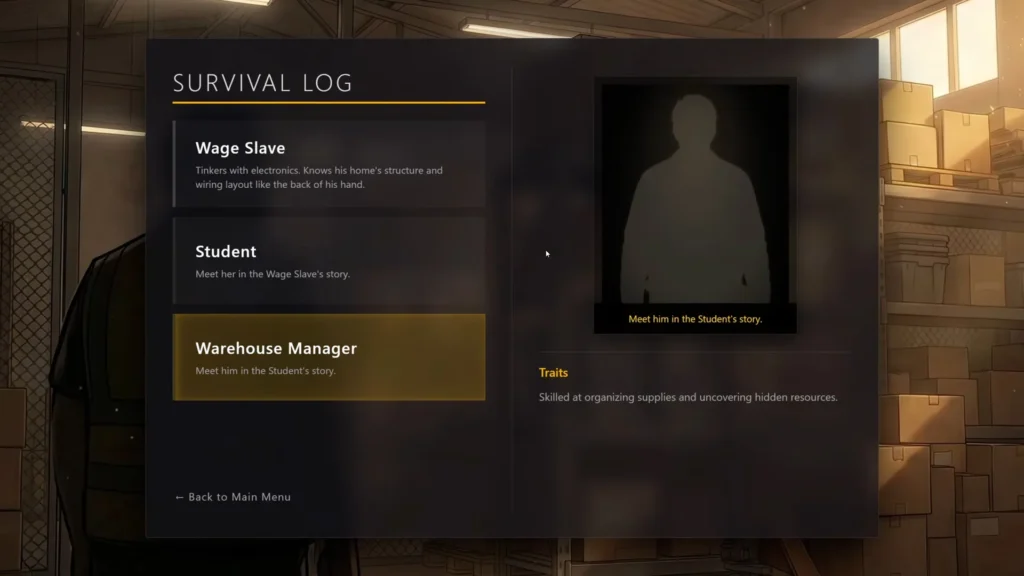
Around day 20-something the supermarket opens up. Take a crowbar and pry open the driver’s seat of one of the trucks parked there. That starts a quest, and you then select your home drone and send relief to the Warehouse Manager. Feed him once a day for ten days and he becomes playable.
Fair warning, though. On the current preview build he’s absurdly easy. He starts with so much that there’s barely any survival pressure left.
Where to Find Broken Glass and Other Missing Items in Survival Log
- Broken Glass comes from anything packaged in glass. Drink a cola or use up a bottle of soy sauce and you get shards. You’ll also find it while exploring, and the Recycling Station trade route sells it in bulk once unlocked. Trinkets the neighbor sends you can be scrapped for it too.
- Electric Components are the reason to unlock the Hospital. Once you have access, dismantle things there and they pour out.
- The Hospital Recorder sits in a filing cabinet. Enter the hospital and head north, clear the junk pile (you’ll want exploration level 4), then check the two cabinets on the west side of the room. Some players found it in random boxes near the entrance instead, so it may have more than one spawn.
- The Teaching Drone is in the School. Take the first left past the outside door and move behind the lockers into the first classroom next to the medbay, then look for a lootable bag. It also spawns in a box on the ground near the start of the map. The upgrade doubles your daily morale flight and lets you send two drones out at once, which is one of the best quality-of-life gains in the game.
Known Issues in Survival Log So Far
The developer, posting as Ellen on the Steam discussions, has confirmed a few limitations that are worth knowing before they frustrate you.
- There’s no way to restart the preparation stage of your second loop. Botch that prep and you’re committed to it.
- Defenses can’t be powered down between attacks. Right now you either eat the fuel cost or demolish and rebuild them, and both waste resources.
- Item stacks can’t be split. When you trade, you hand over the whole stack. Partial-use items are valued proportionally, so a 5/10 antiseptic is worth exactly half of a full one.
Players have also flagged that Chainsaw Traps get progressively louder the more of them you build, and that Exposure rises at a flat rate no matter how quietly you move. Neither has a confirmed fix yet.
Survival Log launched on Steam on August 12, 2026 from Midnight Workshop and Lilith Games, and it’s been patched several times since. Anything tied to a specific number here is worth re-checking after an update.