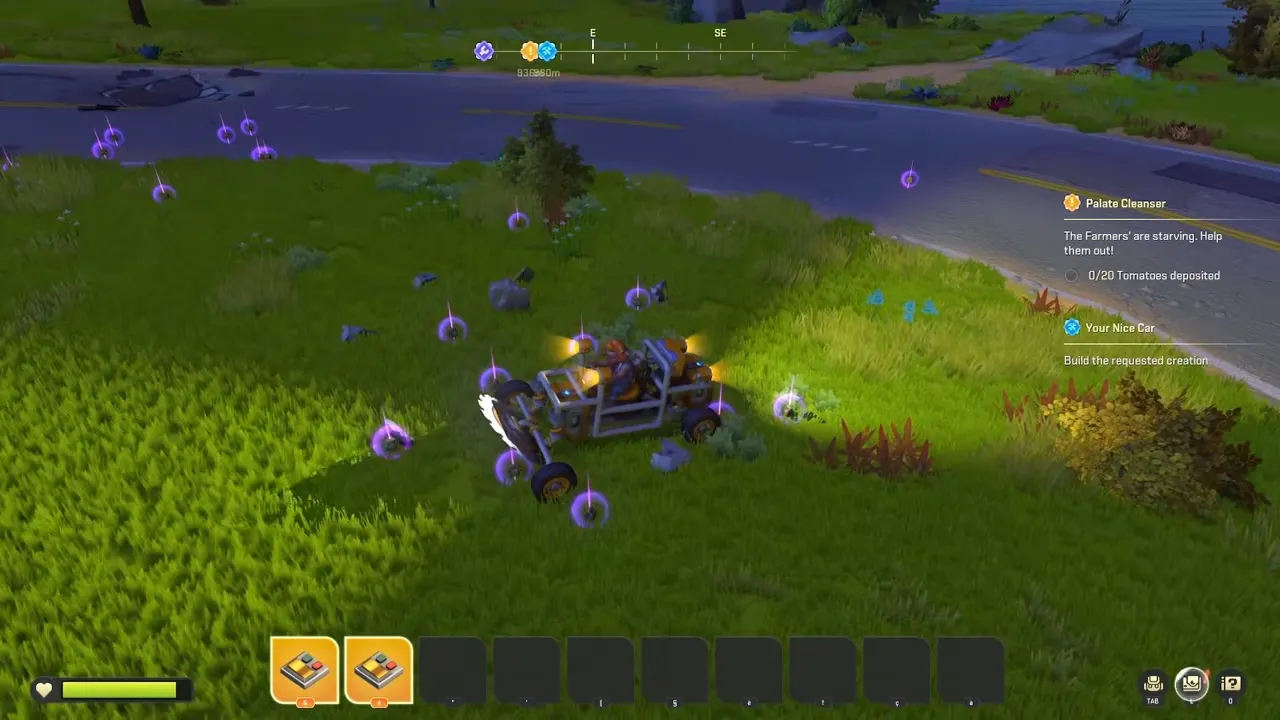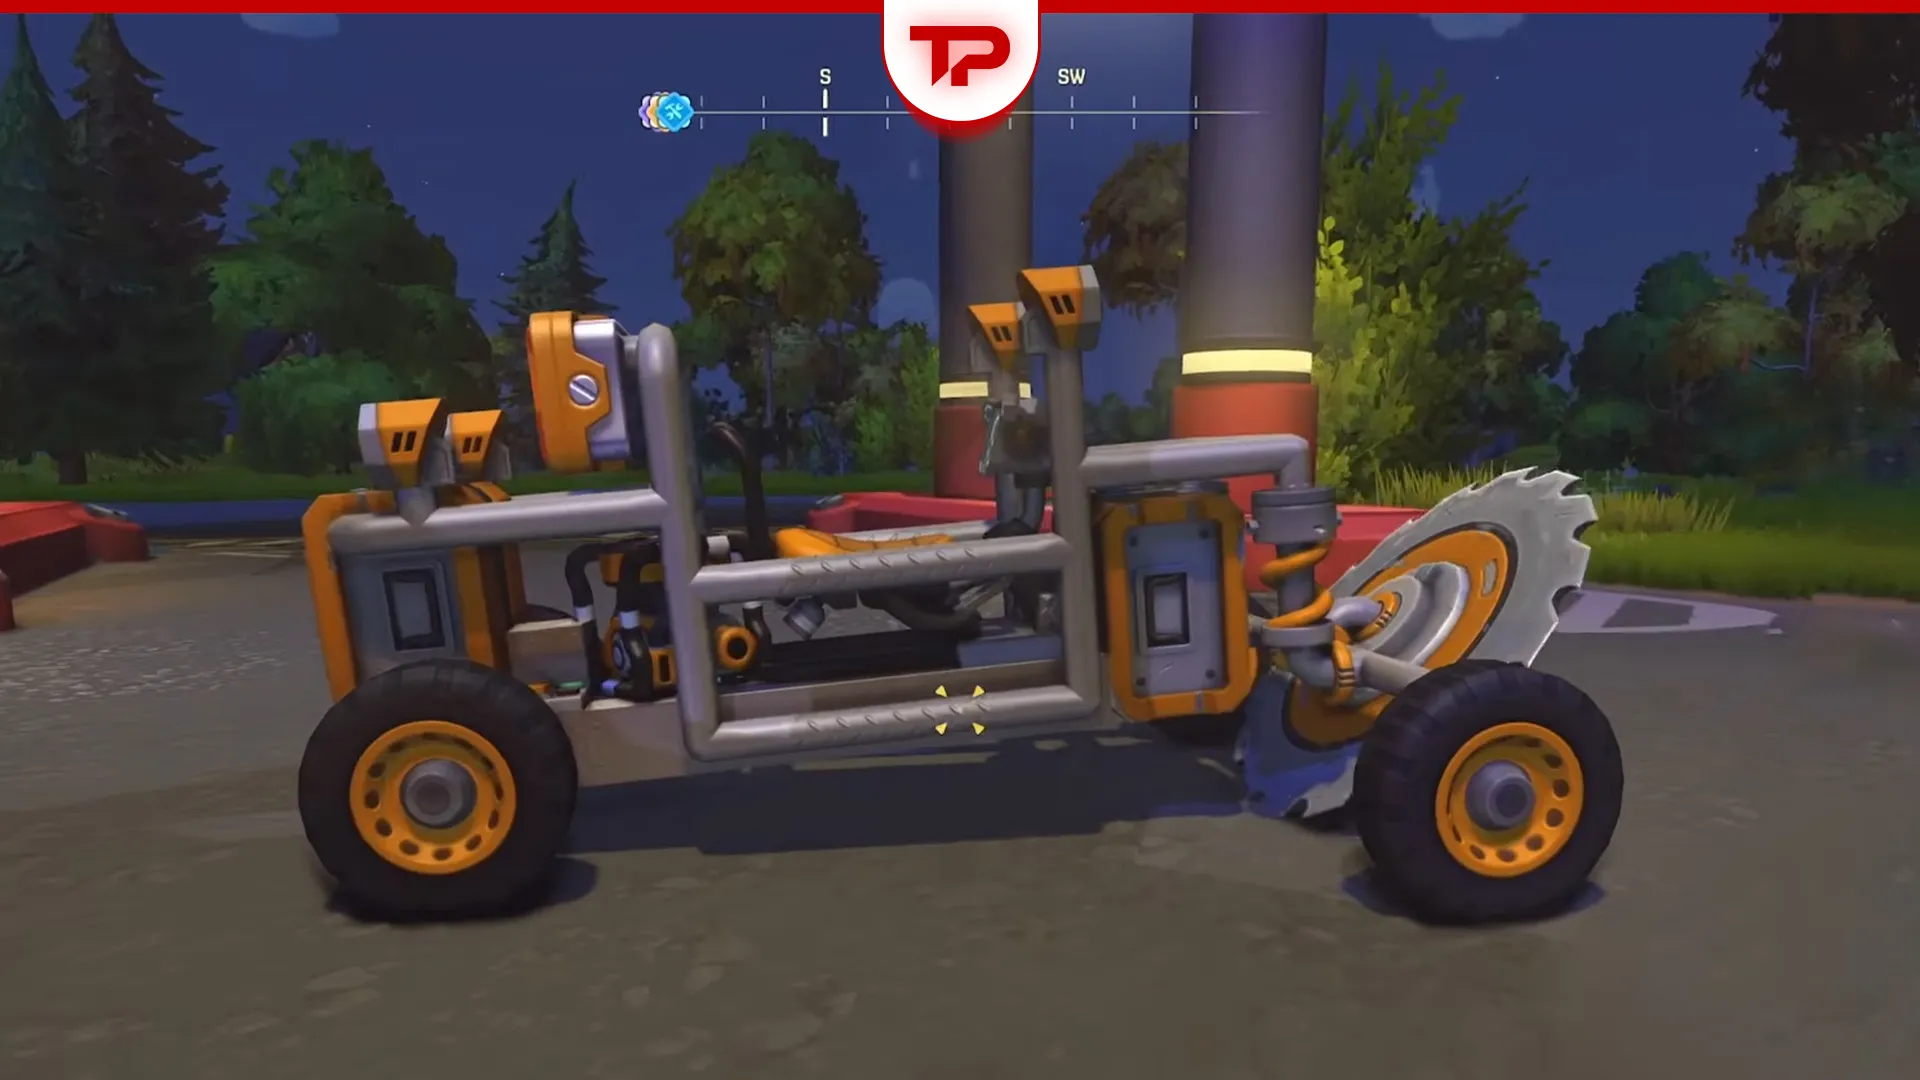


Nothing in Scrap Mechanic hands you a car. You build one, and in 1.0 you also have to keep it. Axolot Games rebuilt the terrain, added weather that can flip a heavy chassis, made fire spread through connected blocks, and put a missile bot on the road network. A build that was fine in 0.7 can now be gone by morning.
This guide covers the cheapest chassis that actually drives, the four builds worth specialising into, and the parking habits that decide whether your rig is still there when you come back.
Quick answer: Set a Lift down, lay a Metal Block floor plate, drop a Driver Seat on it and mount a Gas Engine low and central. With the Connect Tool, run one connection from the seat to the engine, one from the engine to the rear Bearings, and one from the seat straight to the front steering Bearings. Steering never routes through the engine. Hit a max-connections warning? Spend one Component Kit on the seat instead of redesigning.
What we cover:
Minimum Working Car Requirements
| Part | Count | Notes |
|---|---|---|
| Driver Seat | 1 | Every connection routes back here. Upgrade it with Component Kits for more connection points |
| Gas Engine | 1 | Press E while looking at it to trade fuel economy for power |
| Bearing | 4 | Two for the steering axle, two for the rear wheels |
| Wheel | 4 | All Wheels cost Beeswax. Big Wheels cost more of it and add real weight |
| Metal Block | ~40 | Floor plate. Cheap Wood Blocks are fine for everything above it |
What Counts as a Vehicle Here
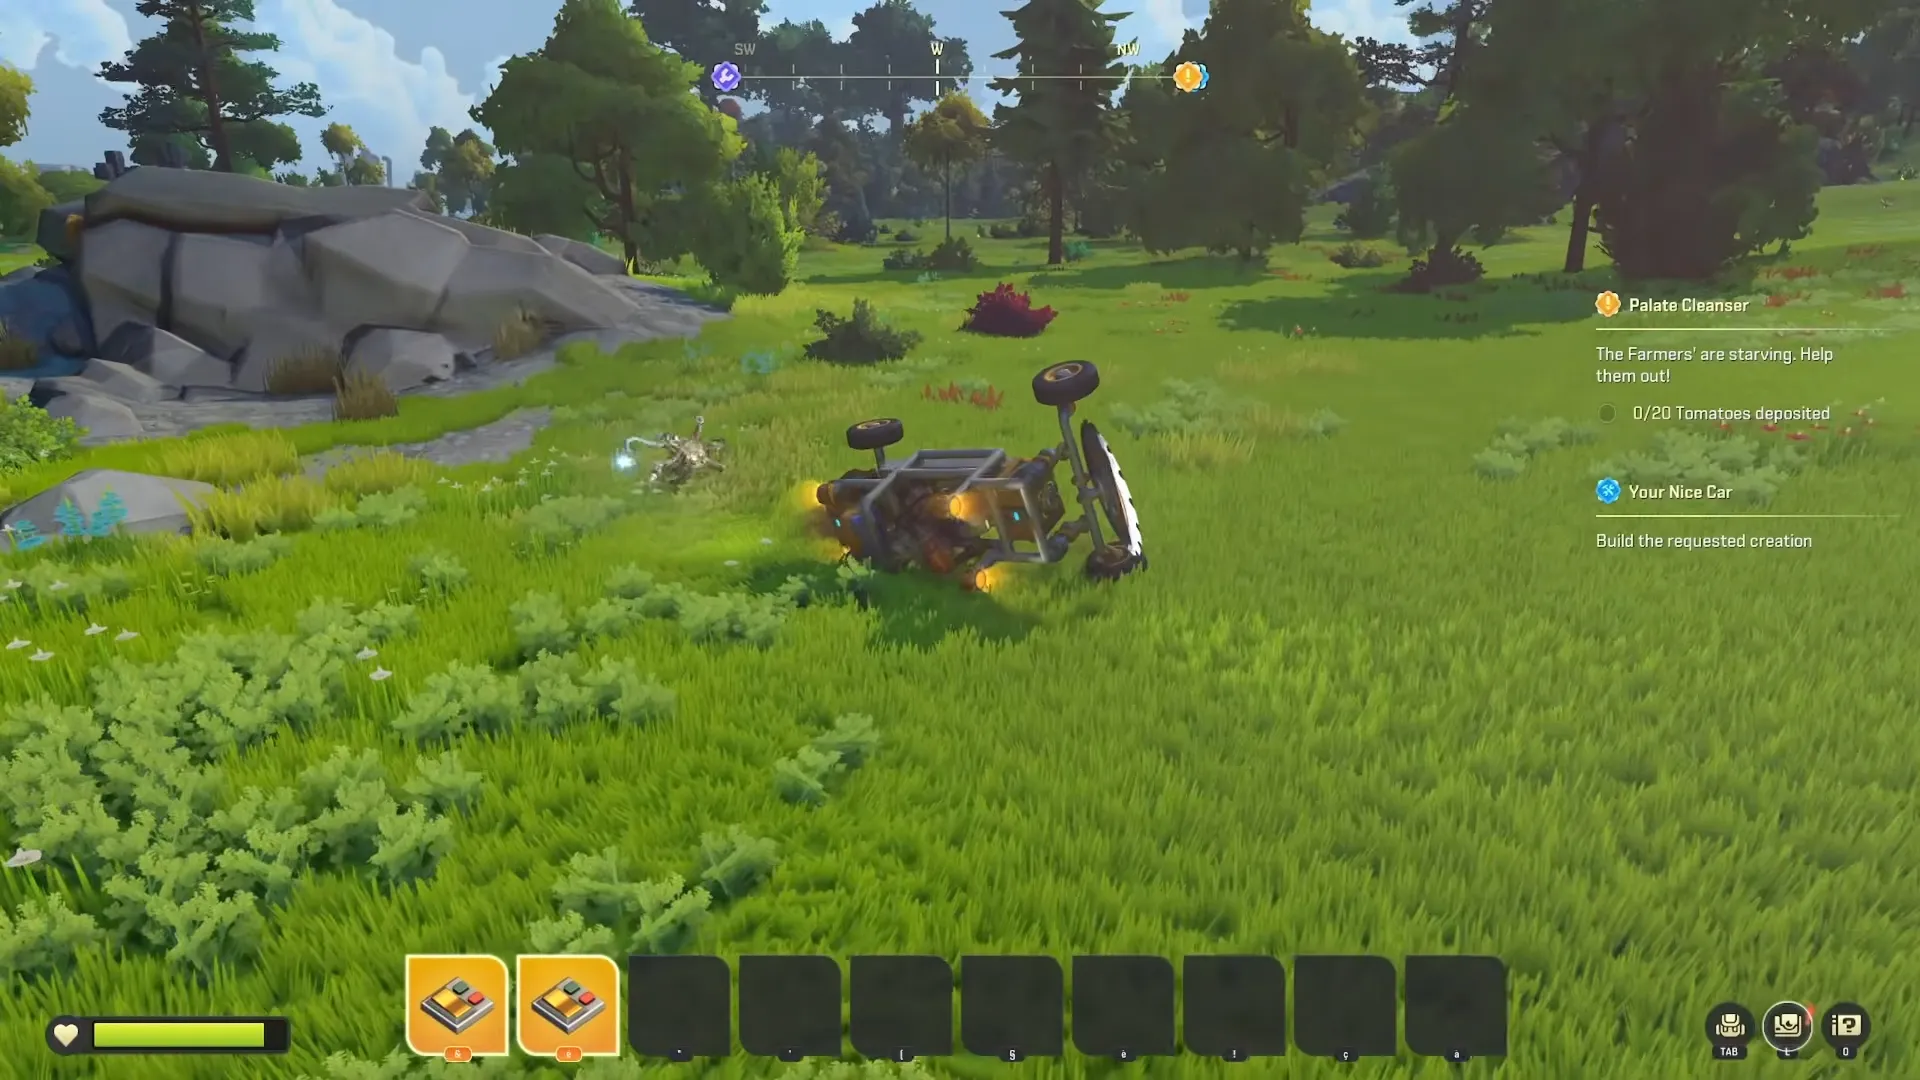
There is no vehicle category in the Craftbot. You place blocks and you attach interactive parts to them. Then, the physics engine decides whether the result drives or rolls onto its roof. Weight and wheel contact are all simulated, which is why a good car and a bad car in this game can use identical parts.
Most players end up with one of four builds, and the shape of each is driven by its job.
| Type | What it does | Design priority |
|---|---|---|
| Scout | Ruins, quests, Component Kit runs | Light, fast, cheap on fuel, two or three chests |
| Mining rig | Rock nodes and trees | Ground clearance, Drills, Refinebot and Resource Collector |
| Hauler | Produce crates, Caged Farmers | Wide flat bed, strong floor, low speed |
| Combat | Raids and road encounters | Armored front, Turret Seat, spare wheels |
Your First Car in Survival
The game teaches you this one directly. The Builder Guide sits half buried in dirt near the Crashed Maintenance Ship, and picking it up starts the Your First Car quest, which projects a hologram of each step onto a Lift. It is worth doing even if you already know how to build, because it hands you a working baseline before the Mechanic Station opens up better parts.
The Parts and What They Cost
Scrap Wood is the cheapest frame material early on and you can get an absurd amount from a single big tree. Scrap Metal comes off broken bots and crates. Bearings are the part people run short of first, since steering, powered wheels, and every moving arm you build later all need them, so keep some Scrap Metal in reserve rather than dumping it all into blocks.
Component Kits gate almost everything good. Suspension and Drills need them. Also, every seat or engine upgrade needs them. Haybots and ruins are the main early supply.
How the Wiring Works
Connections are one directional and they all start at the seat.
- Place the floor plate and drop the Driver Seat on it.
- Mount the engine low and near the middle, then connect the seat to the engine.
- Connect the engine to the wheels you want driven.
- Connect the seat directly to the steering Bearings, not through the engine.
- Add a Switch for headlights or a Resource Collector later, wired the same way.
If you hit a max connections message, the fix is a Component Kit upgrade on the seat or engine, not a redesign.
A Cheap Suspension That Works Early
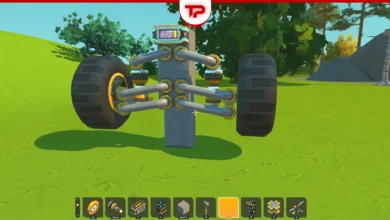
Real suspension parts need Component Kits you probably do not have yet. A workaround that holds up well is two suspension pieces joined by a pipe piece with loose Bearings on it, which gives you a floating solid axle at the front. At the back, a single Bearing carrying a straight pipe across both wheels does most of the same job for almost nothing, and it will not flip over on you if you sit it against a chest so it cannot rotate past a point.
It is not elegant. It follows the ground and costs nearly nothing. It will get you to the Mechanic Station in one piece.
What Drilling Thunder Changed for Vehicles
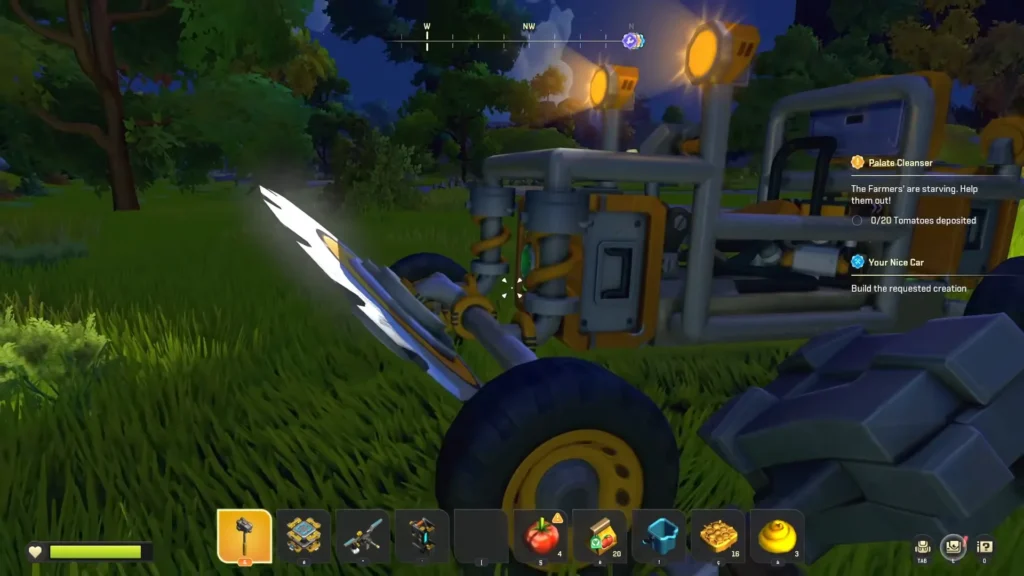
Almost every vehicle guide written before July 2026 is now partly wrong, because the ground your car drives on was rebuilt and the threats aimed at it are new. Here is what actually affects a build.
| Change in 1.0 | What it means for your car |
|---|---|
| Reworked terrain, forest roads, desert biome | Ground clearance and wheel contact matter more than they did. Roads are genuinely faster |
| Tornadoes | Do not leave a heavy build sitting in open desert and walk away from it |
| Fire burns blocks and parts, and spreads | Keep a Fire Extinguisher on anything you would be upset to lose |
| Seekerbot patrols roads | Road travel becomes a real risk partway through the story |
| Claygun terrain shaping, and some bots dig | A clay wall around a parked car is not protection |
| Sticky Wheels | Vehicles can dig and drive in directions that were not possible before |
| Turret Seat | Rotates with your camera, which changes both combat and mining builds |
| Plasma Drill and Plasma Saw | Much faster on hard rock and on trees than standard Drills and Saw Blades |
| Mini Craftbot (Baby Craftbot) | Compact craft station meant to be bolted onto a creation |
| Improved network responsiveness | Co-op driving is noticeably less rubbery |
The Seekerbot is worth its own paragraph, because most people misread how it works. It is a very large floating bot shaped like a praying mantis head, it hums and pings like sonar, and it sweeps a wide red scanning beam along the road network. Sitting inside that red light does not automatically mean you have been seen. You have been seen when its icon appears on your HUD. If you hear missiles but have no icon, it has locked onto a Woc instead.
Two details that change how you play around it. First, it only roams at night, starting after you complete the first Growlab, and it hunts roughly every couple of days rather than constantly. Second, it does not target parked creations. It targets players and Wocs.
That does not make your vehicle safe. A Woc panicking near your parked rig is enough to bring missiles down on top of it, and the wreckage is collateral, not the target. It happens often enough that people assume the bot hunts vehicles. So the fix is not camouflage, it is cover: park under a roof or behind a structure, well off the road, and stay out of the beam yourself.
Patch Changes That Affect Vehicles
Launch week moved fast, and several fixes landed after the first wave of guides went up.
If you are still on 1.0.2 or earlier, let Steam pull the current build before you blame your design.
Build for the Job, Not for Everything
I would not try to make one car do all of this. The heavy production parts are the reason. A Craftbot, a Refinebot, and a Resource Collector each weigh enough that bolting them to your explorer turns it into something slow and thirsty that handles badly the moment you need to actually go somewhere.
Scout
Small, light, and disposable enough that losing it is annoying rather than devastating. Two chests, a Bed, a Beacon, and one headlight cover almost everything. This is the car you take into ruins hunting Component Kits.
Mining and Refining Rig
This one ends up as a box on wheels and that is fine. Six wheels works well, with four at the back to carry the refinery weight and front wheel steering up ahead. Three Drills with two Saw Blades between them handles both rock and trees, since a tree wedges neatly between the blades.
The upgrade worth building is a Bearing joint through the middle of the chassis so the whole nose articulates. You approach a node and sweep the drill head left and right instead of repositioning the entire vehicle, and you never have to get out. The cost is understeer. Four rear wheels plus a pivot means the thing plows forward at speed and turns like a building.
Hauler
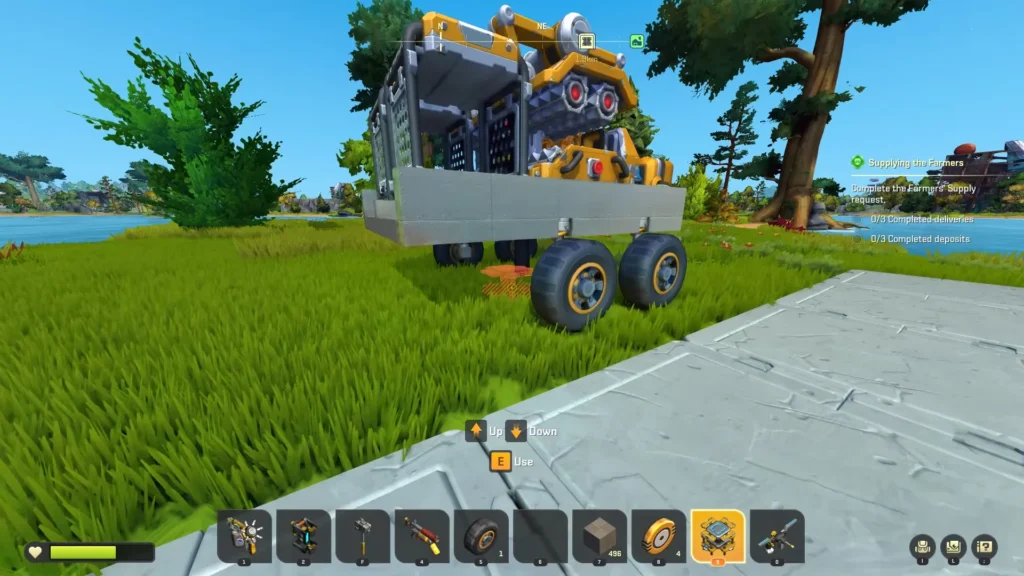
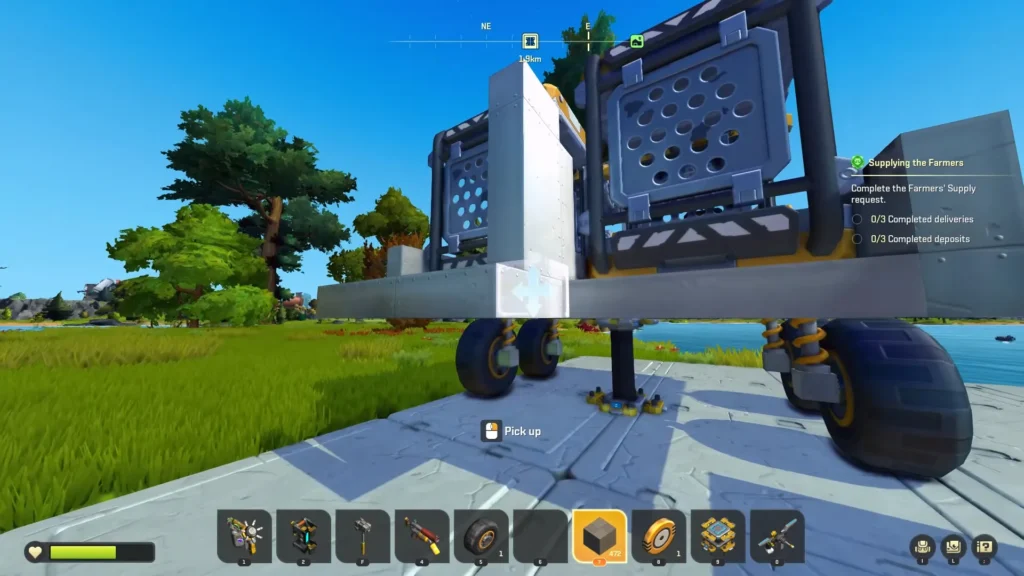
Wide, flat, and low. If you plan to carry Caged Farmers, build for a 7 block width, which means two beams with five empty blocks between them. Keep the floor solid metal, because farmers do sometimes clip through a bed if you shove them in too hard.
Combat
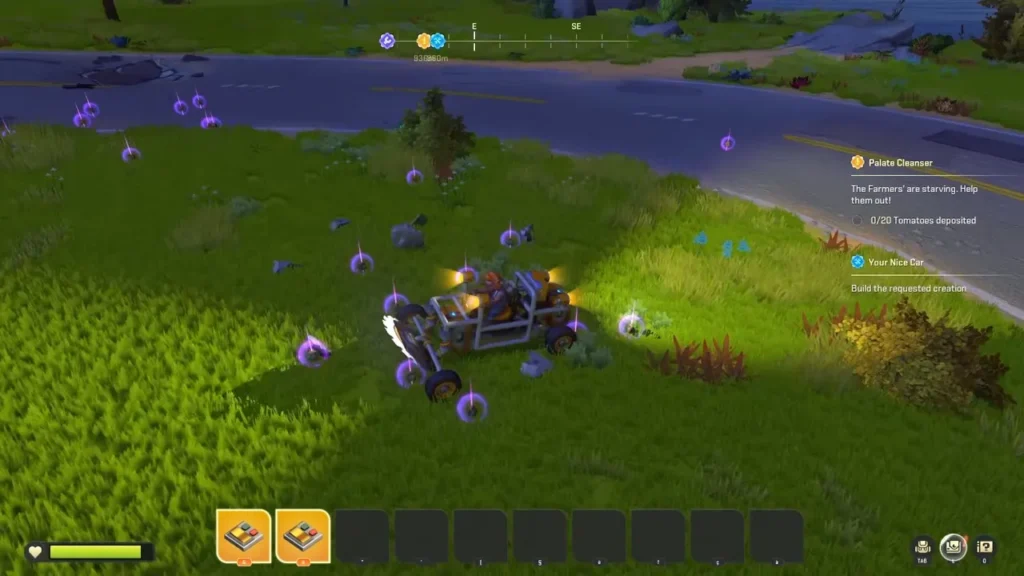
Armor the front and mount the Turret Seat where it has a clear arc. Carry spare wheels and a Fire Extinguisher. The Red Explosive Totebot is the one to deal with first in any fight, and a burning creation loses parts fast.
Design Rules That Matter
Four things change how a car behaves more than anything else you can do to it.
Weight and Where You Put It
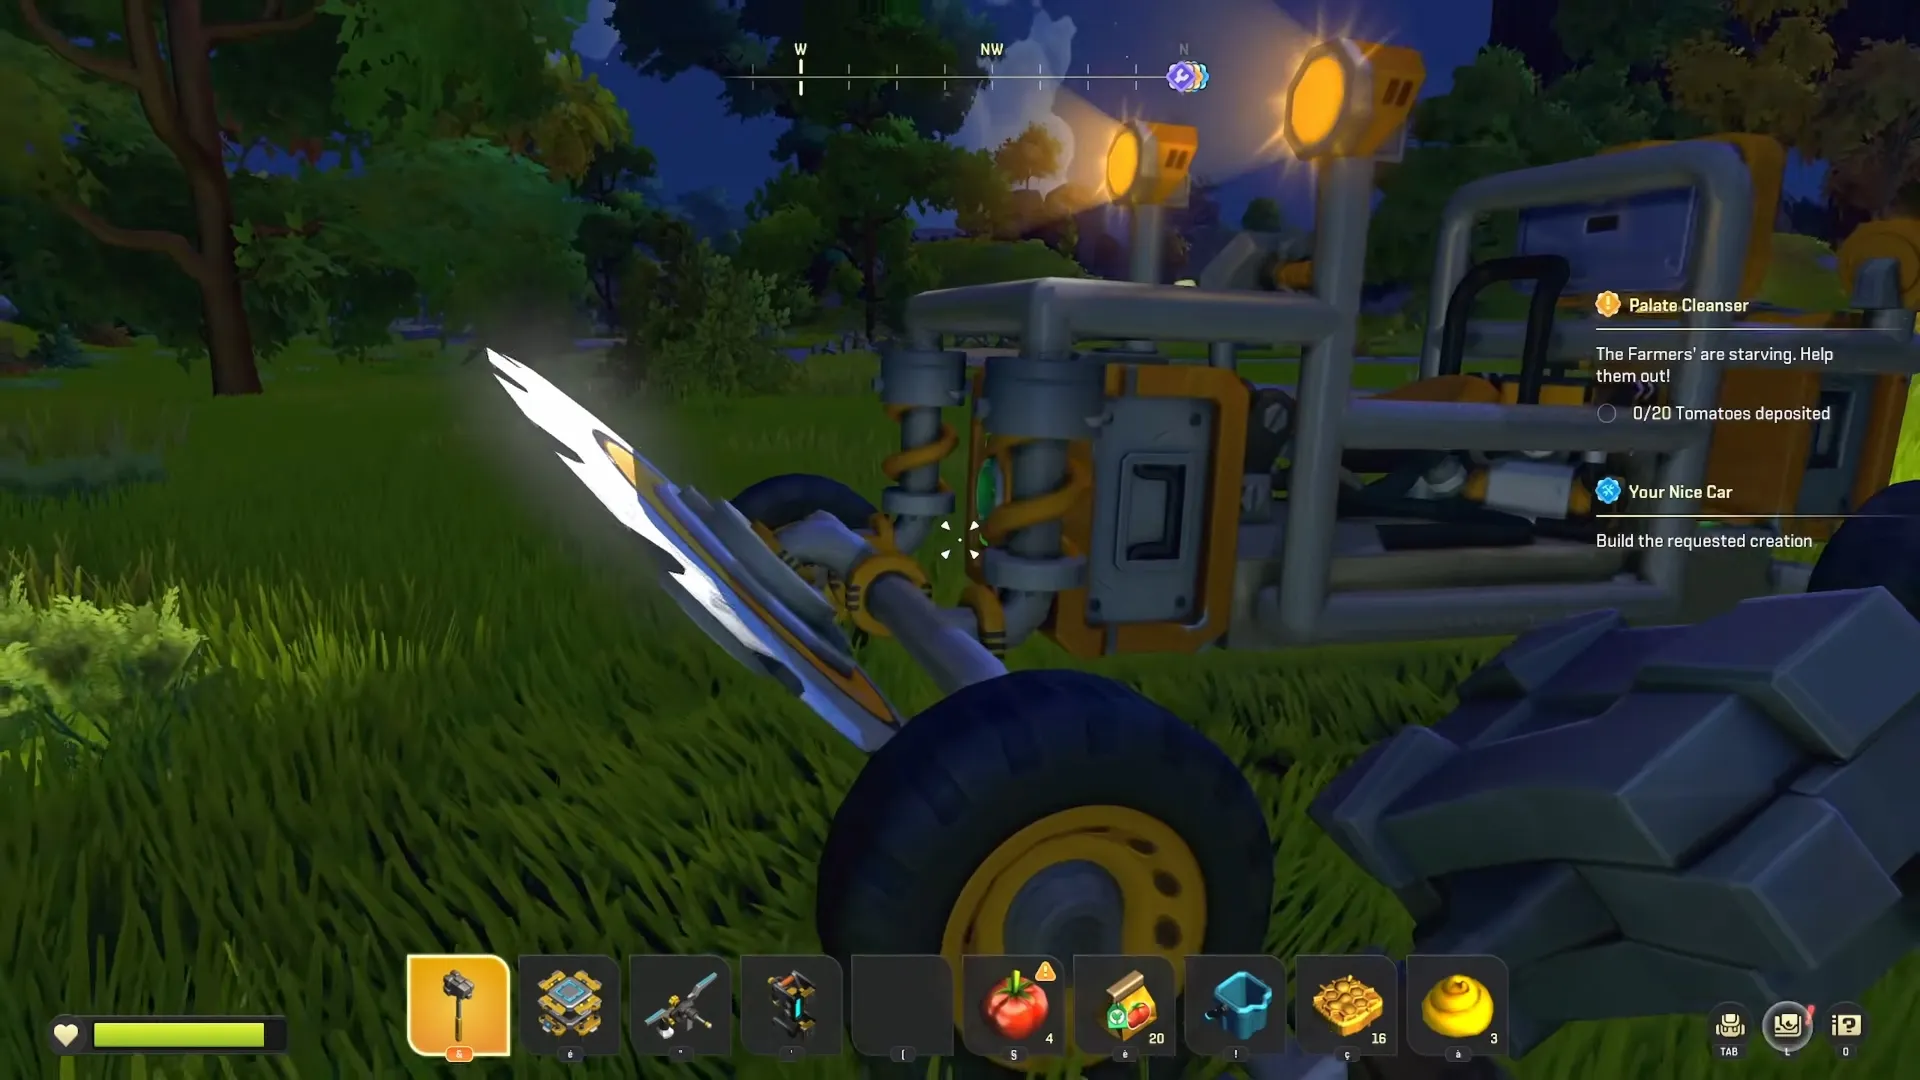
Build the floor plate out of Metal Blocks and everything above it out of Wood. You get a low center of mass and a durable underside without dragging useless weight up top. Engines, fuel, and storage all belong as low as you can physically fit them.
Connection Points Are the Real Bottleneck
Every seat, engine, and Controller accepts a fixed number of connections at each level. The first upgrade on a Driver Seat costs a single Component Kit and buys you headroom immediately. Once your engine can reach all four wheels you have all wheel drive, and the difference is not subtle.
Suspension and Steering
Sport and off-road suspension sit close enough in cost that sport is the sensible default for most builds.
Welding parts directly onto Bearings, suspension pieces and pistons broke in patch 1.0.4 and was restored in 1.0.5 on August 3, 2026. On the current build you no longer need spacer stack, so check your game version. If you want a steering setup that handles properly rather than merely works, see our wishbone suspension guide.
For anything heavy, a wide track and a long wheelbase beat a stiff setup. Rear wheel steering helps a long rig turn, at the cost of a few more connections you probably do not have spare.
Fuel
Weight is fuel. A refinery rig drinks gasoline at a rate that will strand you if you head out without a full Gas Container. Mount the container vertically where you can see it from the seat, so you can read the level while driving instead of climbing off to check.
How to Stop Losing Your Vehicle
Lost cars are the single most common complaint in the community right now, and most of it is preventable.
- Put a Beacon on every vehicle the moment you can craft one. Everything else on this list is a distant second.
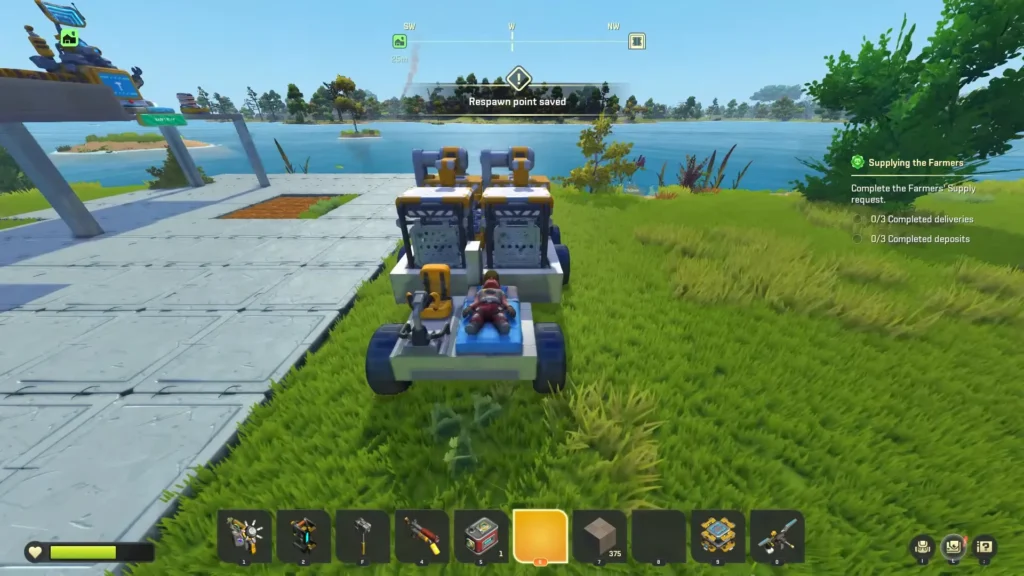
- Put a Bed on it too, so you respawn next to the car instead of a long walk away from it.
- Bots avoid spinning Saw Blades and Drills, so one on a Bearing left running is a decent deterrent while you are looting a tower. Raising the vehicle up high is not, despite how often it gets suggested.
- Park off the road once Seekerbots are active, ideally a tile or more from the edge.
- Carry a Fire Extinguisher. Fire spreads through a creation and will take the seat, wheels, and suspension with it.
- If the game crashes and the car is gone, backtrack the way you came before you rebuild. It often ends up behind where you were standing.
Common Problems and Fixes
Most of what goes wrong with a vehicle in 1.0 has a known cause.
| Problem | Why it happens | Fix |
|---|---|---|
| Caged Farmer clips through the truck bed | Pressure from pistons or walls pushes it through the floor | Hold it loosely. Shorten piston length rather than switching pistons off |
| Vehicle burned down while you were away | Fire spreads through connected blocks | Fire Extinguisher on board, and do not park under an active threat |
| Vehicle destroyed while you were away | A Seekerbot fired on a player or a Woc near your parking spot; your build took the splash | Park under cover and away from roads. The bot does not target parked creations directly |
| Refinebot fills up and stalls | It holds its output instead of pushing to a connected chest | Empty it manually before you move the chest |
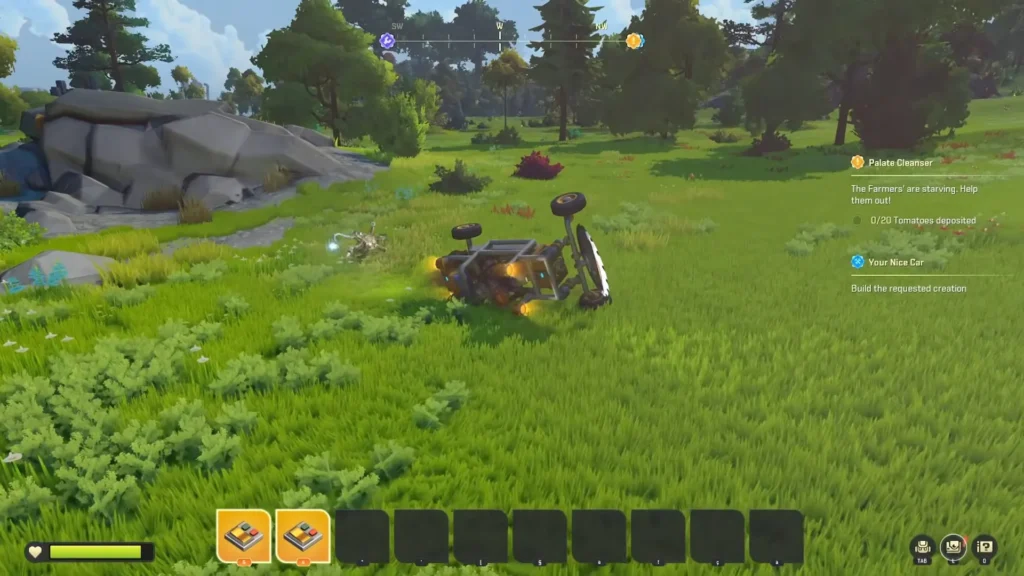
| Car handles fine empty, awful loaded | Center of mass rises with cargo | Widen the chassis or drop the load lower |
| Quest reward car drives poorly | Those blueprints teach building, they are not work vehicles | Strip it for parts and build your own |
Everything here comes from the official Steam patch notes through version 1.0.2, the community and player reports from the first days after launch.