

In this Melvor Idle 2 guide, I’m going to go over the world of Melvor Idle, a game set in the RuneScape universe, allowing you to experience the grind and the progression system of RuneScape in an idle environment. I will be going over your skills, what things to do first, and giving you a general idea of the combat and the guild mastery system. So without further ado:
Table of Contents
What Should You Do First in Melvor Idle 2?
It’s an Idle game, so you should be able to play it however you want to play it. But who am I kidding? We all love to min-max our grind and be the best grinder to ever grind in the history of grinding, so here’s what I did:
- Train Woodcutting to Level 5: Unlocks Fishing, Mining, and Crafting.
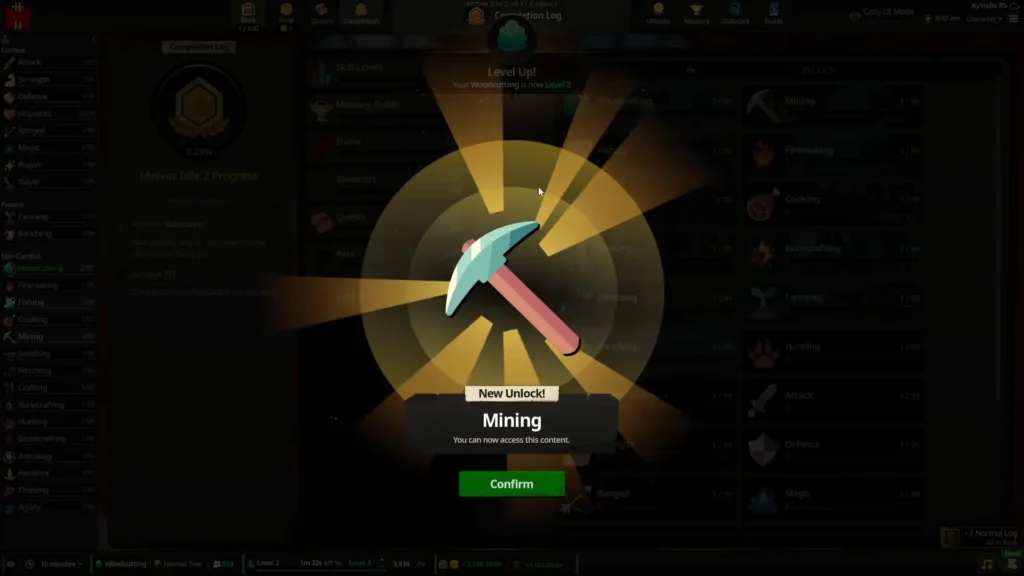
Start by chopping trees. Reaching Level 2 Woodcutting automatically opens Fishing and Mining. Continue to Level 5 to unlock Crafting. Make sure to keep at least 50 Normal Logs in your bank rather than selling them, as you will need them to unlock Firemaking.
2. Secure Your Early Food Supply: Unlocks Cooking.
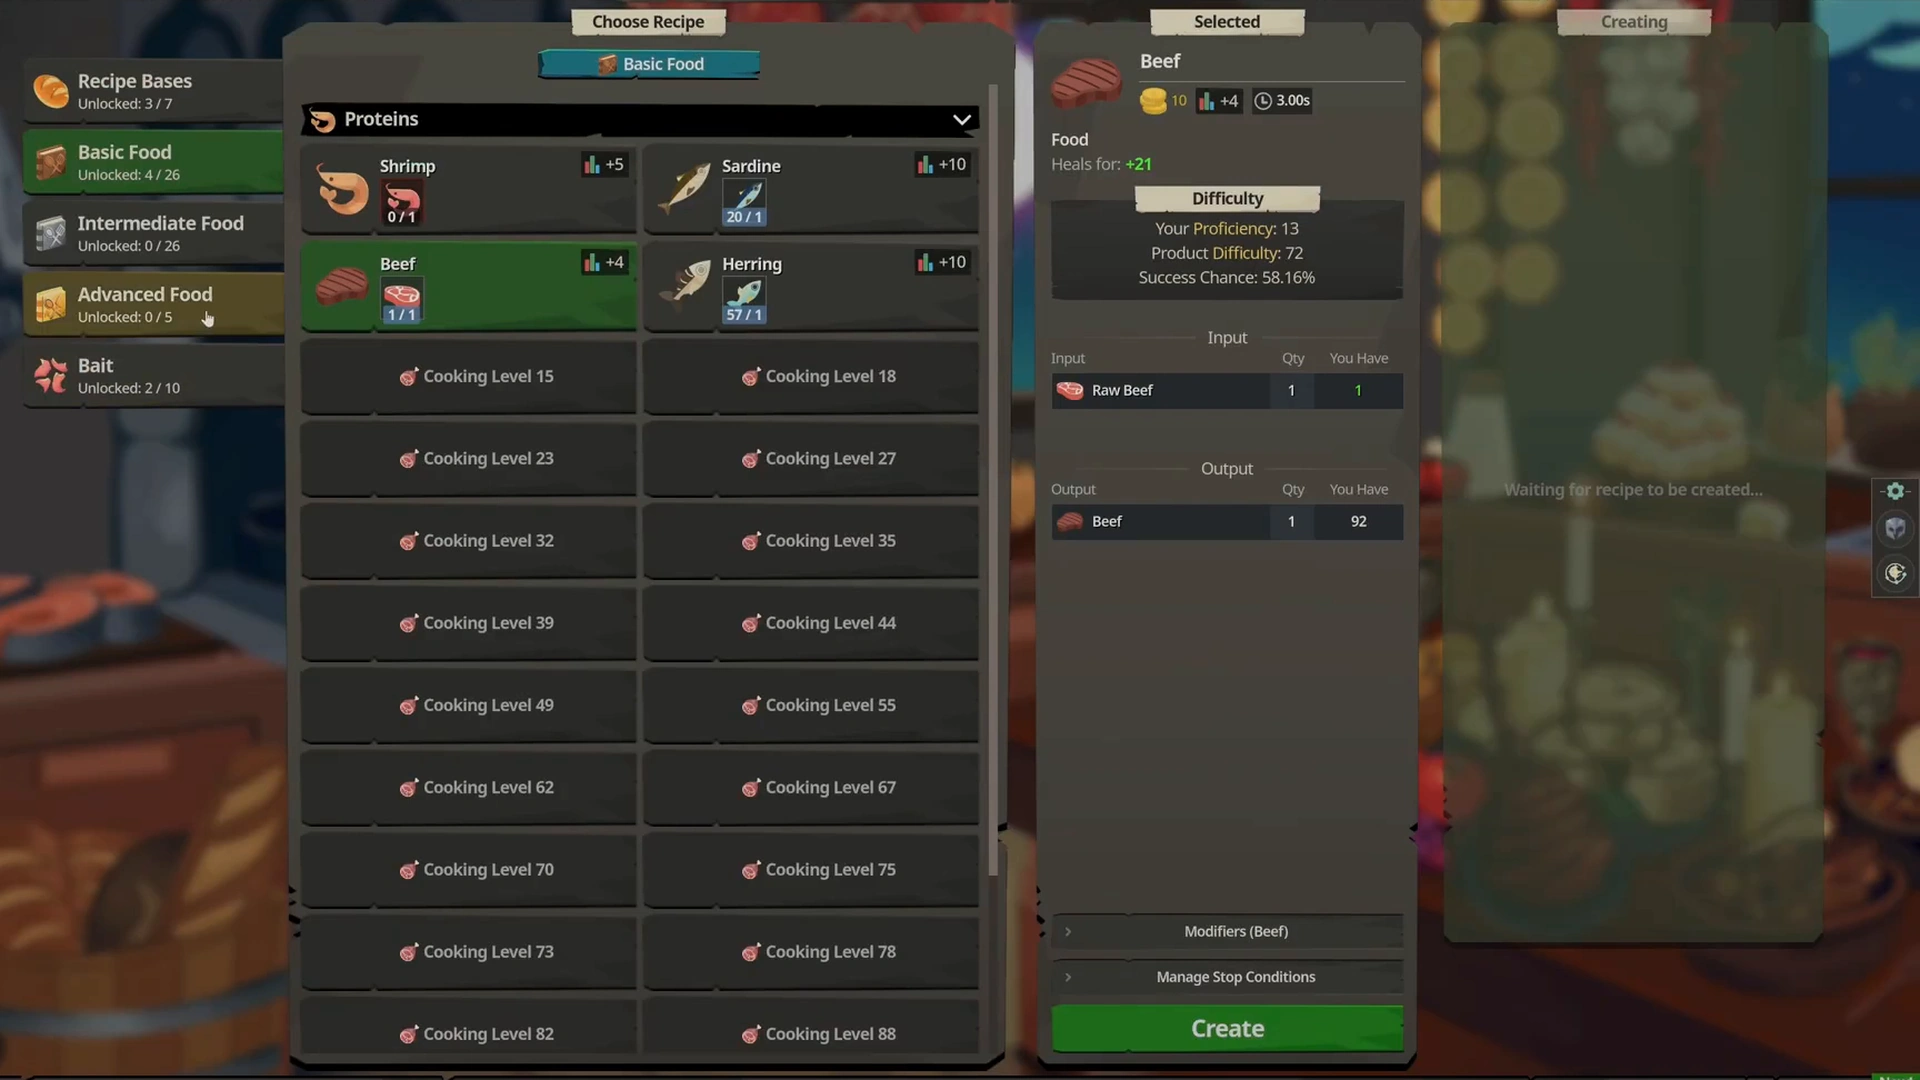
Gather 20 Raw Shrimps from Fishing to officially unlock the Cooking skill. Immediately cook the 20 shrimps and stock yourself with food. You must have cooked food on hand to safely unlock and enter combat.
3. Mine Stone and Smith a Weapon: Unlocks Combat.
Train Mining to Level 2 to unlock Smithing. Use the Stone you gathered to forge a Stone Sword, which requires 2 Stone. Earning a Stone Sword from Smithing, alongside your 20 cooked shrimp, officially unlocks the combat menu.
4. Check Your Auto-Eat Safety Limits:
Equip your new Stone Sword and manually select your cooked food in your combat loadout. Don’t keep your eyes off the first few combats. They give you a general idea of what to expect, and you can limit-test your current setup.
5. Prepare for ‘Pointy Preparation’ (Act 1 Quest):
Use the Act 1 quests to guide your immediate progression. For the first quest, “Pointy Preparation,” aim for Level 5 in Smithing, Fletching, and Runecrafting. You will need to hand over 24 Stone Arrows and defeat three Archery Targets using only ranged combat.
6. Set a Safe Offline Activity:
For the beginning of the game, go for gathering as your offline activity. You can’t currently automate crafting reliably, meaning that it would go on until you go back online. So just pick a non-combat skill (woodcutting is recommended in the early game) and let it level up while you are busy with real life.
All Melvor Idle 2 Skills Explained
This table is your fast answer to what each skill needs to be unlocked, which can be found in the game when you hover over the said skill. Now, if you don’t have access to the game, here’s a table to reference quickly.
| Skill | Standard Onboarding Unlock Requirement | Primary Purpose & Function |
| Woodcutting | Available from the start | Collects natural logs |
| Fishing | Woodcutting Level 2 | Catches fish for food and special items. |
| Mining | Woodcutting Level 2 | Gathers ores, rune essence, and gems for production. |
| Hunting | Crafting Level 3 + Crafting 5 snares | Surveys areas, tracks animals, and deploys traps to capture wildlife resources. |
| Firemaking | Gather 50 Normal Logs from Woodcutting | Burns logs to earn experience, secondary ashes/charcoal, and campfire buffs. |
| Cooking | Obtain 20 Raw Shrimp from Fishing | Converts raw fish into edible healing items required for combat survival. |
| Smithing | Mining Level 2 | Smelts ores into metal bars to forge weapons and defensive armor. |
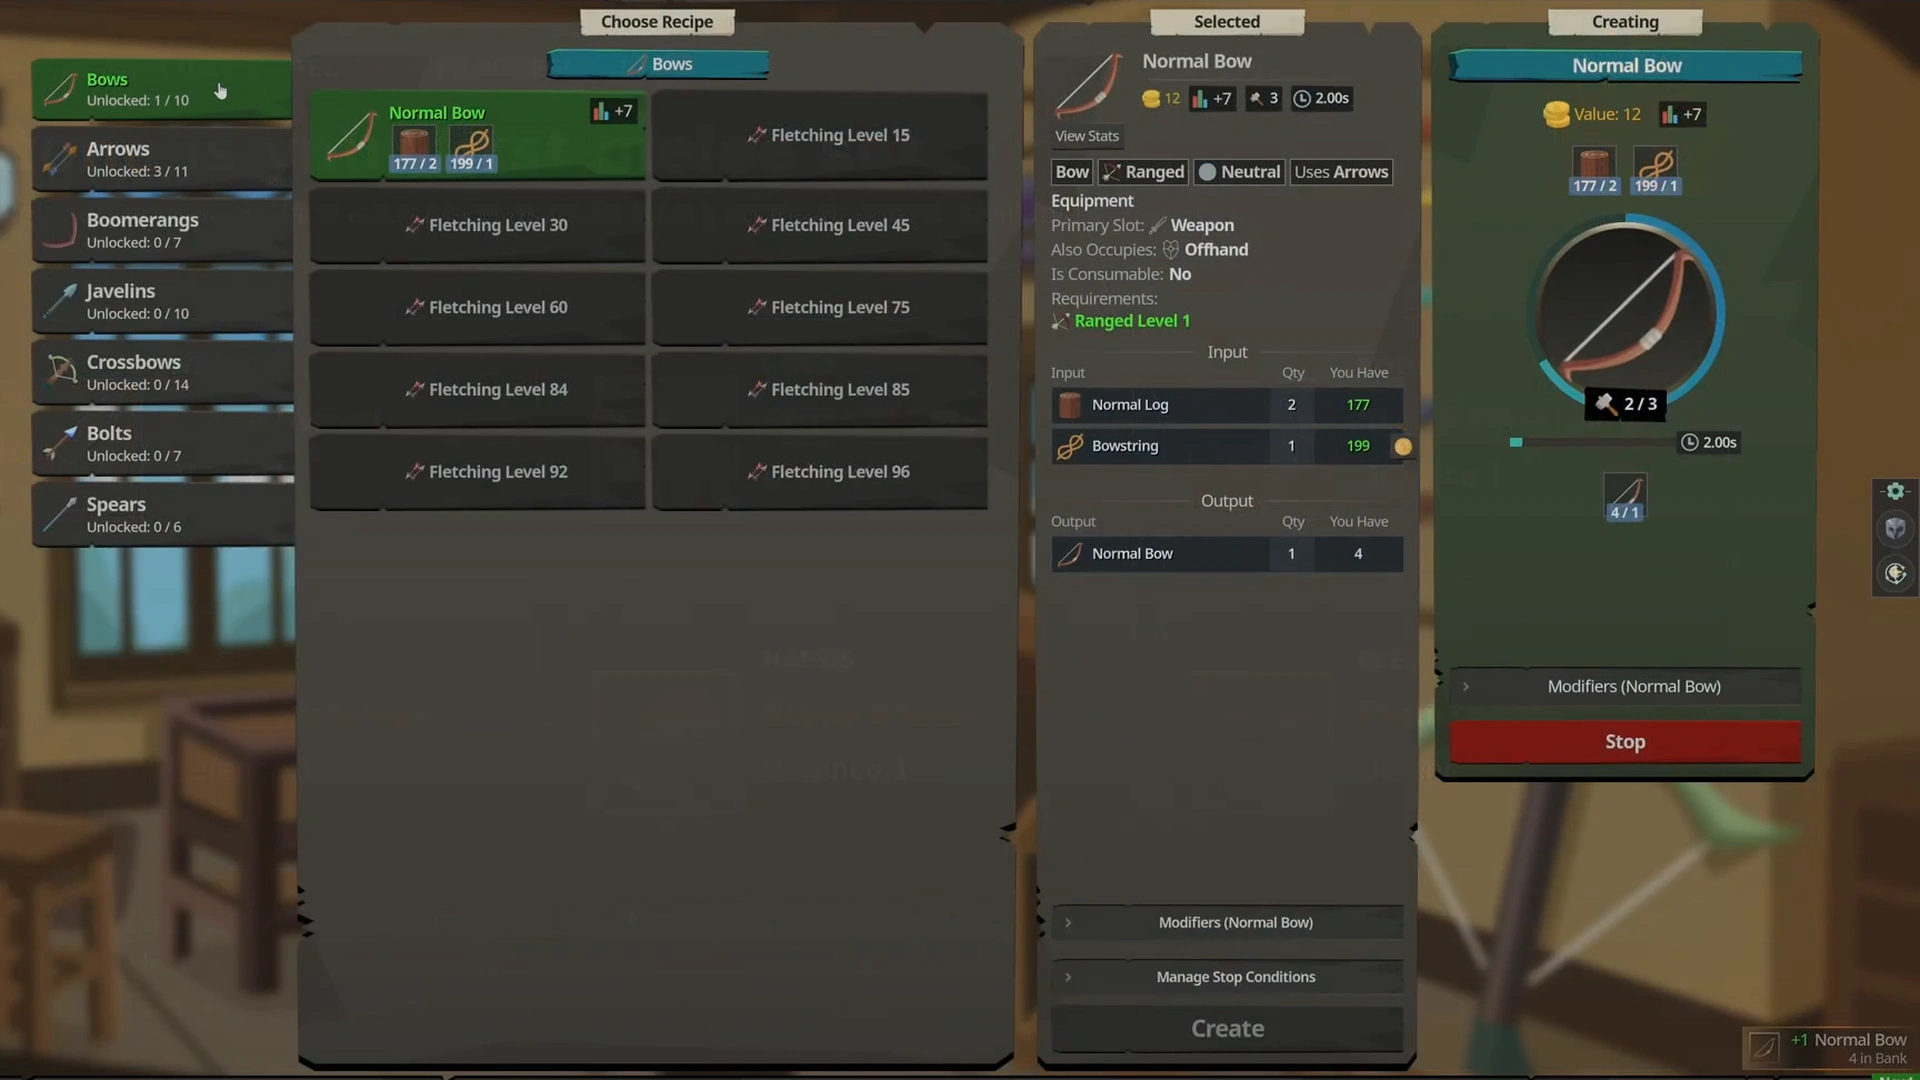
| Fletching | Unlocked via early progression/quests | Crafts bows, crossbows, and distance ammunition (arrows/bolts). |
| Crafting | Woodcutting Level 5 | Processes leather, gems, and jewelry for utility and income. |
| Runecrafting | Mining Level 8 + Crafting Level 5 + Killing 5 Mind Golbins | Combines rune essence and materials to manufacture magic runes. |
| Beastcrafting | Hunting Level 15 + initial animal objective | Processes animal-derived materials into specialized gear and crafted products. |
| Farming | Available from the start / initial setup | Passively yields crops and raw food materials over time. |
| Ranching | Initial gold requirements | Raises animals in enclosures for hourly passive production and animal management. |
| Thieving | Cooking Level 10 | Pickpockets targets for GP, items, and seeds. |
| Agility | Available via Early Access progression | Unlocks courses, obstacles, passive techniques, and non-combat utility buffs. |
| Astrology | Available via Early Access progression | Explores constellations to grant permanent account-wide skill bonuses. |
| Herblore | Available via Early Access progression | Brews powerful consumable potions to buff individual skills. |
| Attack | Unlocked with Combat | Dictates hit accuracy and unlocks tier-based Melee weapons. |
| Strength | Unlocked with Combat | Directly increases maximum Melee damage output. |
| Defence | Unlocked with Combat | Improves evasion, armor mitigation, and equipment tiers. |
| Hitpoints | Unlocked with Combat | Determines your character’s total health pool. |
| Ranged | Fletching/Crafting a bow and ammunition | Powers distance-based ranged combat and weapon scaling. |
| Magic | Runecrafting runes + appropriate staves/wands | Casts offensive elemental spells and utility magic. |
| Prayer | Unlocked via early progression/items | Consumes Prayer Points to run active combat buff prayers. |
| Slayer | Assigned via Slayer masters | Assigns specialized monster bounties for Slayer coins and combat progression. |
Best Skills to Level First
With such a long list of skills to unlock, one might feel confused about where to start and what to focus on, even though the game gives you a pretty clear-cut path to follow in the early game. Here’s the way I unlocked my skills in order to progress the story as efficiently as possible.
Core Skill Unlock Order
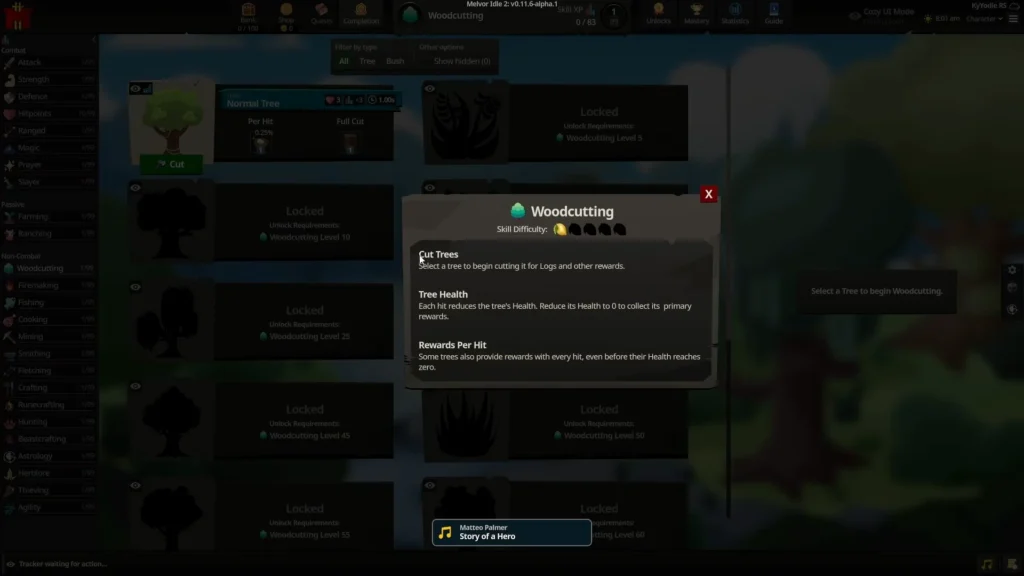
- Woodcutting: The foundational gathering skill. Reaching Level 2 unlocks Fishing and Mining, and Level 5 opens Crafting. Keep at least 50 Normal Logs in your bank to unlock Firemaking later.
- Fishing & Cooking: Essential for combat survival. Gather 20 Raw Shrimp to unlock Cooking, and immediately cook 20 of them. Without equipped food, your Auto-Eat cannot function, and early enemies will kill you.
- Mining & Smithing: The fastest path to equip yourself. Train Mining to Level 2 to access Smithing, then craft a Stone Sword. Having a Stone Sword and 20 cooked shrimp officially unlocks the Combat menu.
- Fletching & Runecrafting: Required for early quest gates. The first Act 1 quest, “Pointy Preparation,” demands 24 Stone Arrows and tasks you with defeating targets using Ranged combat. Aim for Level 5 in Smithing, Fletching, and Runecrafting to push through this phase.
Handling the New Early Access Skills
The launch build introduced Astrology, Herblore, and Agility.
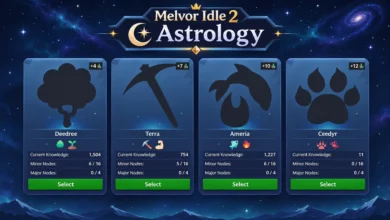
- Astrology: gives permanent skill bonuses, but its nodes are gated behind progress in other skills (Level 8 Woodcutting for the first unlock). Train constellations on the side while you hit milestones in your gathering and production skills rather than trying to max Astrology immediately.
- Herblore: Produces consumables that buff individual skills. Invest in it when you need a specific potion to support a lengthy training goal.
- Ranching: Provides passive materials alongside your active training, but requires heavy initial capital. A single sheep enclosure costs roughly 18,000 GP and 200 Normal Logs. Delay Ranching until you secure a steady income from doubled quest rewards and crafted goods
How to Unlock More Skills
In Melvor Idle 2, unlocking additional skills has two main ways. Here is how skill unlocking works:
The Normal Onboarding vs. Skip Option
The early access gives you two options to deal with this. You can go the Normal Onboarding Route. In this route, your skill stays locked until you do certain tasks, like gathering a certain amount of an item (20 shrimps to unlock cooking) or upgrading a skill enough times (Level 5 woodcutting to get crafting).
There’s also the Skip Option. This one is for those players who experienced the demo and know their way around the skills already. This gives them a head start to reach the new content as fast as possible and not spend their first few hours relearning what they already know.
Special Skill Requirements (Astrology, Herblore, Agility, Ranching, Beastcrafting)
- Astrology, Herblore, and Agility: These returning skills from the first Melvor game are available in the November 17 Early Access launch roster.
- Beastcrafting: Requires Hunting Level 15 alongside the initial animal objective.
- Ranching: A passive management skill requiring initial gold setup (land purchase and enclosure materials).
How Combat Works in Melvor Idle 2
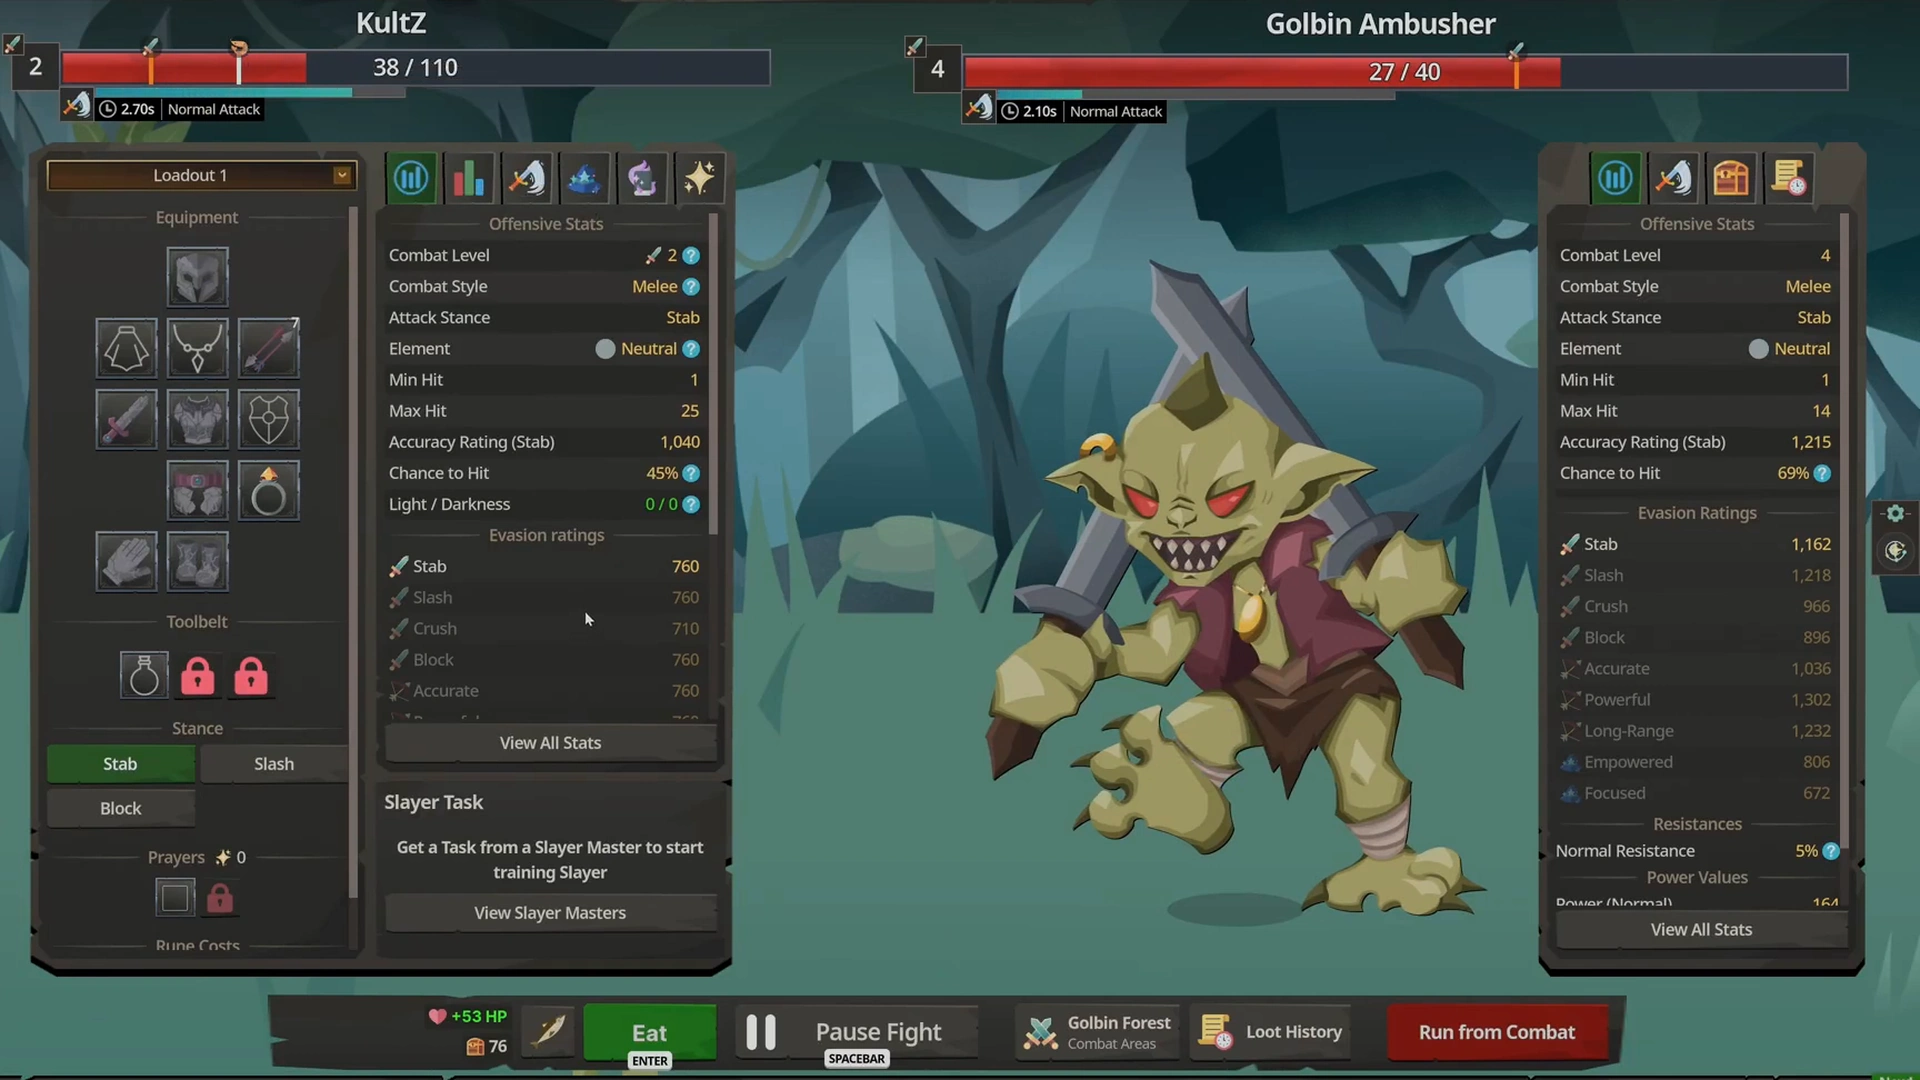
The combat in Melvor 2 is quite different compared to what you are used to in other idle games. Here’s a little table to get you up to date with the terms before we jump into the combat explanations.
| Combat mechanic | What it means |
|---|---|
| Hitpoints | Your character’s health |
| Attack interval | Time between attacks |
| Accuracy rating | Affects the likelihood of landing an attack |
| Evasion rating | Contributes to avoiding incoming attacks |
| Power and Protection | Affects offensive effectiveness and damage resistance |
| Armour | Defensive resource that can be broken |
| Ward | An additional combat protection system |
| Stances | Change how attacks behave and which combat skills gain experience |
| Prayer | Consumes Prayer Points to provide combat benefits |
| Magic | Requires appropriate spells and runes |
| Ranged | Requires compatible ammunition |
| Slayer | Assigns combat objectives against selected monsters |
The Combat Triangle & Styles
The game features three primary styles: Melee, Ranged, and Magic. Unlike idle games where a single stat rules everything, weapon choice and matching armor types matter significantly, mirroring the RuneScape combat system. This is called the Combat Triangle. Using the correct style against an opponent gives a noticeable advantage in battle. The opposite can also be true. If you use an incorrect combat style, you would have reduced stats and a harder time dealing with the enemy. But that’s not the only thing that matters in combat.
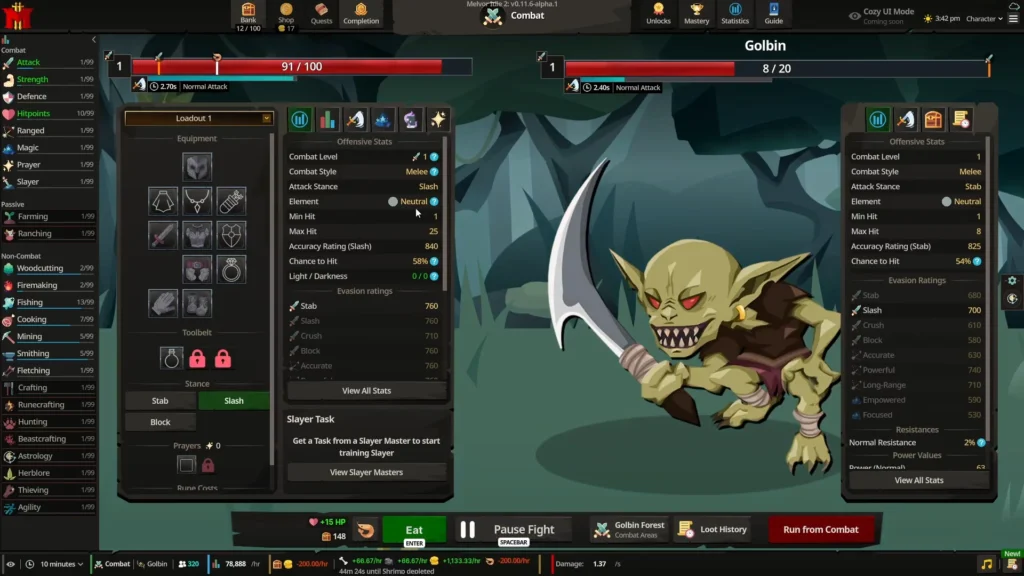
Resource Costs are also a thing. Melee requires no external consumables besides your weapon and armor, making it the most straightforward starting style. Ranged requires compatible ammunition (such as arrows or bolts) produced via Fletching. Magic requires appropriate spell runes manufactured through Runecrafting.
Core Combat Stats & Mitigations
Combat is decided after calculating several different stats:
- Hitpoints & Accuracy: Your Hitpoints govern total health, while your Accuracy Rating determines the likelihood of landing an attack against an enemy’s Evasion Rating.
- Armour & Flat Reduction: Armour subtracts a flat amount of damage after multipliers are calculated. However, if an incoming hit crosses an “armour-break” threshold (dealing heavy damage relative to your defense), armour effectiveness drops for the remainder of the fight.
- Ward: A separate defence layer that reduces incoming magical or specialized damage and drains as hits land.
Food and Auto-Eat: The Safety Net
Combat is unlocked after you gain enough food. This is because there’s an auto-eat feature in the game that heals your character in combat when it falls below a certain threshold (25% by default).
Best Beginner Combat Style
Looking at the combat of this game objectively, Melee offers the smoothest entry curve for several key reasons. It’s the first combat style you get in the game and is the most accessible one. It also doesn’t need ammunition. This is especially good for an idle game, as when you automate your battles, you don’t have to worry about running out of ammunition. That’s one less stat to keep track of.
How to Make Gold Pieces Early
Gold is one of the currencies in the game that you can put in your bank and spend on buying items or gain by selling items. There are several ways to earn gold in this game, and our friends have written an in-depth guide on how to earn gold in Melvor 2.
How Mastery Guilds Work
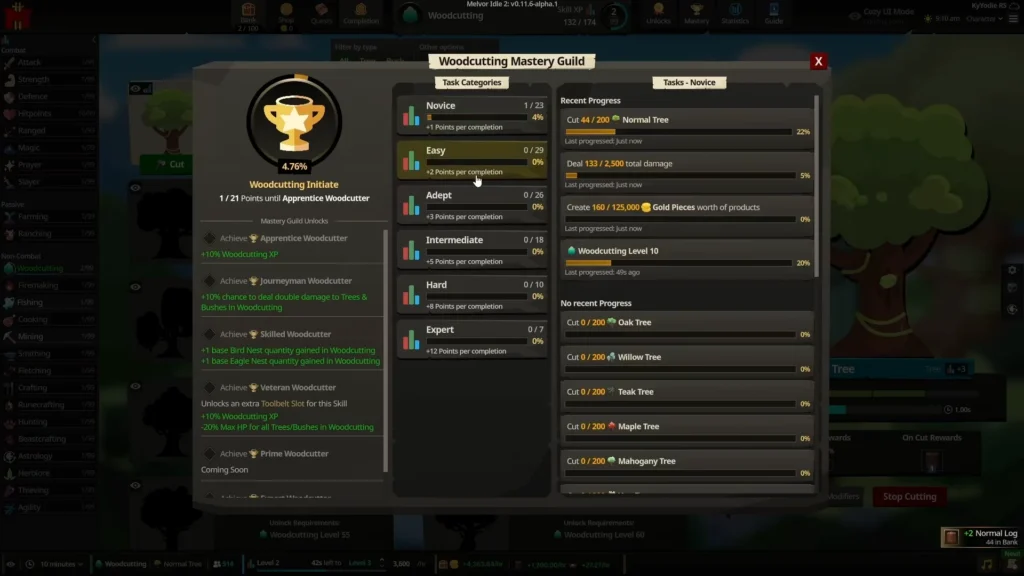
Mastery guilds are the replacement for item mastery from the first Melvor game. In the previous game, you had to mindlessly build an item thousands of times to level up the mastery of that item, but now we have mastery guilds, and they gain levels by doing specific tasks and quests connected to that skill.
Earning Guild Ranks and Bonuses
Completing these tasks gives you points for your Guild rank. Higher ranks unlock permanent skill bonuses, passive efficiency boosts, and special unlocks that make long-term training significantly faster and more rewarding. There are 4 more ranks added to the guilds in the game with the release of the game’s early access.
Strategic Approach for Beginners
Check Before You Grind: After you are done with the first few levels and have unlocked all the skills in your skill sidebar, start to focus on the guild quests and guild rankings. Don’t just go for a random skill to level up. Focus on goals to unlock more in the same amount of time. (For example, cutting down 200 oak trees)
How Offline Progression Works
True to the Idle game fashion, you can gain progression experience even when you are offline, but the system in Melvor has its own rules and limitations.
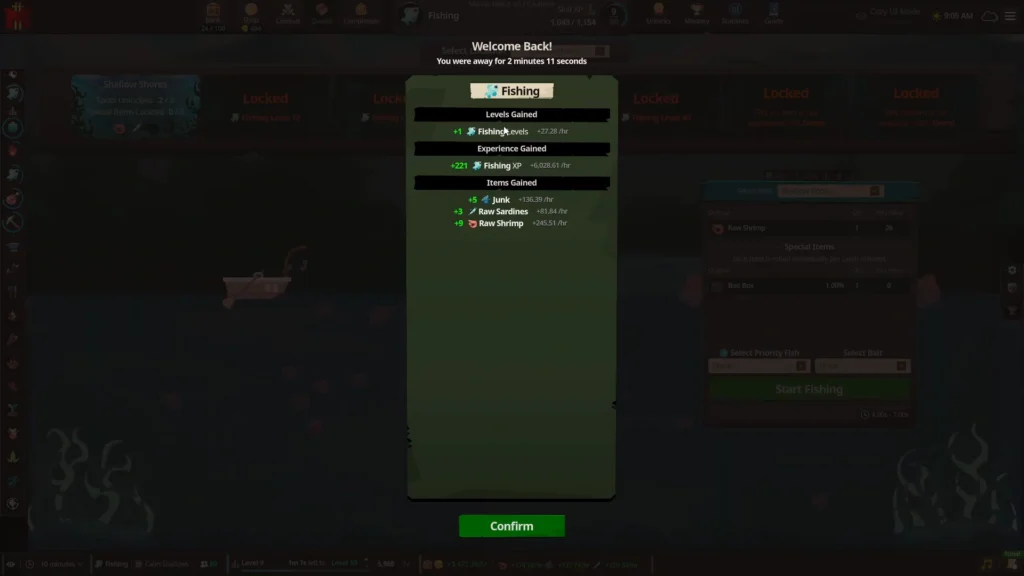
How the Time-Replay System Works
The 24-Hour Base Limit: The system features a base offline time limit (24 hours max). Leaving the game closed for more than 24 hours will not give you any more supplies than what you could have had in the 24 base hours.
Combat Safety and AFK Risks
While you can automate combat, it’s better to assess the costs and prepare for it accordingly. Whenever your character is low on HP, they would eat food to restore some of it and continue the battle. But if they run out of food, then death becomes a real threat, and if your character dies, they would lose a certain item in their inventory.
Recommended First-Night Offline Activities: gather either food or wood, so you can come back to a pile of items and start crafting, increasing your levels with a goal in mind and unlock several other skills very fast.
Common Beginner Mistakes
Treating Skills as Isolated Grinds
- The Mistake: Trying to max out a single skill (like Woodcutting or Mining) straight to 99 right out of the gate before touching anything else.
- Why it’s a trap: This game relies heavily on an interconnected skill web. Gathering resources feeds directly into production skills, which in turn supply the gear, arrows, and runes required for quests and combat. Ignoring production or support skills will quickly brick your progression behind hard quest gates.
Rushing Into Combat Without Food Supplies
- The Mistake: Unlocking the combat menu, grabbing a basic weapon, and immediately sending your character off to fight without stocking up on cooked food.
- Why it’s a trap: Death is bad. The death penalty draws one equipment slot at random. An ordinary item is destroyed, a stack loses 10%, and you lose progress time that could have been spent successfully gaining EXP and items. Good food prevents such failures, so invest in gathering food and cooking it for a good health backup.
Ignoring Bank Inventory Management
- The Mistake: Letting your inventory fill up with random low-tier drops, excessive duplicate raw materials, and junk items.
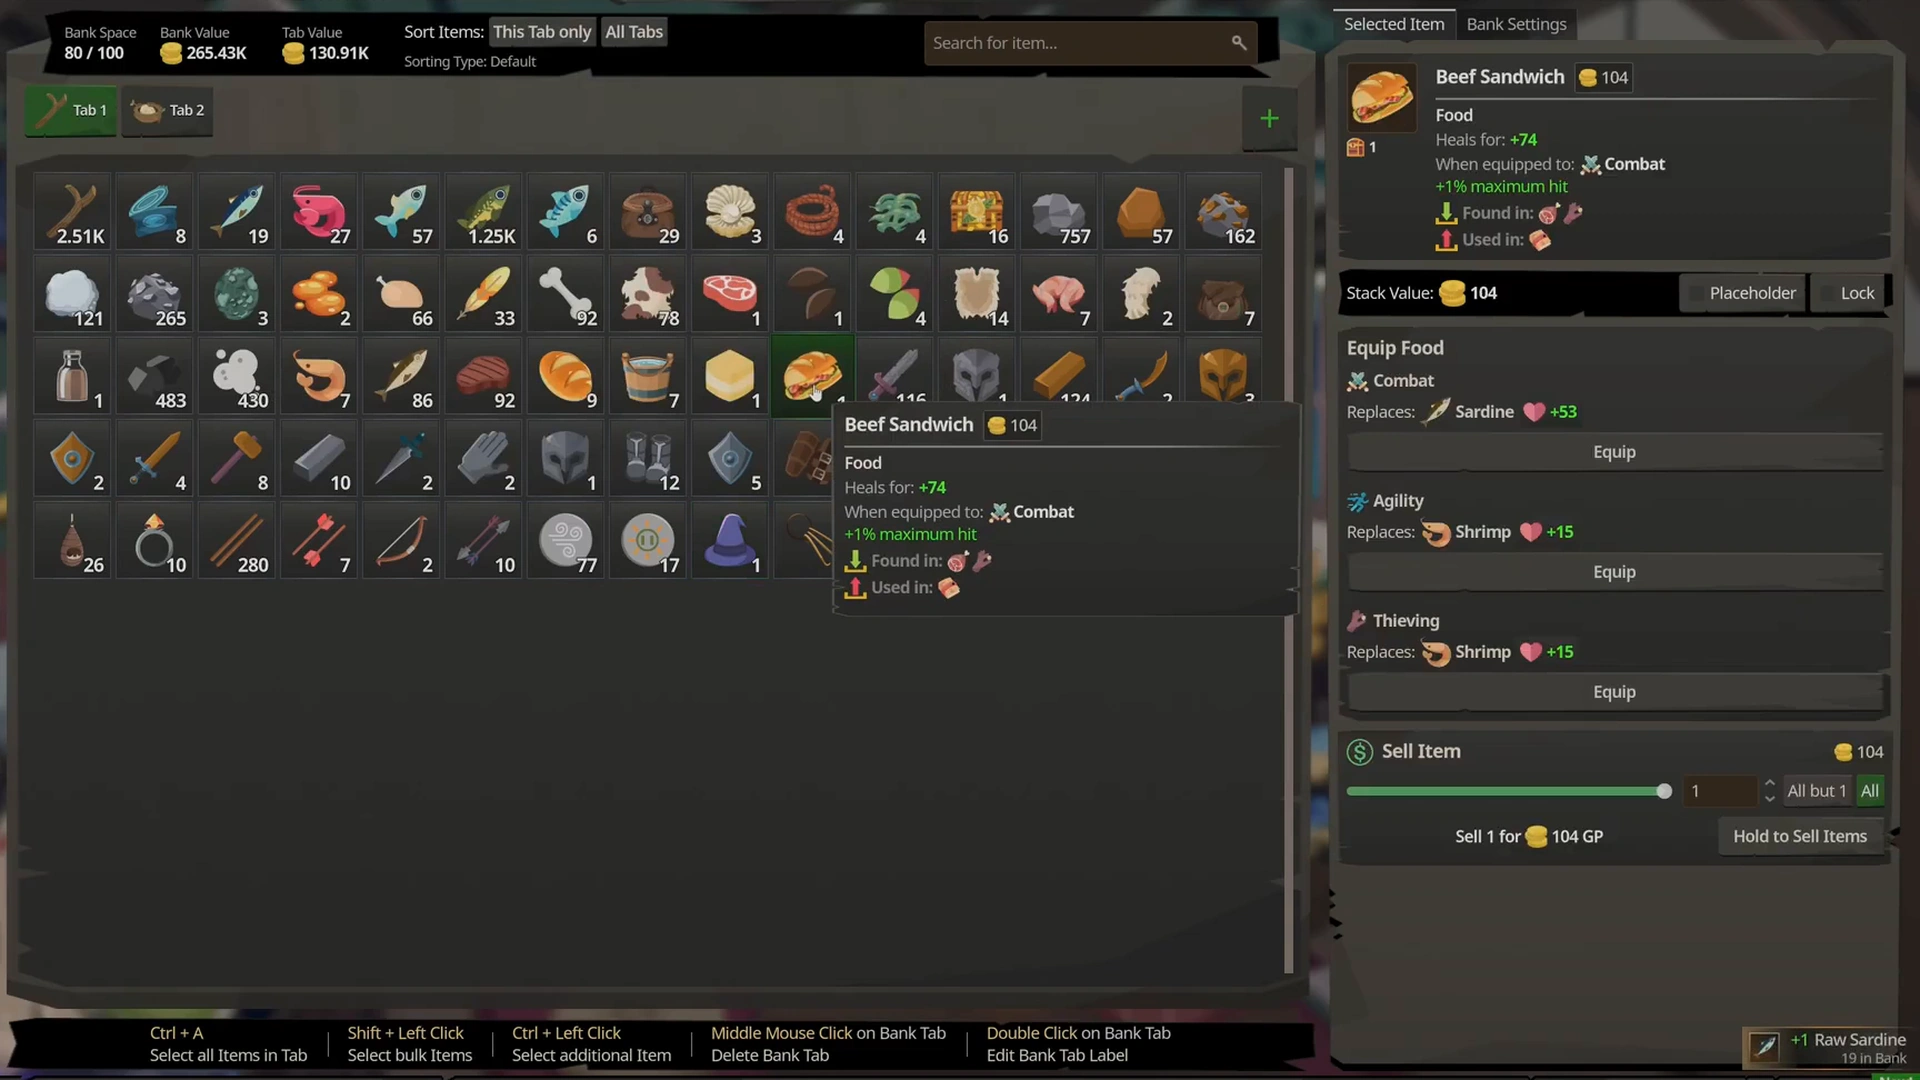
- Why it’s a trap: When your bank fills up completely, newly gathered resources and rare item drops are automatically discarded. Regularly clean up your bank, sell genuine extra items and stuff that you have, and invest your early GP into bank slot expansions.
Not Optimizing Your Offline Progress
- The Mistake: Mindlessly choosing something to be done while you are offline, especially crafting or combat, which could be stopped suddenly before the 24-hour limit.
- Why it’s a trap: Crafting is dependent on the amount of ingredients in your bank. Battle really depends on how much food you have on you. If either of these two run out, the action stops, and you won’t be using the rest of that offline timer.