

Lootborne starts out feeling pretty straightforward: send your dude into battle, grab loot, boost your stats and keep climbing into tougher sectors. Once you get deeper though, it’s way less about just grabbing whatever has the biggest Power Score and way more about cooking up the right build.
Weapons decide how you actually fight, gear comes packed with elemental flavors and conditional bonuses, perks can totally change how long you stay alive, random PvP fights can crash your PvE party at any moment.
The Forge, Blood Marks, Auto Fight, elemental weaknesses and gear synergies all start mattering a lot more the further you go.
This guide breaks down how those systems work and how they fit together.
All You Need:
How Progression Works in Lootborne
Progression is split into sectors full of battles and stages.
Your first big goal is clearing Sector 0 (30 stages). Hit 30/30 and you jump into Sector 1. That first transition is a big deal because a bunch of systems start opening up once you leave the starting sector.
The flow in the current version looks like this: Sector 0, Sector 1, Sector 2, Sector 3, Sector 4 and beyond.
As you push further, enemies get way stronger and just stacking Power Score stops cutting it. Builds, healing, elemental weaknesses and gear effects become the real difference-makers.
What Happens When You Die?
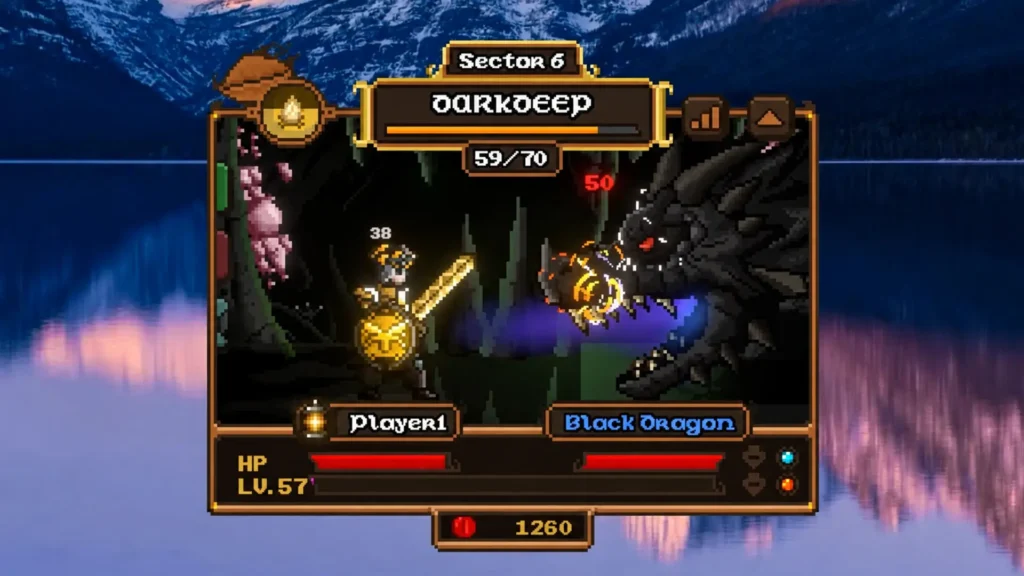
Death is part of the loop, not a permanent failure.
Your HP slowly drains as enemies chip away at you. Heading back to the rest area doesn’t normally refill your health. Dying fully restores your HP, but also sends your run back to the starting point.
Key difference:
- Resting restores stamina.
- Dying restores HP and resets the active run.
That’s why HP regeneration is so valuable. A build that can heal while fighting can keep going way longer before it has to reset.
How Stamina and Rest Work
Stamina is what decides how long you can keep fighting. When it hits zero, you head back to the rest area. Once it refills, you’re good to go again.
Unlock Auto Battle in Lootborne
Auto Fight makes life a lot easier. In the current release, it unlocks after you leave the starting sector. Once it’s on, your character will automatically jump back into combat once stamina recovers.
That little eye-shaped Auto Fight button is especially handy if you want to leave the game running for a while.
The loop becomes Fight, stamina runs out, rest, stamina refills, Auto Fight kicks back in
This is a solid upgrade from the old demo, where you had to manually restart fighting every time.
Lootborne Stats Explained
Your build is shaped by a handful of core combat stats: HP, Attack, Defense, Crit, Parry, Power Score.
Attack
Raises your base damage. Early on this is super effective because Crit is percentage-based. A high Crit chance doesn’t do much if the damage behind those crits is still tiny.
Full Attack isn’t necessarily the best endgame setup, but it’s a solid and simple way to begin.
Defense
Cuts incoming damage and becomes more useful when enemies start hitting hard enough that pure offense can’t keep you alive.
I tried a high-Defense setup and hit around 150 Defense with about 69% incoming damage reduction. My point is that you can pivot from glass-cannon into tank mode when things get rough.
Crit in Lootborne
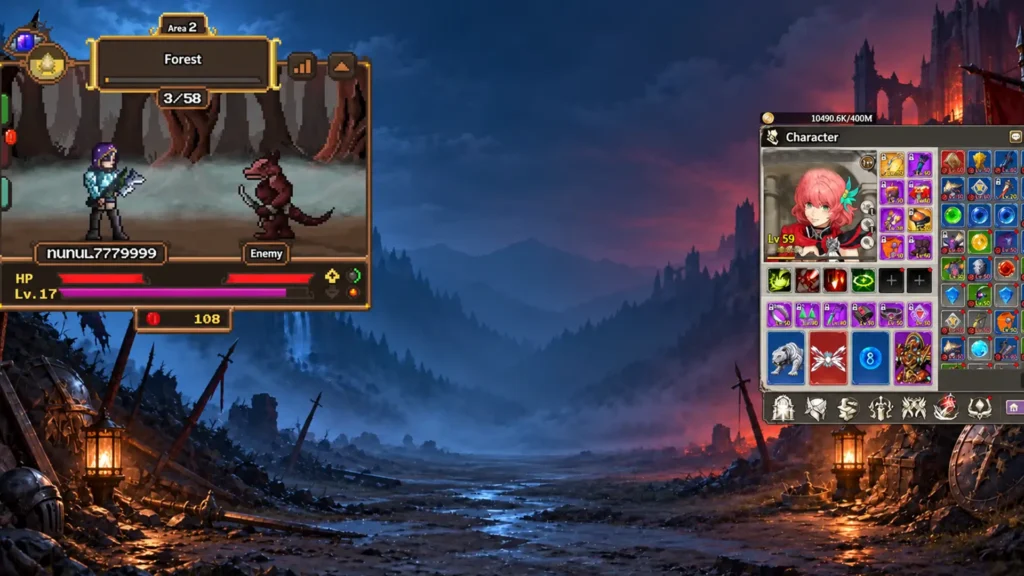
Crit becomes more valuable as your base Attack increases because critical hits have more base damage to work with.
Parry
Another defensive layer that seems especially useful in PvP. High-Parry characters dodging or mitigate a lot of damage.
Power Score
Gives you a rough idea of overall gear strength, but don’t treat it as the final word. I just realized higher Power Score gear can still be worse for your actual build if the stats, element or special effect don’t match what you need. Always check the real effects.
There Are No Traditional Fixed Classes
Lootborne doesn’t lock you into a classic class system.
During character select I looked for big differences between characters and basically concluded the real difference comes from the weapons and gear you equip.
Your class is whatever loadout you slap on. You can lean into melee, ranged, magic, defensive setups, Crit builds, Parry builds or healing builds
Weapons and Dual Equipment
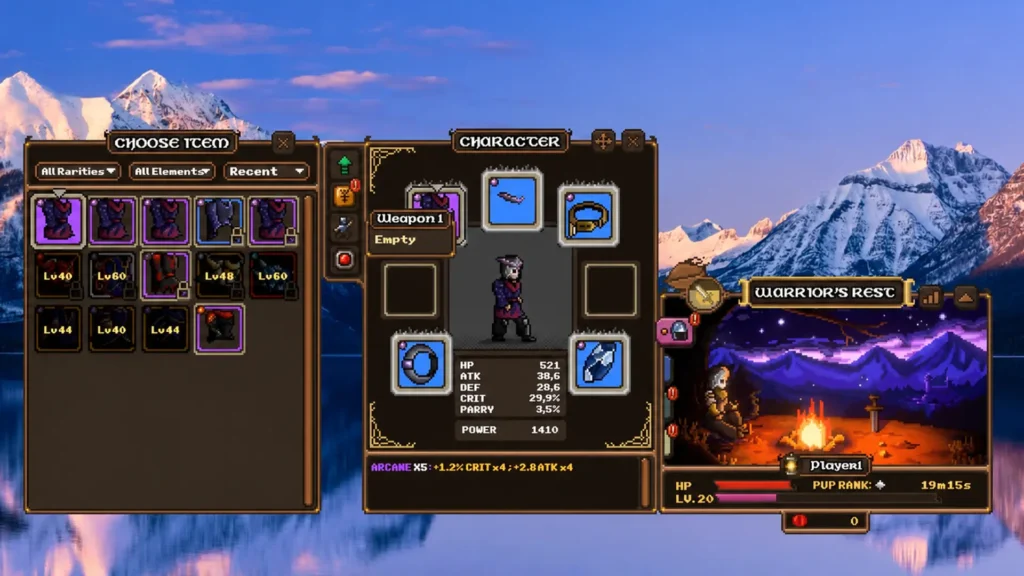
You can equip two weapons or combat items at once, giving you room to build around different weapon combinations. However, equipment changes are made from the rest area rather than during combat.
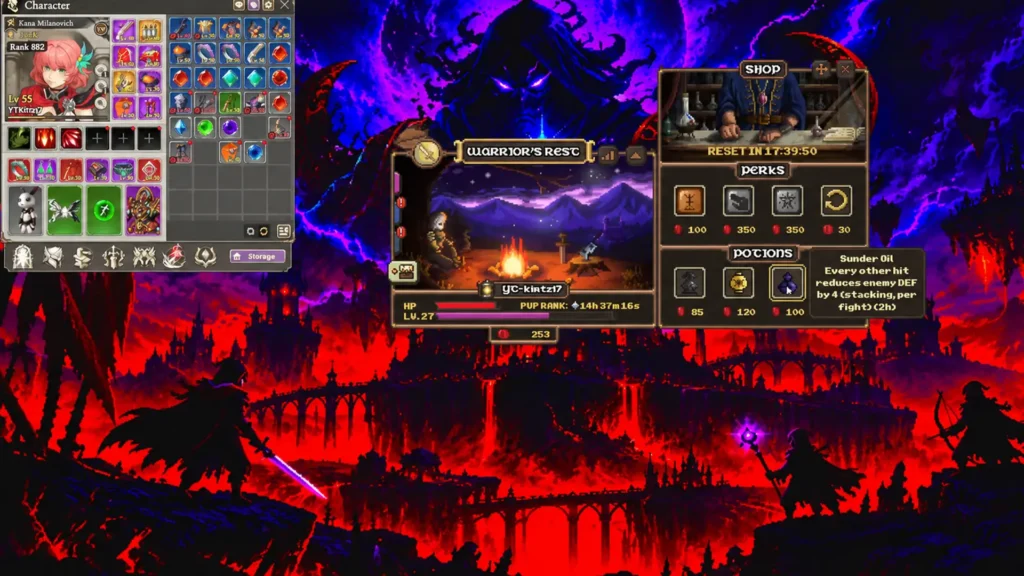
The inventory shows two equipped items at once. Different weapons bring different stats and effects. Some have Parry, others push Attack or Crit harder.
Don’t judge weapons only by rarity. A Rare or Epic piece with the wrong secondary stats can lose to a lower-Power item that actually fits your build.
Elemental Gear and Synergies
This is one of the most important systems. Gear can be tied to elements like Frost, Flame, Shadow, Arcane and Holy.
Items often give conditional bonuses based on the elemental gear you’re wearing. I remember the old demo had a weapon that gained +3 Attack and +4% Crit when paired with a Shadow item. The current release keeps the same idea going with Frost, Holy, Arcane, and Shadow bonuses.
That’s why synergy matters so much. Stop asking which item has the highest Power Score? and start asking which item actually strengthens the build I’m running?
Enemy Weaknesses and Resistances
Elements aren’t just for your gear bonuses. Enemies can be weak or resistant to certain elements.
A strong setup often needs more than one loadout:
- Arcane preset for Arcane-weak enemies
- Frost preset when Frost bonuses or weaknesses line up
Once sectors get harder, playing the weakness game can matter more than just stacking a few extra Attack points.
Use Presets for Different Builds
Lootborne has equipment presets, which makes running multiple builds way easier.
The elemental system is basically built around this feature and started setting up different configs for different weaknesses. Good habit to start early.
Instead of dismantling every item that isn’t currently equipped, keep useful elemental weapons and gear for future presets. Something that looks useless in one sector can become a star when the next area introduces the right weakness.
How the Forge Works in Lootborne
The Forge turns unwanted gear into better stuff. Exact recipes and rarity requirements have shifted between the demo and release, so don’t rely on old numbers. The core idea is the same: spare items become materials for higher-rarity equipment.
Forge access opens after you leave Sector 0 and enter Sector 1. Later sectors unlock stronger forging options.
Safe approach:
- Keep gear you might need for builds or elemental presets.
- Lock valuable pieces if the game lets you.
- Only feed genuinely unwanted equipment into the Forge.
- Don’t auto-sacrifice something just because its Power Score looks lower.
How to Dismantle Items
Dismantling is another way to make spare gear useful. You can pick individual items or use a select-all option. Instead of making new equipment like the Forge, dismantling gives you Blood Marks (used to buy perks).
So unwanted gear feeds two systems:
Forge means better equipment. Dismantle contributes to Blood Marks and this contributes to perks
Decide which resource you need more before you smash something.
How to Get Blood Marks
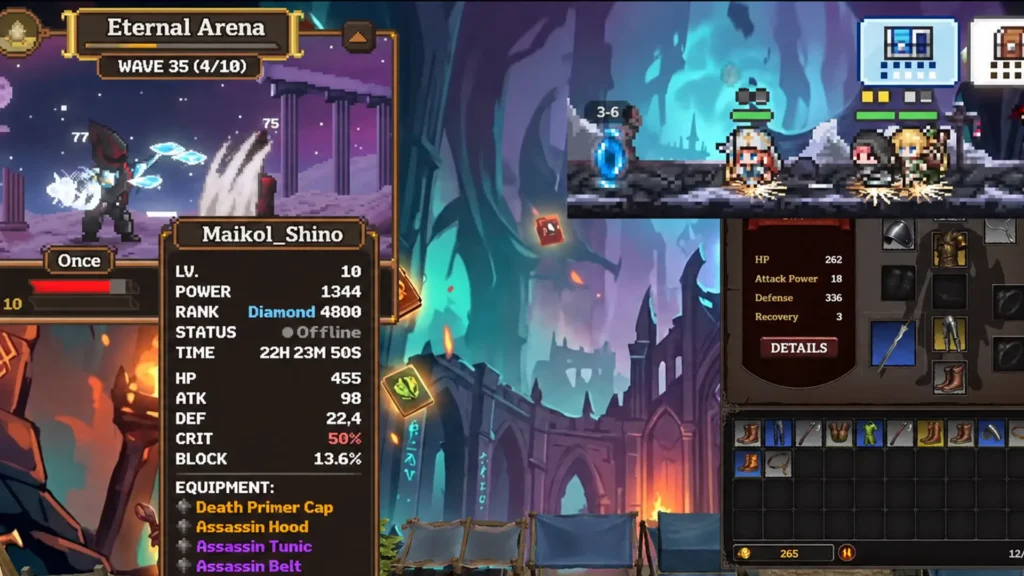
Blood Marks are a big deal because they buy perks.
Two clear ways to get them:
Dismantle Equipment: As I know, common gear gives about one Blood Mark per item in the observed playthrough. Better rarities may give different amounts, so don’t assume everything is worth exactly one.
Participate in PvP: Random PvP also drops Blood Marks. Win gives 13 Blood Marks and loss gives 6 Blood Mark
Treat those as observed numbers, not permanent guarantees. Balance changes can shift them.
Friendly challenges didn’t seem to give the same rewards, so if you’re farming Blood Marks, random PvP is the better bet.
How Perks Work Lootborne
Perks are bought with Blood Marks and can completely change how your character plays.
The shop has abilities at different price points. The second perk slot unlocks at Level 10.
Because perks can give healing, damage reflection, Crit scaling and other strong effects, Blood Marks are not a minor side currency. They’re central to your build.
Crimson Vow: One of the Best Early Sustain Perks
One of my biggest early discoveries is Crimson Vow. It restores 3 HP for every attack. I grabbed it for 180 Blood Marks and immediately noticed HP stopped dropping as fast. I could keep fighting a lot longer.
This directly fixes one of the early-game pain points: resting only restores stamina, not HP. Crimson Vow turns your offense into healing, the faster you attack, the more you heal.
It gets even stronger when you pair it with gear that gives passive HP regeneration.
Critical Chance Stacking Perk
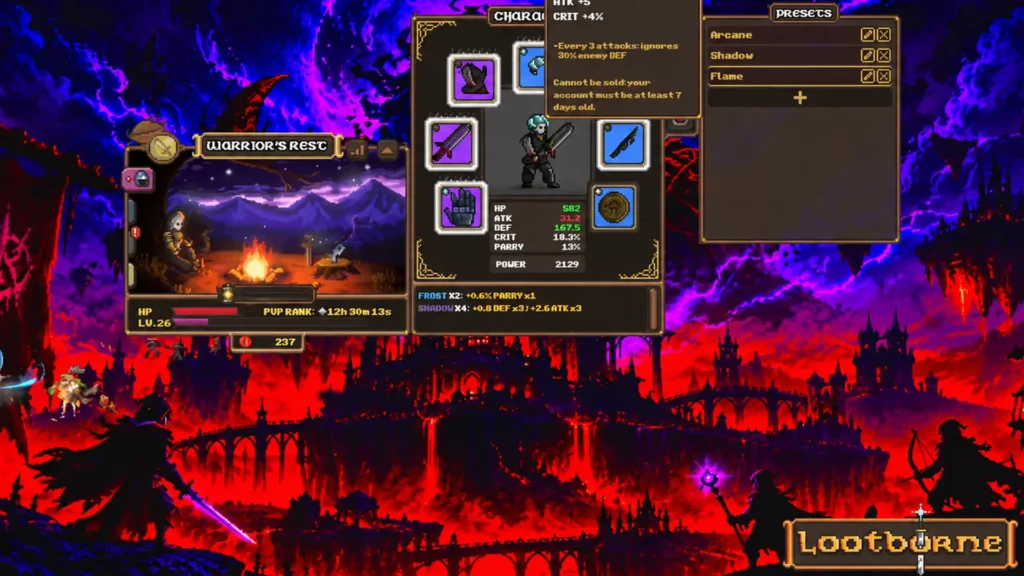
This one increases Crit Chance after consecutive non-critical attacks.
Observed effect: +10% Crit Chance after each non-crit, up to 50% max. Resets after you land a critical hit
Natural cycle:
- normal hit: Crit rises
- normal hit: Crit rises
- normal hit: Crit rises
- Critical hit: bonus resets
Great if you want reliable crits without dumping every stat point into Crit.
How PvP Works in Lootborne
PvP is baked right into normal progression and you don’t always have to queue for a separate arena. While running PvE stages you can get matched against another player. In my run, random fights pop up roughly every 3 to 7 minutes while staying in the active area.
Heading back to the rest area reset that timer. Want more random PvP? Stick around in the field instead of constantly resting.
PvP is worth doing because it gives:
- Blood Marks
- ranking progress
- another reason to optimize gear
- a chance to test builds against real players
You Can Also Challenge Friends
There’s a Challenge Friend feature so you can fight people on your friends list directly. Super useful for testing builds. Compare full Attack vs full Defense, Crit vs Parry, healing vs burst, different elemental setups, etc.
Lootborne Potion Shop
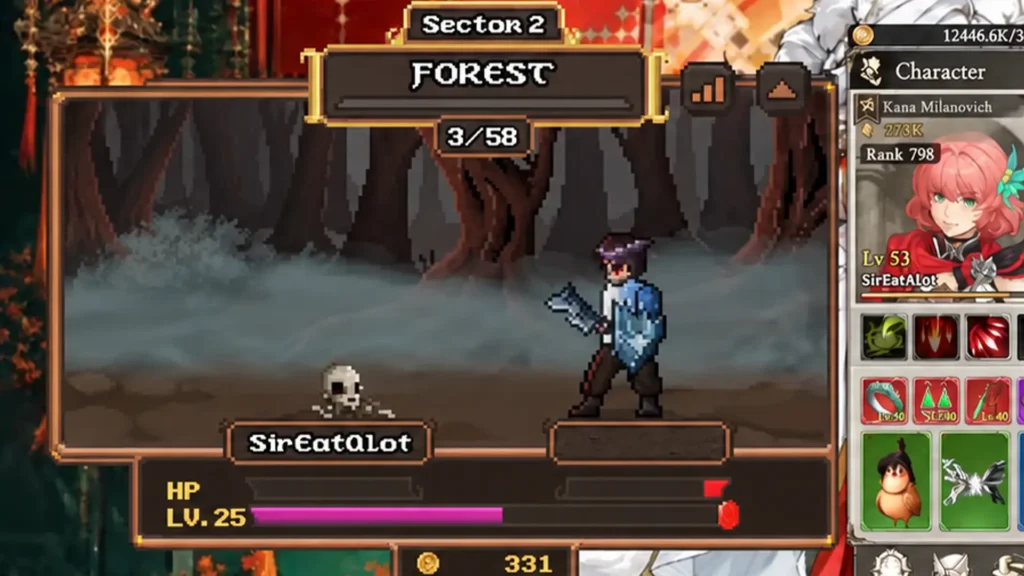
The Potion Shop shows up around Sector 2 and lets you buy HP-restoring potions. They’re a backup if you don’t want to rely only on regen perks and gear. These are pretty expensive early on, which is another reason passive healing like Crimson Vow feels so good.
A Good Early Progression Strategy
For a brand-new player, a solid path based on current gameplay looks like this:
- Push through Sector 0: Just get to 30/30 and enter Sector 1. Don’t stress about a perfect endgame build yet.
- Prioritize useful stats over Power Score: Attack is a simple early investment, but also watch for Crit, Defense, Parry and HP. Always check what an item actually gives you.
- Unlock Auto Fight: Turn it on once it’s available if you want the game to resume combat automatically after stamina recovers.
- Save useful elemental equipment: Don’t trash every old weapon. A Frost, Flame, Shadow, Arcane or Holy piece might become clutch when the right weakness or synergy shows up.
- Dismantle genuinely unwanted gear: Turn it into Blood Marks.
- Participate in PvP: Even losses gave Blood Marks in the observed playthrough, so it helps perk progression either way.
- Look for a sustain perk: Crimson Vow is especially strong early because it directly solves the HP recovery problem.
- Build elemental presets: Once enemies start showing weaknesses and resistances, make separate equipment presets instead of forcing one loadout everywhere.
- Use the Forge carefully: Feed it truly useless items for better gear, but don’t sacrifice pieces that could work for another elemental setup.
- Adapt when progression stalls: If full Attack stops working, switch it up. Lootborne supports a bunch of viable approaches.