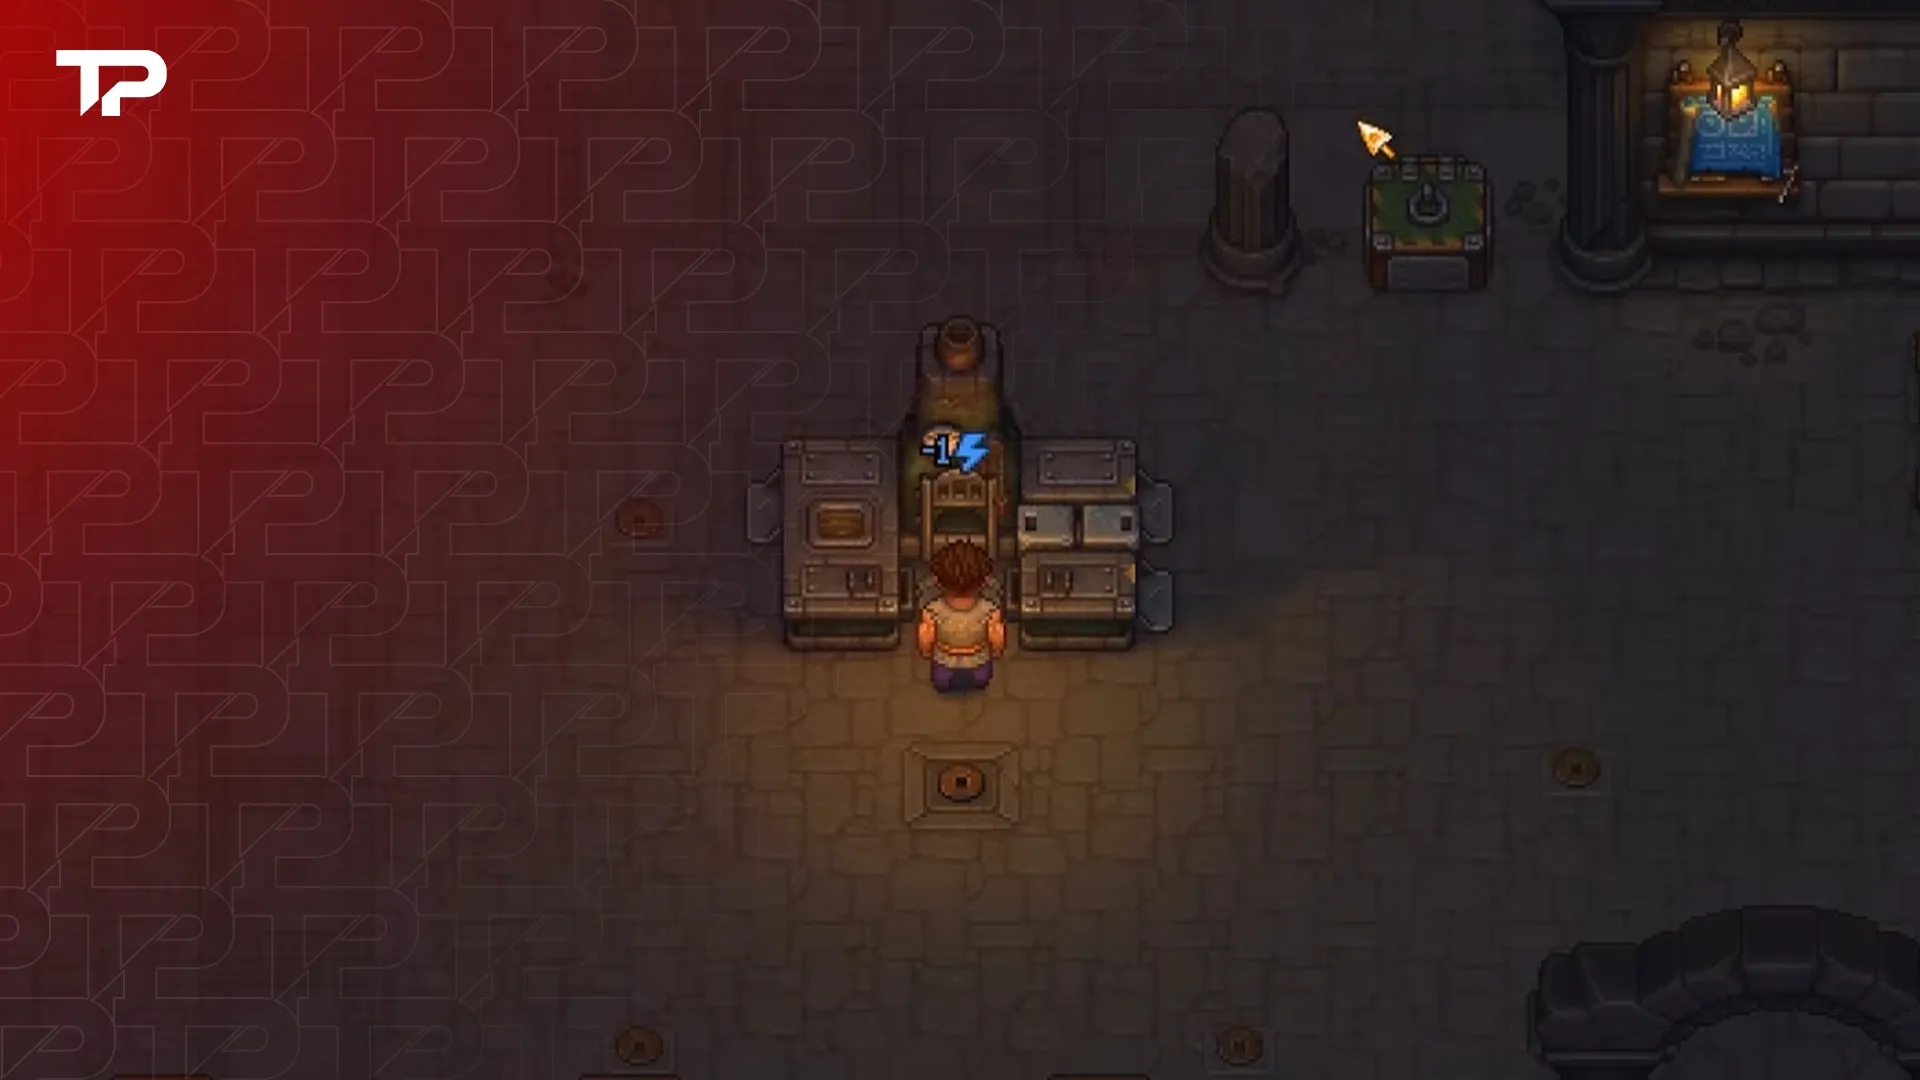


The Smithy in Graveyard Keeper 2 is a Factory station, so you won’t find it at the Yard building desk. It goes in the huge underground Factory below your base, and a zombie works it for you. Unlock Smithy I (75 red and 20 blue points) after Iron Smithing. Then build it inside the Factory and finish the frame with a Hammer at Building mastery 4.
It doesn’t burn Fuel. The smelting recipes take Coal instead, and materials reach the Smithy on Conveyor Belts powered by zombies on a Zombie Carousel. There’s also a Town Smithy, which is a shop you rebuild in town and a completely different thing.
What You Will Read:
Factory Smithy vs Town Smithy
A lot of players on Steam and Reddit unlocked “the Smithy” and then couldn’t find anywhere to build it. Half the time, the problem is that the game has two of them.
| Factory Smithy | Town Smithy | |
|---|---|---|
| What it is | Crafting station a zombie works | Shop with a trader |
| Where | Underground Factory | Workshop Courtyard plot in town |
| Research | Smithy I (75 red, 20 blue) | Artisans I (75 red, 25 green) |
| What you get | Factory-only parts like Clay Molds and Iron Kit II | A metal trader and new Town orders |
Where to Build the Smithy in Graveyard Keeper 2
The Smithy only shows up at the building desk inside the Factory. That’s a big hall under your base, with a stockpile for each raw resource and a broken Zombie Carousel waiting to be repaired. So if you’ve done the research and the Yard building desk still doesn’t list it, you just haven’t reached the Factory yet.
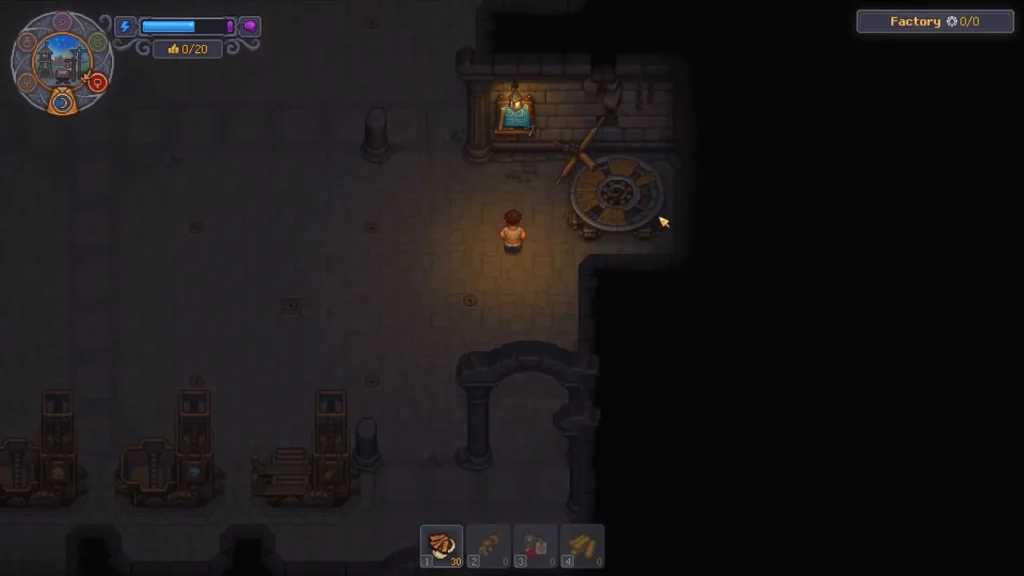
How to Reach the Underground Factory
There are two ways in:
- From your house: Go down to the basement under your home and clear the blockage that leads south. It costs 1 Reinforced Beam and 4 Iron Detail.
- From the Forest: The Old Mine connects to the same tunnels, but its entrance needs Dynamite.
Once you’re inside, clear the rubble and repair the broken floor sections before you plan any layout. There’s a ladder down there that links the Factory to your work area above, which saves a lot of walking. If you clear every blockage between the mine and your basement, the Zombie Mining stations unlock too, and you’ll want those later for Coal.
How to Get Smithy 1 in Graveyard Keeper 2
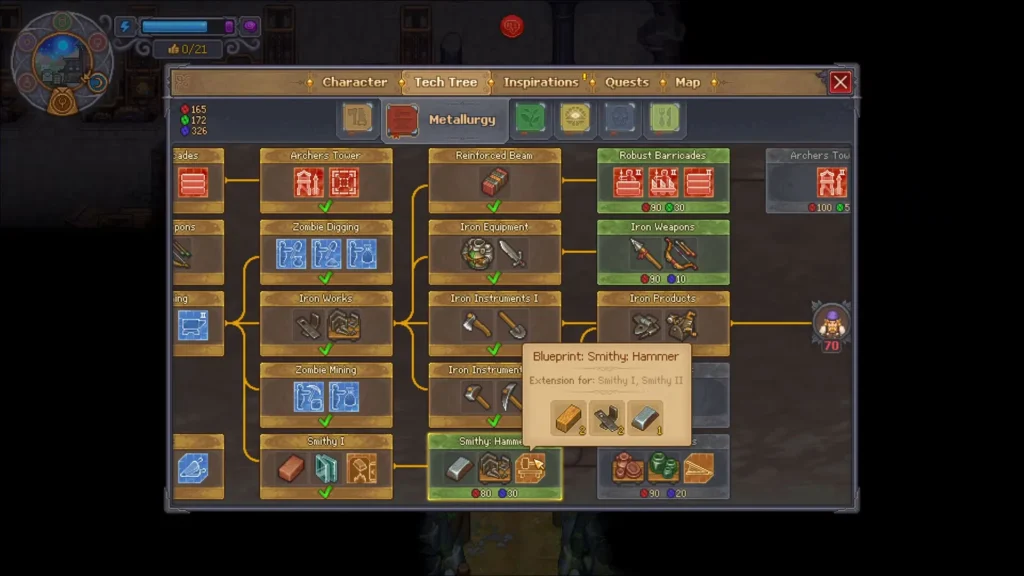
Smithy I is in the Metallurgy tree, one step after the research that gives you the Iron Anvil.
Research Path
- Iron Forge (35 red). This is the same research that gives you Furnace II.
- Iron Smithing (50 red).
- Smithy I (75 red, 20 blue). It also unlocks the Smithy’s Brick and Glass recipes.
- Smithy: Hammer (80 red, 30 blue). The Smithy can’t make Iron Ingot without it.
Blue points are the slow part. Red piles up fast in the midgame, but almost every Factory research from here on asks for blue too.
Smithy I Build Cost
| Material | Amount |
|---|---|
| Reinforced Plank | 6 |
| Bronze Detail | 4 |
| Bronze Gear | 4 |
Place the frame at the Factory building desk, then finish it with a Hammer at Building mastery 4. The Smithy takes up a 6 x 6 area, and its extensions need space around it, so don’t box it in with conveyors before you’ve decided which extensions you want.
How to Get Smithy 2
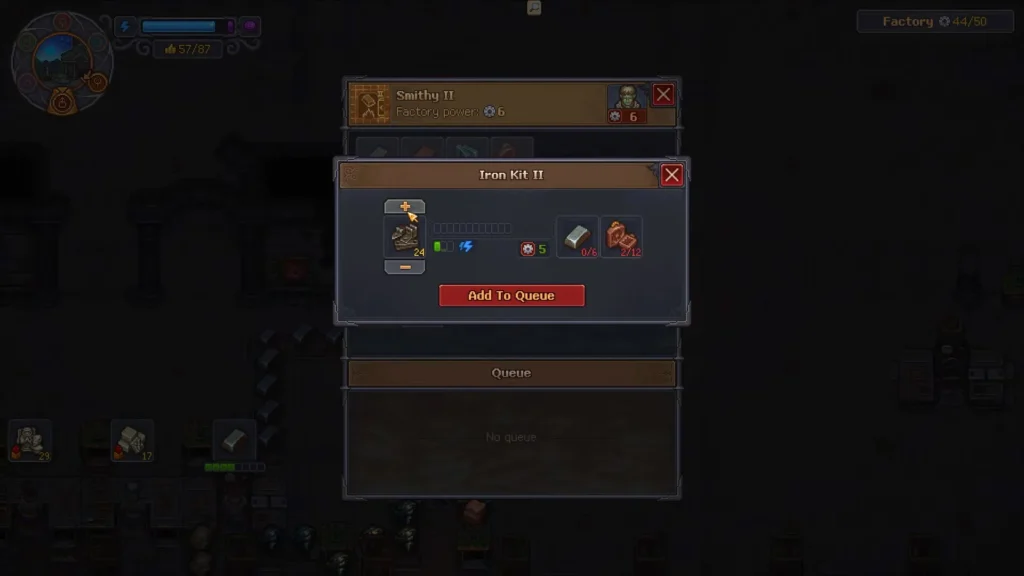
Smithy II needs the Smithy II research (160 red, 20 blue), which comes after Steel Casting. It’s the only station that makes Clay Molds, and without Clay Molds there’s no Iron Kit II. Steel Casting sits behind Steel Smithing, which asks for 70 reputation with Jack, so this is a late build.
| Material | Amount |
|---|---|
| Reinforced Beam | 6 |
| Steel Screws | 12 |
| Engineering Details | 4 |
You finish it the same way as Smithy I, with a Hammer at Building mastery 4.
Graveyard Keeper 2 Smithy Recipes
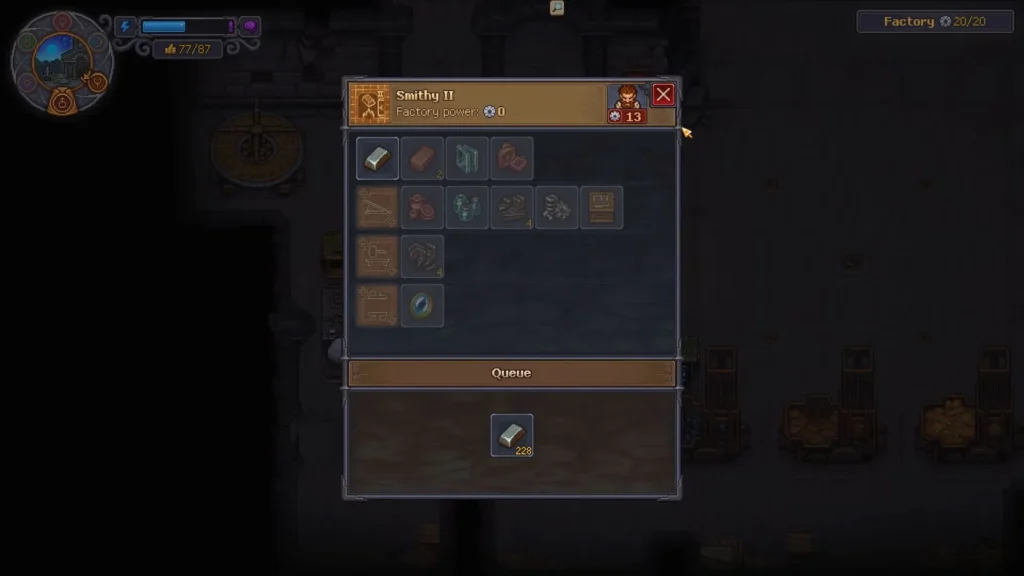
You can’t work a Factory station yourself, so the mastery number below is the Smithing your zombie needs. Smithy II has 11 recipes in total, and its menu groups them in rows by the extension they need. Every amount is for one batch.
Smithy I Recipes
| Item | Ingredients | Output | Smithing mastery | Needs |
|---|---|---|---|---|
| Brick | 2 Clay + 1 Coal | 2 | 2 | Smithy I |
| Glass | 3 Sand + 1 Coal | 1 | 2 | Smithy I |
| Iron Ingot | 1 Iron Ore + 1 Coal | 1 | 2 | Smithy: Hammer research |
| Iron Kit I | 1 Iron Ingot | 4 | 3 | Smithy: Hammer |
| Glass Containers | 2 Sand + 1 Coal | 1 | 4 | Smithy: Bellows |
| Tableware | 2 Clay + 1 Coal | 1 | 4 | Smithy: Bellows |
Iron Ingot needs the Smithy: Hammer research but not the extension, so it sits in the top row of the Smithy’s menu with the recipes that need no extension at all. Iron Kit I is the sleeper pick. The Iron Anvil gives you 1 kit per Iron Ingot, while the Smithy gives you 4. Glass Containers and Tableware can only be made in the Factory, so if a merchant upgrade asks for them, the Smithy is your only option.
Smithy II-Only Recipes
| Item | Ingredients | Output | Smithing mastery | Needs |
|---|---|---|---|---|
| Clay Molds | 2 Clay + 1 Coal | 1 | 5 | Smithy II |
| Iron Kit II | 1 Iron Ingot + 2 Clay Molds | 4 | 5 | Smithy II + Bellows |
| Engineering Kit | 1 Steel Ingot + 2 Clay Molds | 1 | 6 | Steel Works + Bellows |
| Supply: Steel Tools | 4 Steel Ingot + 1 Crate | 1 | 6 | Steel Works + Bellows |
| Lens | 3 Sand + 2 Coal | 1 | 7 | Lenses + Press |
Smithy Extensions
| Extension | Research | Cost | Unlocks |
|---|---|---|---|
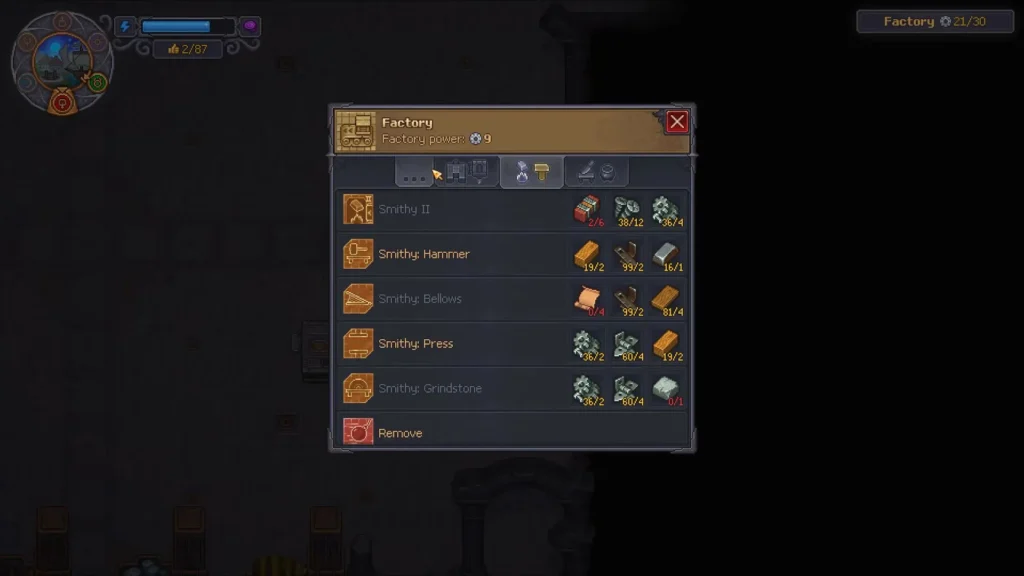
| Smithy: Hammer | Smithy: Hammer (80 red, 30 blue) | 2 Wooden beam + 2 Iron Detail + 1 Iron Ingot | Iron Kit I |
| Smithy: Bellows | Smithy: Bellows (90 red, 20 blue) | 4 Leather Scroll + 2 Iron Detail + 4 Wooden Plank | Tableware, Glass Containers, Iron Kit II, Engineering Kit, Supply: Steel Tools |
| Smithy: Press | Lenses (175 red, 20 blue) | 2 Engineering Details + 4 Steel Detail + 2 Wooden beam | Lens |
| Smithy: Grindstone | Steel Works (175 red, 20 blue) | 2 Engineering Details + 4 Steel Detail + 1 Piece of stone | No recipes |
Factory extensions don’t sit loose next to the station like the ones in your Yard. Each one goes into a free attachment slot on the Smithy, and the research alone won’t attach anything. Bellows is the one I’d build first, since five recipes need it.
How to Feed the Smithy
Your Factory stockpiles can be full of Iron Ore and Coal, and the Smithy will still say it has nothing. It doesn’t pull from storage on its own. Something has to carry the materials in, and down here that job belongs to Conveyor Belts.
Run Conveyors Straight From the Stockpiles
You can lay a Conveyor Belt directly out of a Factory stockpile and into the Smithy’s input. You don’t need a Supply Station for it. The belts come from the Conveyors research (70 red, 20 blue), which needs 50 reputation with Jack, and every belt piece costs 1 Fabric along with some bronze parts.
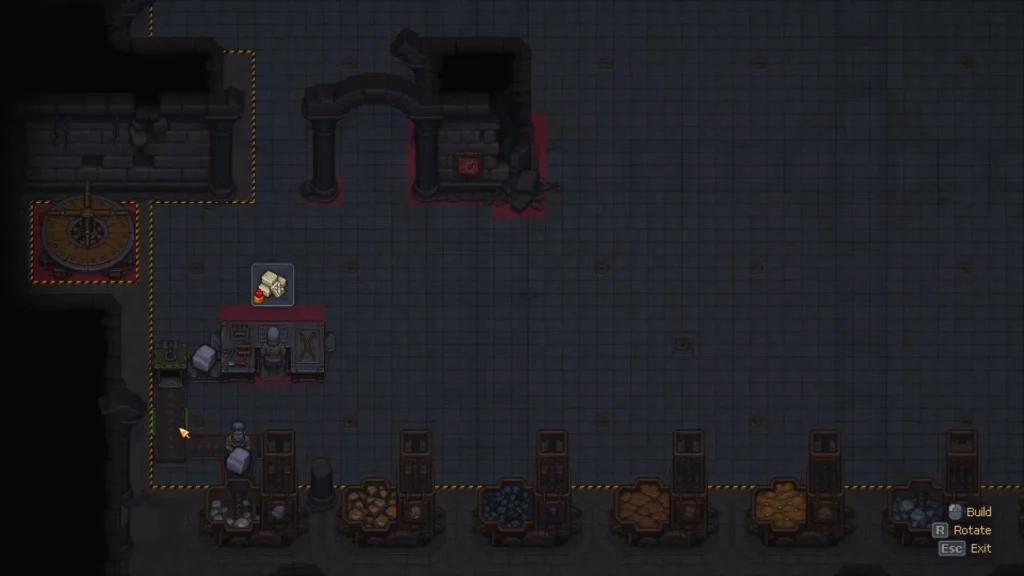
Direction matters on every piece, including Underground Conveyors. The finished items also need a way out, because the Smithy stops once it has nowhere to send them. Coal goes into most Smithy recipes, so a Conveyor Splitter comes in handy as soon as you run more than one Smithy.
If you want the simplest possible setup, this one comes from players on Steam:
- Place two Conveyor Chests below the Smithy.
- Run one belt pointing up from each chest into the Smithy.
- Put a third chest above the Smithy for the output.
- Fill the bottom chests by hand with the two ingredients your recipe needs.
It isn’t fully automatic, but it works right away. It’s also a good way to learn how the connectors behave before you build a real line.
Power the Line With a Zombie Carousel
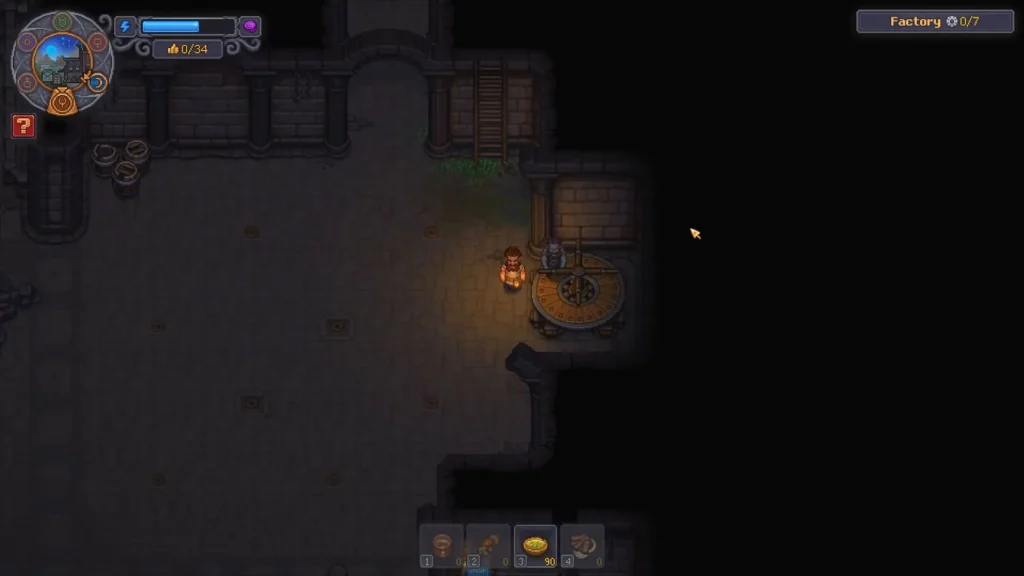
Every conveyor piece and every machine costs 1 power, and a Zombie Carousel is what makes it. Repair the broken Carousel in the Factory and assign a zombie to it. Each zombie on a Carousel gives you 7 power, or 10 with the Belt Master perk. An empty Carousel gives you nothing.
Power runs out fast. I’d build the Smithy right next to the stockpiles it needs and keep the belts as short as you can.
Put a Zombie on the Smithy
The Smithy only works while a zombie is assigned to it, and that zombie needs enough Smithing for the recipe. Iron Ingot asks for 2. If your zombie falls short, hand it a hammer. The Iron Hammer adds 4 Smithing, and one player’s Iron Ingot zombie only started working after getting one.
Get Coal From the Zombie Miner
Coal is the input you’ll run out of first. The steady source is the Zombie Miner in the Old Mine, which you unlock with Zombie Mining (60 red, 10 blue, after Iron Smithing). Each cycle it digs up 1 Iron Ore and 2 Coal, which covers both halves of the Iron Ingot recipe with Coal to spare. A porter zombie then carries the haul down to the Factory stockpiles.
Smithy vs Furnace 2 for Iron Ingot
You don’t need the Smithy to make Iron Ingot. On Reddit, players keep sending confused newcomers back to Furnace II, and they’re right to.
| Smithy | Furnace II | |
|---|---|---|
| Where | Factory | Yard |
| Recipe | 1 Iron Ore + 1 Coal makes 1 | 3 Iron Ore + 30 Fuel makes 3 |
| Smithing mastery | 2 | 5 |
| Who works it | Always a zombie | You, or a zombie with a porter |
Both use the same amount of ore per ingot. Furnace II needs more mastery but no setup at all, so for a handful of ingots it’s the easier pick. The Smithy pays off once the Zombie Miner is sending ore and Coal down nonstop and nobody has to babysit the line.
The Town Smithy Shop
The other Smithy is a Tier I shop you rebuild on a Workshop Courtyard plot in town. It needs Artisans I (75 red, 25 green). The build takes 4 Building Kit I and 3 Wooden Kit I. You also need 1 Iron Kit I, which the Factory Smithy makes four at a time.
Once it’s done, you get +2 Village reputation and a trader who buys weapons and metal goods. Its stock covers bronze materials along with some gear, and it includes Polished Bronze, which can save you a trip through the Melted Fat grind. The shop can later be upgraded to Smithy II.
Is the Smithy Worth Building?
Not early on. Apart from a few Glass Containers for merchant upgrades, you won’t need the Factory Smithy until Iron Kit II, and Furnace II already handles Iron Ingot. The Factory also eats zombies quickly.
Build Smithy I once Zombie Mining is feeding Coal into your stockpiles and you have a few zombies to spare. Smithy II is the one you’ll actually need, because Clay Molds and Iron Kit II are Factory-only.
Graveyard Keeper 2