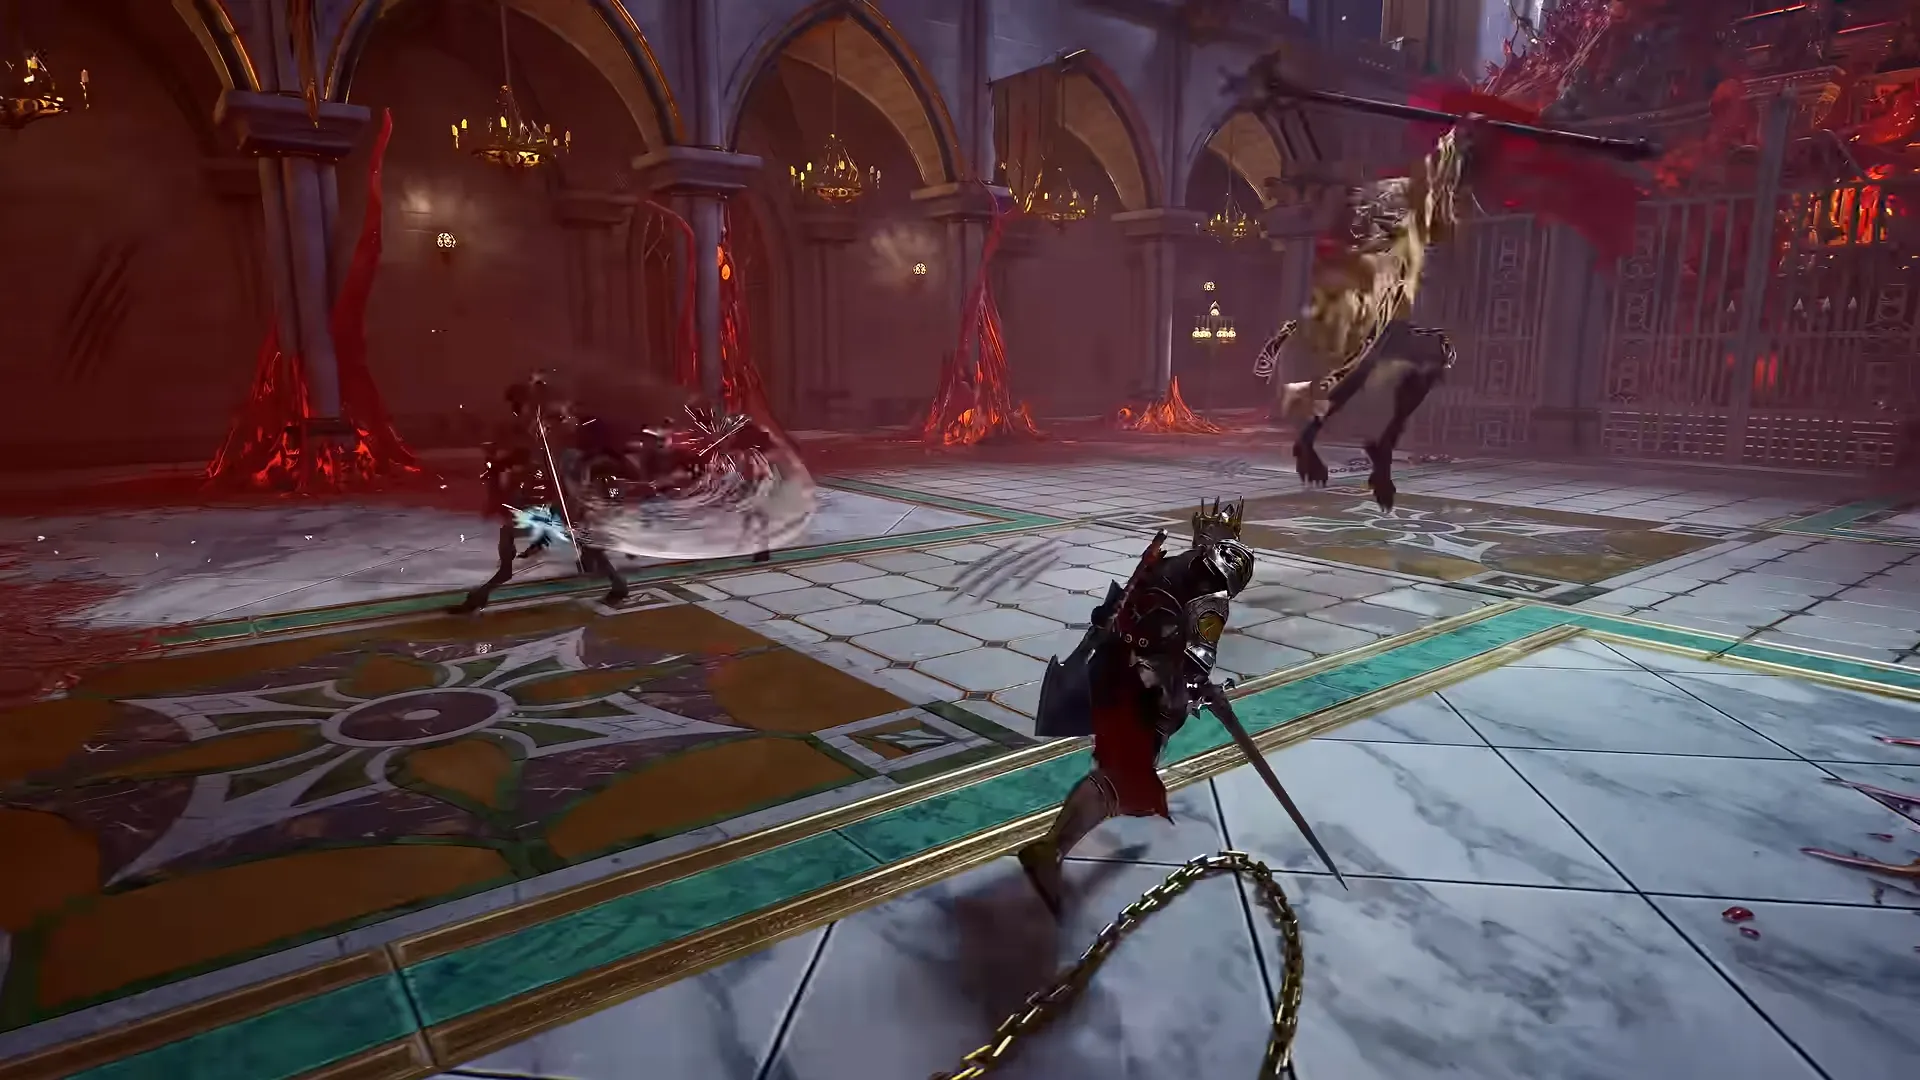


Crimson Moon doesn’t have a class system. Instead, your “build,” made up of gear, Weapon Arts, Boons, your Angel, and persistent attribute points, decides how your Nephilim actually plays. A lot of new players aren’t sure where to start. Here’s a breakdown of the main build types you can create and what each one actually does in a hunt.
In This Guide:
What Actually Replaces Classes: Your Build
Your build is Crimson Moon’s real class system, made up of five parts:
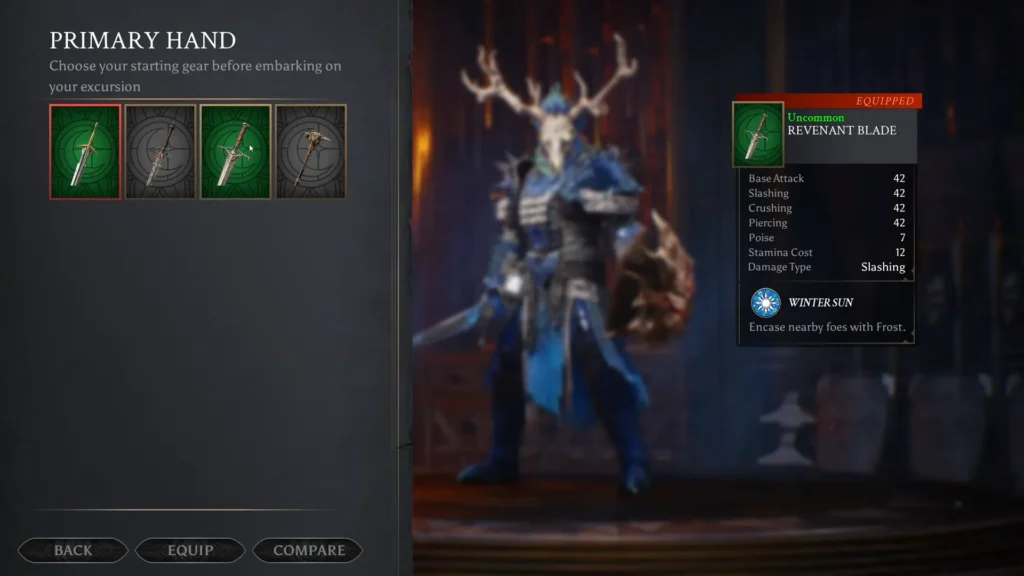
- Gear: 9 equipment slots: 4 armor pieces (helm, chest, gauntlets, greaves), 2 trinkets, a one-handed weapon, a shield, and a two-handed weapon.
- Weapon Arts: special abilities tied to your weapon, each on its own cooldown.
- Boons: effects from gear and progression that boost damage, heal you, weaken enemies, or refill flasks.
- Nexus Gates: mid-run choices that add temporary Boons for that hunt only.
- Angels: a companion you pick before each hunt, adding one more layer to your build.
Mix these together and you get a “class” like an aggressive melee brawler, a defensive tank-style setup, or an elemental status build, even though the game never actually calls it that.
No Traditional Character Creation Either
If you’re also searching “Crimson Moon character creation” hoping for sliders and face presets like what you might find in similar games, there isn’t one. You play a fixed male Nephilim, with no option to change gender or facial features. Your look changes through the armor and weapons you equip, not through a creation menu. So “customization” here means gearing up, not sculpting a face.
How to Build Your Own “Class” Step-by-Step
- Pick a playstyle idea first: aggressive, defensive, or synergy-based (stacking effects that reinforce each other).
- Build gear around that idea, not around rarity. A common item with the right synergy beats a rare item that doesn’t fit your plan.
- Pick a weapon for its Weapon Art, not just its base stats.
- Choose Boons that support your plan, then adjust at each Nexus Gate as the run develops.
- Pick an Angel that covers your weak spot: survivability if you’re squishy, more offense if you’re already tanky.
Aggressive Damage Build
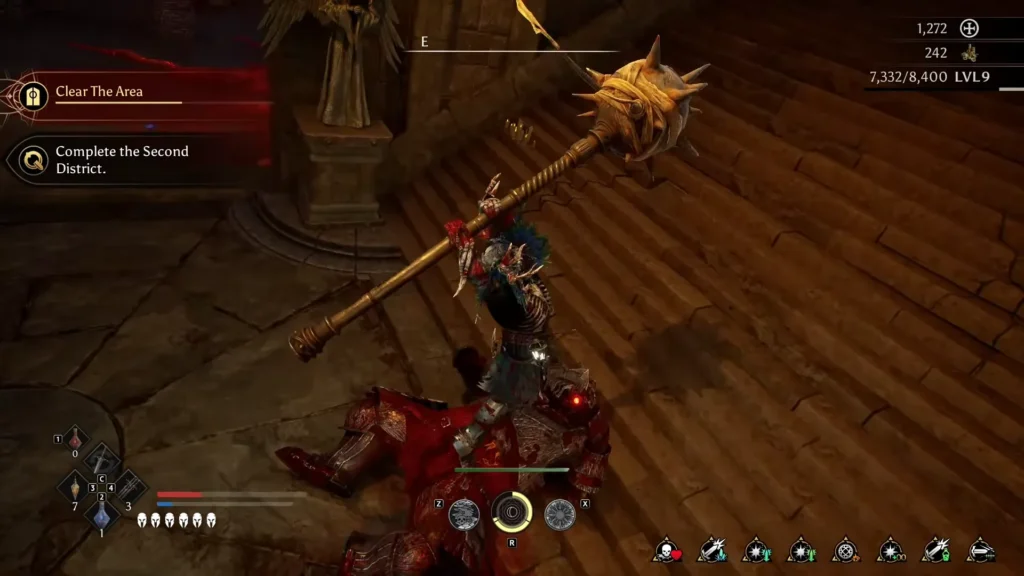
This is the build most people gravitate to first. You fight mainly with two-handed weapons like halberds, glaives, and great axes, which trade the shield slot for reach and constant offensive pressure. Pair that with Boons that boost damage or reward attacking, and armor pieces that lean into offense rather than defense. When spending your attribute points at the hub, put them into Strength. The trade-off is obvious: you hit hard, but you can’t block mistakes the way a shield build can, so parrying and dodging matter more here, not less.
Defensive Parry Build
This is the build the game actually recommends starting with. A one-handed weapon and shield gives you a tighter attack range, but it comes with reliable blocking and real parry potential, which makes making mistakes less punishing. Look for Boons that reduce incoming damage, restore health, or reward well-timed blocks. Put your attribute points into Endurance and Vitality so you can eat a hit or two without dying. This build won’t clear fights fast, but it’s the one that lets you survive long enough to learn Gildenarch’s harder encounters.
Elemental and Status Build
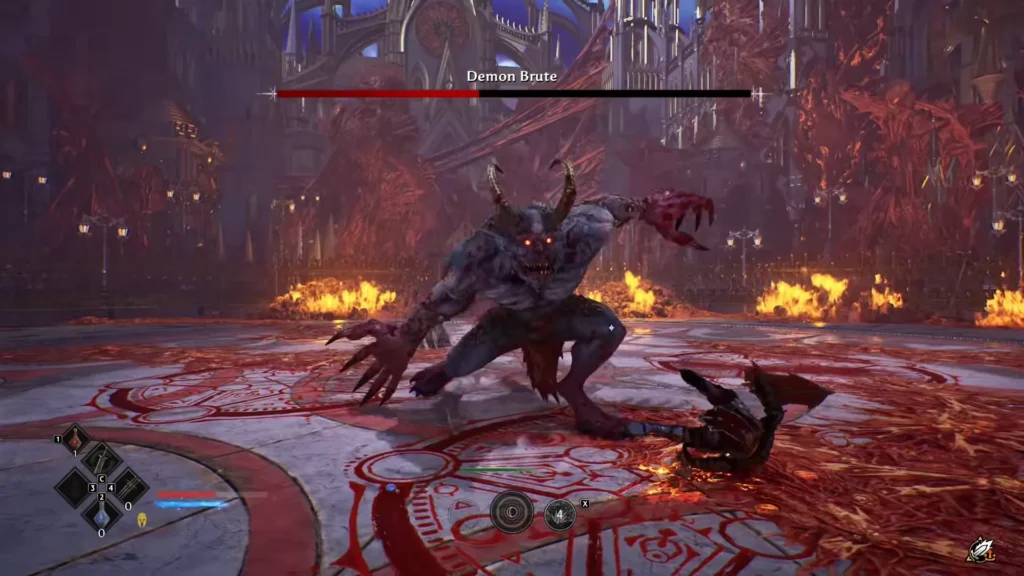
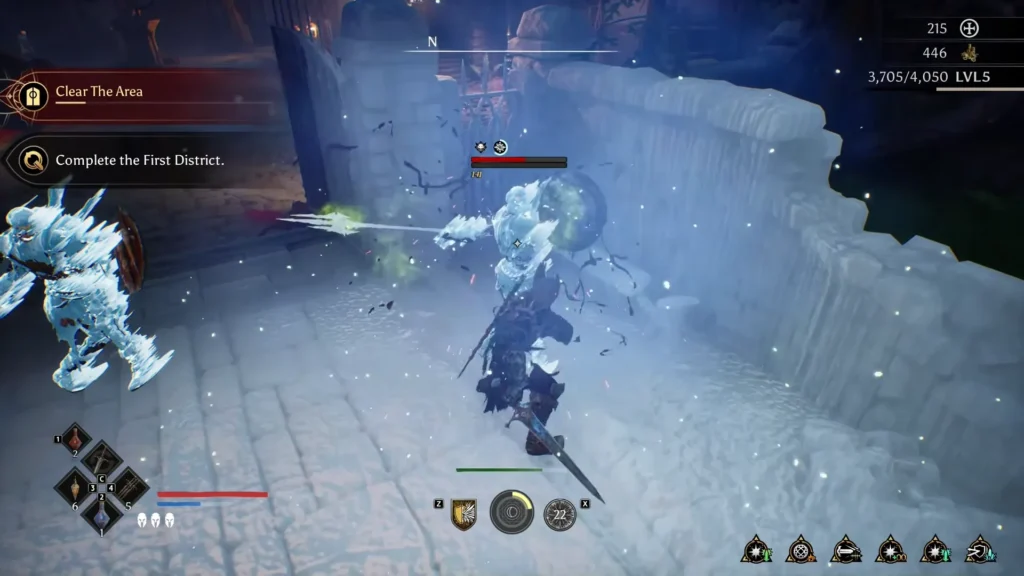
Weapon Arts in Crimson Moon can apply frost, fire, bleed, poison, or holy effects, and some Boons reinforce those same effects. The trick here is restraint: spreading a few different status effects across your loadout means none of them build up enough to matter. Pick one or two effects and commit your gear and Boons to that combo instead. For example pair a frost weapon with a whirlwind-style attack and a parry effect that also applies frost, since some enemies freeze faster than others. Treat that as an idea to test yourself rather than a guaranteed “best” setup.
Angel-Focused Burst Build
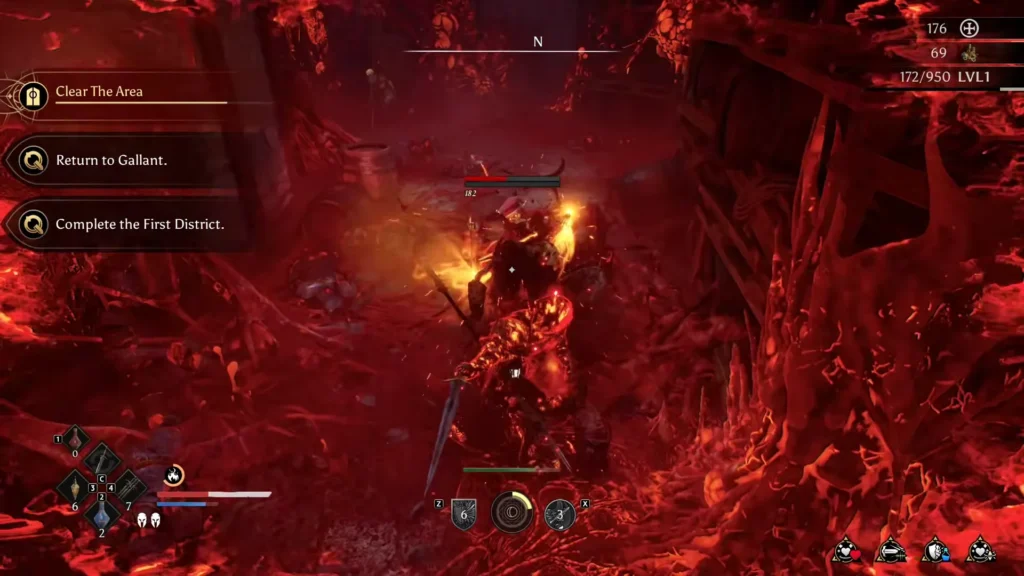
This one is easy to miss because it isn’t just about your weapon. Your Angel choice gives you a temporary “Angel Mode” transformation, a full burst of angelic power complete with wings, once your meter fills. Gear rarity feeds that meter, so a build focused around higher-rarity armor and offensive Weapon Arts can turn Angel Mode into a genuine damage spike rather than a novelty. Just keep in mind that it’s better not to waste the transformation on regular enemies. Save it for elites and boss fights, where the burst actually decides the outcome.
Building Co-op Pairs
None of these builds have to work alone. In two-player co-op, the strongest pairs aren’t two identical loadouts, they’re builds that cover each other’s gaps. An aggressive damage build pairs naturally with a partner running higher Endurance and revival support, while a build focused on maximizing Angel Mode works well next to a partner built for crowd control. Since difficulty scales up in co-op regardless, picking complementary builds matters more than picking matching ones.