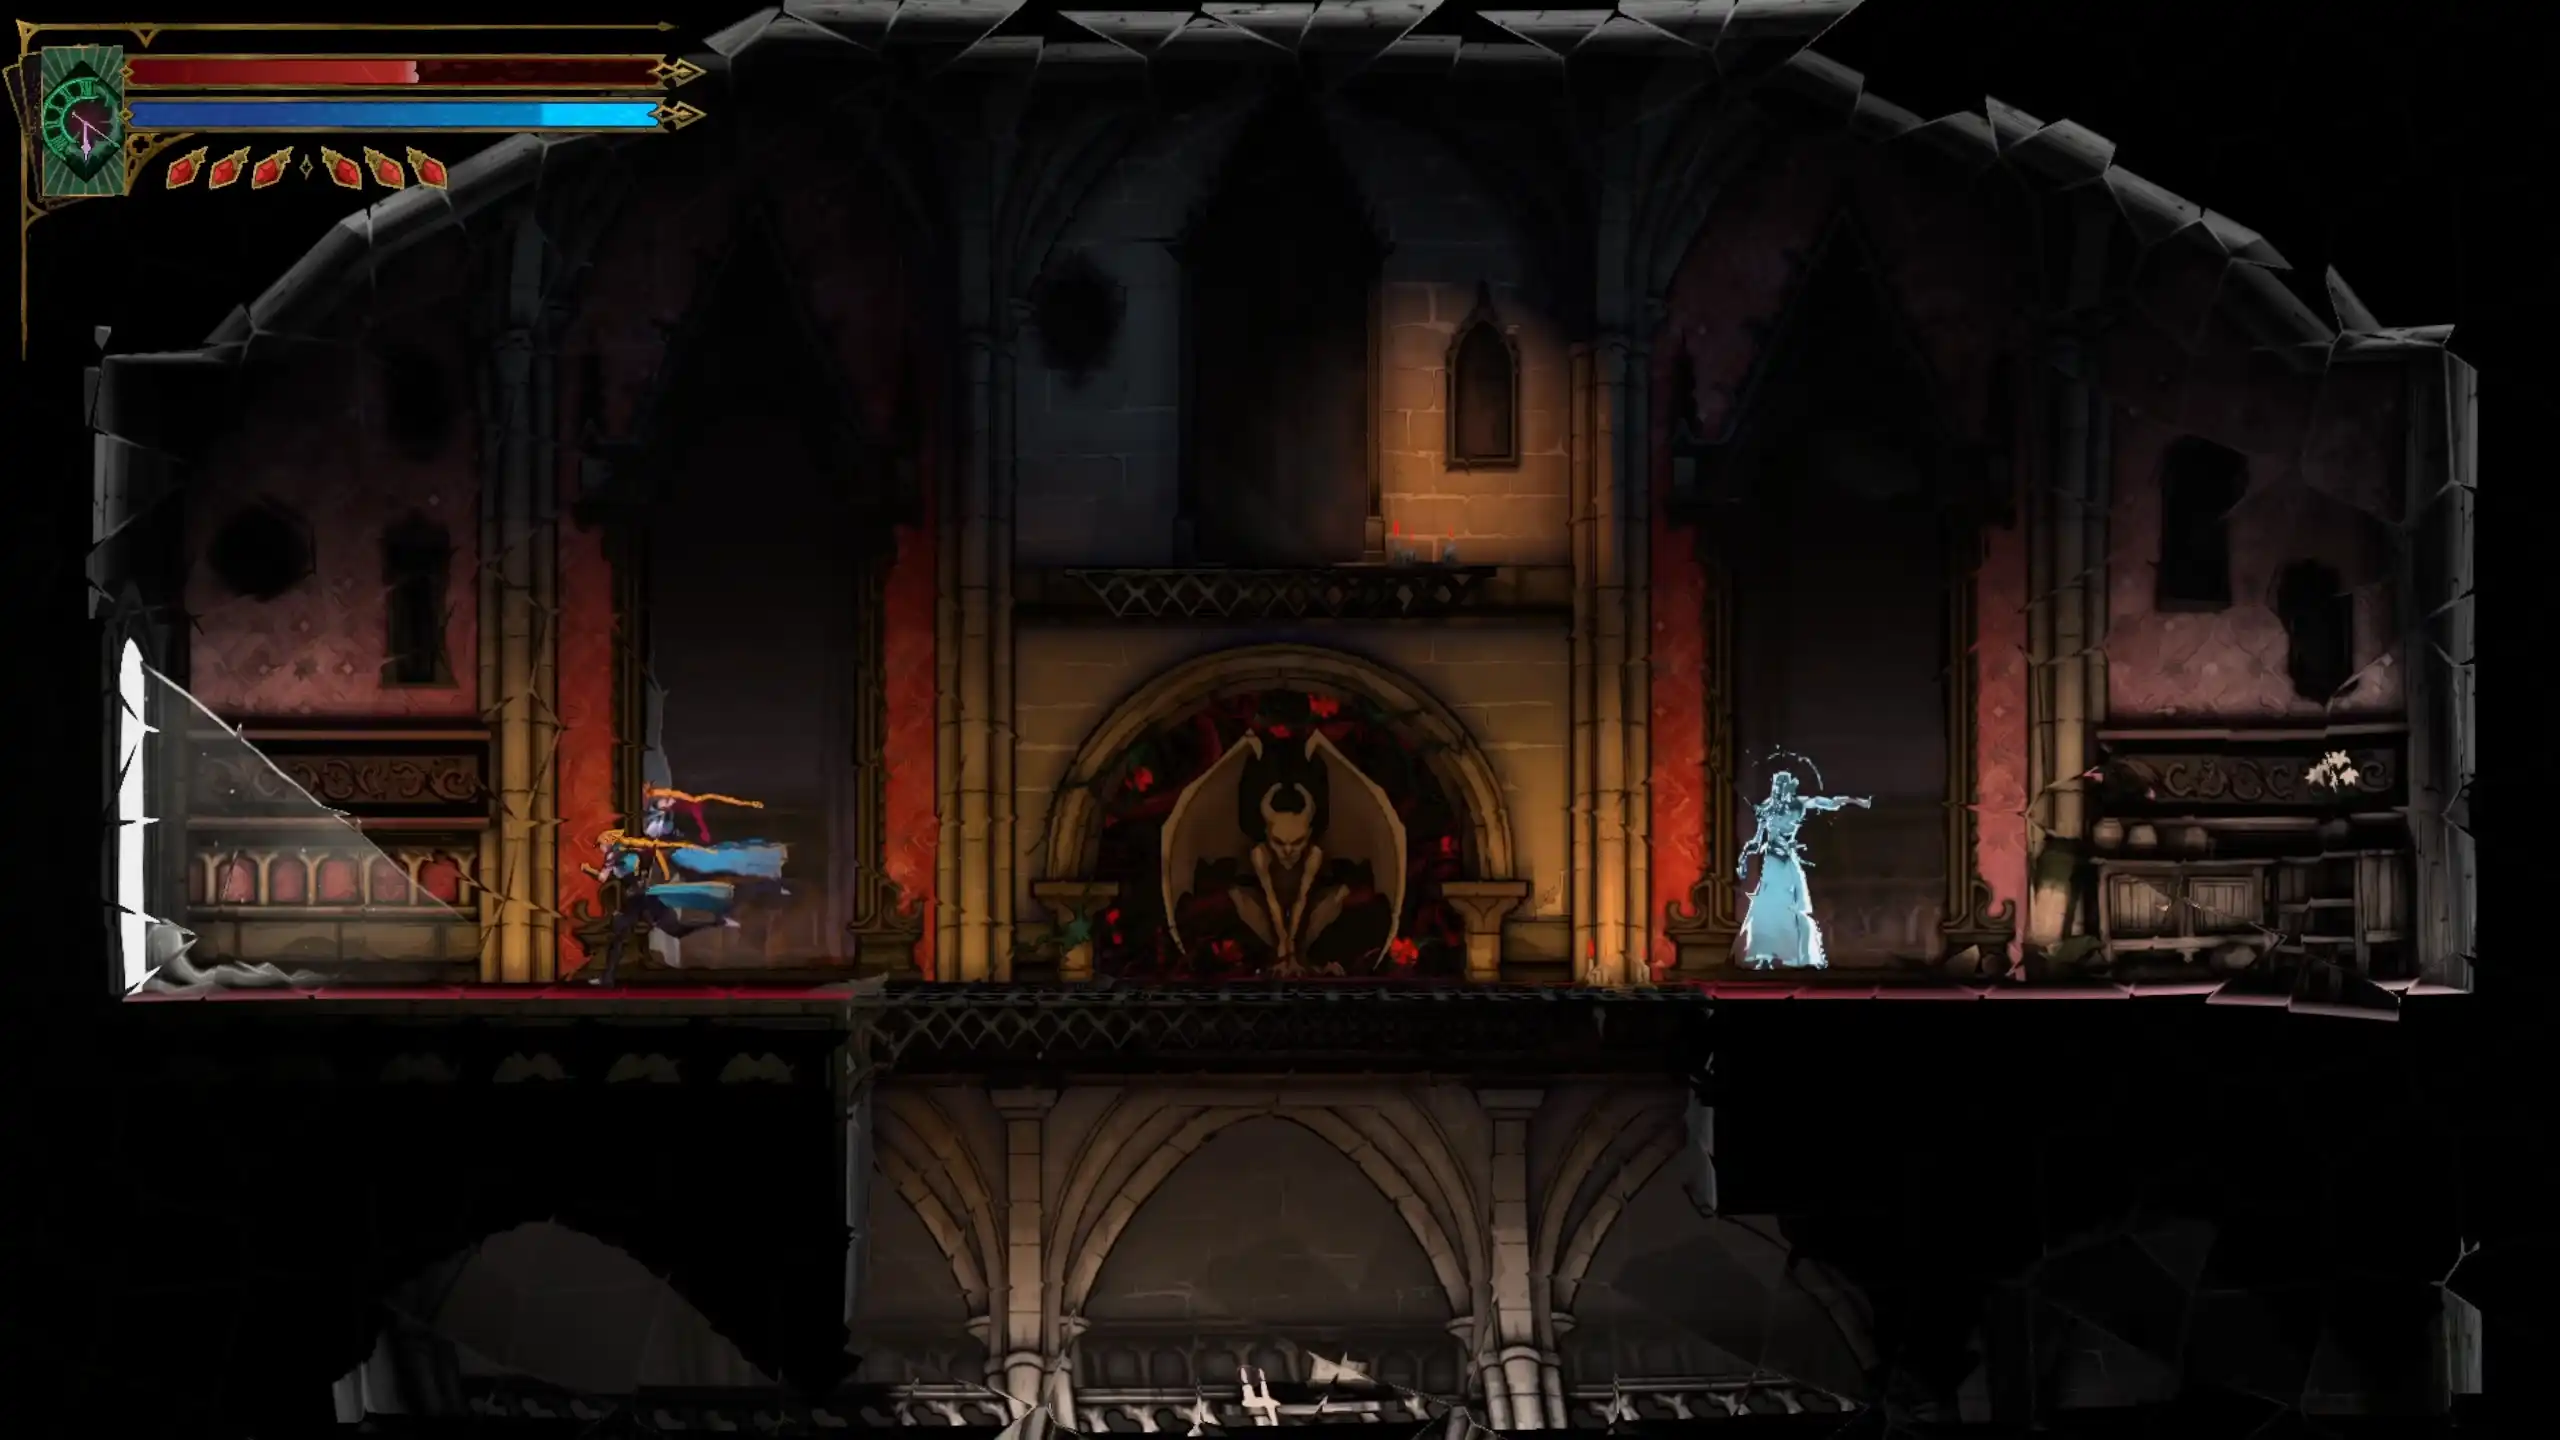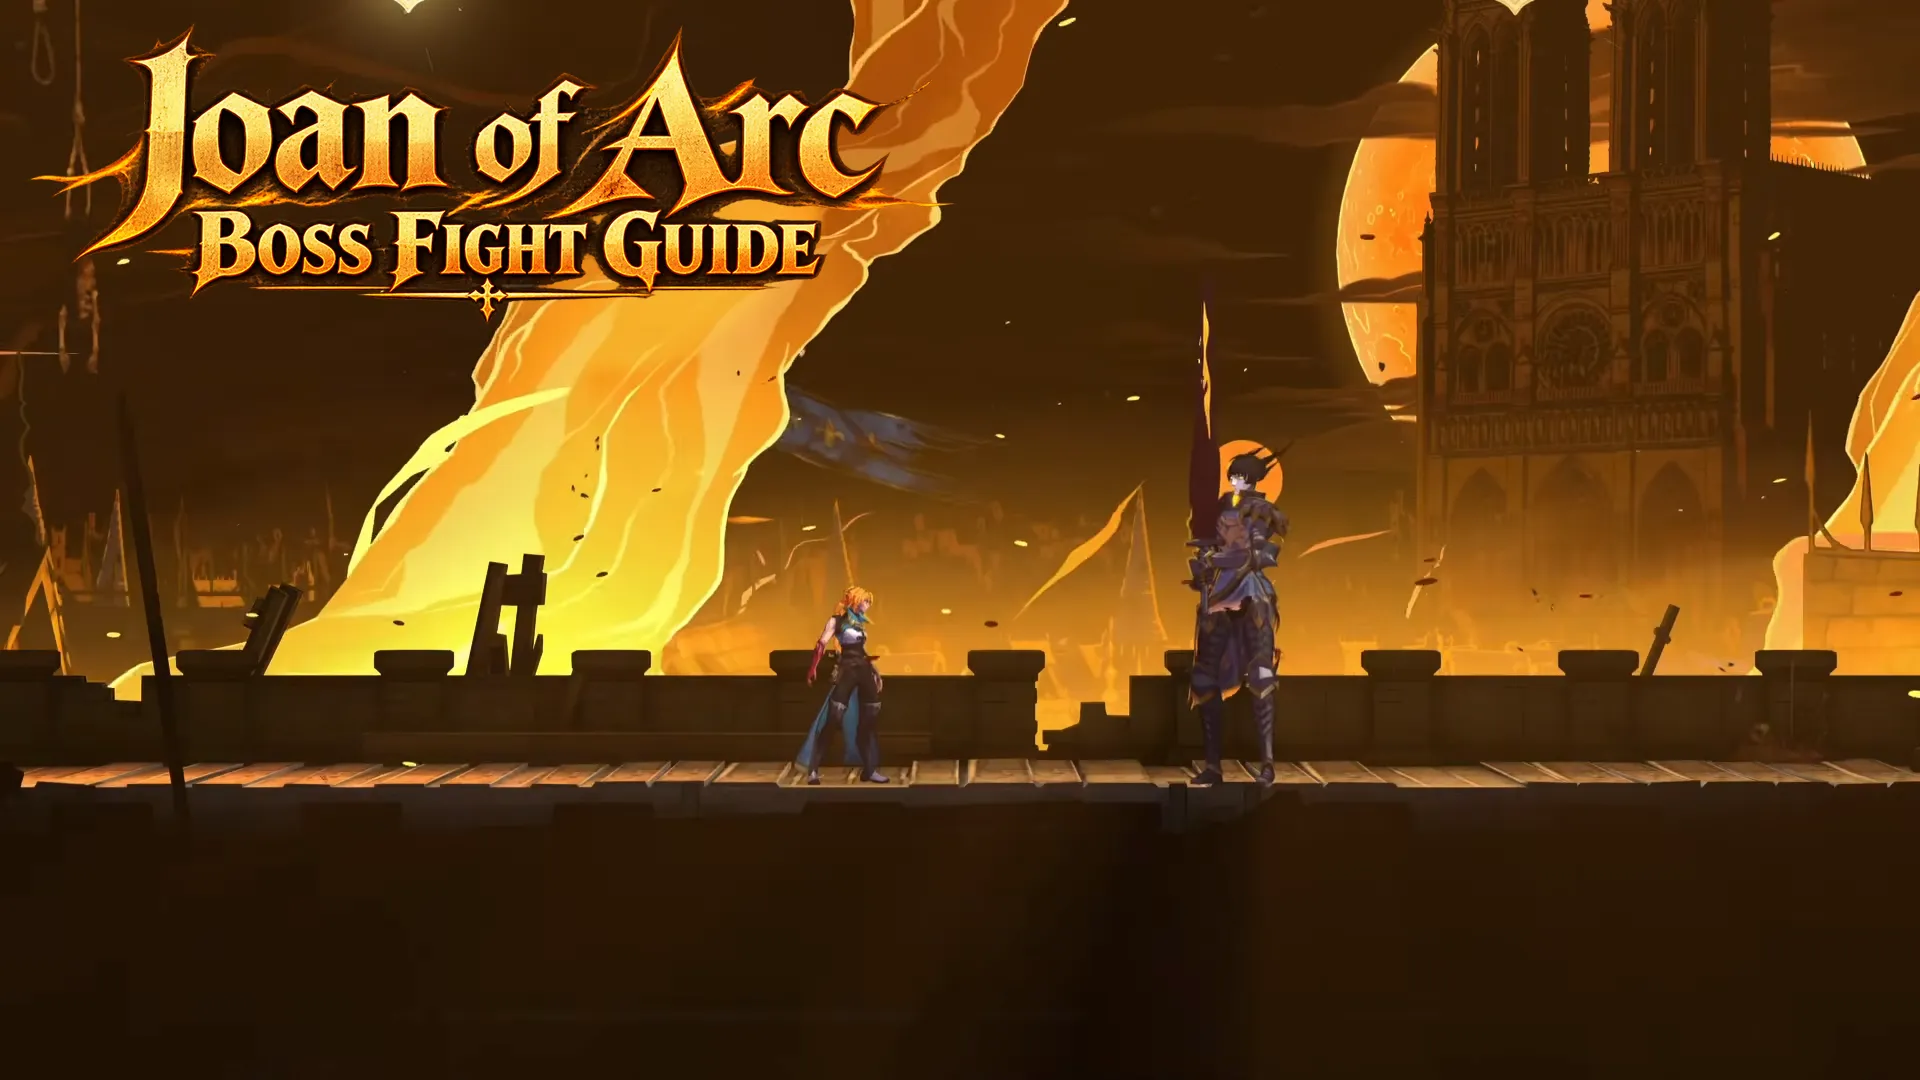


Joan of Arc is one of the early bosses in Castlevania Belmont’s Curse. Despite her frightening appearance, defeating her is really easy. At first, I thought that it might be really hard. However, I used a strategy (that I will reveal later) that makes this boss fight really easy.
Quick Answer: To beat Joan of Arc in Castlevania Belmont’s Curse, keep your distance and crouch to bait her flying attack, then counterattack as she approaches. Repeat this strategy throughout Phase 1. In Phase 2, jump when the yellow circle appears to avoid her explosion, then use the same strategy while maintaining a greater distance.
Jump to
How to Reach Joan of Arc?
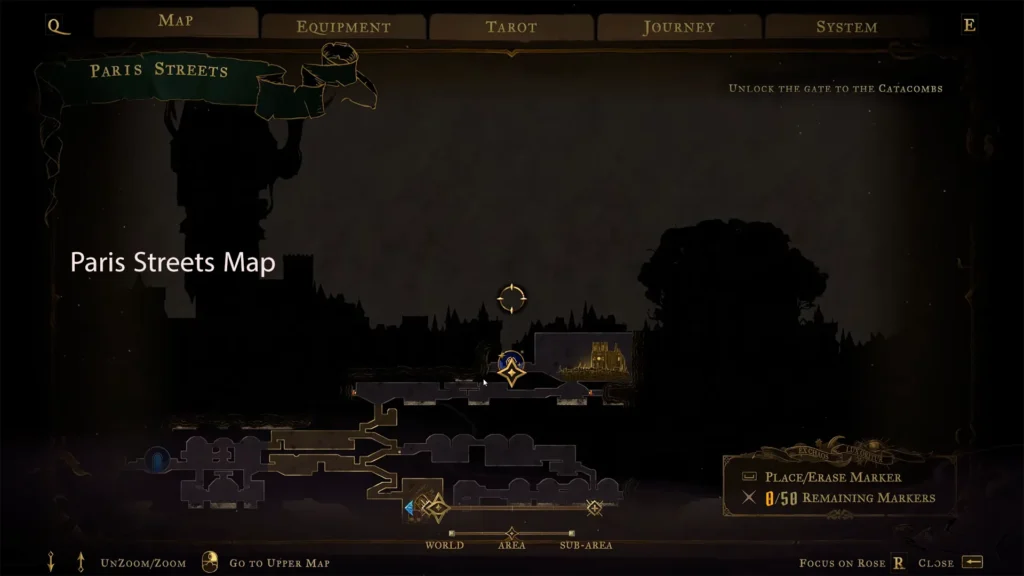
Joan waits at the top of the Prison Tower in Paris Streets. The tower route includes a save room near the upper scaffolding, so secure that checkpoint before continuing toward the roof. You’ll also need to return to the Prison Tower’s Mirror of Life later to break one of the seals required to free Eleanor from the One Way Mirror.
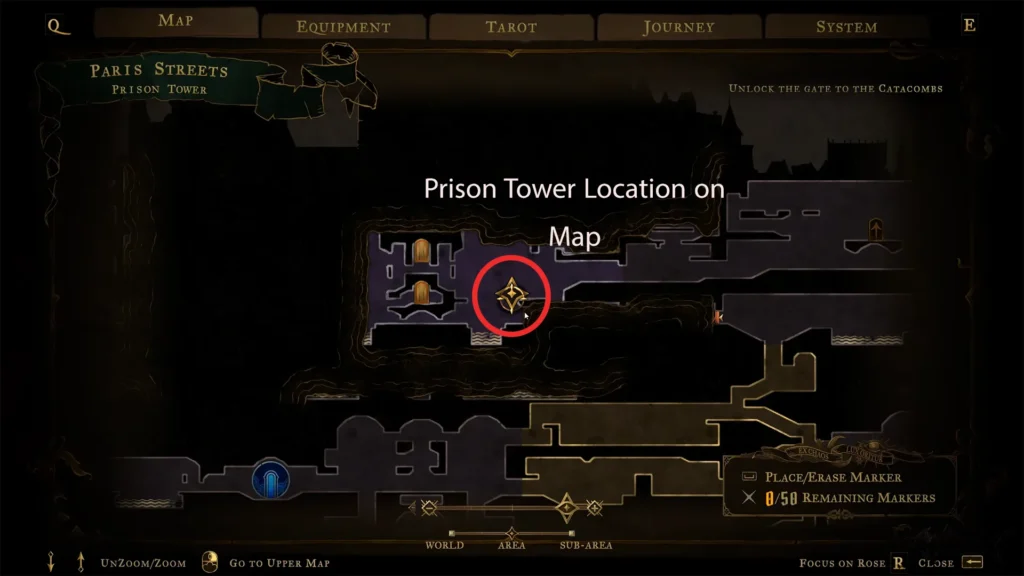
There is no need to equip any specific weapon. However, the strategy that I will teach you must be executed carefully to defeat her in no time.
How to Beat Castlevania Belmont’s Curse Joan of Arc
Joan of Arc has two phases, which require two different approaches. Let’s start with the first approach:
Phase 1: Stay Far and Deal Damage
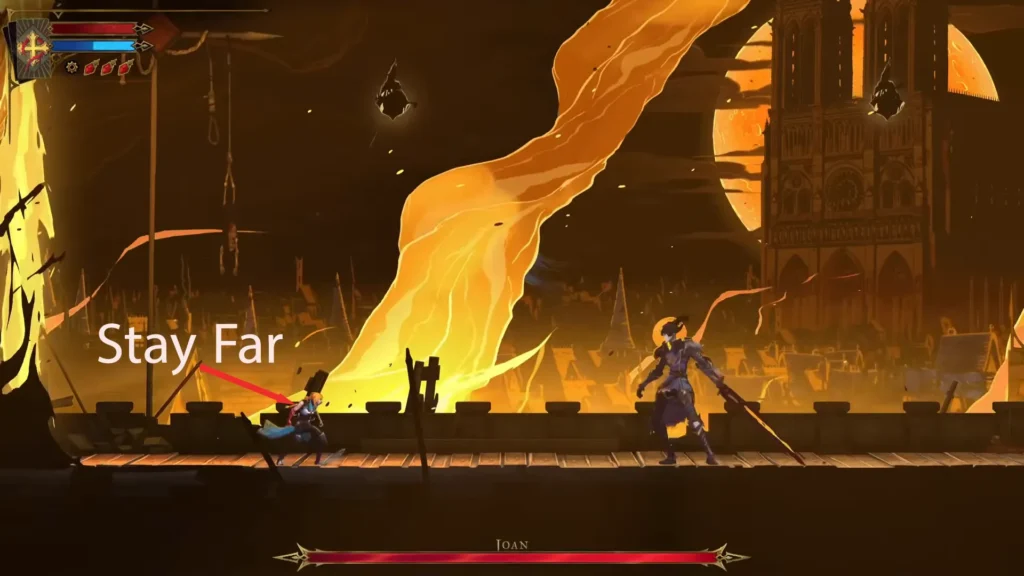
In the first phase, I tried to stay far away and made her attack me. The main aim here is to be safe from her close-range moves.
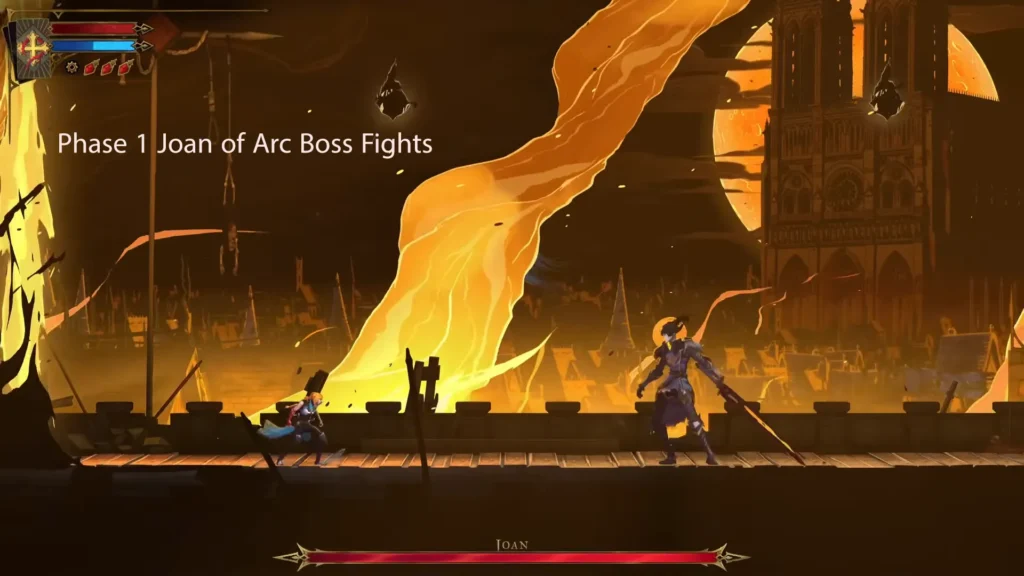
Now, these steps will help you win the first phase in no time.
Back away and get low: Put as much space between you and Joan as possible. Then crouch while facing her.
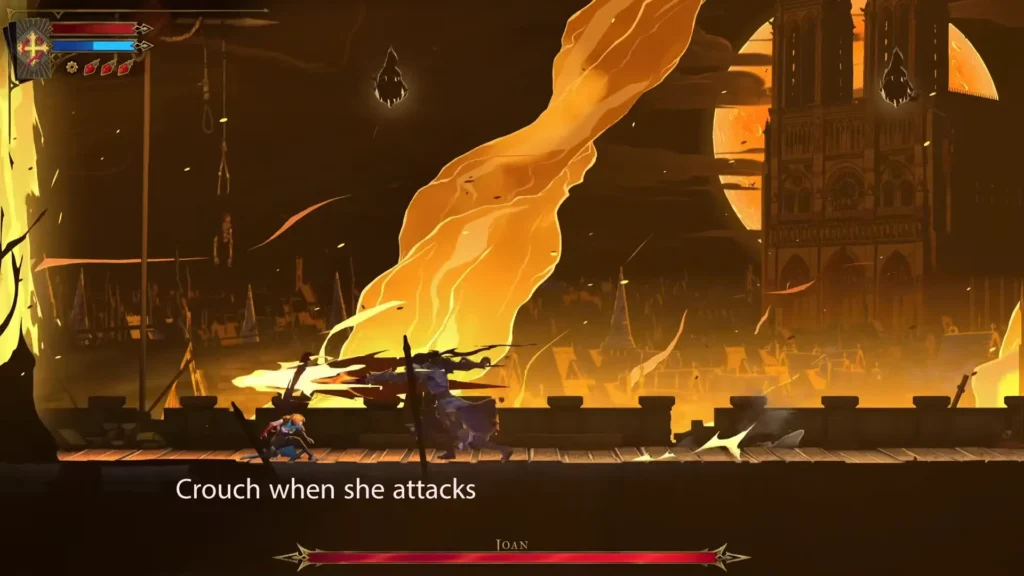
Counter her approach: Begin attacking from your crouched position when she flies toward you. I hit her four times and then fled back. This move was my ace up my sleeve. Try it and see the magic for yourself.
Cross over during her floor-fire attack: Jump past Joan and continue toward the opposite end of the rooftop.
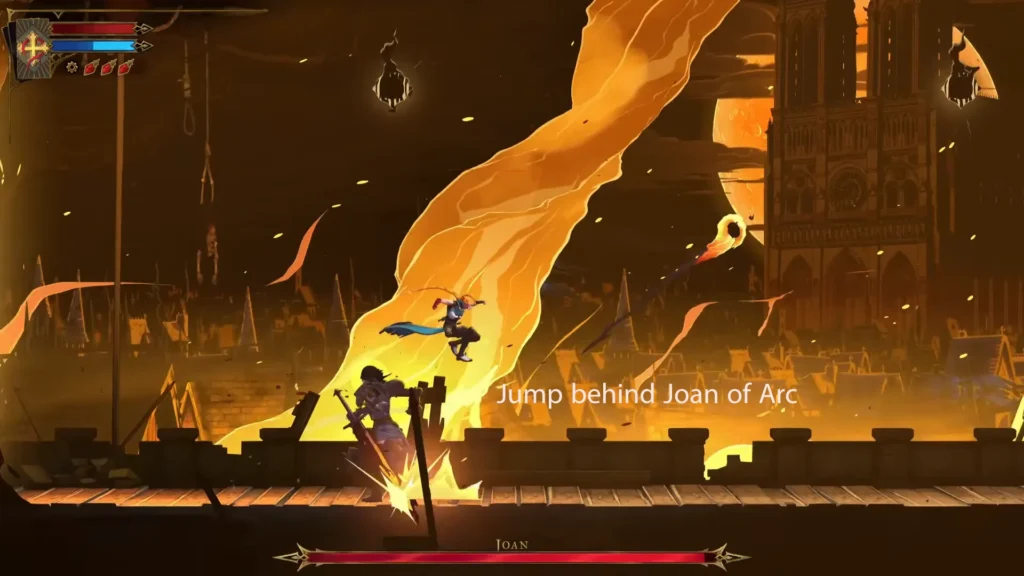
Set up the next exchange: Once you have closed the distance, crouch again and wait for her flying attack. Repeat this pattern to win the first phase.
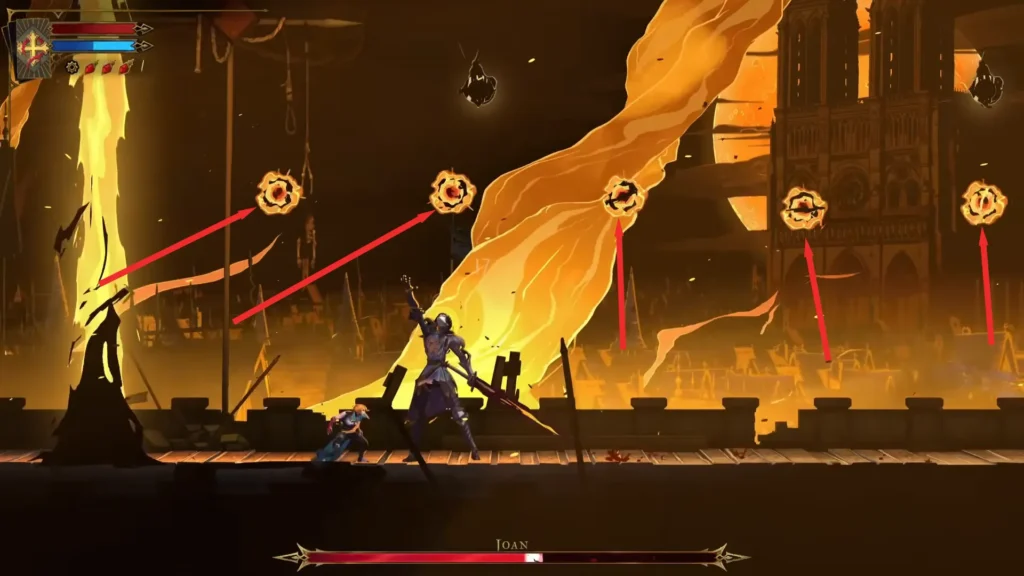
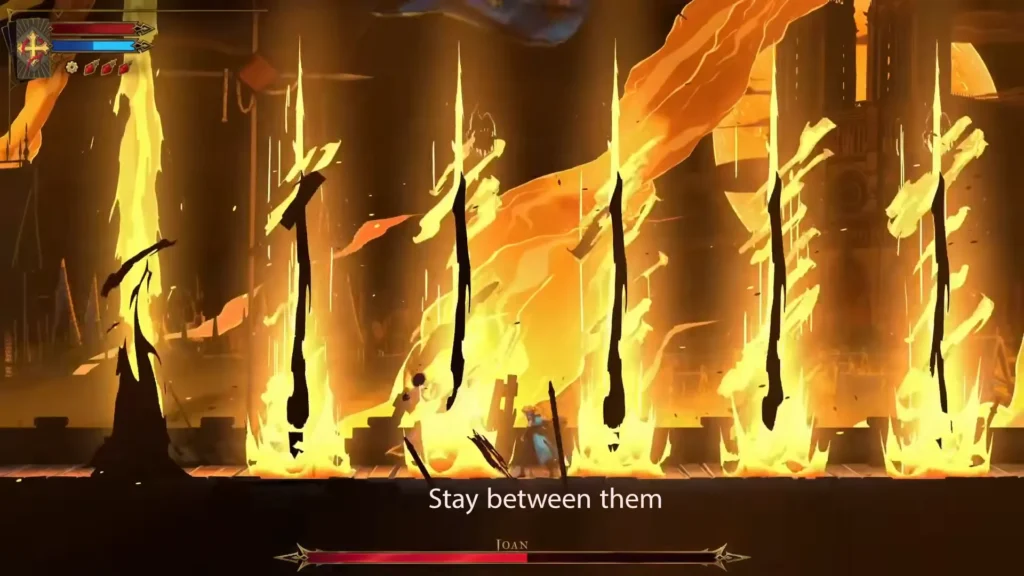
Beware of fireballs she throws at you. Try to be between them to avoid damage.
What If Joan Uses a Different Attack
My method protects you most of the time, but you may have a question: What if she uses another attack move? That is a fair question, so check the table below:
| Attack to watch for | Your response |
|---|---|
| Higher sword swings | Certain swings pass above a crouching Rose. Sliding beneath the blade is another option described in the earlier guide. |
| A low slash with the sword scraping the floor | Clear it with a jump or move beyond its reach. Sliding won’t take you underneath it. |
| Fireballs falling into the arena | Move into a gap between the landing spots before the fire columns appear. |
Keep moving after jumping behind Joan. She can strike backward. Therefore, her other side is not a place to stop and relax.
Phase Two: Keep a Bigger Gap
Phase Two of the Joan of Arc boss fight starts with an explosion. She jumps and gathers energy. Then, she slams into the ground. This move causes a huge explosion.
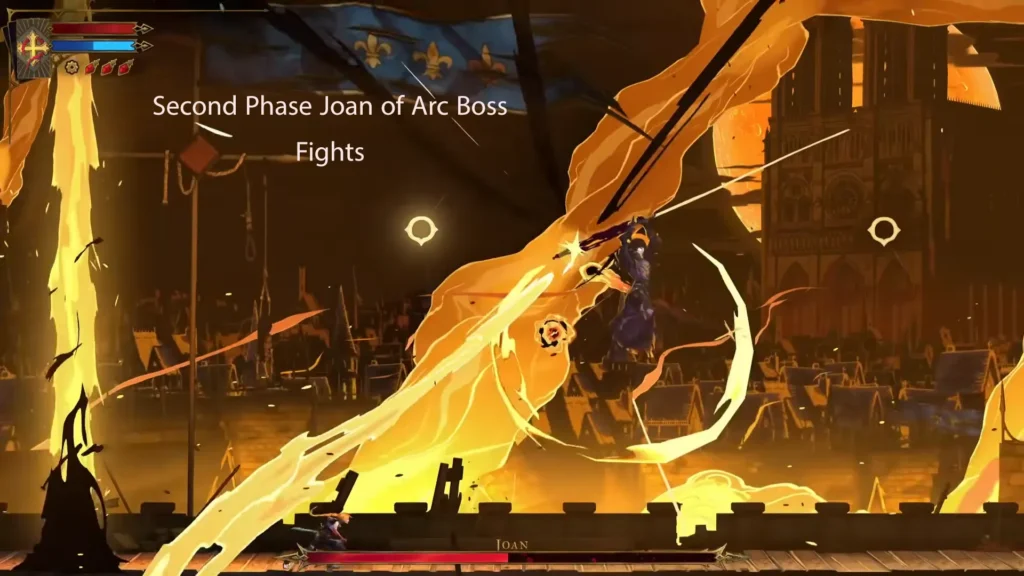
If you do not jump at the right time, you will take damage. The trick to avoid this is the yellow circle she creates. As soon as you see that yellow circle, jump, and you will be safe. That is the most important part, and the rest of the strategy remains the same.
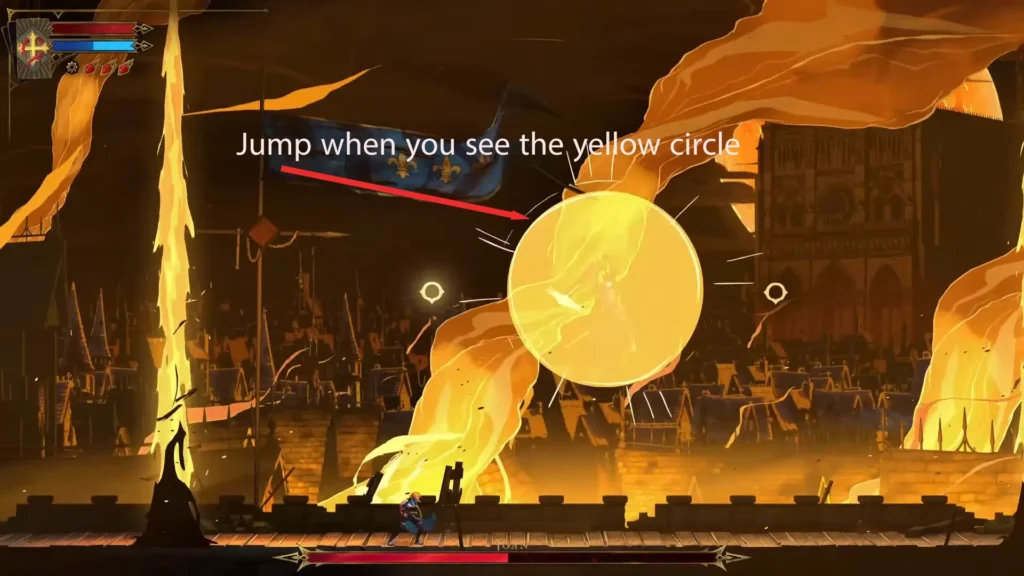
However, in this phase, her attacks have greater reach. In other words, your position is much more important. Waiting at a moderate distance can make her use a different move instead of the flying attack you are trying to draw out.
Get well clear before crouching. Attack during her flying approach, then cross over during the floor-fire move and retreat again.
I would make restoring that gap the priority. Staying for another hit isn’t worth it. Keep your position; that’s an order!
Rewards of Joan of Arc Boss Fight
| Reward | Benefit |
|---|---|
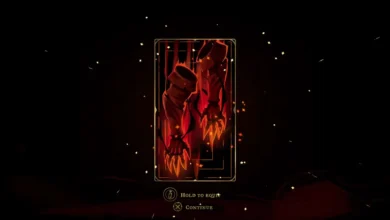
| The Warrior Arcana | Provides Infernal Pyre, which produces flames beside Rose and sends affected enemies into the air. |
| The Warrior’s Key | Contributes one of the three keys required to unlock the sealed Catacombs gate. |
| Burnt Sword of Fierbois | Adds a heavy sword with a chargeable attack to your equipment. |
| Holy Light | Becomes available on the way out after the battle. It enables passage through Chaos Shards and allows a correctly timed deflection. |
Note: Holy Light is not available for the Tower encounter. Its defensive ability comes afterward. Leave it out of your plan for the rooftop battle.
Second Visit of Joan: Trial of Courage
Joan returns in Notre-Dame’s Trial of Courage. You need Infernal Pyre equipped to access the trial. The strategy I explained above concerns the initial Prison Tower encounter. Completing Joan’s second fight is also one of the requirements for unlocking the true ending in Castlevania: Belmont’s Curse.

Castlevania: Belmont's Curse