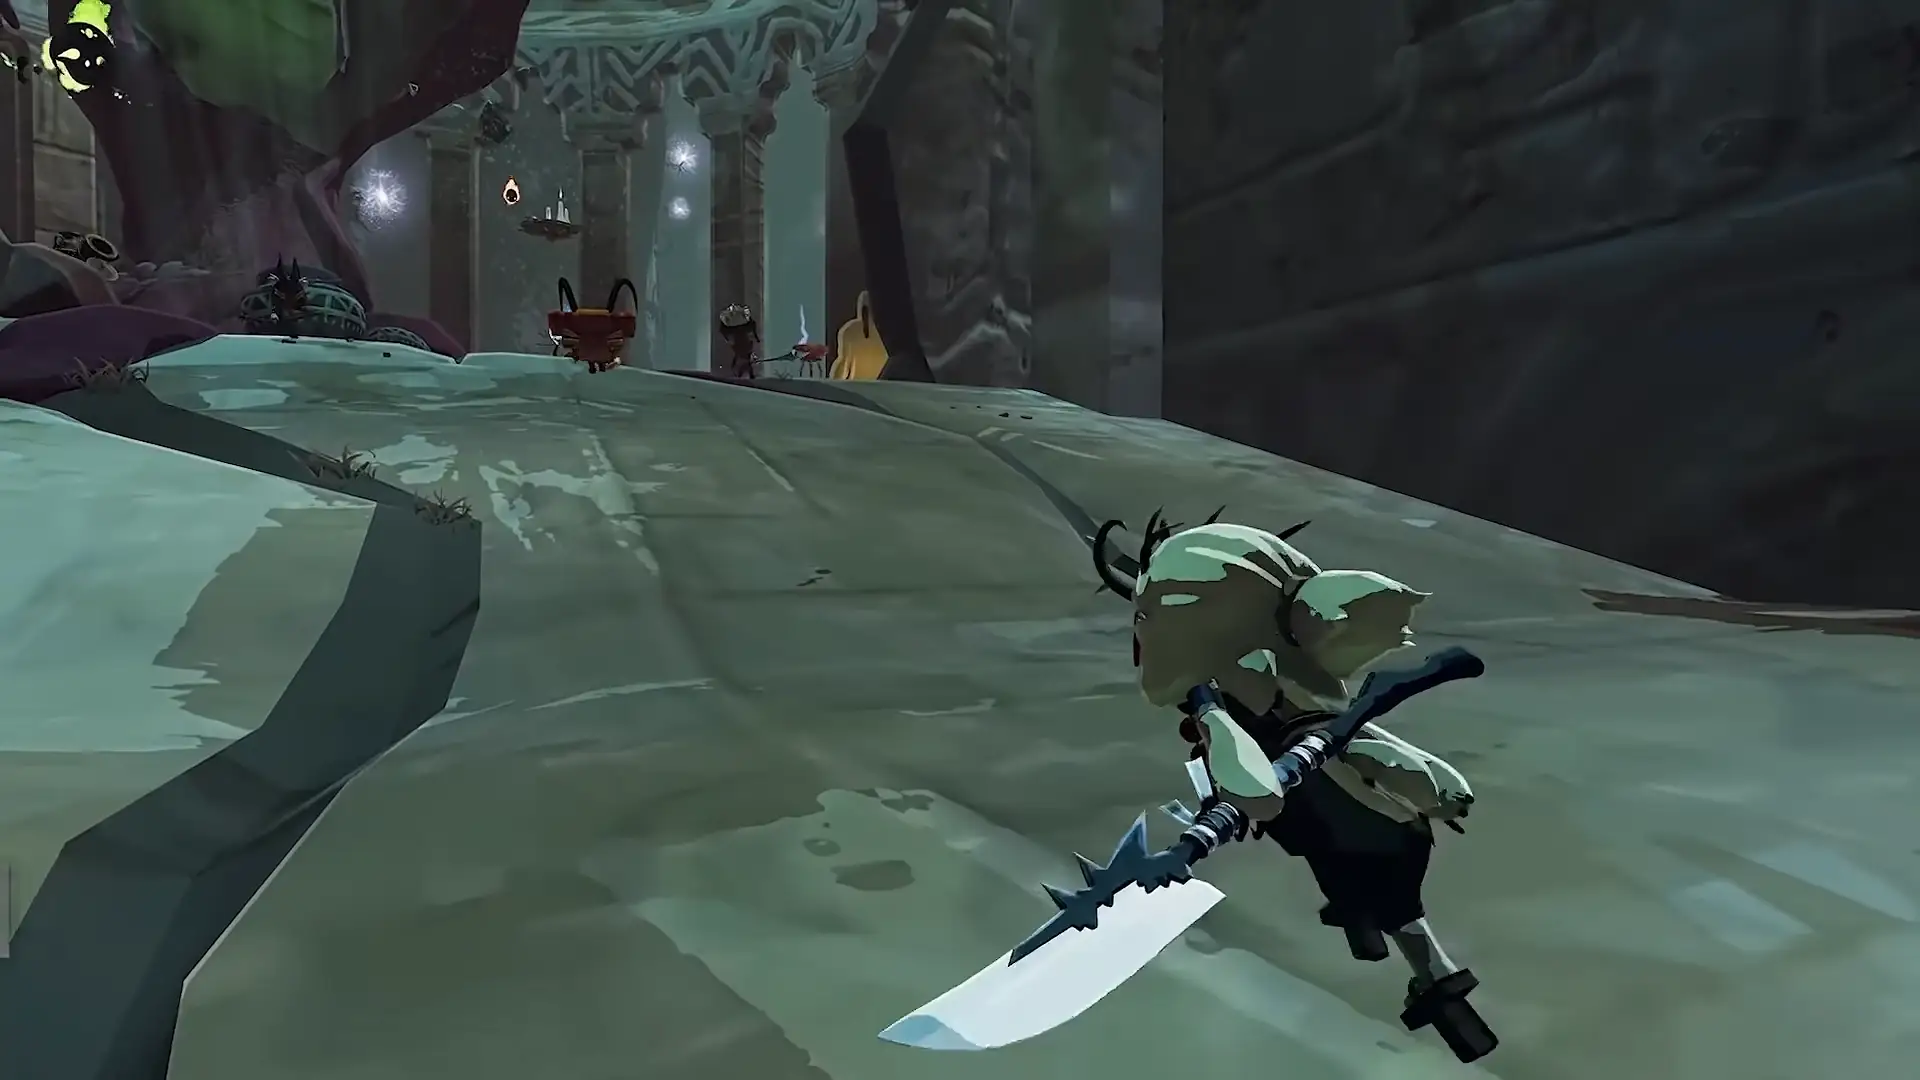


Acolyte is a close-range, melee-focused Survivor in Risk of Rain 2 who combines glaive combos, mobility, crowd control and an unusual reserve-health system.
Her primary attacks change depending on whether she is sprinting or jumping, while Bola Throw groups enemies together and Blade Sling deals damage over time before allowing her to teleport for an additional burst.
Her passive changes how healing works completely. Acolyte cannot heal normally, instead, incoming healing and part of the damage she takes are converted into Recoverable Health. She can restore that health by attacking enemies, while the reserve also increases her attack speed.
Continue reading for more details, you won’t regret it!
All You Need:
How to Play Acolyte in Risk of Rain 2
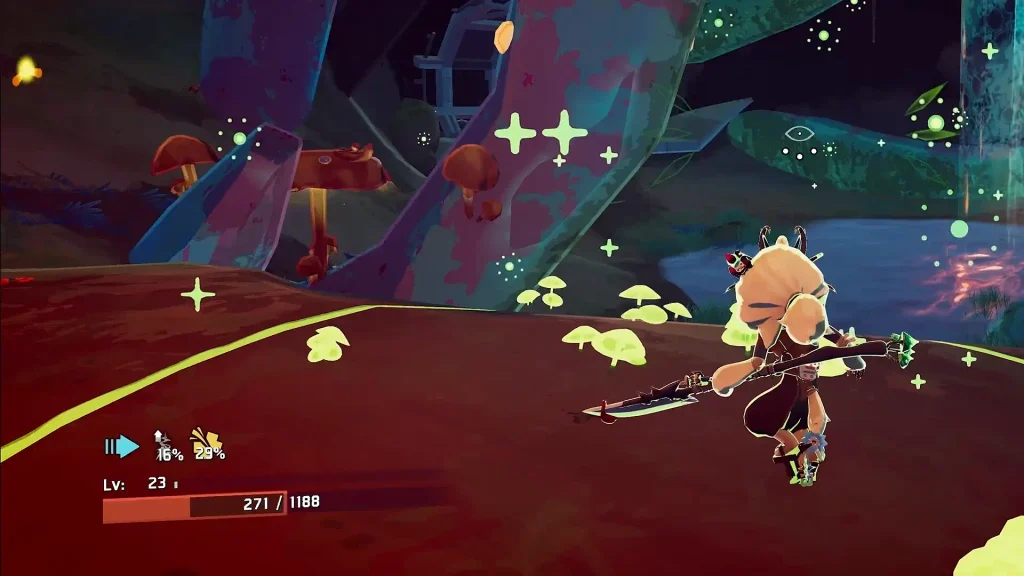
Acolyte is a close-range, melee-focused Survivor built around mobility and frequent ability use. If you enjoy Mercenary’s fast-paced combat, there’s a good chance you’ll enjoy Acolyte too.
Her kit revolves around three main ideas:
- Combos: Her primary attack changes depending on whether you’re sprinting or jumping.
- Mobility: Her Blade Sling lets her teleport into combat and deal additional damage.
- Resource management: Her unusual health system rewards aggressive play, while Sacrifice lets her build toward her transformation.
Acolyte can feel overwhelming when you first pick her up. There are several abilities to combine and her healing doesn’t work like that of most Survivors.
However, once you understand the rhythm of her attacks, her kit starts to make a lot more sense.
All Acolyte Abilities Explained
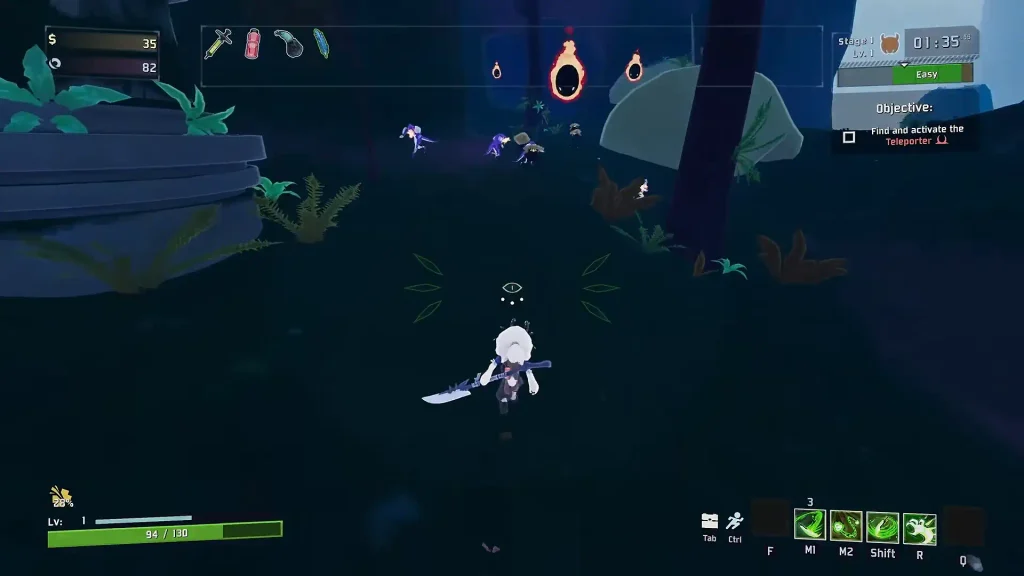
Understanding Acolyte’s abilities is the first step toward playing her effectively. Her attacks aren’t isolated tools, they’re actually designed to flow into one another.
Primary: Glaive Attacks
Acolyte’s primary attack is a three-hit glaive combo. It works somewhat like Mercenary’s melee attacks, but it has additional options depending on how you move.
You have three ways to approach your basic attacks:
- Normal attacks: Use the standard three-hit combo to deal damage.
- Sprint attacks: Sprint forward while attacking to lunge at enemies and strike them in quick succession.
- Jump attacks: Attack while jumping to uppercut enemies into the air.
These variations are a big part of what makes Acolyte fun. You don’t need to dedicate another ability slot to these extra attacks. They’re built directly into her primary, so you can weave them into your regular combat without interrupting your ability rotation.
The uppercut is particularly useful when you’re fighting groups of enemies, while the sprinting attack gives you another way to close the distance.
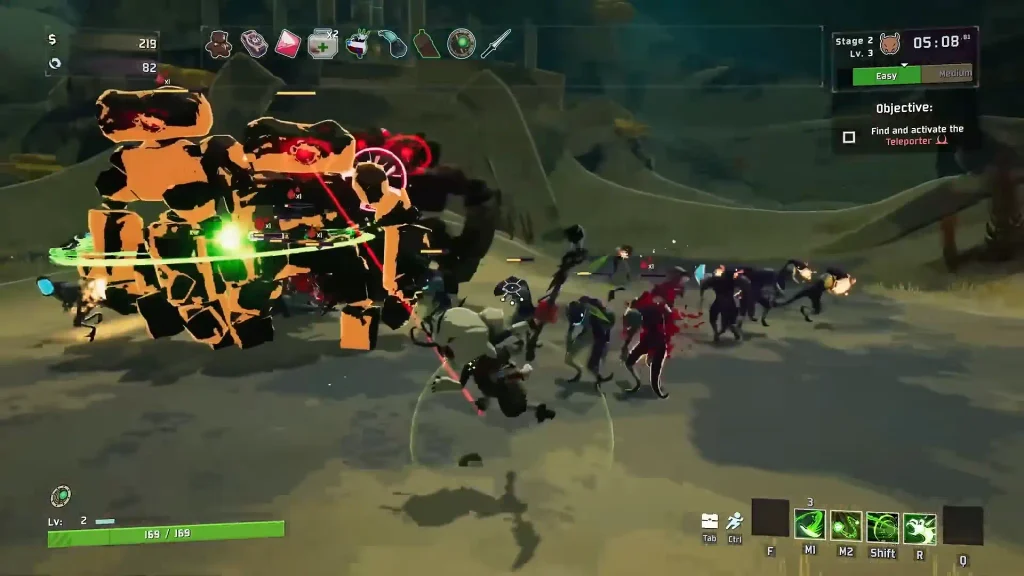
Tip: Don’t treat your primary as a button you press only when everything else is on cooldown. It’s an important part of Acolyte’s combo system and the sprinting and jumping variations give you more options than simply standing still and swinging.
Secondary: Bola Throw
Bola Throw is Acolyte’s crowd-control ability. When you throw it at enemies, it pulls them toward a central point, gathering them together. It then extracts their souls and brings those souls back to you.
Here’s the interesting part: damaging the extracted souls also damages their original enemies.
That means Bola Throw does more than group enemies together. It creates an opportunity to deal damage to multiple targets while setting up your other abilities.
This makes it especially useful when you’re surrounded by several enemies.
Instead of chasing every target individually, you can pull them together and follow up with attacks that hit the group.
When to use Bola Throw:
- When several enemies are clustered around you.
- When you want to set up a Blade Sling combo.
- When you need to control a group before moving in with your glaive.
Bola Throw is a great example of why Acolyte’s abilities work best when you combine them. Pulling enemies together is useful on its own, but it becomes much more dangerous when you follow it with area damage.
Utility: Blade Sling
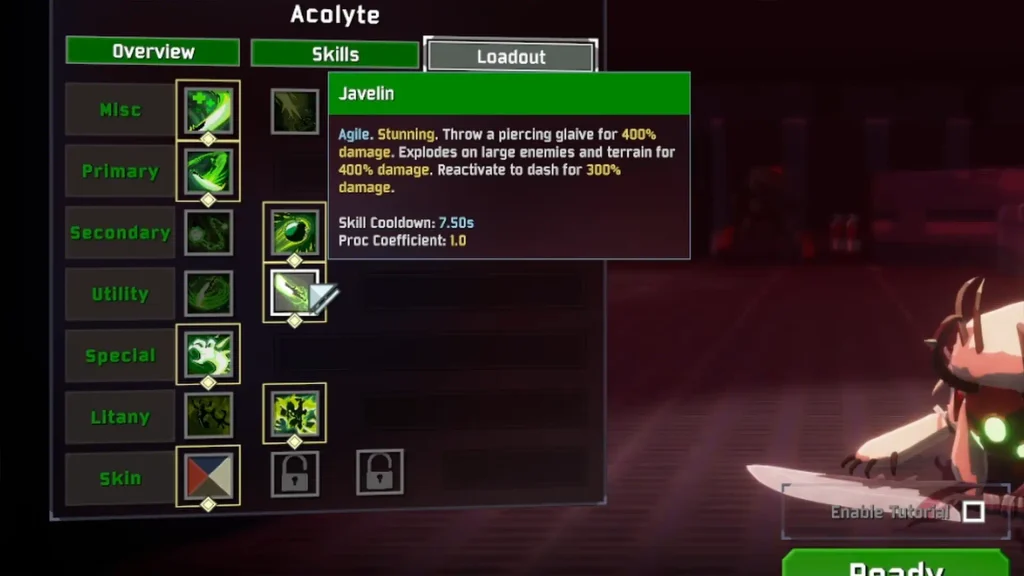
Blade Sling is where Acolyte’s mobility and combo potential really shine. You just throw a spinning glaive toward a location. It stays there and deals damage over time.
You can let the glaive finish its duration, or activate the ability again to teleport to it and deal a large burst of damage.
This gives you two ways to use the same ability. You can throw it into a group to deal damage from a distance or use the second activation to close the gap and deliver another hit.
The teleport is particularly useful because it lets you reposition while continuing your attack.
Blade Sling also works beautifully with Bola Throw. Gather enemies together, send the spinning glaive into the group and teleport into the action when you’re ready.
It’s a simple combination, but it gives Acolyte a satisfying mix of crowd control and mobility.
Tip: Don’t forget that you can reactivate Blade Sling. Leaving the glaive to deal damage is useful, but teleporting to it gives you another offensive option and helps keep your combo moving.
Special: Sacrifice and the Anima Harvester
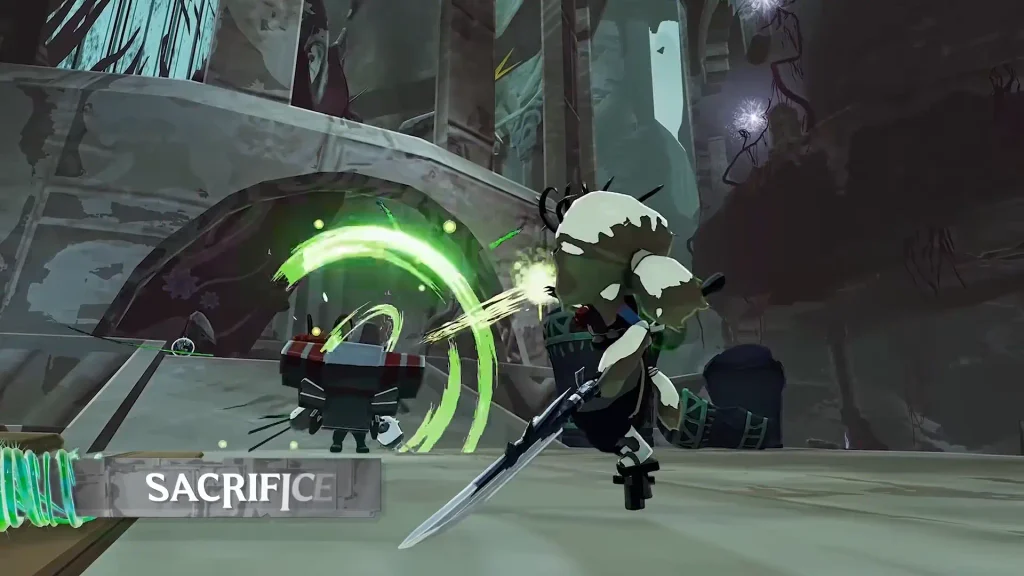
Acolyte’s special is built around Sacrifice. You select an enemy to sacrifice and doing so contributes charges toward a meter. Each successful Sacrifice grants 2 Convictions, with kills providing one additional Conviction. At 7 Convictions, Acolyte can activate her Litany and enter her Anima Harvester form.
This is Acolyte’s more powerful alternate form, giving you a different way to approach combat.
The transformation is powerful, but it changes the rhythm of her gameplay. Acolyte’s regular kit is built around chaining abilities together and entering her alternate form temporarily takes you away from that familiar loop.
During the transformation, Acolyte becomes much faster and more durable, while her attacks create healing opportunities through Recoverable Health. The transformation is temporary because Convictions drain over time.
That doesn’t make the transformation bad. It simply means you should think about when to use it rather than treating it as something you must activate immediately.
When Should You Transform Into the Anima Harvester?
The Anima Harvester is a powerful tool, but you don’t necessarily need to stay transformed for the entire duration. One approach is to use the transformation aggressively, spend a portion of its resource and then return to Acolyte’s regular form.
This lets you get value from the alternate form without spending too long away from the ability loop that makes her base kit so fluid.
The idea is simple:
- Enter the transformation when you have enemies to fight.
- Use its attacks to deal damage and take advantage of the form.
- Consider returning to your regular form once you’ve spent a useful amount of its resource.
- Build toward another transformation as the opportunity arises.
This is a practical approach rather than a mandatory rule. You may find situations where staying transformed longer makes more sense.
Anima Echo: Acolyte’s Alternate Transformation

Acolyte’s alternate transformation changes her special form. Rather than transforming into the Anima Harvester in the usual way, this alternative provides an empowered version of her default form.
If you like Acolyte’s regular kit but aren’t particularly fond of the Anima Harvester transformation, this is worth looking into.
The Hit List challenge unlocks the alternate transformation. To complete it, you need to land killing blows on 20 different monsters using Sacrifice. Different monster types count, but elite variants do not count as separate monsters. This challenge can take a while, so don’t expect to finish it instantly.
How to Recover Acolyte’s Reserve Health
If you’re struggling to stay alive with Acolyte, this is probably the mechanic you need to understand first.
Her reserve health can be confusing because healing doesn’t simply fill your normal health bar in the way you might expect.
Instead, healing contributes to your recoverable reserve. You then need to attack enemies to recover that health.
The important detail is that several of Acolyte’s attacks and abilities can help recover reserve health. This means you shouldn’t automatically retreat just because your reserve health is draining.
If it’s safe to do so, continuing to attack can help you recover the health you’ve built up.
Why Acolyte’s Health Keeps Draining
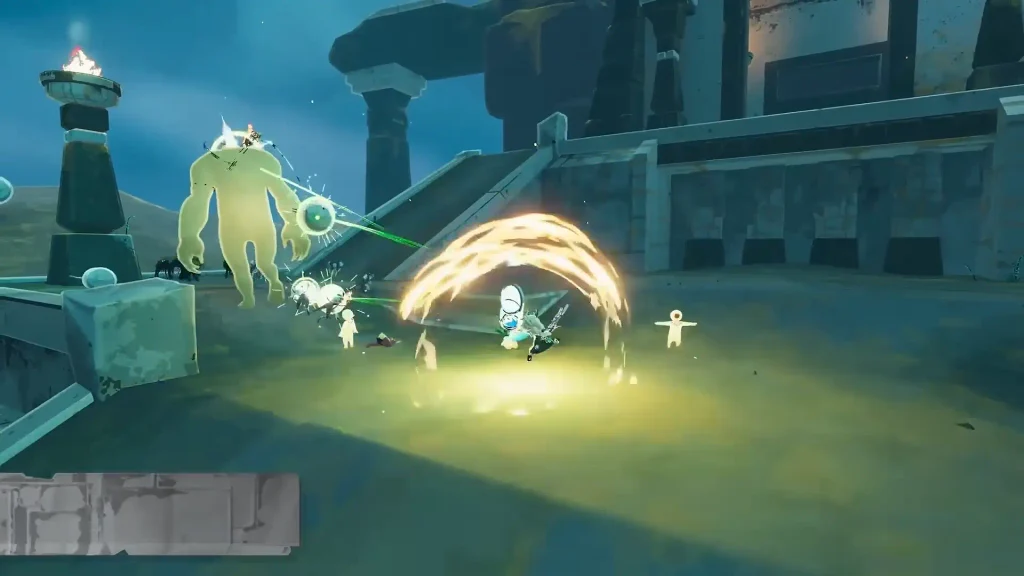
Acolyte’s reserve health decays over time, I mean you can lose recoverable health even when you’re not actively taking damage. If you spend too long running between enemies, the reserve you’ve built up may disappear.
This is one reason her playstyle feels unusual compared with other Survivors. You’re encouraged to stay active, but you also need to avoid taking unnecessary damage while trying to recover health.
A practical suggestion is to pick a Cautious Slug. It can help prevent your recoverable health from decaying while you’re outside combat.
The broader lesson is to pay attention to your reserve rather than focusing only on your regular health bar.
How to Unlock Acolyte in Risk of Rain 2
If you’re here to read about the best ways to play Acolyte, you probably have unlocked her already. Anyway I put this section in my guide in case a player needs it.
To unlock Acolyte you’ll need the Hallowed Concepts DLC and a trip to the Soulbound Threshold. Unlocking her involves surviving a boss rush and giving the fallen Survivor a little help getting back on her feet. Here’s how to do it as quickly as possible.
Step 1: Enable Hallowed Concepts and Find the Soulbound Threshold
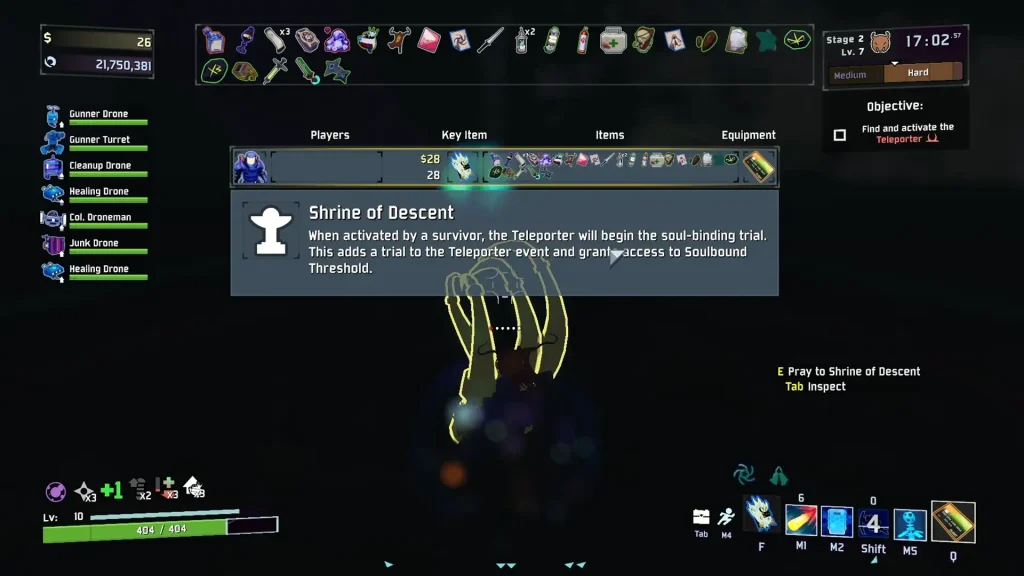
First, make sure the Hallowed Concepts DLC is enabled when you start your run. You’ll need the N’tormat and enough N’tormat Pages to access the Shrine of Descent.
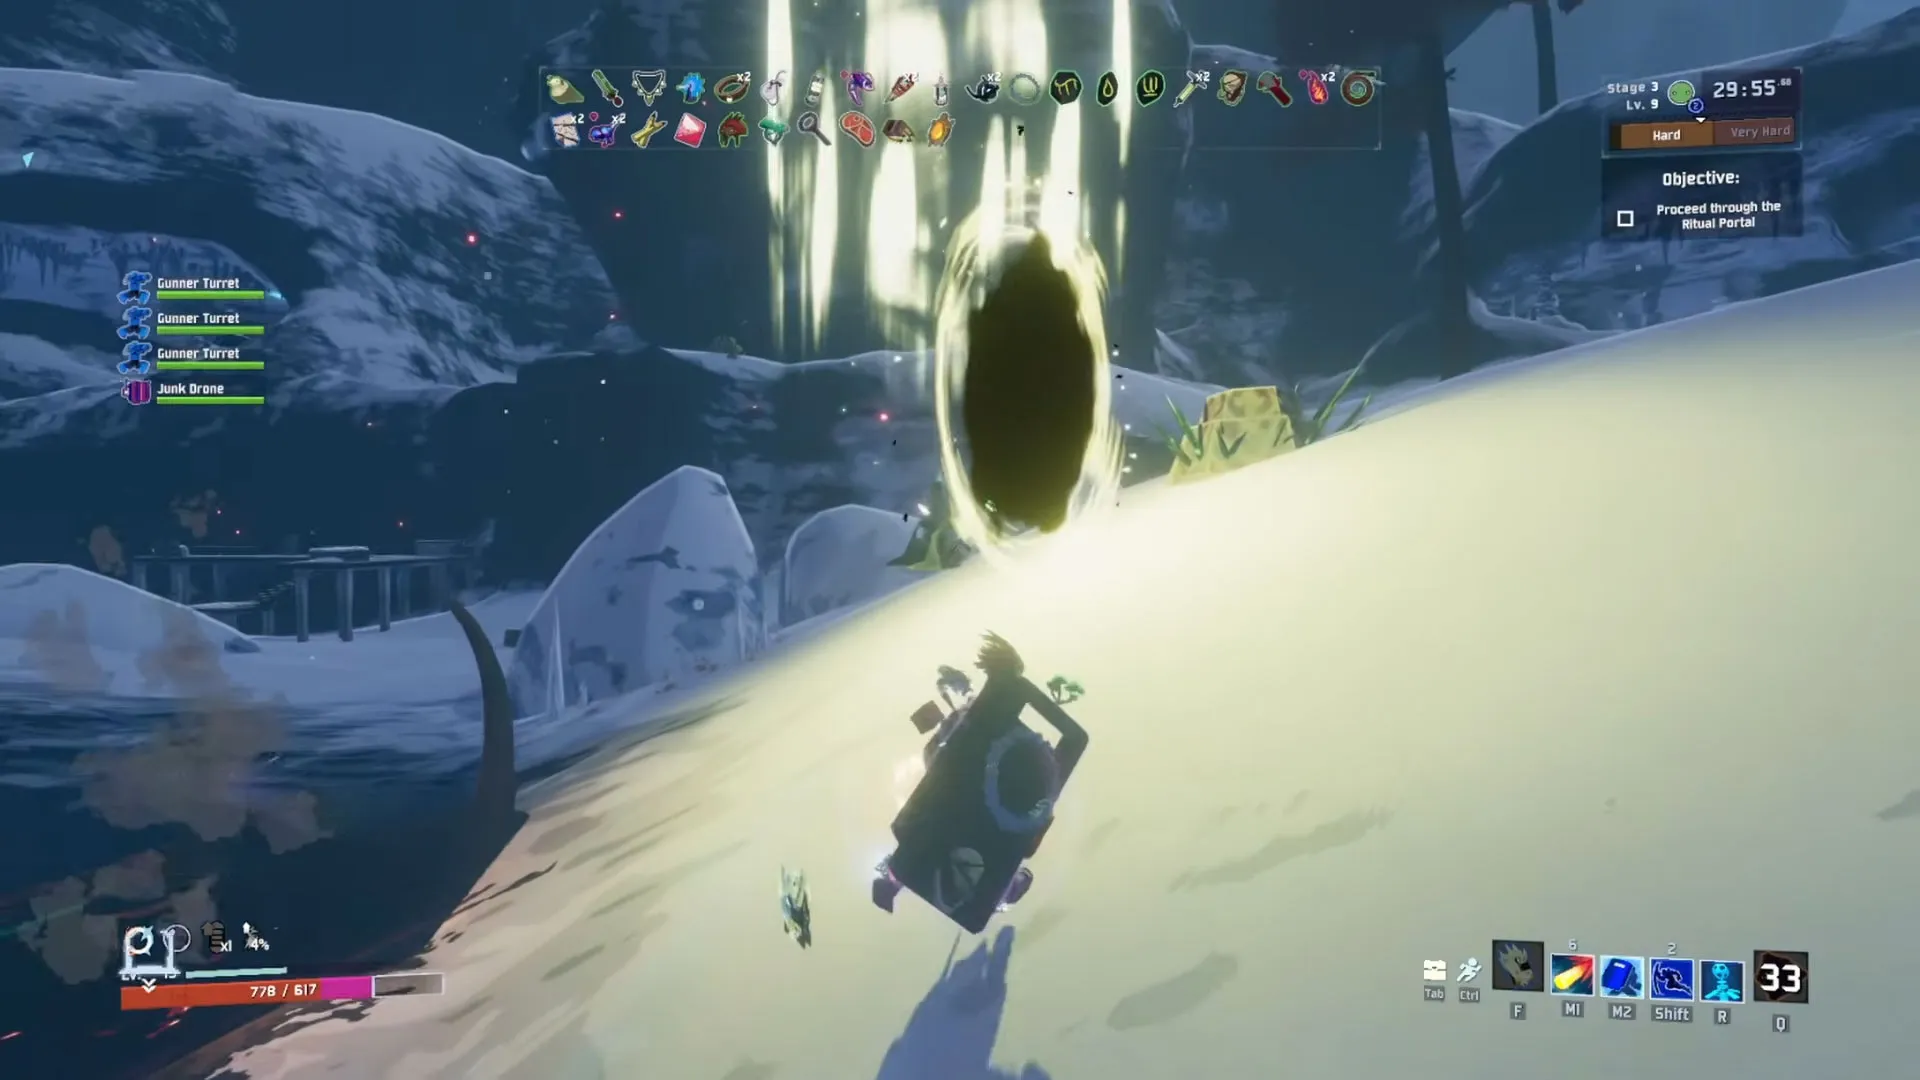
Once you find the Shrine of Descent, activate it and complete the resulting Teleporter event. After the additional boss encounter, a Ritual Portal opens, allowing you to enter the Soulbound Threshold.
Step 2: Complete the Boss Rush
The Soulbound Threshold isn’t exactly a relaxing sightseeing trip. You’ll need to activate the ritual and survive successive waves of enemies and bosses before facing the Anima Harvester.
Make sure your build is ready for a demanding fight and keep an eye on the encounter timer. You’ll need to defeat the Anima Harvester’s second phase to proceed with Acolyte’s rescue.
Step 3: Revive Acolyte
After defeating the Anima Harvester, look around the area where the boss fell. You’ll find a fallen Acolyte nearby.
Interact with her to open the revival menu. You’ll need to give her an eligible healing or food related item from your inventory. The item you choose will be consumed, so make sure you’re willing to part with it.

Risk of Rain 2