

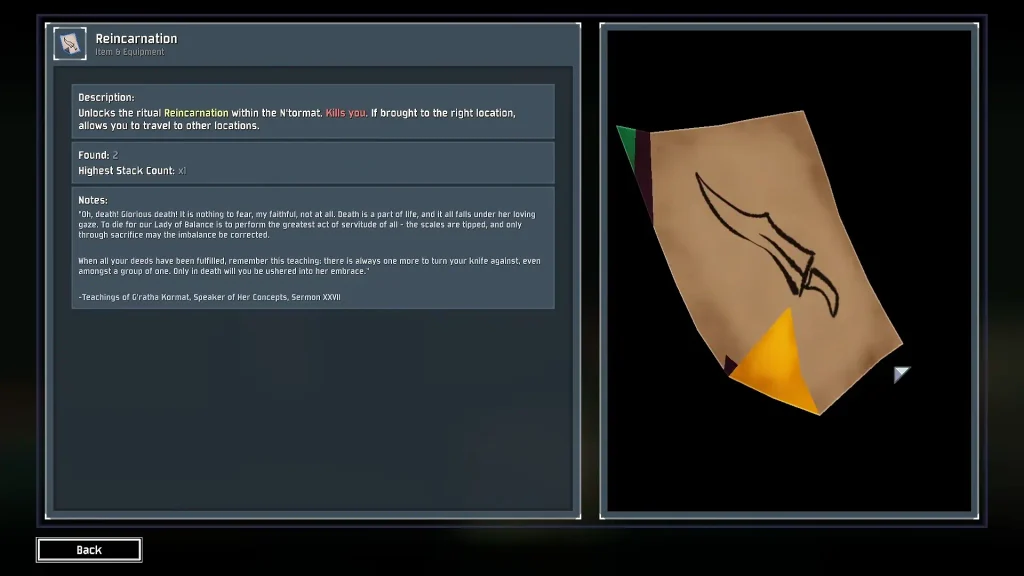
ROR2 Reincarnation is an N’tormat Page from the Hallowed Concepts DLC. It creates a delayed sacrifice circle: use it in a valid zone to travel somewhere new, or stand inside it elsewhere and you can die without going anywhere. A cast consumes the Page’s charge, not the Page permanently. The catch? You need the right location and timing, and the Page you earn is random. Here is where to use it and how to get it.
Spoiler Alert: The last section reveals a hidden area and boss. Everything above it is spoiler-free.
What You’ll Read:
What Does Reincarnation Do in ROR2
Reincarnation is one of seven Pages for the N’tormat, the new Curio from Hallowed Concepts. Equip it and activate it. Two seconds later, it strikes a circle with a 6-meter radius below you. That effect also reaches above and below the circle.
Players still inside die, including nearby teammates; weaker enemies are executed, while stronger enemies take 25% of their max HP instead. The item text makes it sound like it only hits you. It doesn’t.
For an ordinary sacrifice transfer, at least one player holding the N’tormat must still be inside the circle when it triggers. That does not have to be the caster. Outside a valid zone, the cast does not take you anywhere, and players left inside can die. The Page becomes its consumed version, which normally recharges at the start of a new stage.
After a successful transfer, it also skips its next recharge, so don’t plan on chaining it stage after stage.
How to Get the Reincarnation Page
You need the N’tormat to cast Reincarnation, and the Reincarnation Page specifically. Trials, Shrines of Compulsion and The Wake can supply Pages; the Page you receive is random, so getting another Page does not finish the job. Keep checking your inventory before you commit to the route.
Trials and the Bazaar Gong
Ring a Ritual Gong and you get a portal to a random N’kuhana Trial. Finish it and you earn the N’tormat plus a Page. Damp Caverns, Tenebrous Quagmire, Lurid Basilica and Bazaar Between Time always have a Gong. The Bazaar is the easy pick. Drop into the pit under Newt’s area, reach the ledge, and ring it.
You can chain more Trials from the reward area Gong. They share one timer, though, so don’t get greedy.
Shrine of Compulsion and The Wake
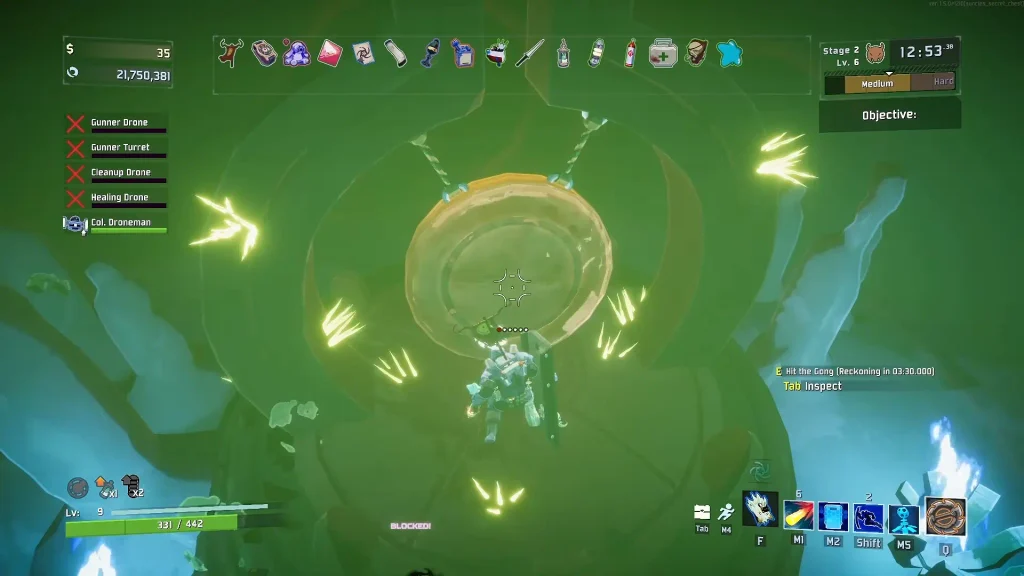
Shrines of Compulsion can show up from Stage 2 onward. Finish the objective and every living player gets a random Page, dropped near them. Don’t start one right before you leave, because it fails if you change stages. The Wake event has an Ancient Sepulcher that also gives a Page. It’s a random event, so don’t plan around it.
Artifact of Command
Several players say Command lets you pick the Reincarnation Page directly. I didn’t test this myself, so treat this as a reported workaround, not a guarantee. Some players skip it because they want an unmodified run. I get that, even if the RNG hurts.
How to Use Reincarnation in ROR2
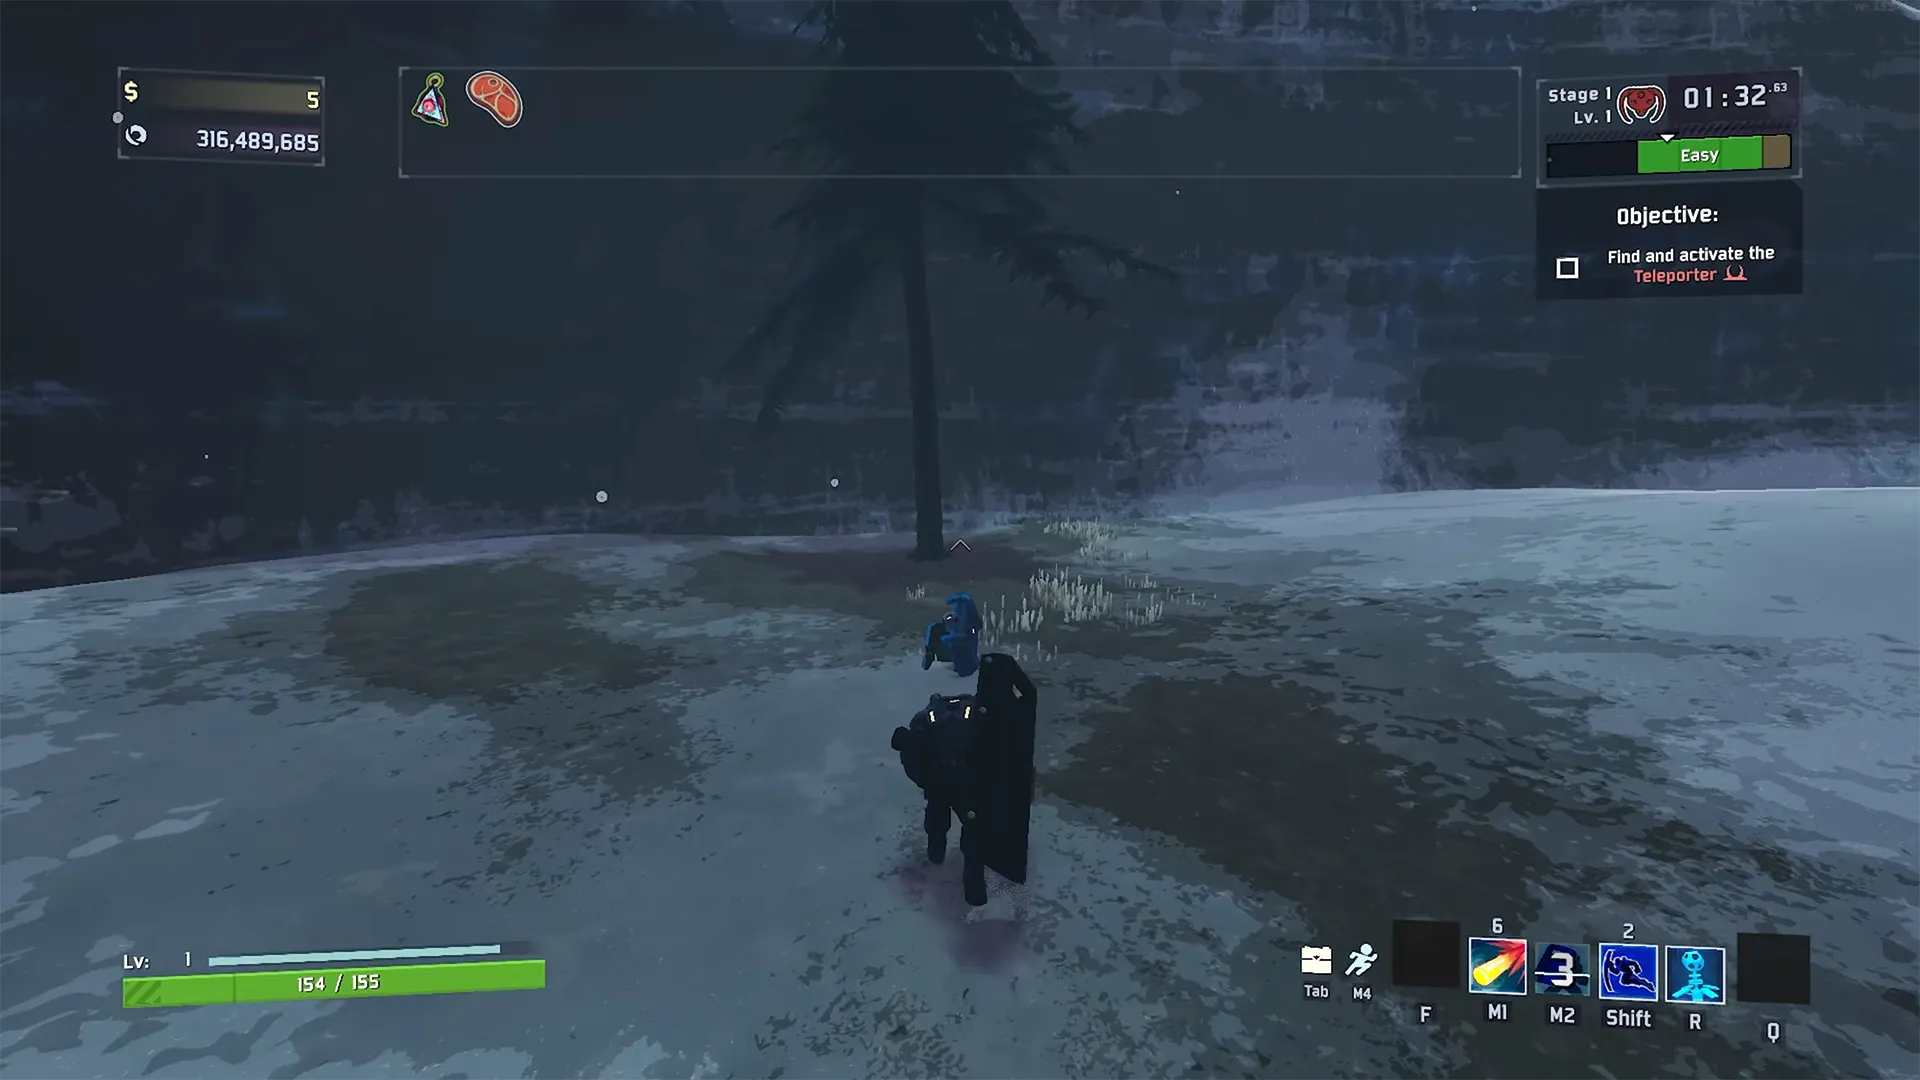
Equip the Reincarnation Page in your N’tormat, then walk into a sacrifice zone. Holding the Page in a valid zone produces the chat message “The N’tormat shudders in anticipation…” and red smoke around your character. There is no painted floor ring to follow, so check your current position rather than relying on an old chat message.
Check that you are still in the right zone before you activate it. In the wrong place, the circle can kill you two seconds later without taking you anywhere. On PC, use your N’tormat activation key (F by default).
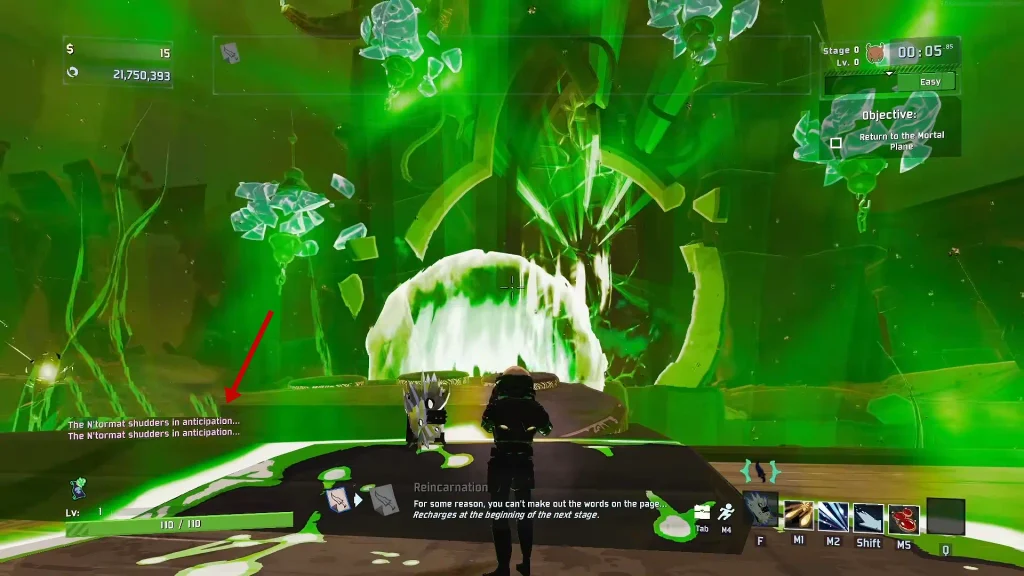
Note: The message isn’t a guarantee either. Some players still died with it on screen. More on that in the last section.
All Reincarnation Sacrifice Zones
These are the documented sacrifice zones. Check the destination and the condition for your row before casting. Some routes close after their encounter has been completed; the post-boss door interaction works differently from an ordinary sacrifice transfer.
| Stage | Destination | Landmark / Notes |
|---|---|---|
| Any normal stage (tiers 1-5) | Different stage, same tier | Whole map, during the first 30 seconds after arrival only. Stage count stays the same. The zone expires after that window. |
| Wetland Aspect | N’kuhana Trial | Cave where you unlock N’kuhana’s Opinion |
| Tenebrous Quagmire | Random N’kuhana Trial | At the glowing skull. |
| Reformed Altar | Hidden realm | At the statue’s toes. |
| Helminth Hatchery | Hidden realm | The broken sword |
| Prime Meridian | Hidden realm | False Son’s arena, after the fight |
| Bulwark’s Ambry | Hidden realm | At the statue’s toes. |
| Neural Sanctum | Soulbound Threshold | 15 m zone. Closes once the Harvester is dead |
| Iron Alluvium / Iron Auroras | Conduit Canyon | Only before you use the Conduit Canyon portal |
| A Moment, Whole | Commencement | Landmark not confirmed |
| Void Fields | Void Locus | At the center of the map, where the canyons intersect. |
| Void Locus | Planetarium | At the center of the map, where the canyons intersect. |
| Shrine of Descent Teleporter | Next normal stage | 15 m zone around the modified Teleporter |
| Soulbound Threshold (after Harvester) | Hidden realm | See the spoiler section |
Shrine of Descent and Co-op Page Requirements
The Shrine of Descent is what leads you to Soulbound Threshold, and our Shrine of Descent guide covers the full route. For Reincarnation, the Page count is what matters. Your team needs this many Pages for it to spawn:
| Players | Pages needed |
|---|---|
| Solo | 1 |
| 2 | 4 |
| 3 | 9 |
| 4 | 16 |
Spent Pages count; shredded ones don’t. The game checks when the stage generates, and the event only happens once per run.
After the Shrine’s Teleporter event, the normal Teleporter stops working, except in Conduit Canyon. Cast Reincarnation within 15 meters of it to skip Soulbound Threshold and reach the next stage.
How to Open the Soulbound Threshold Door
This section names the hidden area and its boss. Skip it if you want to find out yourself. You’ve been warned!
Using the Door
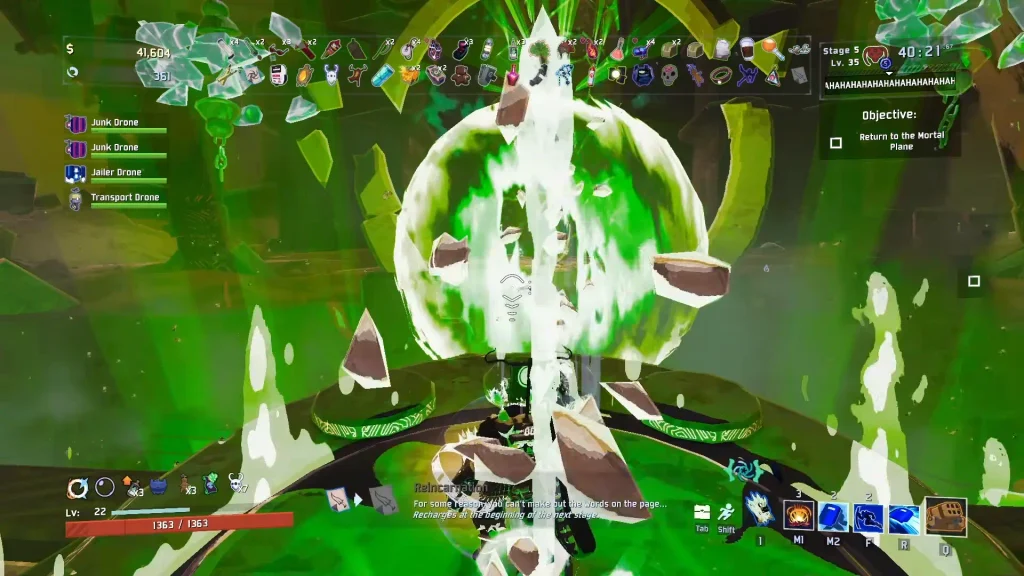
After you beat both phases of the Anima Harvester, return to the central altar and interact with “Beseech the orb” to complete the ritual. Then use an available Reincarnation charge inside the activated sacrifice zone near the central pedestal.
Check the chat cue and red smoke before casting. This opens the Veil of Memory: use the “Go beyond the veil” interaction to enter Terminal Lucidity and reach the Echo of Providence.
That’s the success story from the tutorials, and it’s not a safe recipe. Players (myself included) died casting at the door, at the console, and next to Acolyte’s body. One had the cue, no mods, and still lost the run. A creator calls the spot “finicky.” I can’t give you a confirmed safe position.
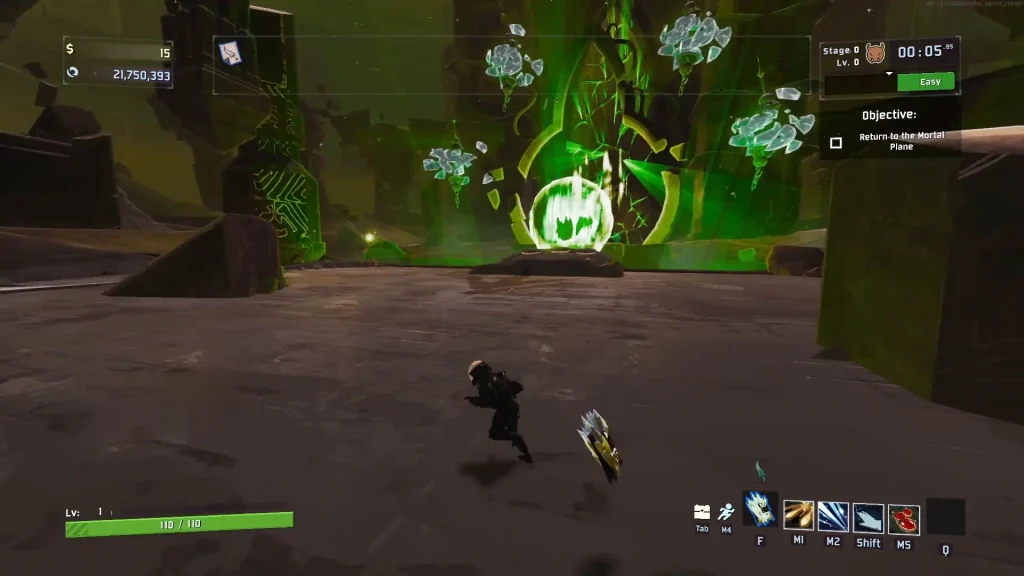
Reviving Acolyte is a separate interaction with her fallen body, not the trigger for the hidden door. If that is your goal, follow the Acolyte unlock steps before leaving Soulbound Threshold.
Memento Mori Skins
Beating the Echo unlocks a skin for Bandit, Engineer, Artificer, REX, Captain or Acolyte. It only counts for the Survivor you played that run, and there’s no Stage 4 deadline.
That’s everything about Ror2 Reincarnation. Did you find something I missed? Write in the comments below and I’ll add it to the guide.
FAQ
Can I use Reincarnation more than once per stage?
Yes, if you hold extra copies of the Page. Each copy gives one more cast that stage. The Dream Crucible item may also save a Page, but a pre-release developer diary described that as a chance, not a guarantee.
Does the Anima Harvester drop the Reincarnation Page?
No. Some players want that added, but it isn’t a current reward. You still need Trials, Shrines of Compulsion, or The Wake.
Can Reincarnation damage bosses?
One viewer says they cast it, step outside the circle before it goes off, and hurt Teleporter bosses. It’s a player tactic, not a confirmed strategy.
Risk of Rain 2