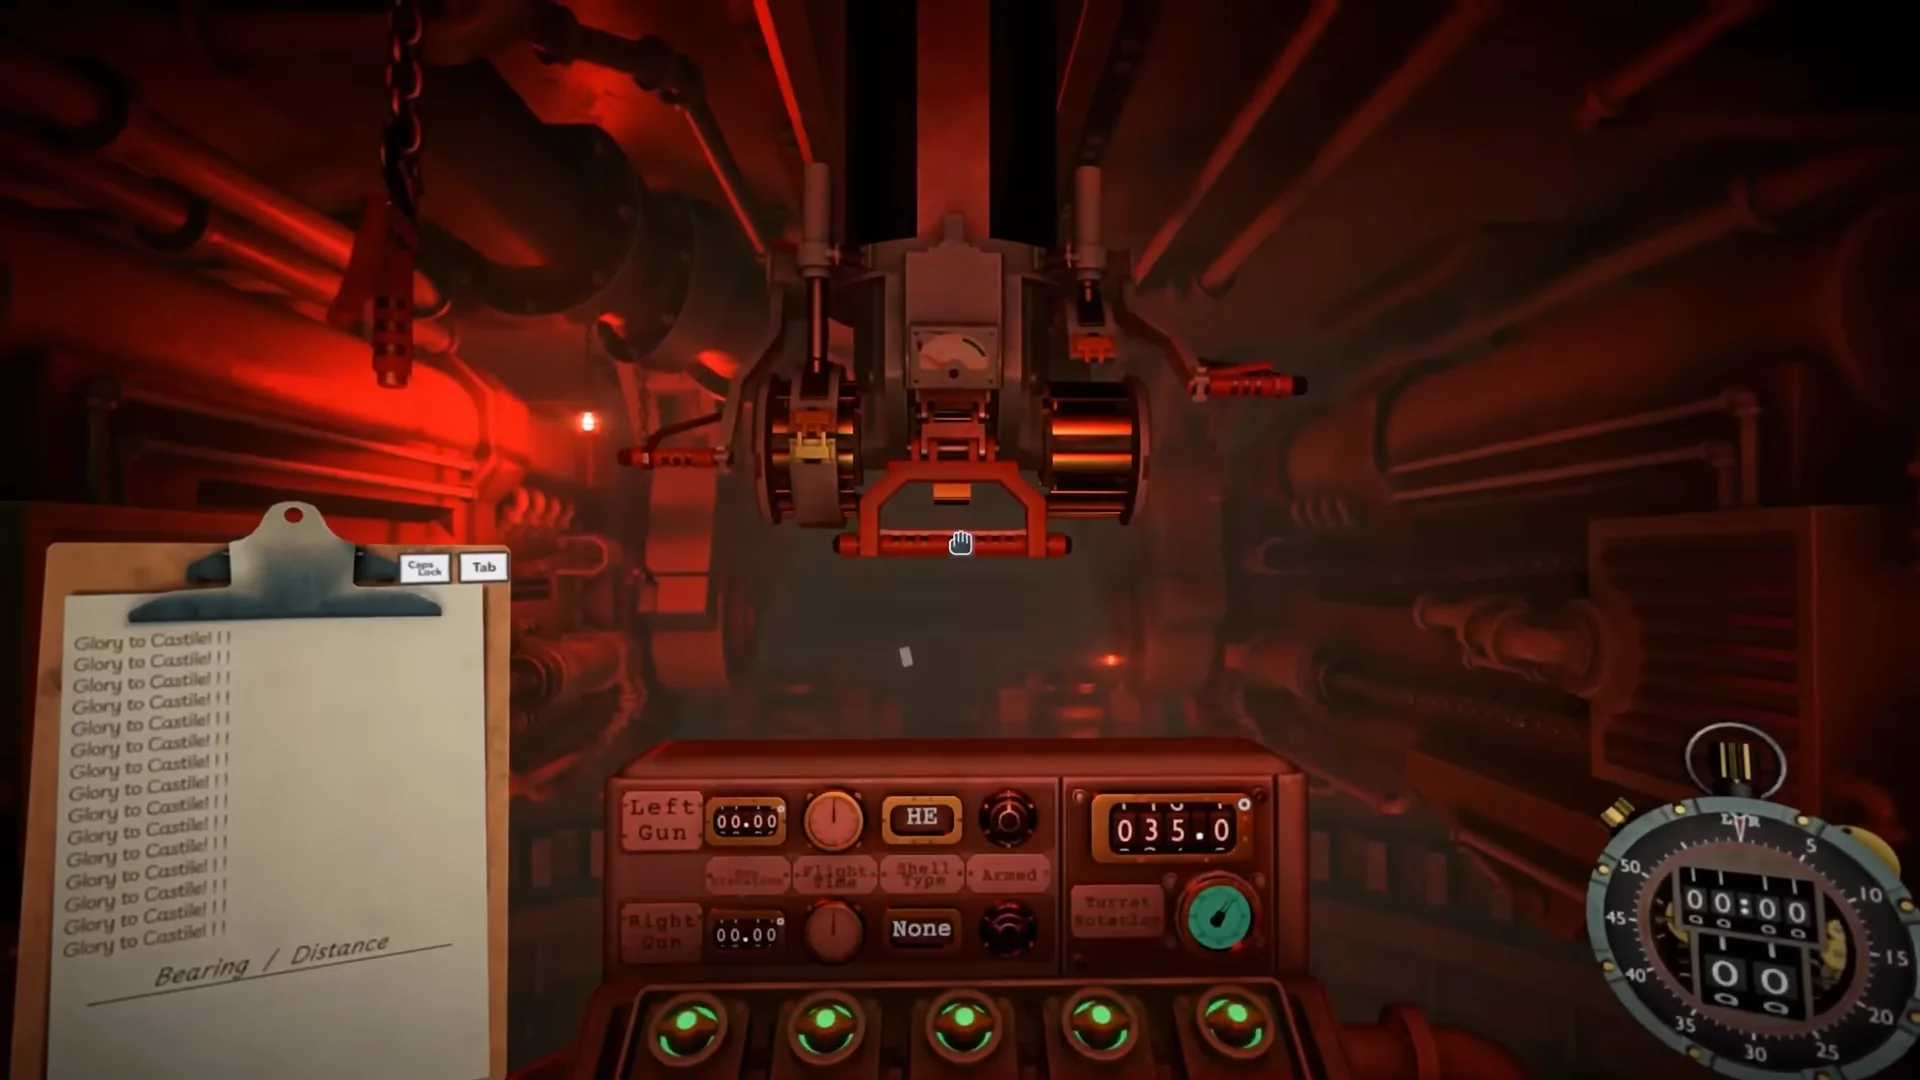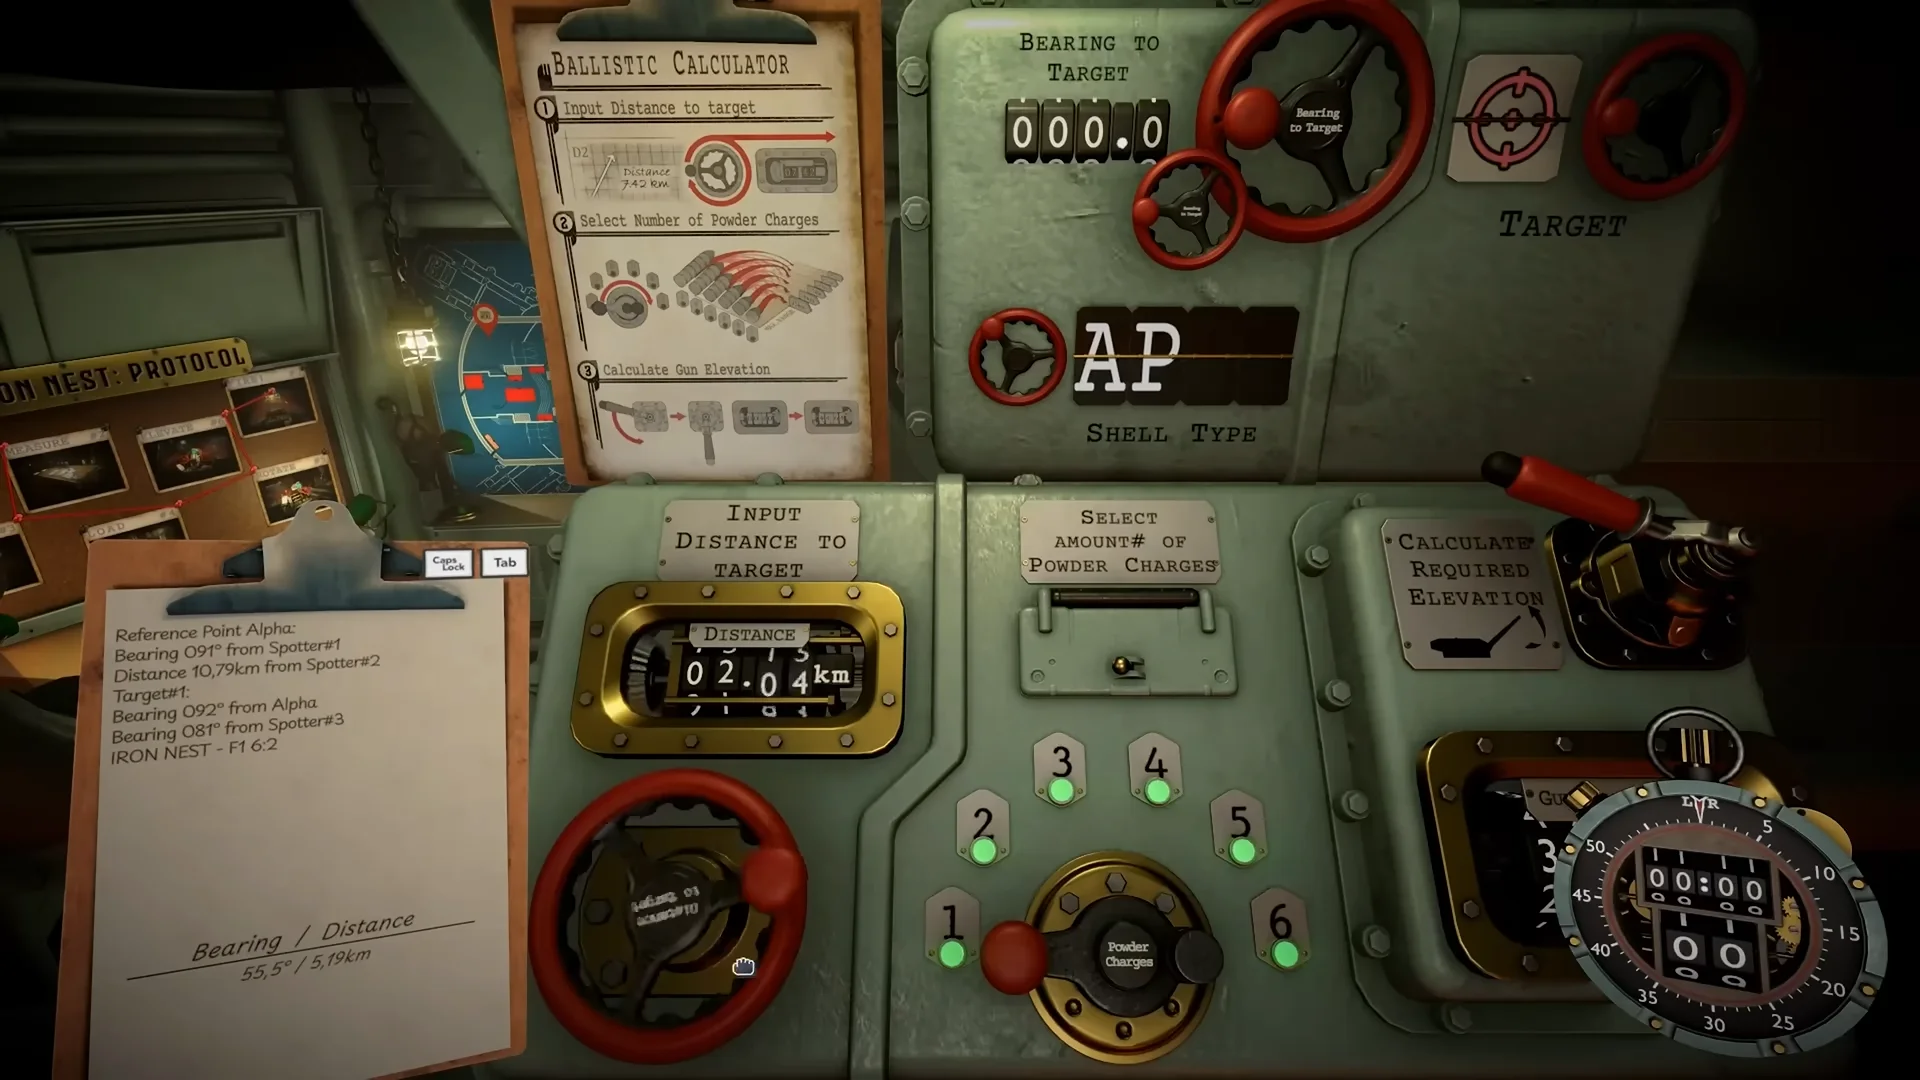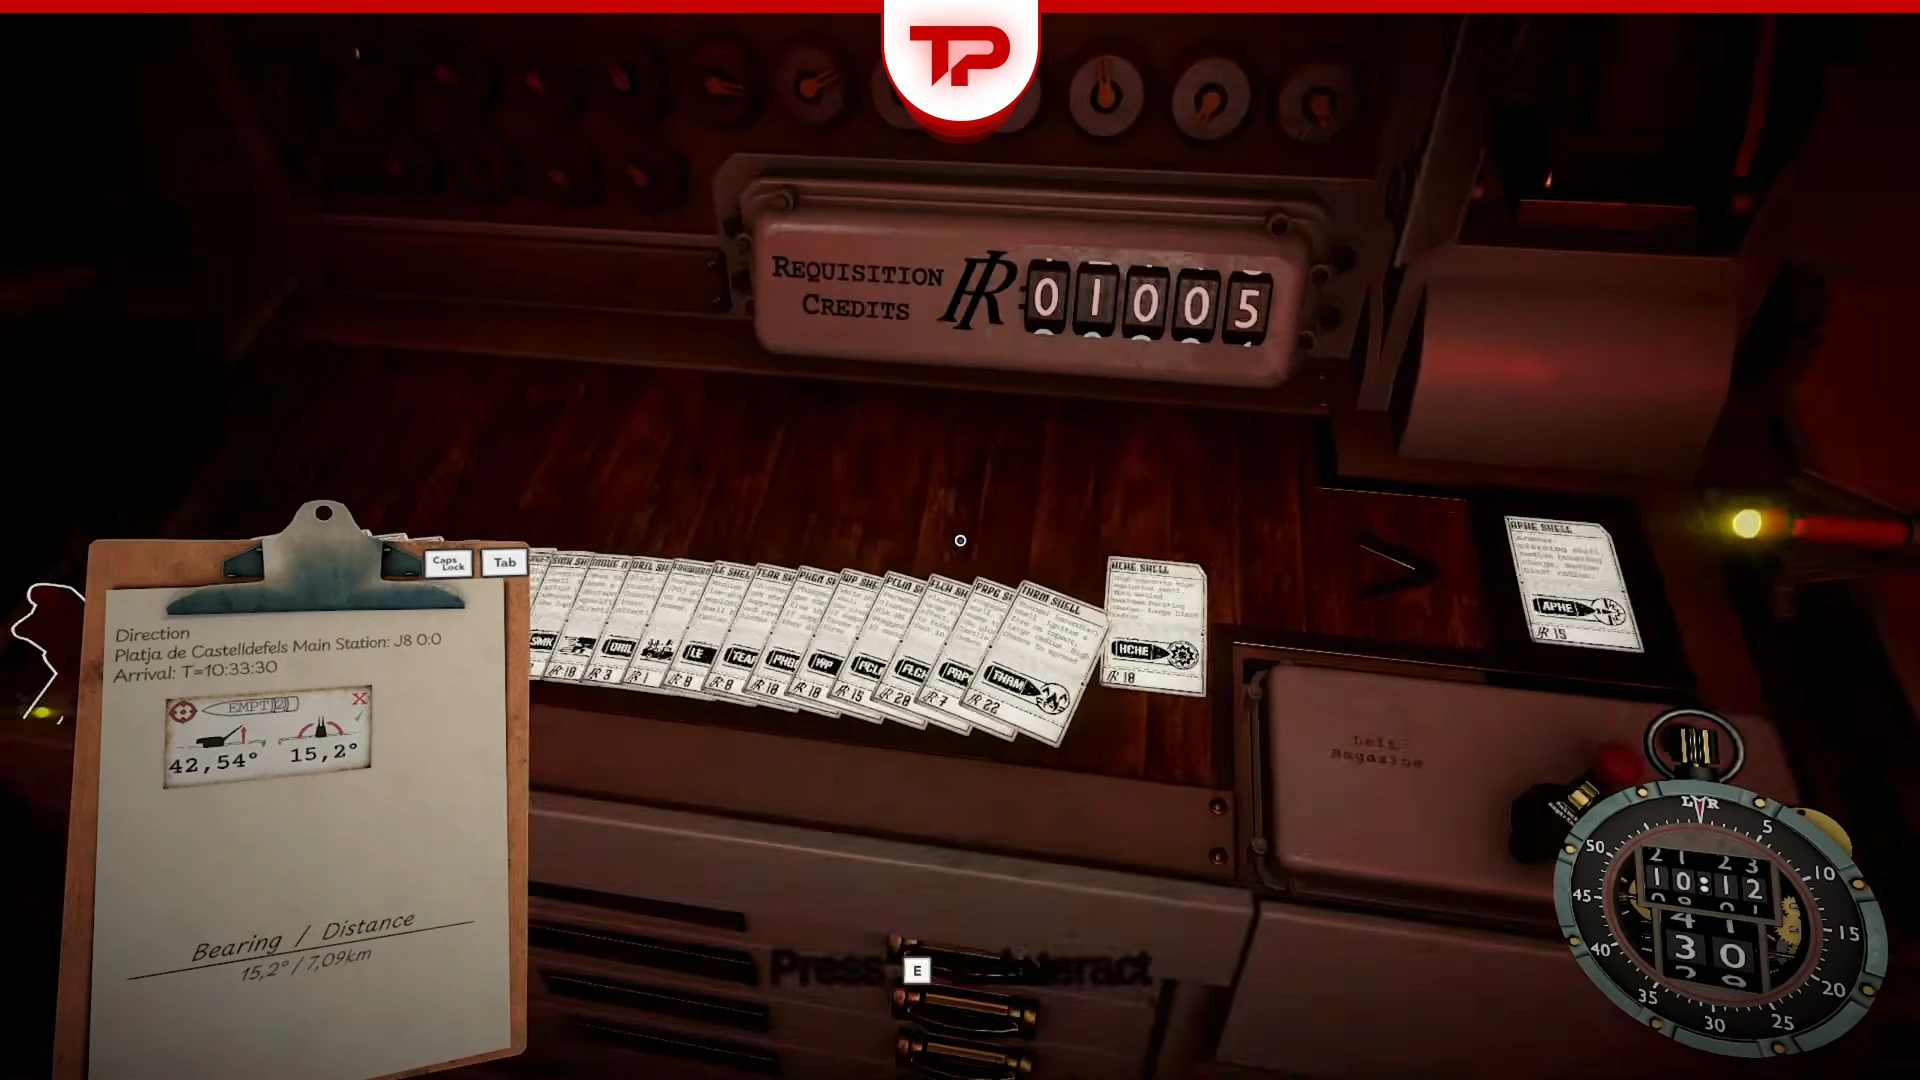


Iron Nest hands you a giant gun, a map covered in paperwork, and about twenty different ways to ruin somebody’s day. Aiming is hard enough on its own, but the part that quietly decides most missions is which shell you put in the breech. Pick wrong and you can’t take it back. In Iron Nest Ammo guide we have covered what each shell does and what kind of target are they most suitable for. Tested on PC, patch 1.0 (1558), across the full 15-mission campaign.
What You’ll Find in This Guide:
Important Note: There are actually 21 different shells or ammo. Quick test for any list you find: if it still has PYRO, TGAS or PGAS in it, you’re reading outdated demo data.
Iron Nest Ammo Basics: Powder Sets Range, Shell Sets Effect
This is very important to understand about Iron Nest ammo, and plenty of guides imply the opposite. The range of your shot is not determined by the shell you choose.
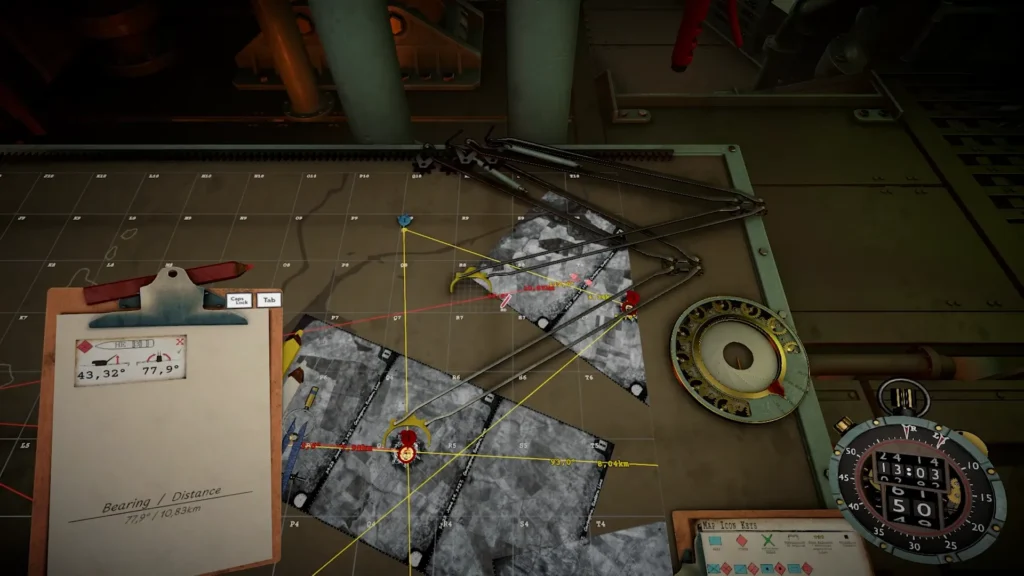
Why this matters in practice: once you’ve pinned down a target’s position with triangulation, that firing card works for any shell you like. Ranged the spot with a practice round? Same numbers work for the atomic shell. You’re never recalculating because you switched ammo.
All 21 Iron Nest Shells in One Table
Blast and damage figures come from the game’s own data files. Demo-era hands-on testing produced slightly different numbers.
| Code | Name | Damage | Blast | Cost | Best for |
|---|---|---|---|---|---|
| AP | Armour-Piercing | 2 | 0.15 | 10 | Bunkers, tanks, coastal batteries, underground forts |
| APHE | AP High-Explosive | 2 | 0.25 | 15 | Armour when your firing solution isn’t perfect |
| EQKE | Earthquake | 2 | 0.55 | 26 | Buried targets and bunker complexes |
| ATMC | Atomic | 2 | 3.00 | 666 | Story weapon only |
| HE | High-Explosive | 1 | 0.25 | 10 | Single soft targets. Your default round |
| HCHE | High-Capacity HE | 1 | 0.55 | 18 | Two or more soft targets in one circle |
| LE | Low-Explosive | 1 | 0.15 | 8 | Precision work near friendlies or civilians |
| CLMN | Cluster | 1 | 0.50 | 17 | Spread-out infantry and vehicle columns |
| PLCM | Parachute Cluster | 1 | 0.15 | 15 | Targets moving through a point |
| INCN | Incendiary | 1 | 0.25 | 12 | Fuel and ammo caches, dug-in positions |
| THRM | Thermal Incendiary | 1 | 0.35 | 22 | Dense flammable areas |
| TEAR | Tear Gas | 0 | 0.75 | 8 | Revealing hidden units, setting up combos |
| PHGN | Phosgene | 1 | 0.62 | 10 | Killing personnel, leaving buildings standing |
| WP | White Phosphorus | 0 | 0.75 | 10 | Suppressed troops, plus fire chance |
| CYAN | Cyanogen Gas | 1 | 0.75 | 28 | Large groups of infantry in the open |
| FLCH | Flechette | 1 | 0.62 | 20 | Wide sweeps against infantry on foot |
| SMK | Smoke | 1 | 1.00 | 2 | Directing your own infantry |
| STAR | Illumination | 0 | 0.50 | 2 | Night missions and cheap scouting |
| PRPG | Propaganda | 1 | 0.50 | 7 | Suppression and desertion, no casualties |
| DRIL | Drill / Practice | 1 | 0.07 | 3 | Ranging shots with no collateral |
| EMPT | Empty | 1 | 1.00 | — | Unknown |
The game sorts these into three internal classes: anti-armour (AP, APHE, ATMC, EQKE), no damage (STAR, TEAR, WP), and standard (everything else). Worth noting that WP sits in “no damage” even though it kills suppressed units.
The Armour Breakers Shells: AP, APHE, EQKE, ATMC
AP
The armour cracker — one of four shells with damage 2, and the tightest blast radius among them. There’s no splash to cover a sloppy shot, so only fire it at a target you’ve actually located. It’s also your answer to the Enemy Iron Nest.
APHE
A version of AP that forgives near misses. Same penetration, medium blast. Pick this if your firing solution is shaky or soft units are clustered around the hard target.
EQKE
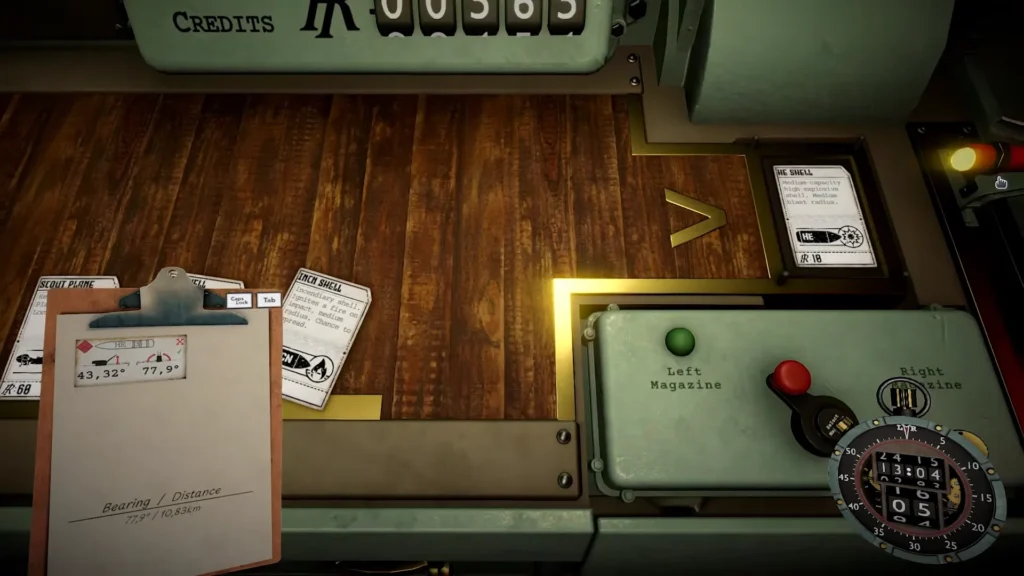
Earthquake is arguably the best all-round shell in the game and badly under-used. It punches deep, bursts underground, and pairs AP damage with an HCHE-sized blast. For buried objectives and bunkers it does AP’s job with far more room for error.
ATMC
The atomic bomb itself. Not a tactical option. It costs 666 requisition (the next most expensive card is Emergency Move at 65), it’s flagged as not normally purchasable, and it auto-ejects. It has the biggest blast in the game, roughly 3x SMK’s radius and 5.5x HCHE’s, so use it carefully.
The Blast Shells: HE, HCHE, LE, CLMN, PLCM
HE
Your main shell and the cheapest reliable kill in the game. Use it on artillery, infantry, mechanised units and civil riots. Efficiency medals reward HE over overkill, so don’t reach for something bigger than you need.
HCHE
Double HE’s radius, but it’s not an armour-piercing round, its damage is the same as HE, just spread over a bigger circle. That big circle catches friendlies too. Ally kills cost 10 requisition and the Measured Fire star, so check the blast area first.
LE
A weaker HE. That sounds pointless until you’re firing near friendly lines or civilians, where HE’s radius becomes a liability. Niche, but useful.
CLMN
Scatters six HE bomblets on impact. Good when soft targets are spread wider than one HE circle. Some players find clusters inconsistent next to HCHE, so test it yourself.
PLCM
The same six bomblets, dropped by parachute about ten seconds apart. That timing is the point. Use it on targets moving through a spot rather than sitting in it, and for kill-streak medals that want spaced-out kills.
The Fire Shells: INCN and THRM
INCN
Starts a medium fire with a chance to spread. Best on fuel dumps, ammo caches, and entrenched positions. The spread is free damage.
THRM
The same idea, scaled up. Bigger fire, high spread chance. On a dense flammable area with a proper chain reaction, it has the best kills-per-shell ratio in the game.
Important Note: some experienced players rank both below conventional explosives, because fire spread is a gamble and HCHE isn’t. If the map hands you a fuel depot, take the fire anyway.
The Gas and Anti-Personnel Shells: TEAR, PHGN, WP, CYAN, FLCH
TEAR
Zero damage, so people ignore it. What it actually does is suppress units and reveal hidden ones. That makes it a scouting tool, and it’s very strong on counter-battery missions where you’re hunting artillery you can’t see.
PHGN
This is where TEAR pays off. Phosgene makes units flee the cloud, but suppressed units die in it. So suppress with TEAR or PRPG first, then drop phosgene on top. It also kills personnel while leaving infrastructure standing, which matters on some objectives.
WP
Phosgene with a fire chance. Same suppress-first rule.
CYAN
Kills exposed infantry in bulk and does nothing to fortified units. At 28 requisition, check your target’s cover before you spend.
FLCH
Covers a huge area but only kills infantry on foot in the open. Vehicles, armour and anything under cover take no damage. The narrowest use case in the game, and genuinely good inside it.
The Support Shells: SMK, STAR, PRPG, DRIL
SMK
The most under-rated round in Iron Nest. “Smoke” sounds like concealment, but allied units advance toward the impact point. Smoke is a movement order you fire out of a cannon. It also costs 2 requisition, tied with STAR for the cheapest shell in the game.
STAR
Lights up an area for scouting, which is what carries night missions like Final Harvest. It costs 1 requisition against 60 for a Scout Plane. It does nothing else, so load it deliberately.
PRPG
Suppresses enemy troops with leaflets and can make them desert. The pacifist option, and the main route to one particular ending.
DRIL
An inert concrete practice round with the smallest radius in the game. Perfect for ranging shots and calibration. One catch: it still counts as a destructive round for ending purposes.
EMPT and MSTD: The Two Unexplained Iron Nest Shells
EMPT
EMPT appears in the ammo data with no in-game description, and its listed stats contradict each other. It isn’t tied to any ending. It may just be an empty or calculator state rather than real ammunition. Anyone who tells you confidently what it does is guessing.
MSTD
MSTD is stranger. It’s a mustard (YX) blister agent that shows up in the punchcard data, but it has no entry in the 21-shell ammo database and appears in no ending filter. So it’s either cut content, a late addition, or locked to one scripted mission. If you’ve seen this round in a mission, let me know in the comments.
Iron Nest Ammo and the Four Endings
Your ammo choice in the final mission is the ending. Here’s the filter:
| Ending | Shells that trigger it |
| A City in Celebration | STAR, SMK, PRPG |
| A City Silent | HCHE, AP, HE, APHE, ATMC, CLMN, DRIL, EQKE, INCN, LE, PLCM, THRM |
| A City Subdued | TEAR, PHGN, CYAN, FLCH, WP |
| The Road Not Taken | No shell filter, reached by destroying artillery instead |
The thing to notice is how wide the “A City Silent” list is. Practically any conventional round counts, including the practice shell. That’s why people fire something harmless to test the waters and accidentally lock in the destruction ending. If you’re chasing a specific one, the full walkthrough is in our Iron Nest endings guide.