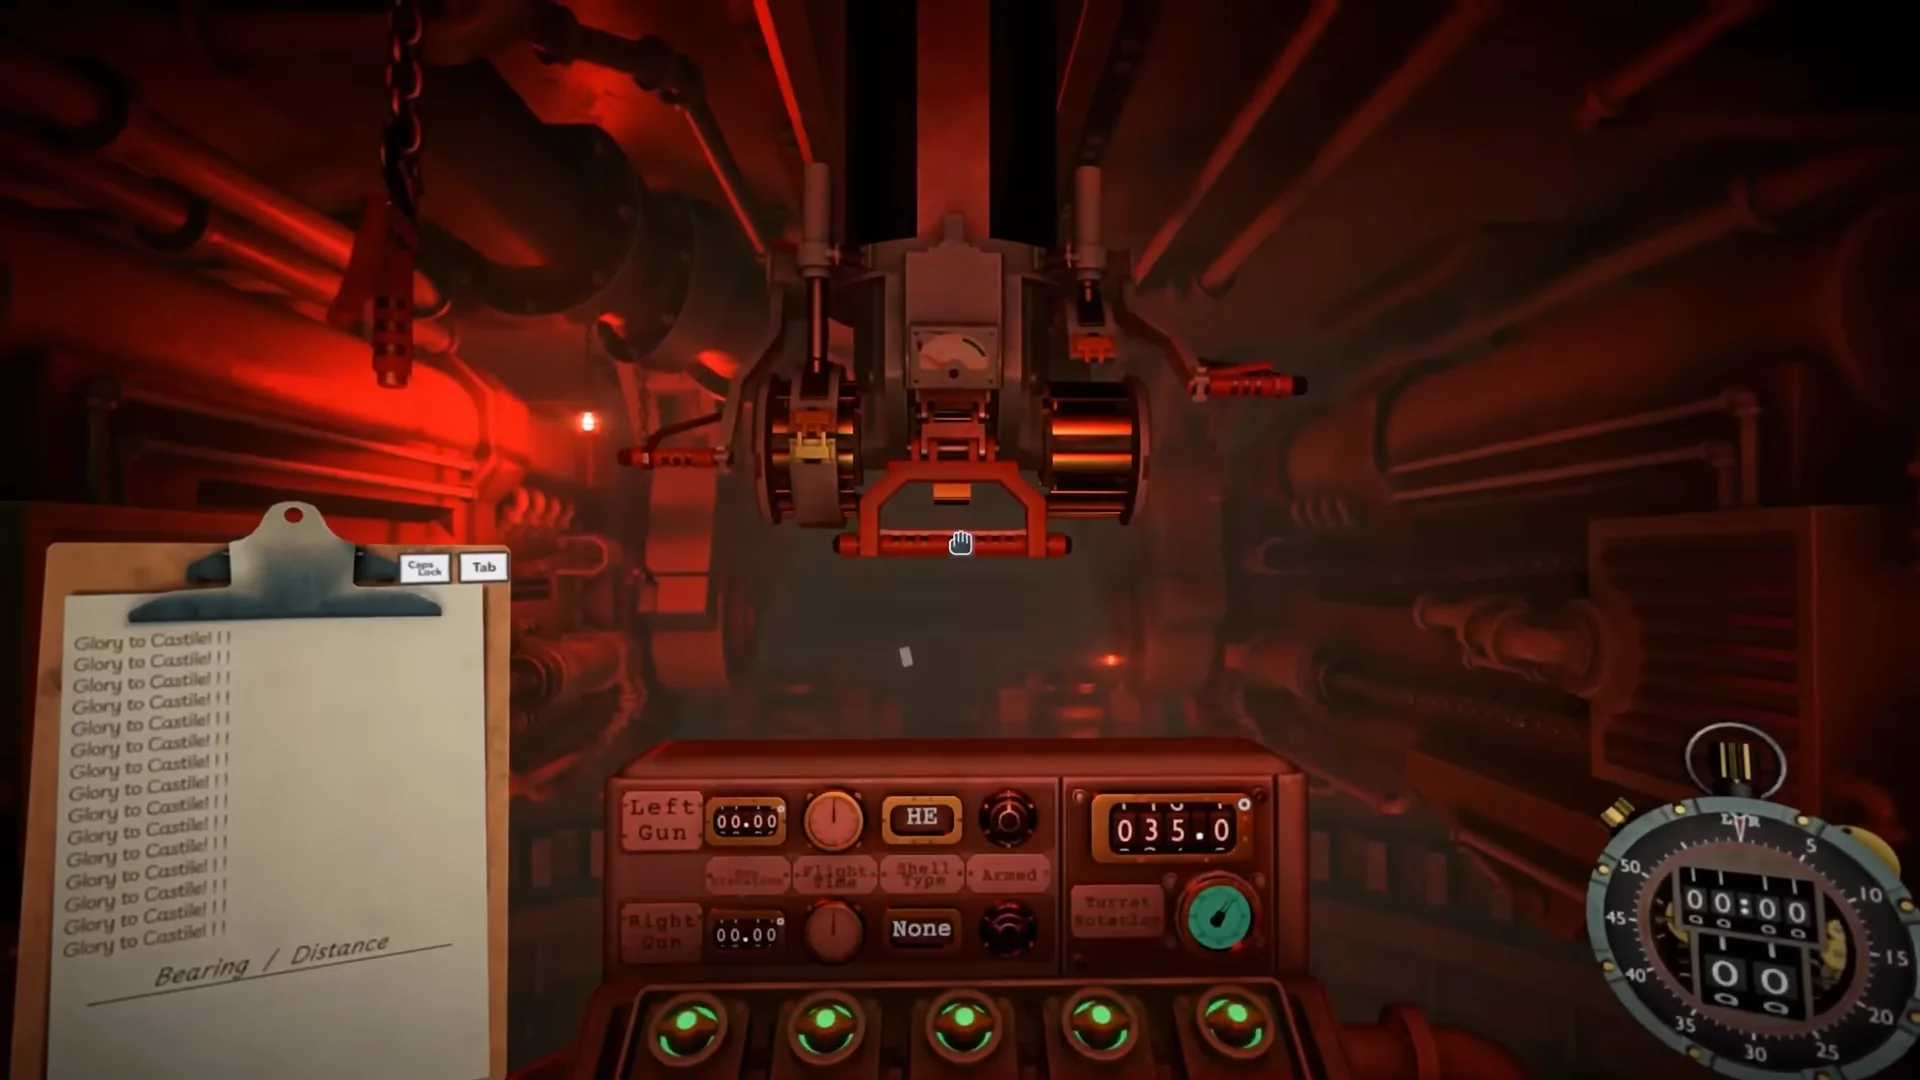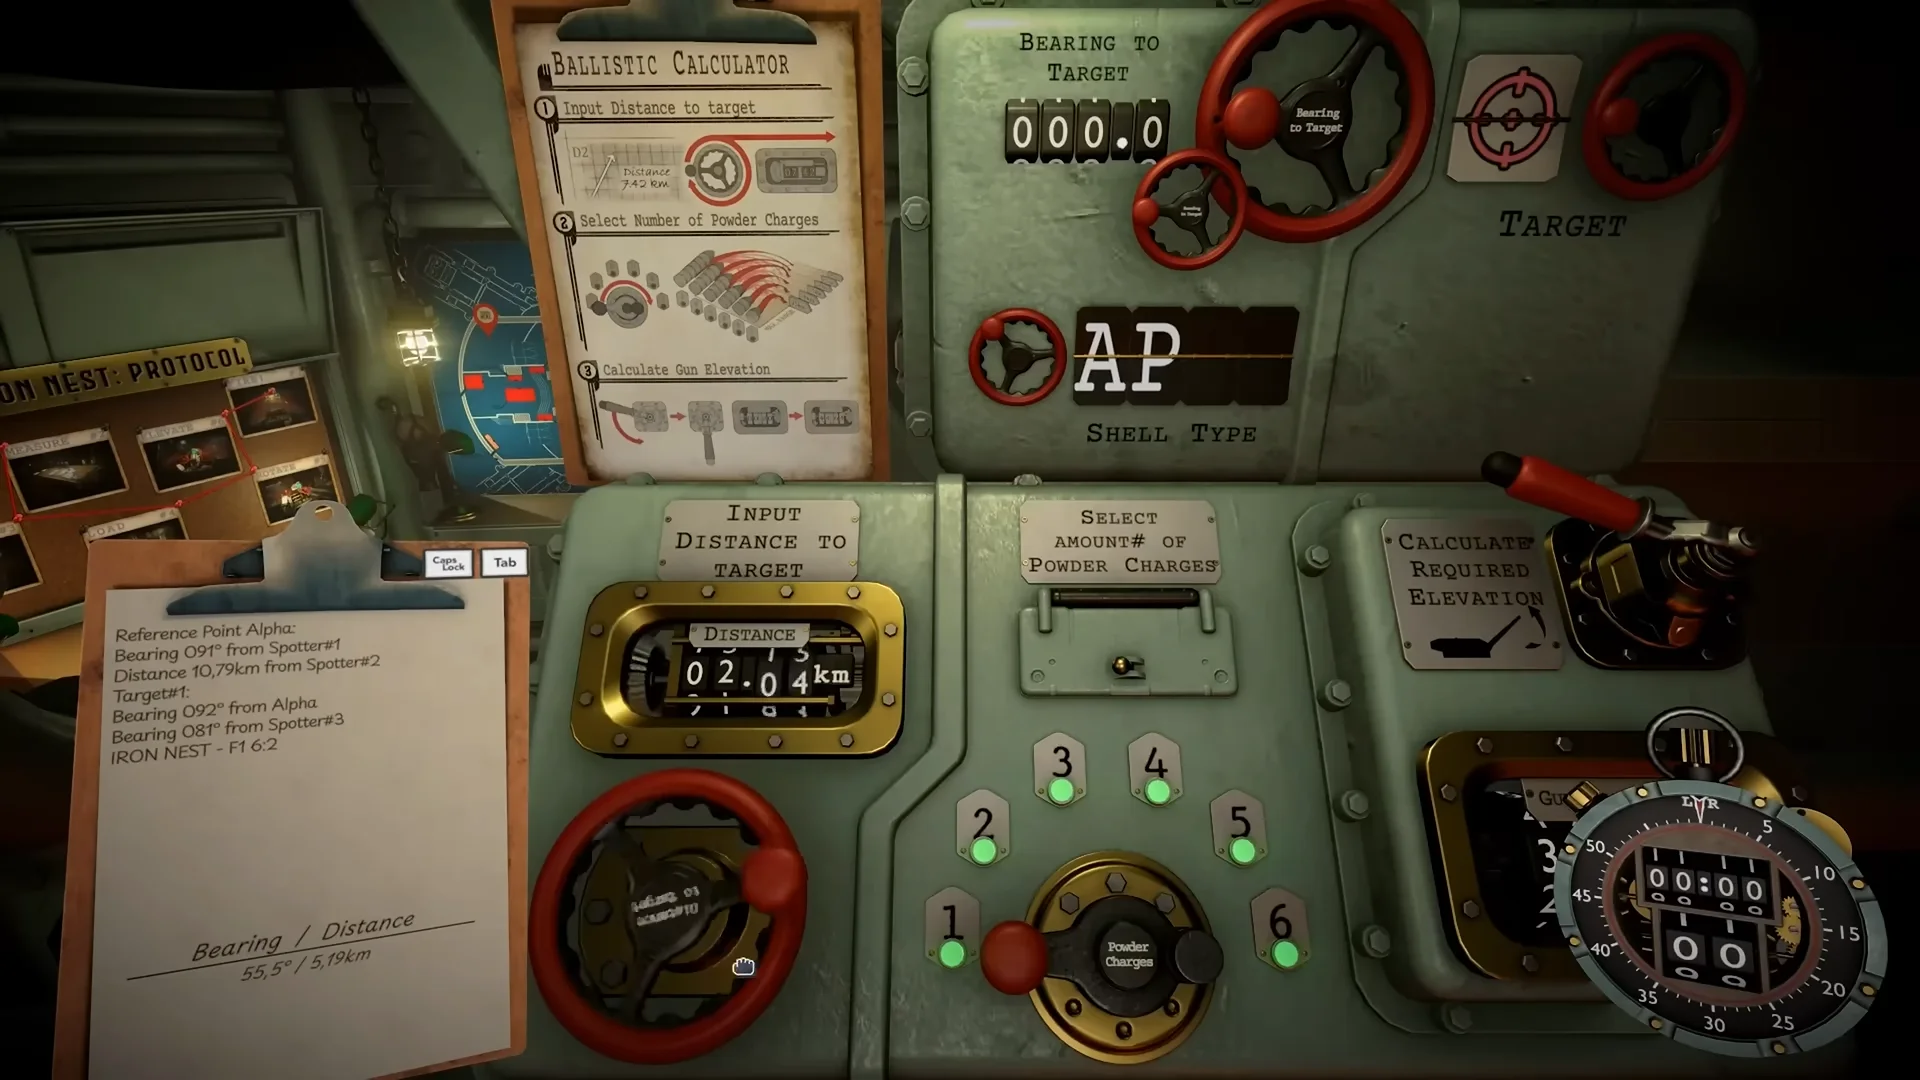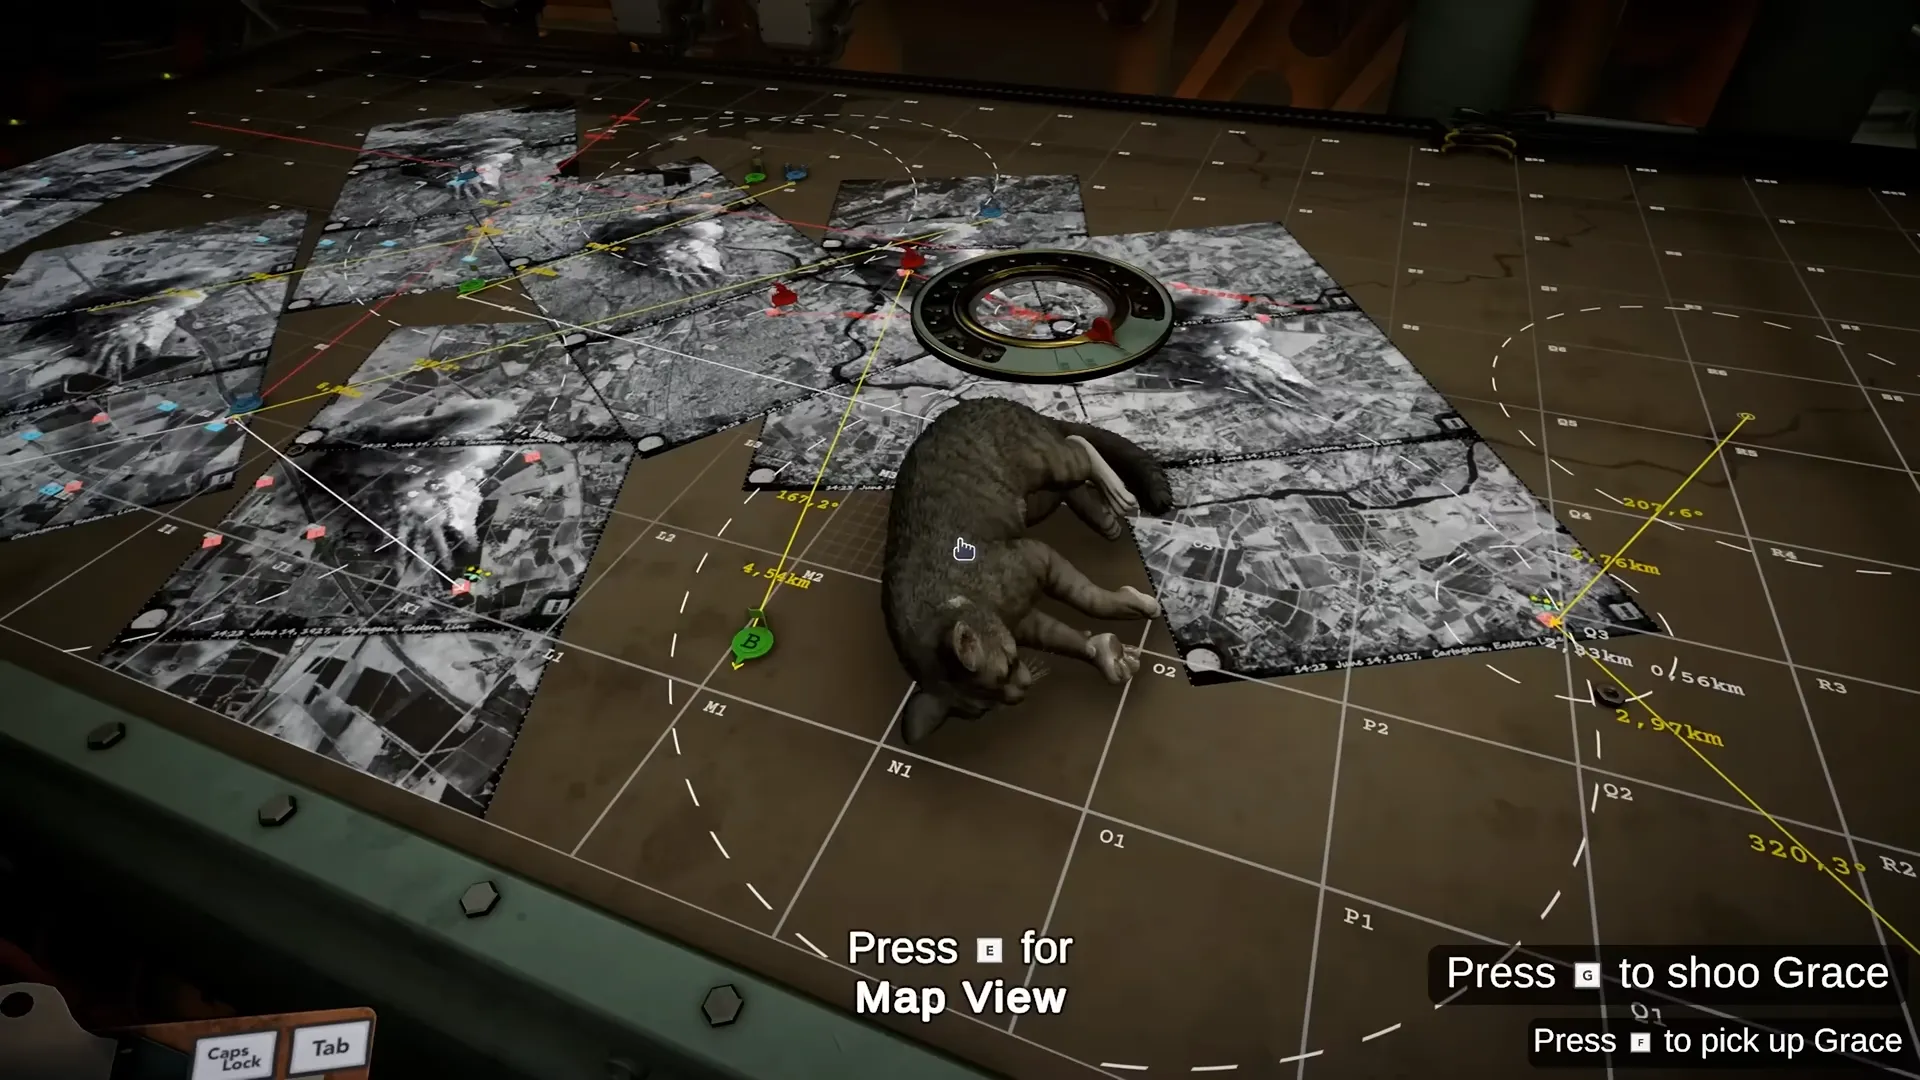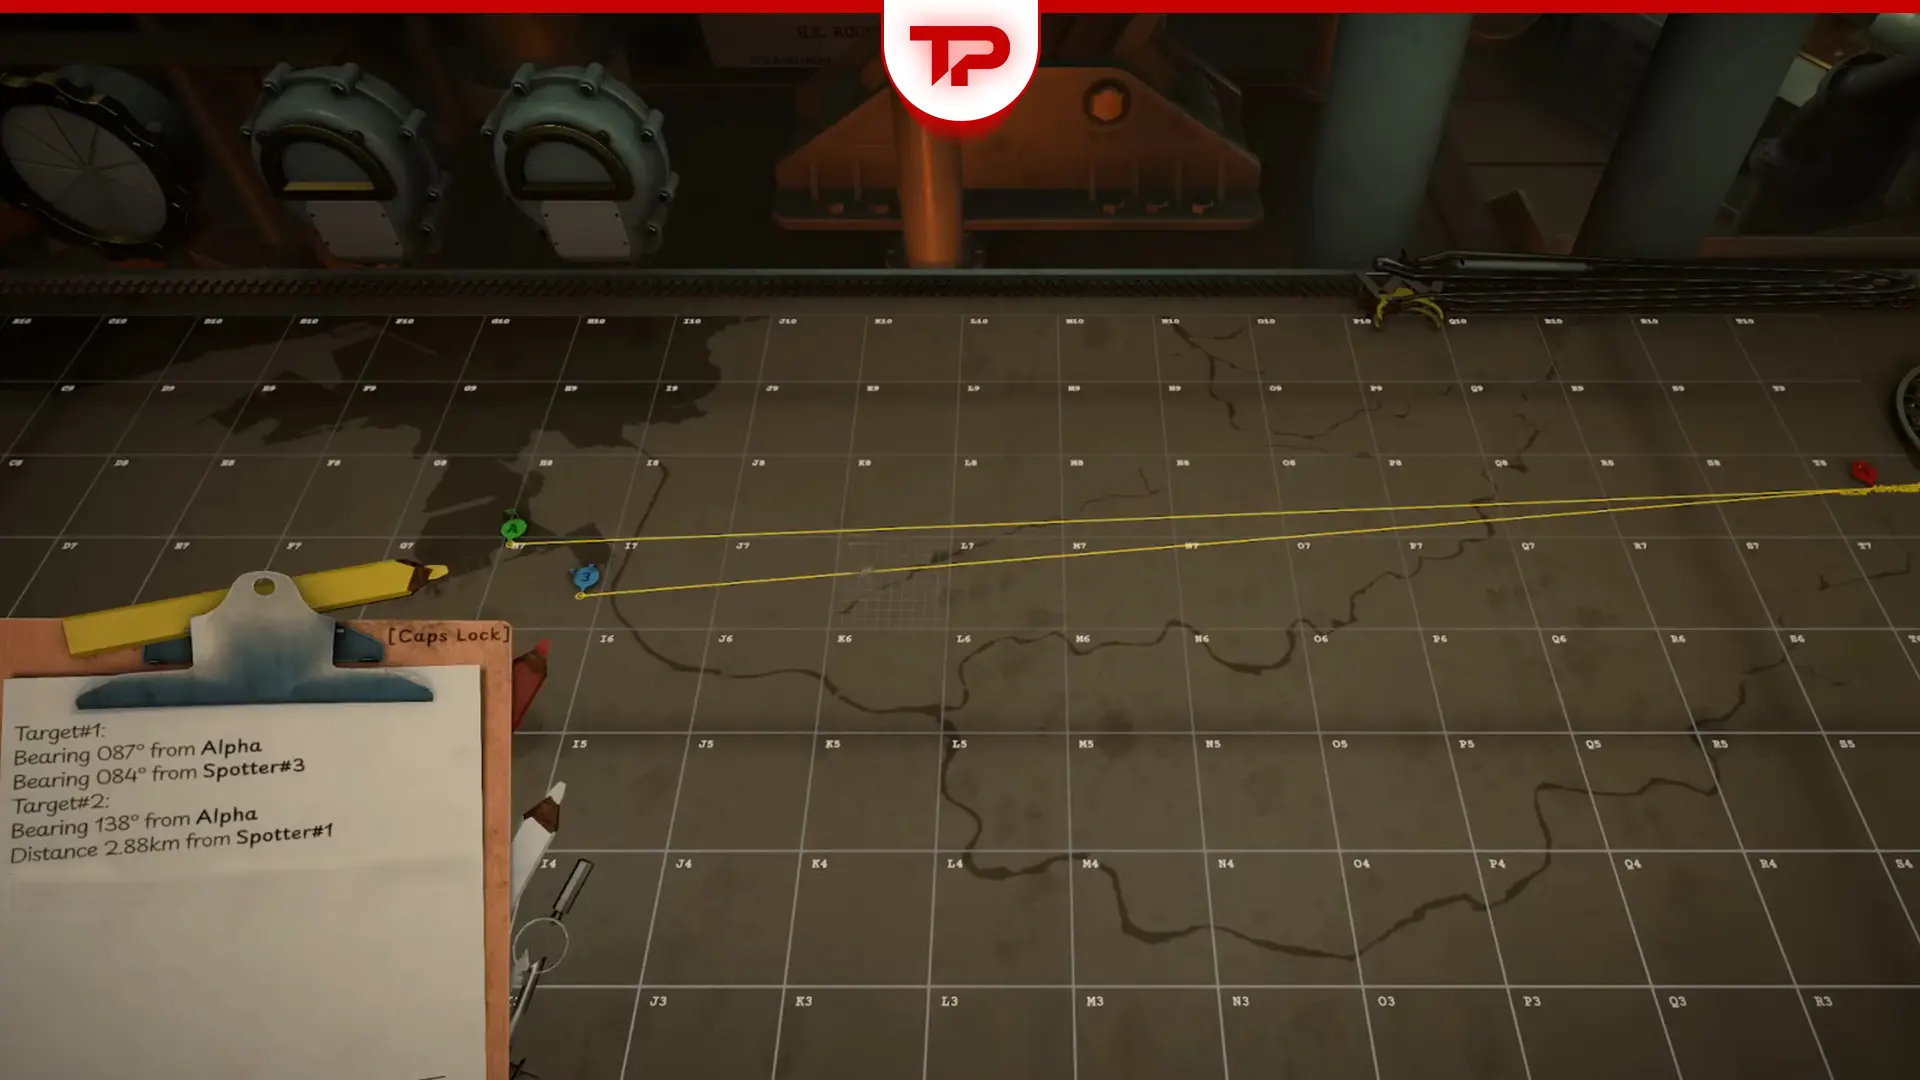


Triangulation is the real heart of Iron Nest. Here’s how to do it the best:
Place each spotter at the coordinates High Command gives you. Draw the reported bearing from that spotter, not from the Iron Nest. Where two bearing lines cross is the target. If you’re given a distance, use the compass to draw a range circle instead. Once you’ve found the target, use the red pencil from the Iron Nest to the target to get the bearing and range for your firing solution.
That was all you needed about Triangulation. If it wasn’t enough and you need more information, follow the text.
All About Triangulation:
Understanding the War Table Grid
The war table runs columns A to T left to right and rows 1 to 10 bottom to top. Every large square is divided into a 10×10 sub-grid (0–9 left to right, 0–9 bottom to top).
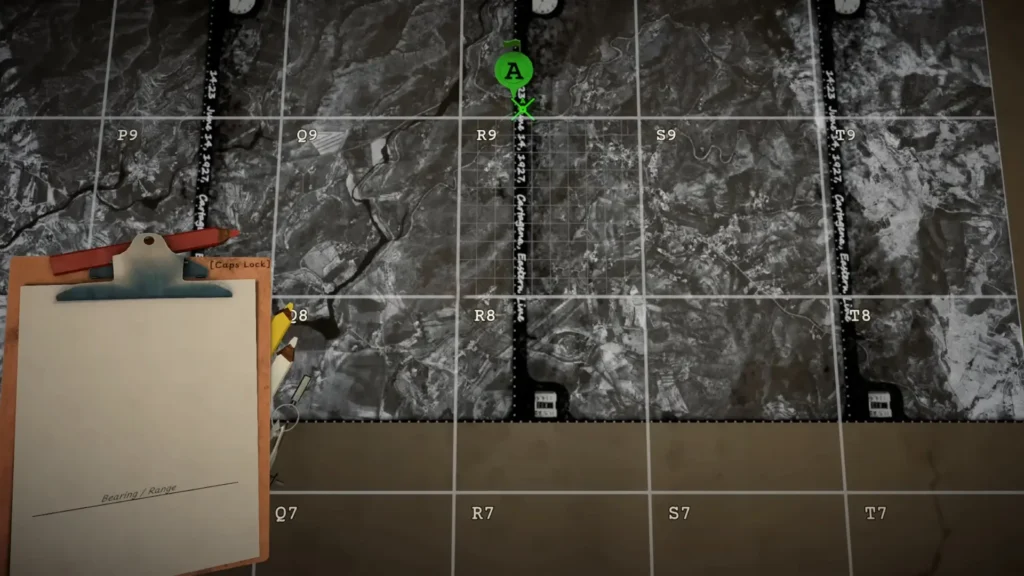
Always place tokens as close to the exact sub-cell as possible. Being one sub-cell off is enough to miss.
After understanding the war table (it’s simple), it’s time to understand some more basics of the game.
First Step: Place Everything You Already Know
Before you draw a single line:
- Read the teleprinter (printout) carefully.
- Place the Iron Nest token at the exact coordinates given. Point the spiky part of the model at the exact center of the sub-cell. This is your origin point for the final measurement.
- Place every spotter using the blue tokens at their reported positions. Double-check every coordinate. A single wrong spotter placement will ruin every target that relies on it. You can move the Nest later, but the game will print a new location message. Always re-read it.
You can move the Nest later, but when you do, the game will print a new location message. Always read it.
What Do the Spotter Coordinates Mean?
Some players treat the two coordinates as targets instead of spotter positions and this is a big mistake.
The coordinates High Command gives you are the spotters’ positions, not the target positions. Put Spotter 1 at the first coordinate and Spotter 2 at the second. Then take the bearing (or distance) each spotter reports and draw it outward from that spotter. The intersection of those lines (or circles) reveals the actual target.
Players who treat the two supplied coordinates as targets instead of observer locations will never get a correct fix.
The Four Essential Map Tools in Iron Nest
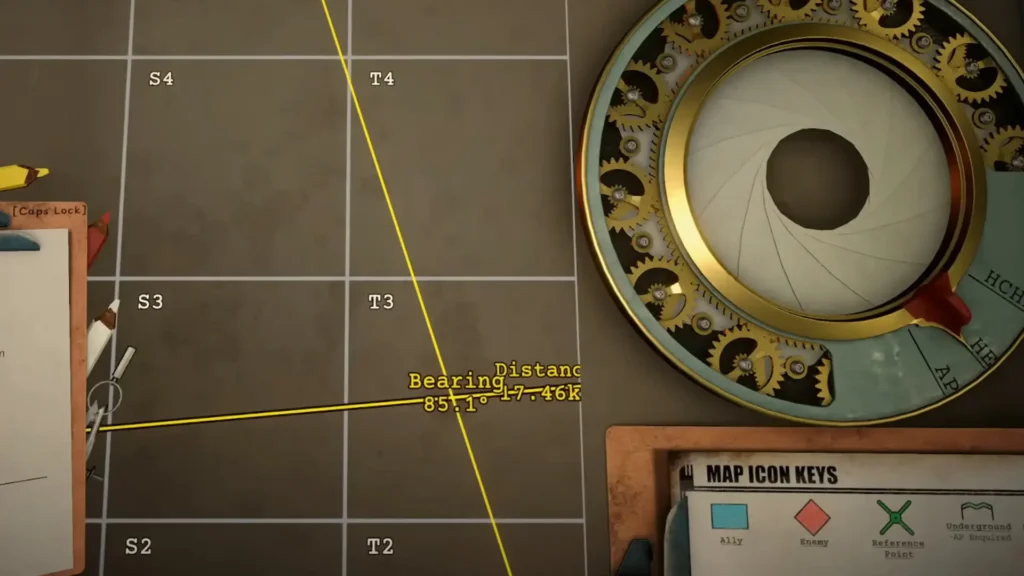
You can’t do a professional triangulation without knowing these map tools, believe me:
| Tool | What it does | When you use it |
| White pencil | Freehand drawing only | Planning order, highlighting areas, notes |
| Yellow pencil | Shows live bearing + distance while you drag | Finding reference points and targets |
| Red pencil | Draws from Nest to target and automatically copies bearing + range to clipboard | Final firing solution only |
| Compass | Draws a perfect distance circle | When you are given a range instead of (or with) a bearing |
Right-click deletes any line or token. There are also buttons on the table to clear all tokens or all measurements at once.
How to Triangulate Targets Like a Pro
You will almost always receive two pieces of data for each target or reference point. Here’s how to combine them.
Two Bearings
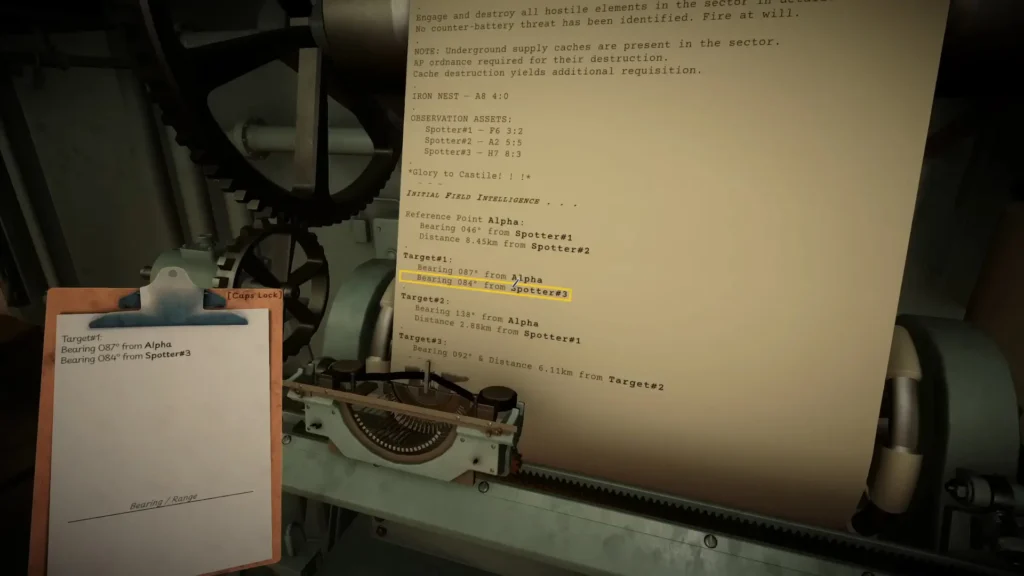
As far as I know, this is one of the most common types of data the game provides.
- Take the yellow pencil.
- Start at the exact sub-cell of Spotter 1 and drag a line in the exact reported bearing (e.g. 186°). Stretch it all the way to the edge of the map.
- Repeat from Spotter 2 with its bearing.
- Where the two lines cross is the target. Drop a red token there.
One Bearing Plus One Distance
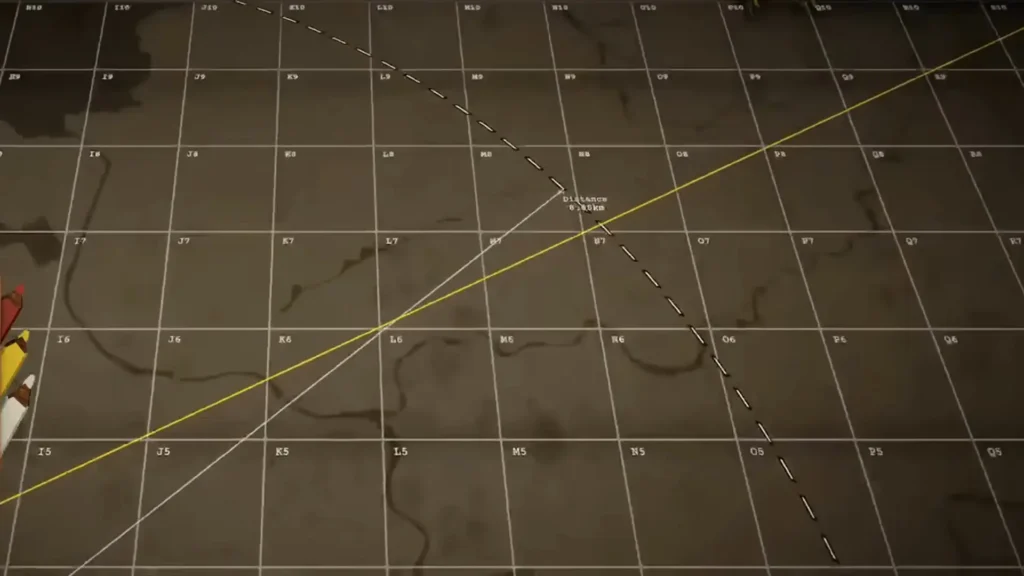
Many times, the data is a bearing plus a distance. In this case, follow the steps below:
- Use the yellow pencil for the bearing (long line from the known point).
- Switch to the compass tool from the second known point and set it to the exact distance given.
- The circle will cross the yellow line at the target location (sometimes two possible points, use a star shell or recon plane to confirm).
Triangulate with Two Distances
This method pops up when the game gives you pure range data and no bearings at all. Grab the compass tool and do this:
- Click on the exact sub-cell of the first known point (usually a spotter or a reference point you’ve already placed).
- Set the compass to the exact distance given for that point and draw the circle.
- Repeat from the second known point with its own distance.
The two circles will cross at two places (almost always). One of those intersections is your target. The other is a ghost location that just happens to sit at the same ranges.
To figure out which one is real, you usually need a third piece of info like a star shell or a third measurement if the game gives you one later. Until then, mark both possible spots with temporary tokens so you don’t lose them.
How to Work Relative to a Previous Target
Sometimes the printout doesn’t reference a spotter at all. Instead, it says something like: “Target 3, bearing 096° and 6.48 km from Target 2”.
This is actually one of the easiest situations once you understand it.
You already have Target 2 sitting on the map as a red token. That token now becomes your new “known point,” right?
Just treat it exactly like you would treat a spotter:
- For the bearing: take the yellow pencil, start at the centre of Target 2’s token, and drag a long line at 096°.
- For the distance: switch to the compass, start at the same Target 2 token, and set it to 6.48 km.
Where the yellow line and the compass circle meet is Target 3. Drop a new red token there.
You can chain this as much as you want. Target 4 might be measured from Target 3, Target 5 from Target 4, and so on. As long as you keep the previous target token in the exact right sub-cell, the next one will land correctly.
Get the Exact Firing Data
Ok. The red target token is placed, what should you do then? First of all, switch to the red pencil and start exactly from the spiky bit of the Iron Nest model.
Drag to the center of the target token and then bearing and range appear on your clipboard automatically. These are the only two numbers you need for the ballistic calculator.
Common Mistakes That Cause Misses in Iron Nest
These are the mistakes that caused me trouble:
- Drawing bearings from the Nest instead of from the spotter.
- Measuring Nest ← Target instead of Nest → Target (reverses the bearing 180°).
- Placing spotters or the Nest in the wrong sub-cell.
- Making bearing lines too short.
- Forgetting to delete old yellow lines so the table becomes a mess.
- Trusting the initial Nest placement on the map without checking the printout.
- Entering coordinates in the wrong order (spotter coordinates are never the target).
- Firing before you have confirmed the intersection with a second or third measurement when the lines cross at a wide angle.
Extra Practical Tips for Better Hits
When targets are close together, use the ammunition overlay (the sliding card on the table) to see the blast radius of HE / HCHE / AP before you decide which shell to load.
Star shells and recon planes are perfect for confirming a triangulation when two possible intersections appear.
In chill mode you can take your time. In challenge mode, plot as many targets as possible before you fire the first shell so the counter-battery timer doesn’t eat you alive.
You can pick up tokens and place them on the clipboard if you want, but some tokens still have physics bugs, be careful.
Quick Checklist Before Every Fire
The process can be confusing and this was one of my main challenges. Below is the checklist I use personally, I think it would be practical for you too:
- Nest and all spotters placed and double-checked
- Reference points found and marked
- Every target triangulated with yellow plus compass
- Red pencil drawn from Nest → target → numbers on clipboard
- Numbers entered into ballistic calculator
- Correct shell + powder charges loaded
- Guns laid to the exact bearing and elevation
- Fire