

Queen’s Domain puzzles can leave you staring at a sealed door with no idea what you’re missing. One opens with a thrown dagger. Another needs four slates hidden across flooded ruins.
I’ve put the main solutions in one place, including the Crypt, Obmuer Temple, and Tower of Knowledge. If a route still won’t open, check the final section. Some apparent puzzles are locked behind a Wind Gem or story item.
Jump to
Quick Queen’s Domain Puzzle Solutions
| Puzzle | Location | Solution |
|---|---|---|
| Crypt Dagger Switch | Isle of Neasied | Throw a dagger into the diamond-shaped target beside the door. |
| Three Gargoyle Beacons | Around the island | Light all three Gargoyles using the Azure Torch. |
| Four Triangular Slates | Obmuer Temple entrance | Collect four slates from the flooded ruins and insert them into the sealed entrance. |
| Trident Key Locks | Obmuer Temple | Collect the Sapphire and Emerald Trident Keys and reuse them at the required gates. |
| Three-Key Treasure Gate | Obmuer Temple | Return with three Trident Keys to reach the Engraved Halberd. |
| Numbered Gargoyles | Tower of Knowledge | Light statues 3 and 7 with the Azure Torch. |
| Rotating Staircase | Tower of Knowledge | Activate the switch below the Storm Gem platform. |
| Forbidden Archives | Tower of Knowledge | Obtain the Forbidden Archives Key from Budaen. |
Queen’s Domain Puzzle: Crypt Dagger Switch and Shrine Key
The first stone-door puzzle is near the Crypt. Grab the Dagger Belt from the rocky islands by the shipwreck, then return to the clearing northwest of the first Crystal Monument. Look beside the stone doors for small diamond-shaped targets and throw a dagger at one.
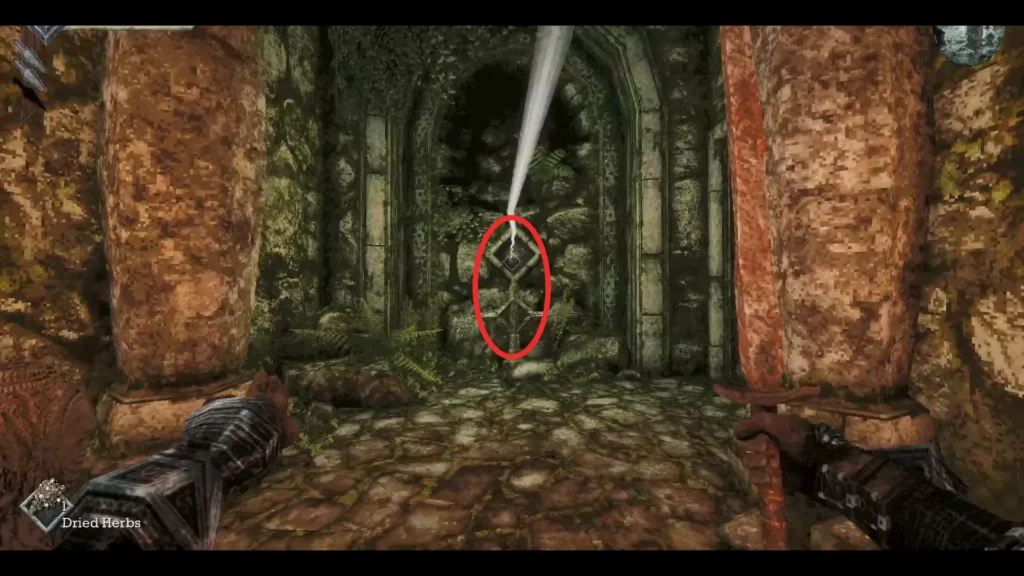
The doorway opens without a conventional key.
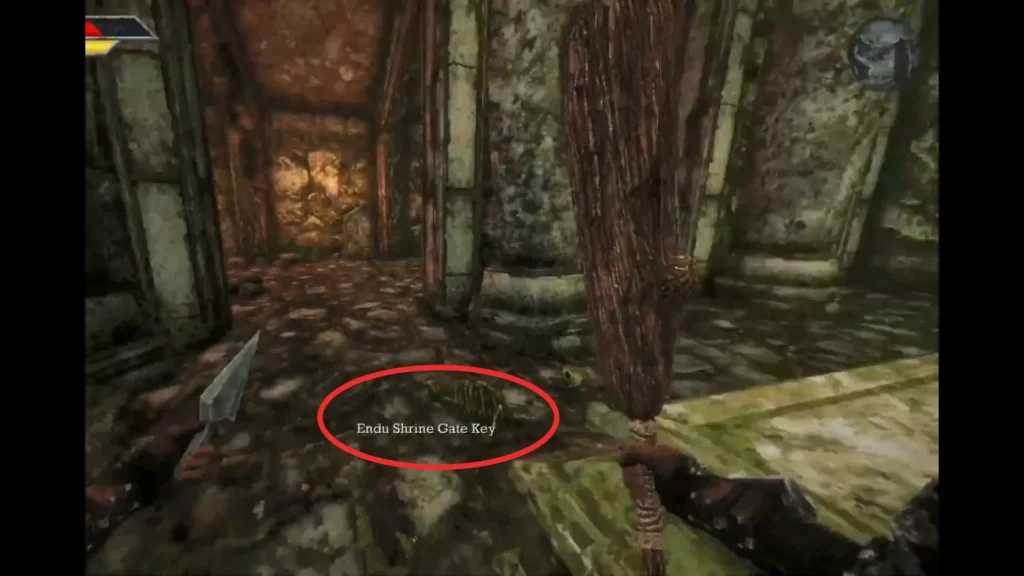
Inside the Crypt, fight through the skeletons and take the Endu Shrine Gate Key from the central burial area. Use it at the Shrine of Endu. The lever inside drops you into the Shrine Guardian encounter. Defeating the boss rewards you with the Holy Sword Endu and your first Wind Gem for a single Wind Dash.
Keep the Stone Duck Figurine from the boss, too. It unlocks Umbada’s Trading Outpost when used at a Crystal Monument.
Three Gargoyle Beacons: All Locations
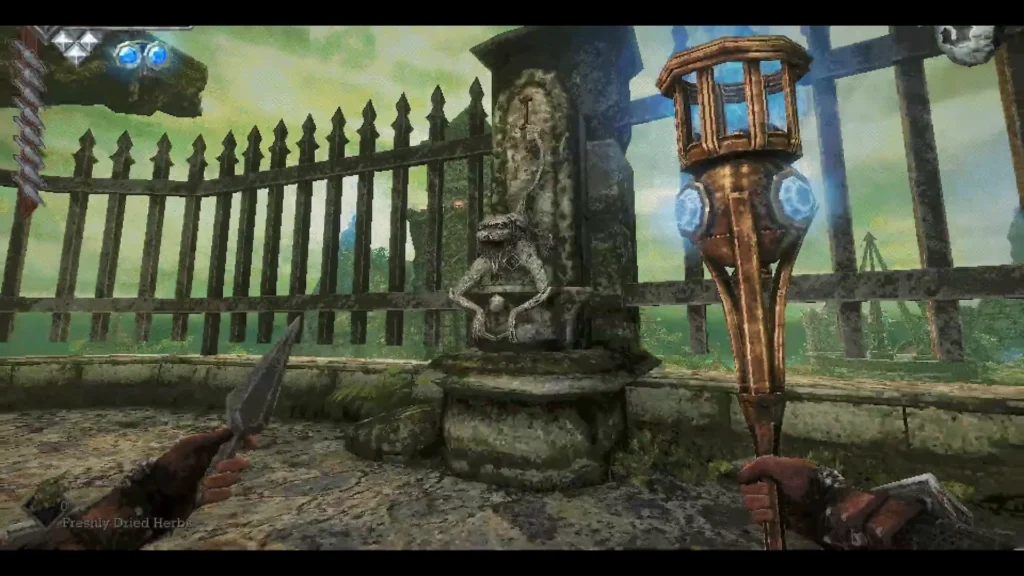
You need the Azure Torch to unlock the Tower of Knowledge. Find it near the Tower’s eastern approach, then light three outdoor Gargoyles. Each activation rings a bell.
- Broken stairway: Above the pillars near the second Wind Gem. Follow the blue-lantern landmark, dash to the ruins, and light the statue guarded by skeletons.
- Upper elevator: Head north from the elevated elevator route. The statue sits in an alcove beside a sea-facing locked gate.
- Obmuer Temple exit: After defeating Dagoom the Sea King, follow the exit and light the final Gargoyle.
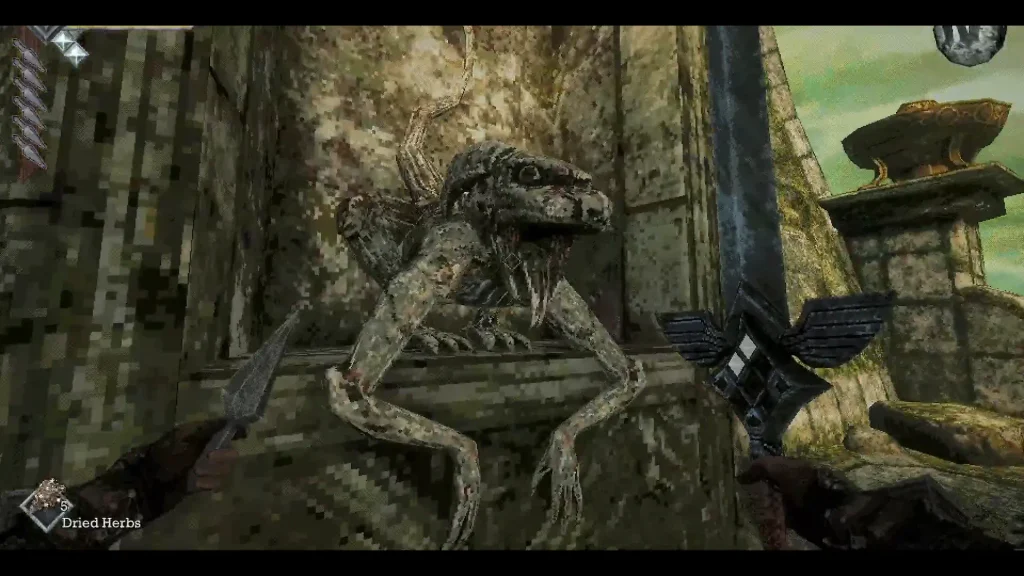
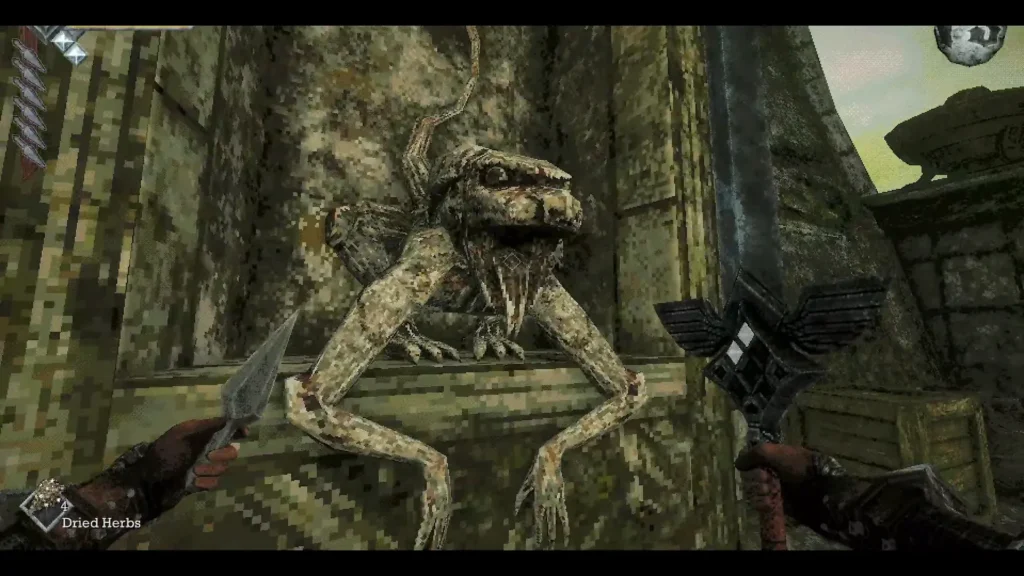
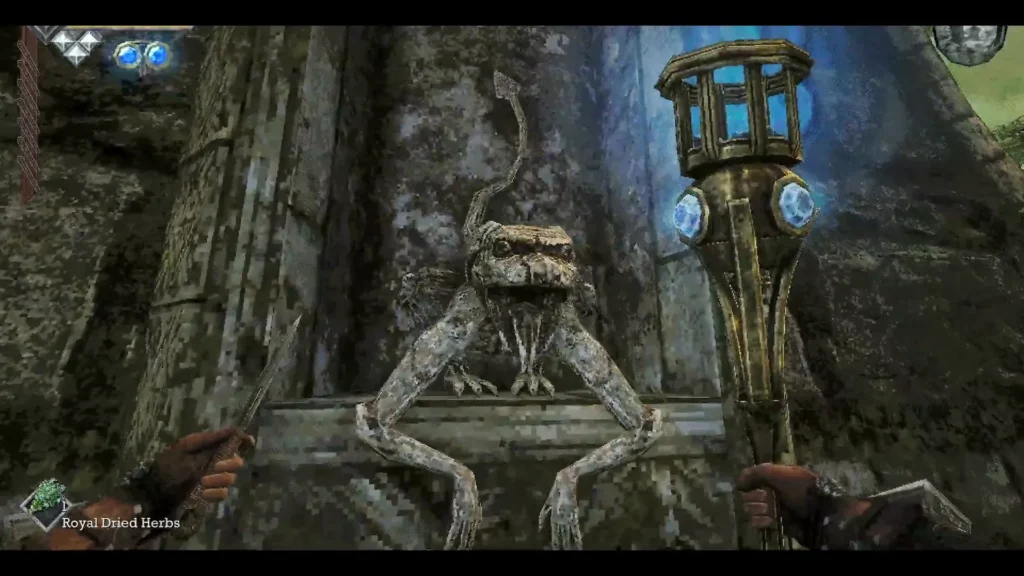
Once all three bells ring, return to the Tower. These outdoor statues are separate from the numbered Gargoyle puzzle inside.
Obmuer Temple: Four Triangular Slates
The temple entrance has four triangular sockets. Reach the flooded western ruins with two consecutive Wind Dashes, then collect all four slates before returning to the sealed door.
| Slate | Location |
|---|---|
| First Triangular Slate | On a raised stone near the circular pool containing small red fish, close to skeleton enemies. |
| Second Triangular Slate | On the elevated ruins west of the first slate, accessible by climbing collapsed walls and columns. |
| Third Triangular Slate | In the lower western section, beneath the elevated route near the Trident weapon. |
| Fourth Triangular Slate | On an isolated broken column near the middle of the flooded ruins, reachable with Wind Dash. |
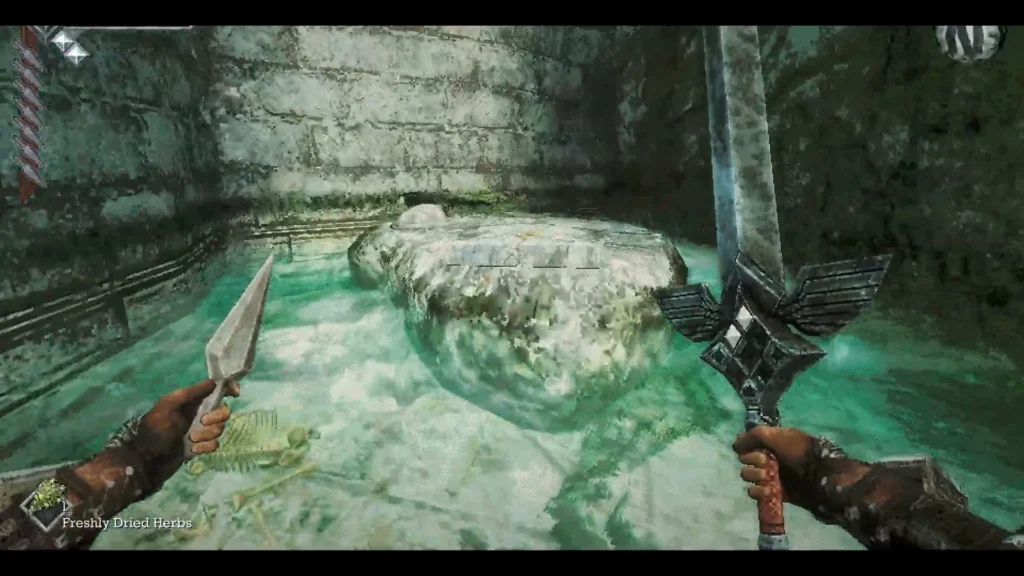
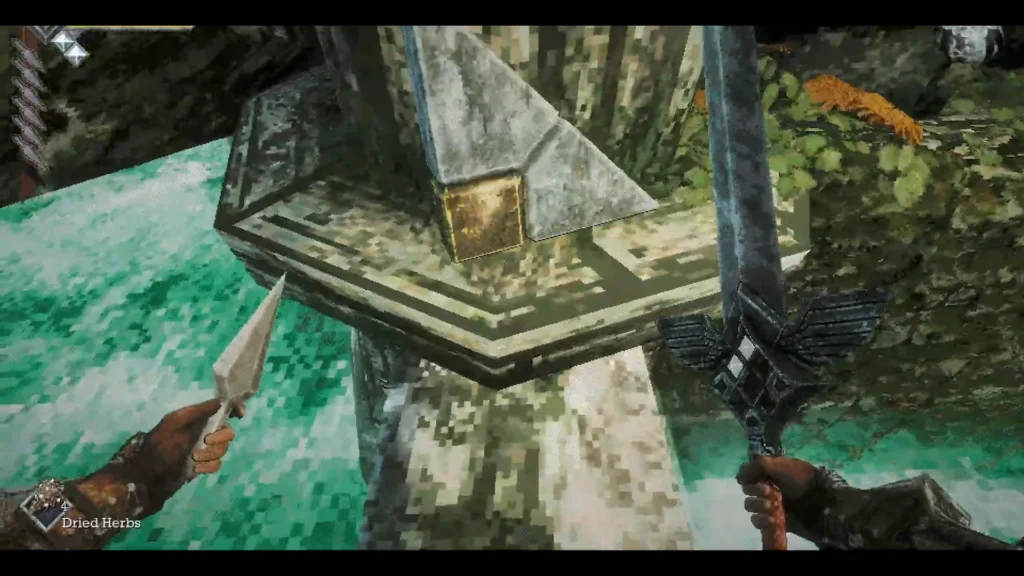
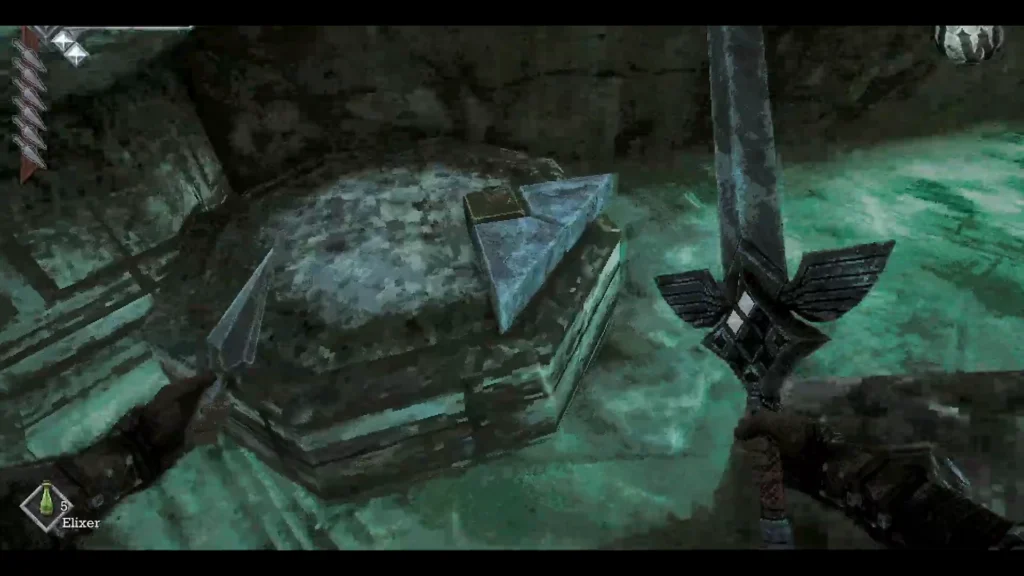
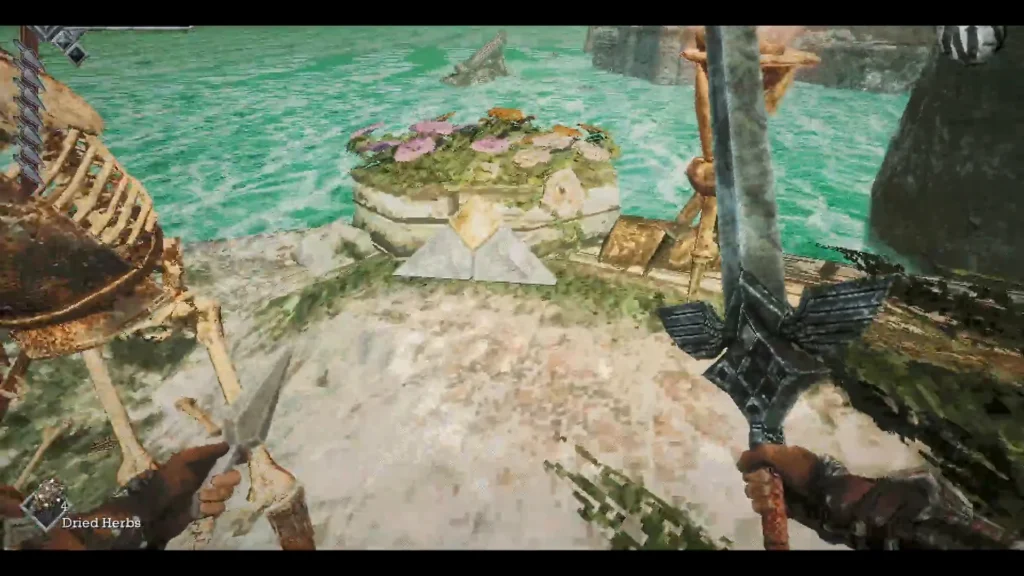
If you are missing one, search above and below the main walkway. The slates are spread across different heights, not just around the water.
Trident Key Locks and Optional Gate
Inside Obmuer Temple, Trident Keys fit special socket locks.
The two keys needed for the main route are reusable, so take one back from a mechanism when the opened path allows it.
- Sapphire Trident Key: In an early flooded cavern, embedded in the wall below a ledge with an explorer’s note. Use it on the nearby single-key gate.
- Emerald Trident Key: Farther in, near the staircase reached through a wall opening below the large pit by the second Crystal Monument. Use it on the Sacred Cistern route.
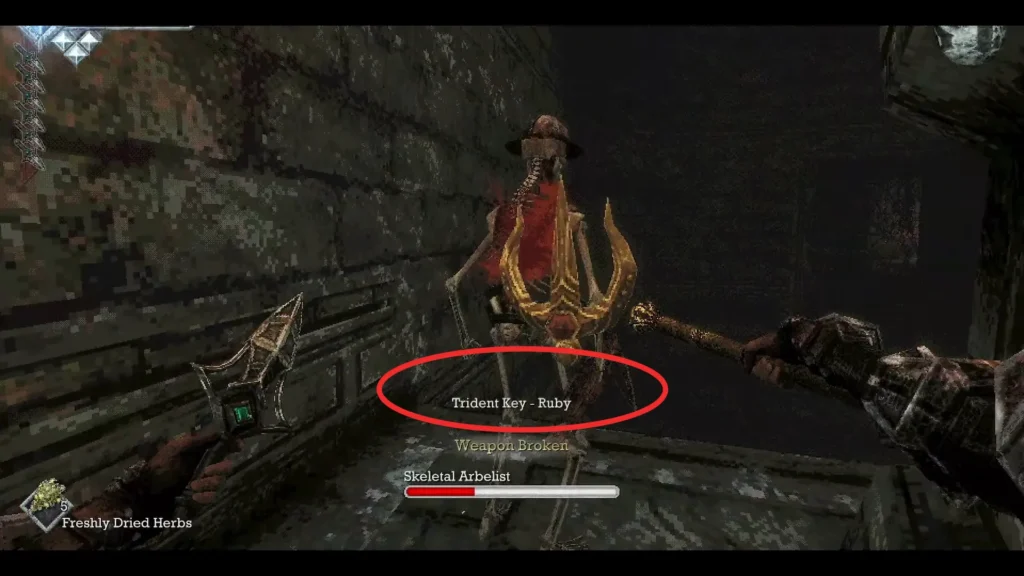
The three-socket gate leads toward the optional Engraved Halberd, not the main boss. I recommend leaving this gate until you have three keys. Continue toward the third Wind Gem and defeat the three Royal Guards to reach Dagoom.
How to Get the Third Trident Key
Sapphire and Emerald are the only Trident Keys inside Obmuer Temple. The rest come from outside:
- Level up the Trident. Take it from the wall outside the temple entrance (near the third Triangular Slate), equip it, and fight until it reaches max level. Its description says the head is loose, and it breaks off as a Trident Key.
- Buy one from Umbada. After beating the Tower of Knowledge boss, Umbada’s Trading Outpost stocks a Trident Key.
Keys can be moved between sockets, so take the extra key plus Sapphire and Emerald to the three-socket gate for the Engraved Halberd.
Don’t bother hitting objects with the Trident or looking for a switch. Only leveling it works.
Tower of Knowledge: Gargoyles and Staircase
Numbered Gargoyle Statues
On a balcony inside the Tower, you’ll find numbered statues and three clue plaques, one partly buried in rubble. The documented solution is to light Gargoyles 3 and 7 with the Azure Torch. A nearby passage opens. Activating the wrong statue can bring enemies into the area.
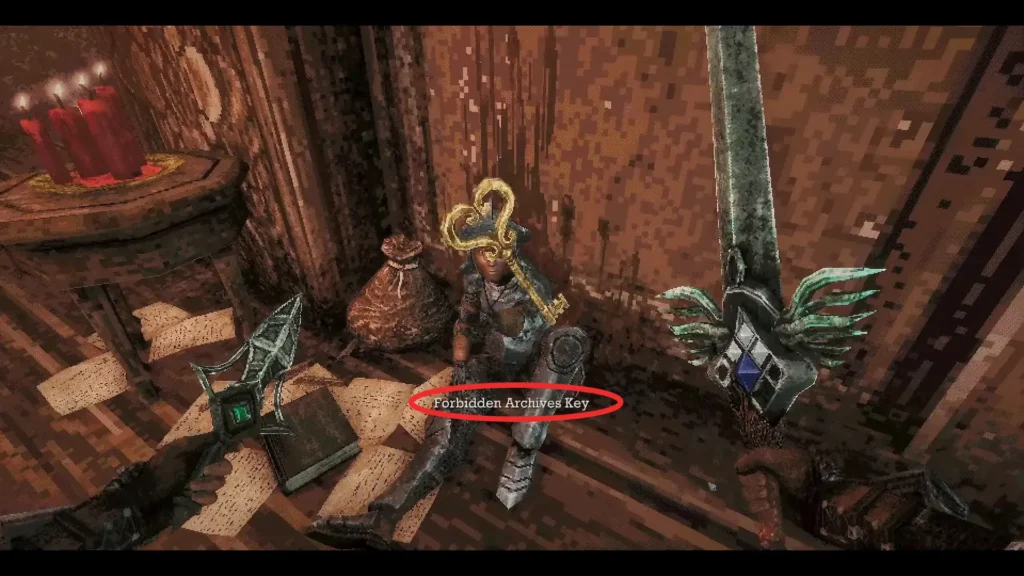
Rotating staircase and Archives key
Farther up, collect the Storm Gem, then look below its platform for an opening you can reach with Wind Dash. Hit the wall switch to rotate the staircase. Follow the new route to an elevator and speak to Budaen for the Forbidden Archives Key.
After the Necronomicon fight, the Acid Vial lets your throwing daggers destroy fleshy barriers, including those blocking later routes toward Deimpo Mausoleum.
Blocked Paths and Patch Fixes
| Blocked Area | Requirement |
|---|---|
| Western Broken Bridge | Two Wind Dashes |
| Large Pit in Obmuer Temple | Third Wind Gem for three Wind Dashes |
| Tower Entrance | Activate the three outdoor Gargoyle beacons |
| Forbidden Archives Door | Obtain the Forbidden Archives Key from Budaen |
| Fleshy Barriers | Obtain the Acid Vial after defeating the Necronomicon |
Wind Gems extend your dash chain. The Storm Gem unlocks an attack instead. If a mechanism still fails after you meet its requirements, update the game.
Patches 1.01.01 and 1.01.02 addressed several progression bugs, but their notes did not announce changes to these puzzle combinations. My rule for Queen’s Domain: before searching a room for another lever, check your inventory and Wind Dash count. It often saves a long, unnecessary detour.