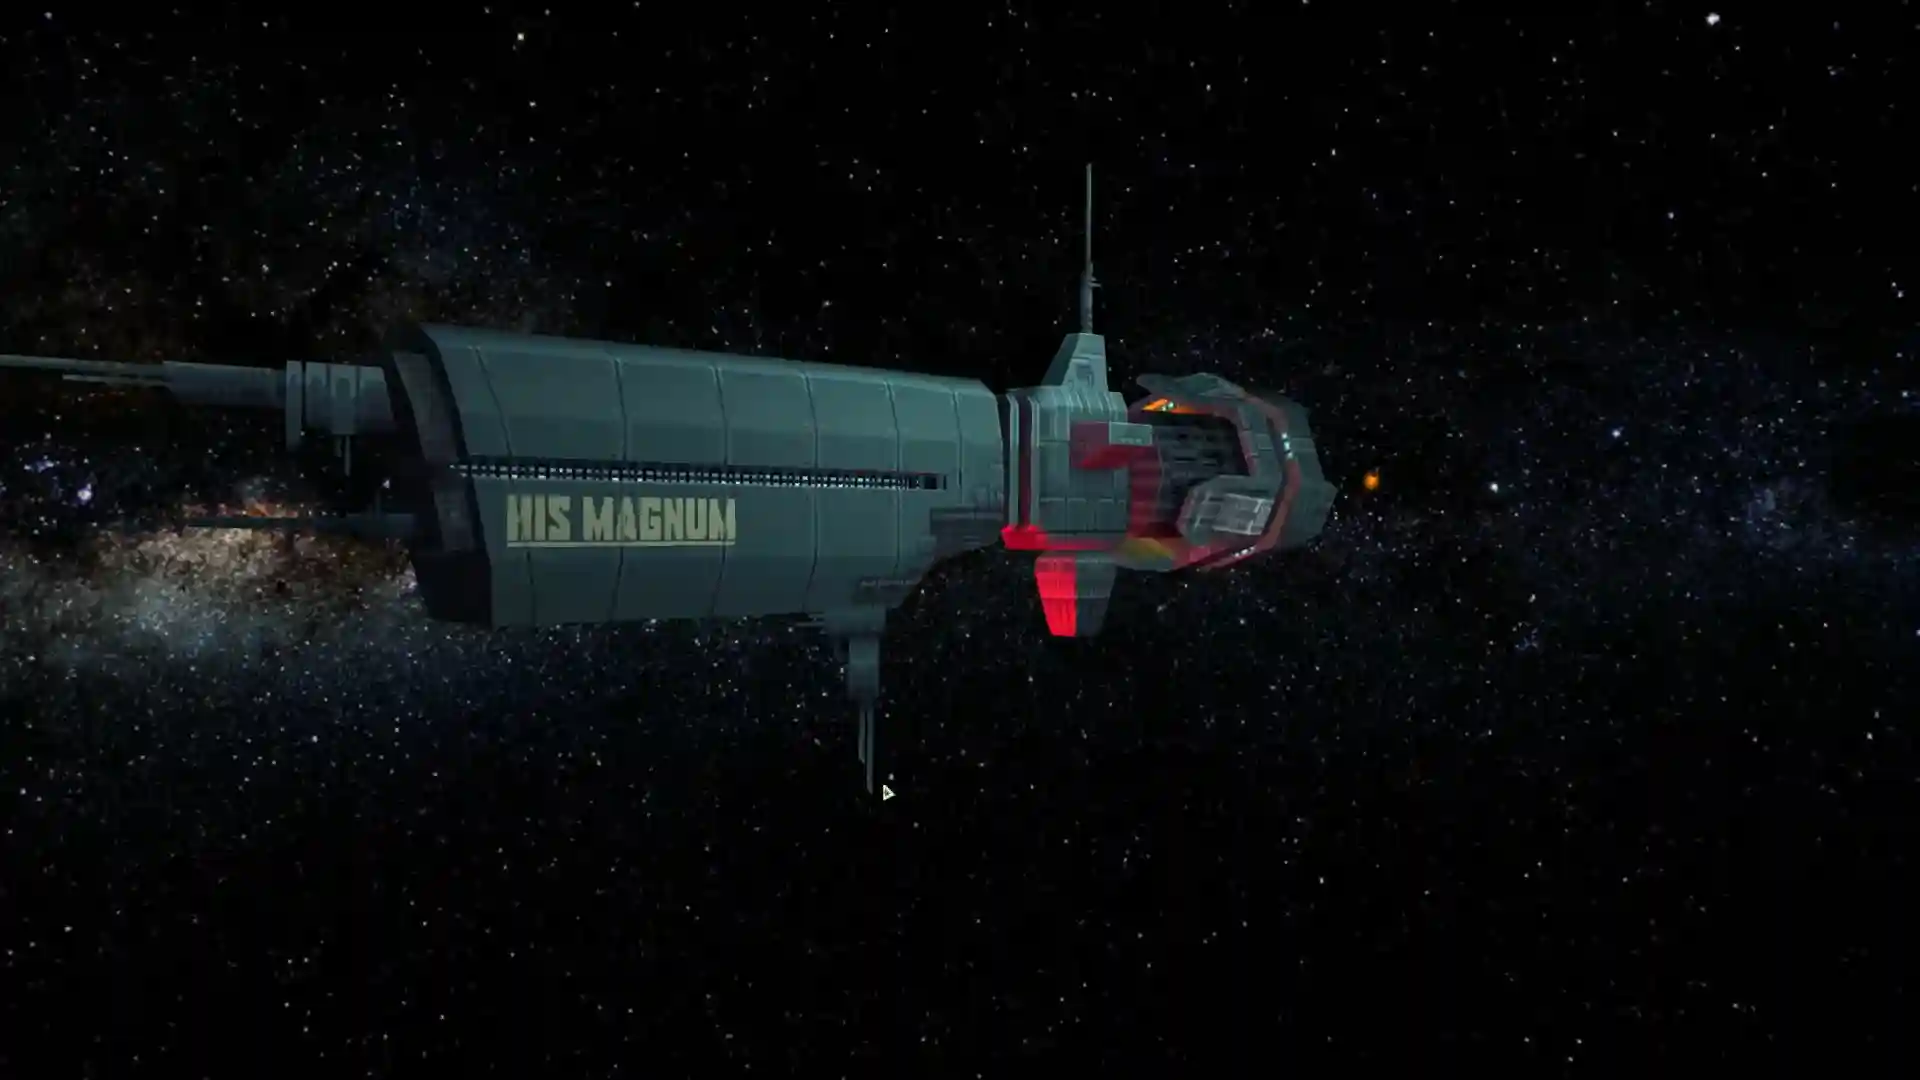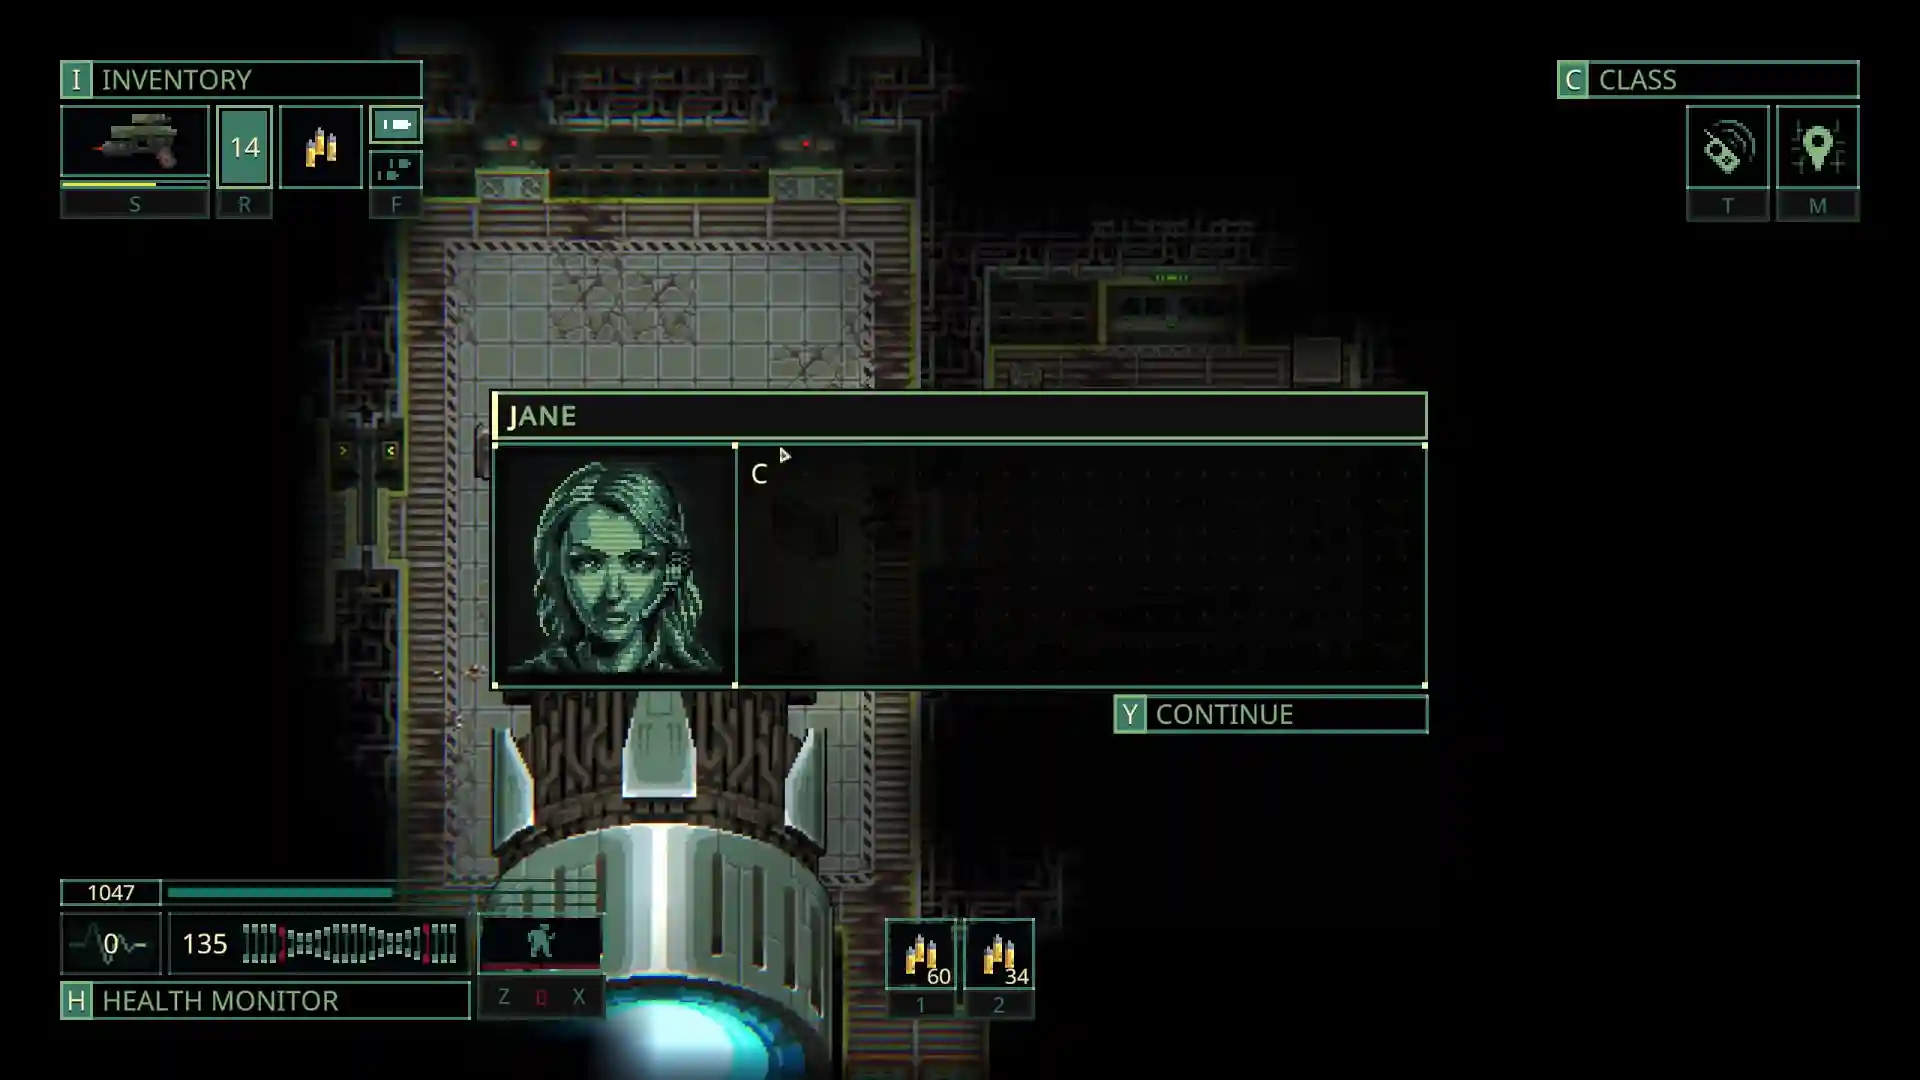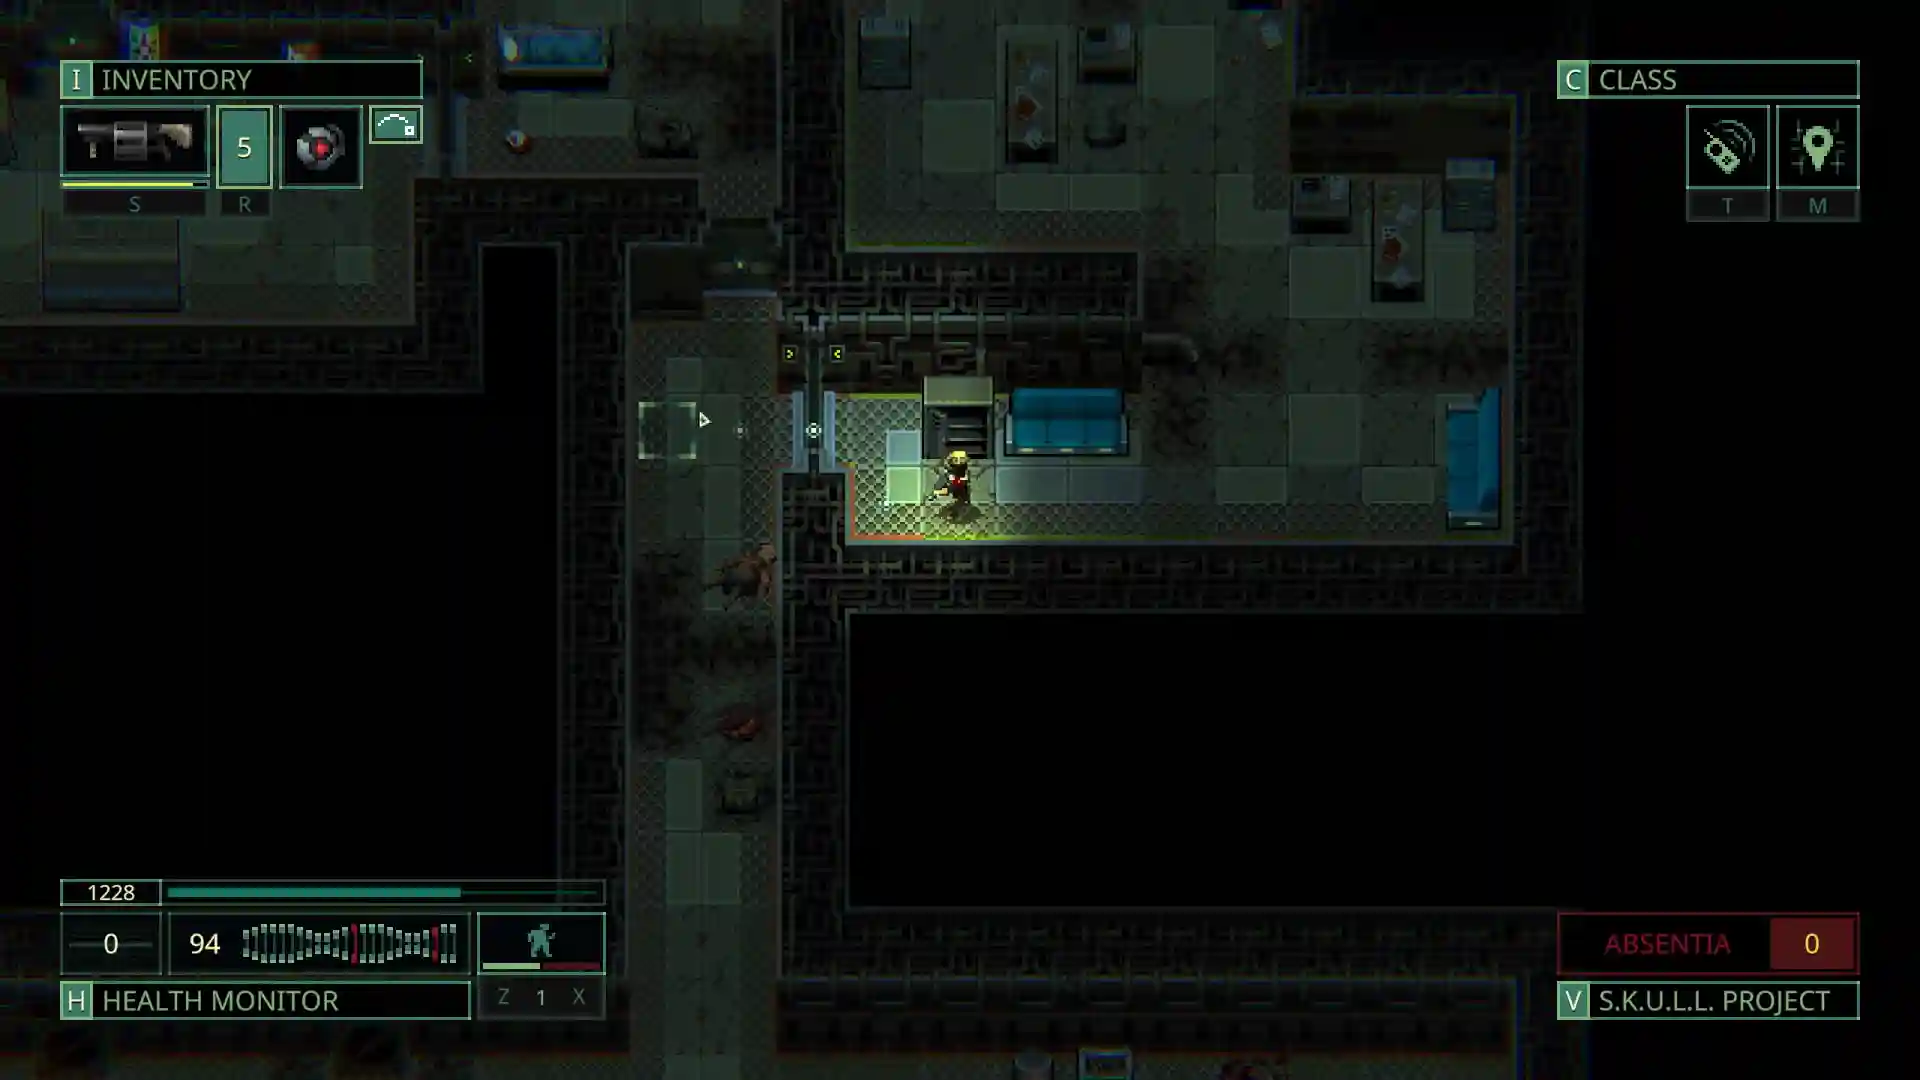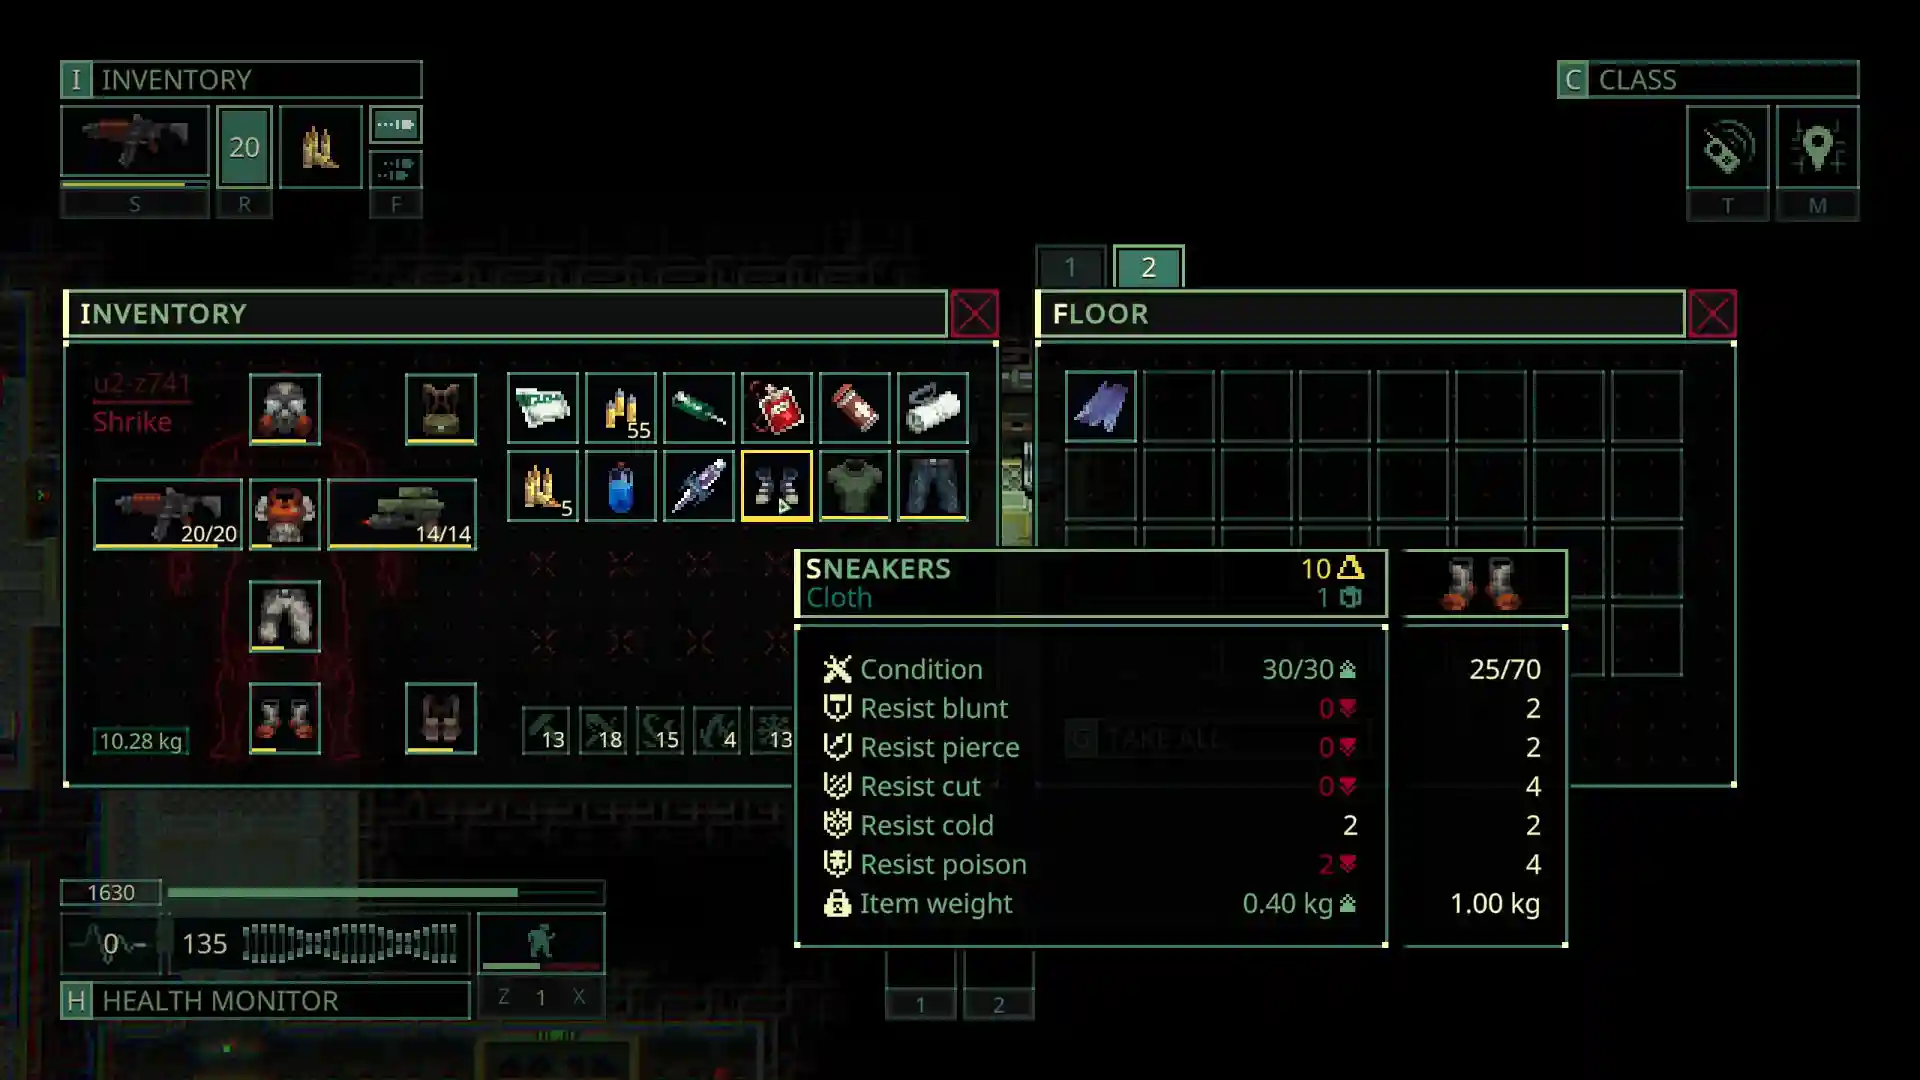


You just launched Quasimorph for the first time and the screen is full of numbers and systems that make no sense yet. This guide starts from zero. I will teach you the basic loop first, then show you how the complicated parts actually work, using only what becomes clear after real play sessions.
You control a PMC operator. You live on a ship. You take contracts from factions, drop into facilities, clear floors, loot, fight, extract, and bring materials back to upgrade your ship, your body and your gear. Everything else is built on that loop.
Note: This guide is based on the most recent version of the game (Quasimorph 1.0, released 31st July 2026).
Your Quasimorph Guide:
The Basic Game Loop
You start on your ship. From the ship you look at available contracts. You pick one, load your character with ammo, food, medicine, and weapons, then launch.
You land on a facility that has multiple floors. You move room by room, open doors, fight enemies, loot containers and try to reach the elevator to the next floor or the extraction point.
When the mission ends (success or death) you return to the ship with whatever you extracted. You use the items to repair gear, upgrade the ship, improve your clone, unlock classes and buy things from factions you have credit with. Then you pick the next contract.
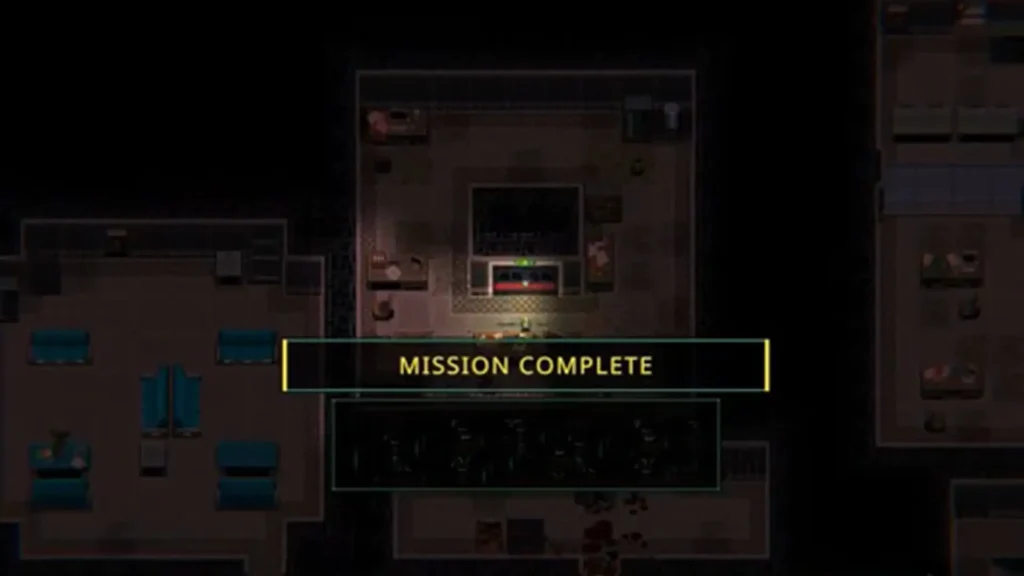
That is the entire game in its simplest form. Everything complicated is just a deeper version of these steps.
How a Mission Actually Works
You enter a facility floor. The map is dark until you explore. Enemies patrol or stand in rooms. The moment one sees you, it alerts others. They often form long lines (people call them conga lines) and rush the door you are standing at.
Inventory Management
You have a limited inventory. Weight reduces your dodge. Armor protects you but also adds weight. Weapons have durability. Multi-shot guns lose durability fast. Single-shot high-damage rifles last longer and are more reliable early on.
Food and water matter. Exploring a full floor without a plan can burn several stacks of food. Some floors have vending machines full of food. Some floors are empty. Be careful, you can die from starvation as easily as from bullets.
When your vest or backpack reaches zero durability, it starts dropping items without a clear warning. You often notice only after the items are already gone. Buffalo backpacks hold a lot. Losing one with good loot hurts.
Explosion, Cover, Weapons
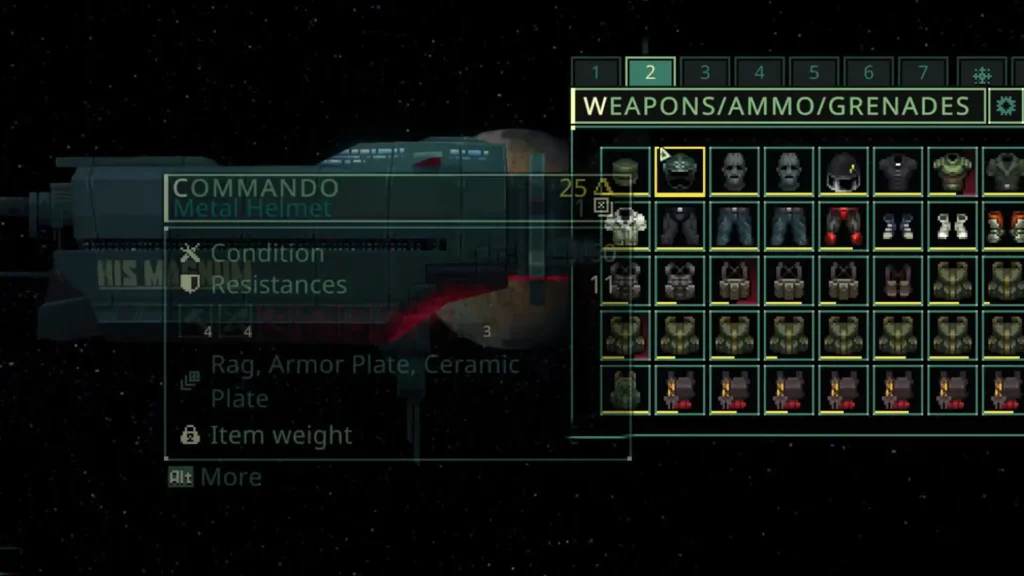
A tip that I just learned is that you can open doors from a distance with explosives so you do not waste weapon durability.
You can throw plastic and rags to create temporary cover. Red armor hides bleeding, so you may not notice you are injured until it is late.
Weapon range is strict. If the enemy is outside the listed range of your gun, you deal only a fraction of the normal damage. Keep both a short-range and a long-range weapon. Anything in the middle is weaker.
A Tip: Heavily armored enemies ignore small-arms fire unless you have the right damage type or enough pierce.
How to Choose Contracts
Ready for a bit more complicated parts? Well, I’ll talk about Contracts in Quasimorph here.
Contracts are the main way you affect the solar system. Every contract has two sides: the attacker (beneficiary) and the station owner (victim). You can switch sides with the button in the top right of the briefing screen.
Working for the station owner brings friendly NPCs who fight the attackers and drop their gear if they die. Friendly fire is allowed.
Contract Credits
The big number on the contract is not pure money. You receive the listed items first. Whatever value is left becomes credit with that one faction only. Low-reward contracts can pay entirely in items with zero credit. High reward usually means more credit.
Credit is spent at that faction’s stations to buy the items they produce and anything on their tech list. If your reputation with a faction drops below zero while you still hold credit with them, the trade break deletes all of that credit.
Upgrading and Contracts
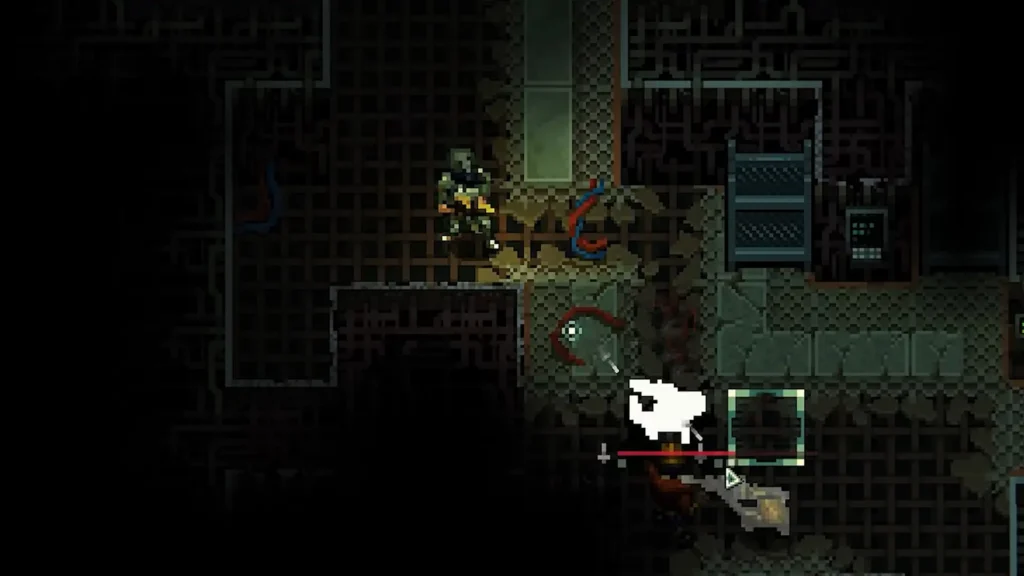
If you need specific upgrade materials, take contracts at the matching facility types. When you still cannot find something, open the commodities market and check who currently owns the stations that produce it.
Red Skulls
The red skulls are a trap. They only change power concentration (the budget used to spawn enemies on each floor). Real difficulty is the combination of the faction, their current tech level, the power concentration number and whether Quasimorphosis is active.
A one-skull mission against a high-tech faction can still kill you. Power concentration numbers that look very different can produce almost the same number of enemies per floor.
Quasimorphosis
Quasimorphosis generally makes higher-power missions harder unless you already know how to control it. Missions without Quasimorphosis against high-tech factions can feel harder because you get no extra help against their special forces.
Who You Should Work For
The big corporations (Hexarchy) will take over the solar system if you leave them alone. Minor factions never reach higher tech tiers, their trade goods disappear, and the game becomes repetitive.
So I prefer to work for Civil Resistance, Franche-Comte, Unchained Belt, Planet Bridge, Coreward MG, Church of Revelation and Grasshopper.
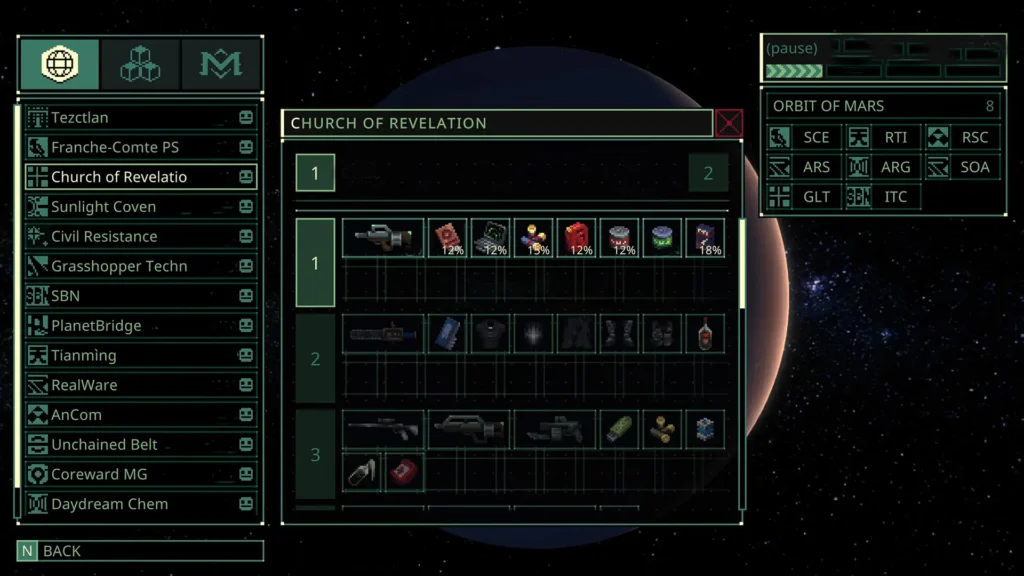
Help Daydream Chems when it fits. Push back against Sunlight Coven if it grows too strong. Keep the minor factions alive so their chips and trade stock stay available. Church of Revelation stations become useful once you have good reputation with them.
A Tip I learned: Mars (and its moons Phobos and Deimos) is the best early area. Many stations and no Quasimorphosis. The Moon has its own Bramfatura (Duggur) and is not a good pure starter zone if you want to avoid Quasimorphosis pressure early. Return to Earth when you need to buy things. Planetary positions change travel time, so watch the alignment.
Ship Upgrades That Matter First
This is another aspect of the game that challenges many players. Your ship has several upgrade lines, only a few change the game early:
- Monitoring is the most important. It lets you generate new missions when you arrive at a location (especially useful on Mars). More charges mean more missions between trips.
- Scanner is second. It shows the layout of the first floor and later up to three floors. You see elevators, medical rooms, loot rooms and danger zones before you walk into them. You stop wasting food and time exploring blindly.
- After those two, raise the number of items and the item level found on missions. The “less enemies” option also helps during the first ten hours when the power spike hits.
- Hangar upgrades come next. The capsule starts with a few extraction slots. Push it to five, six, then eight slots. Use it to extract chips and rare items you refuse to lose if you die.
- Scavengers automatically bring resources after a mission. Once upgraded they remove the need to loot common consumables. Pair them with recycling for a steady flow of parts and gunpowder.
Leave heavy engineering upgrades until the project-cost reductions appear. Early upgrades waste expensive chips. Rank upgrades on the clone (extra rank, fewer kills needed) give real health, better healing, and lower calorie use.
Clone and Class: Your Body
Percy Paladin Fawcett is the strongest early body for most players. He has high health, high pain threshold, large calorie capacity and the Invincible passive (+12 to all resists, plus bonus melee damage based on carried weight). Pair him with Scouts of Hades (strong generalist starter with accuracy, scatter reduction and defensive triggers) or Tunnel Rats (excellent for looting and cover play). You can later swap useful perks between classes once the ship modules allow it.
Kenzie Kunai Yukio is the strong alternative. He has better base accuracy and dodge, plus a passive that greatly reduces the weight penalty on dodge. You can keep him as a second body or move useful perks onto Percy later.
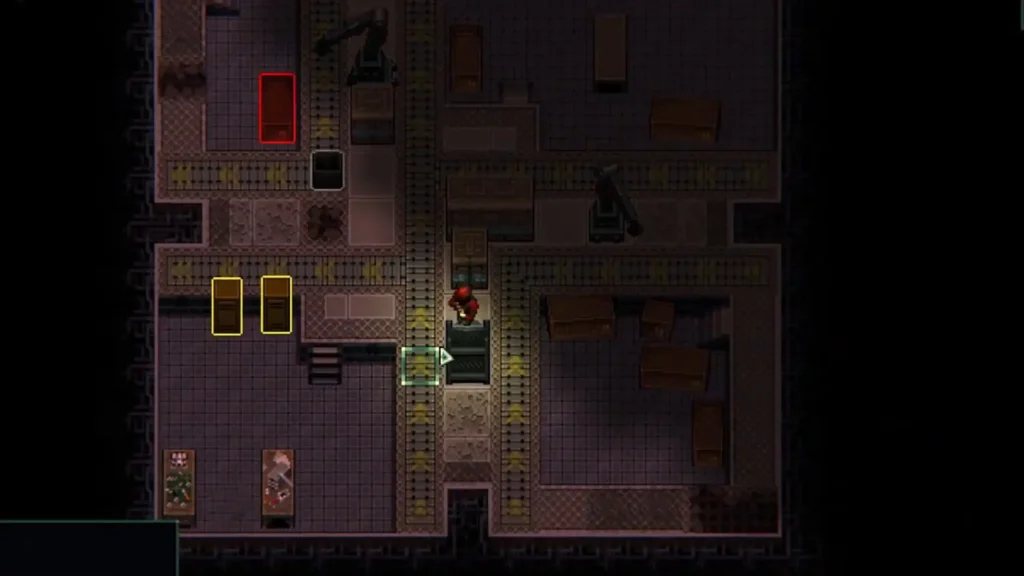
On the clone screen, put almost everything into dodge. Bring combined shooting accuracy (clone + weapon) to around 50 percent. That is enough.
Note on Tunnel Rats: This class does not give raw dodge. Its defensive strength comes from Shelters (higher shot-block and cover-protection chance while in cover) plus strong loot perks (Marauder) and shotgun synergy (Reinforced Ammo). If pure dodge is your goal, look at other classes or invest clone points and Kenzie’s passive.
What to Loot and What to Leave Behind
Priority order:
- Containers and packages, especially gun and armor crates.
- Welding machines, hydraulic pumps, drillers, and other large industrial items.
- Thermal containers, drug packages, medical components, bio-waste tanks.
- Turrets and robots (for defense missions and for recycling).
- Every chip.
- Every data pad or tablet.
- Augments when you can extract them.
- Neo-ceramic plates and other rare armor materials.
Inventory Tabs That Make the Game Playable
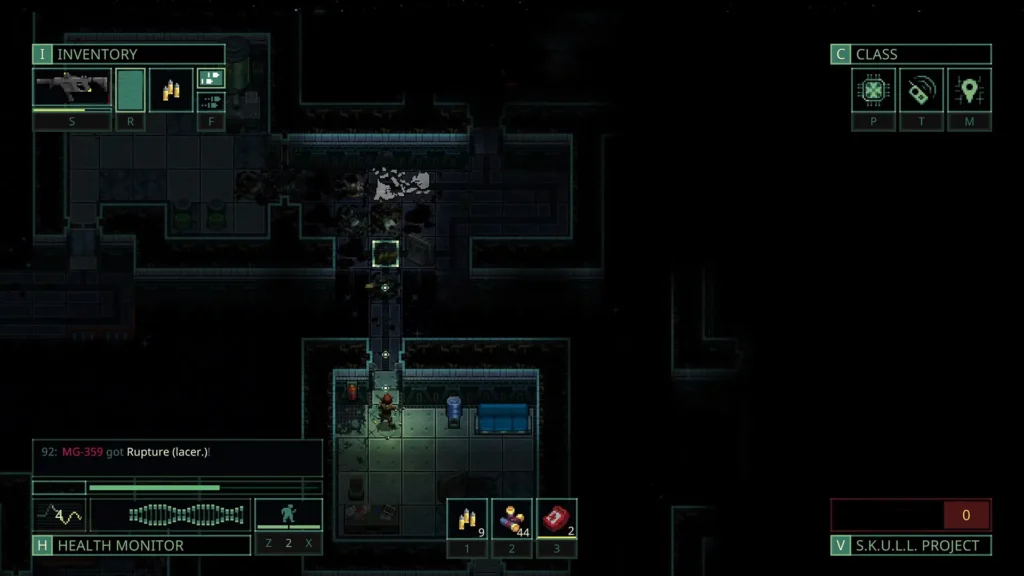
Assign the tabs to receive and distribute items. A practical sample layout looks like this:
- Tab 1: Ammo, food, drinks, alcohol, pills, injectables, medical kits, dressings, repair kits, mines, access keys
- Tab 2: Helmets, armor, everything you can equip
- Tab 3: Parts, quasimorphic and human organs, crafting materials
- Tab 4: Goods, turrets, portable covers, high-value trade items
How to Trade
After a mission you receive items plus leftover credit with that faction. Sell excess goods for more credit. Reputation changes prices. Good relations give big discounts and bad relations make everything expensive.
Buy the clone and class chips you want as early as possible. Then shift to ship-upgrade materials and resources. Later the barter capsule and shuttle options let you trade without traveling every time.
Chips, Crafting, and Smart Upgrades
Collect every chip you can. Class and clone chips are used for unlocking and upgrading stuff. Basic item chips unlock recipes you can actually afford to improve early. High-end and faction chips unlock stronger but more expensive gear.
On armor, fix the missing resistance first. Weight reduction is often better than pure numbers.
On weapons, damage and range matter most. Passive class skills are more reliable than active ones. Lightweight gear reduces the weight that kills your dodge.
The Core Loop That Makes Everything Click
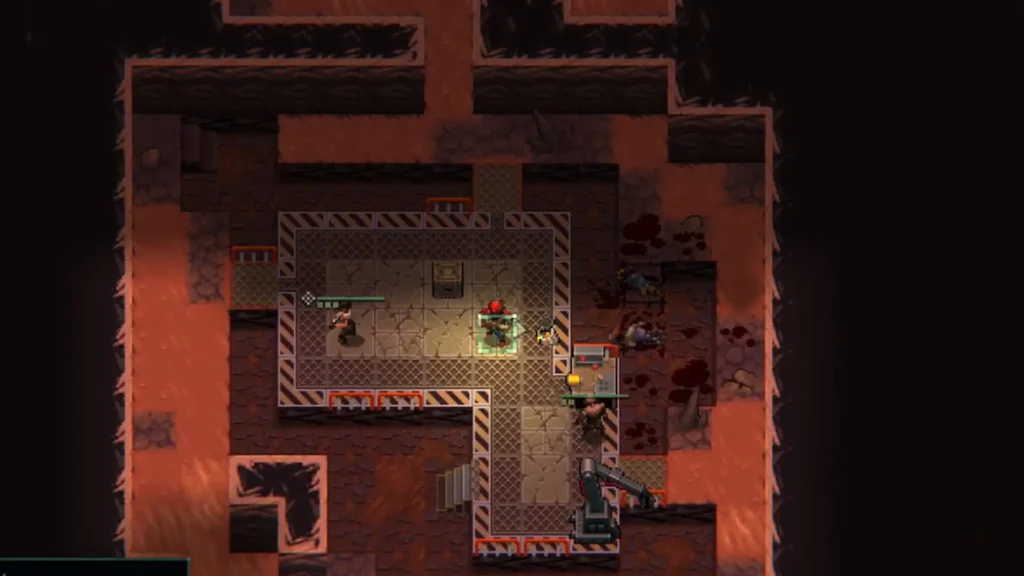
Monitoring and scanner give better, faster missions. Scavengers and recycling turn those missions into steady parts and consumables.
Capsule and shuttle let you keep the rare pieces. Credit and reputation turn excess into the exact chips and materials you still need. Rank-ups and smart perk swaps make the body itself stronger.
Once that loop is running, the complicated systems stop feeling random and start working for you. Get monitoring and scanner online first, protect the minor factions, keep Percy or Kenzie alive with proper dodge and a reliable rifle and the rest of the game opens up.
Quasimorph