

Disclaimer: This guide contains HEAVY SPOILERS for the storyline and ending of the Dragon’s Dogma II Dark Arisen expansion.
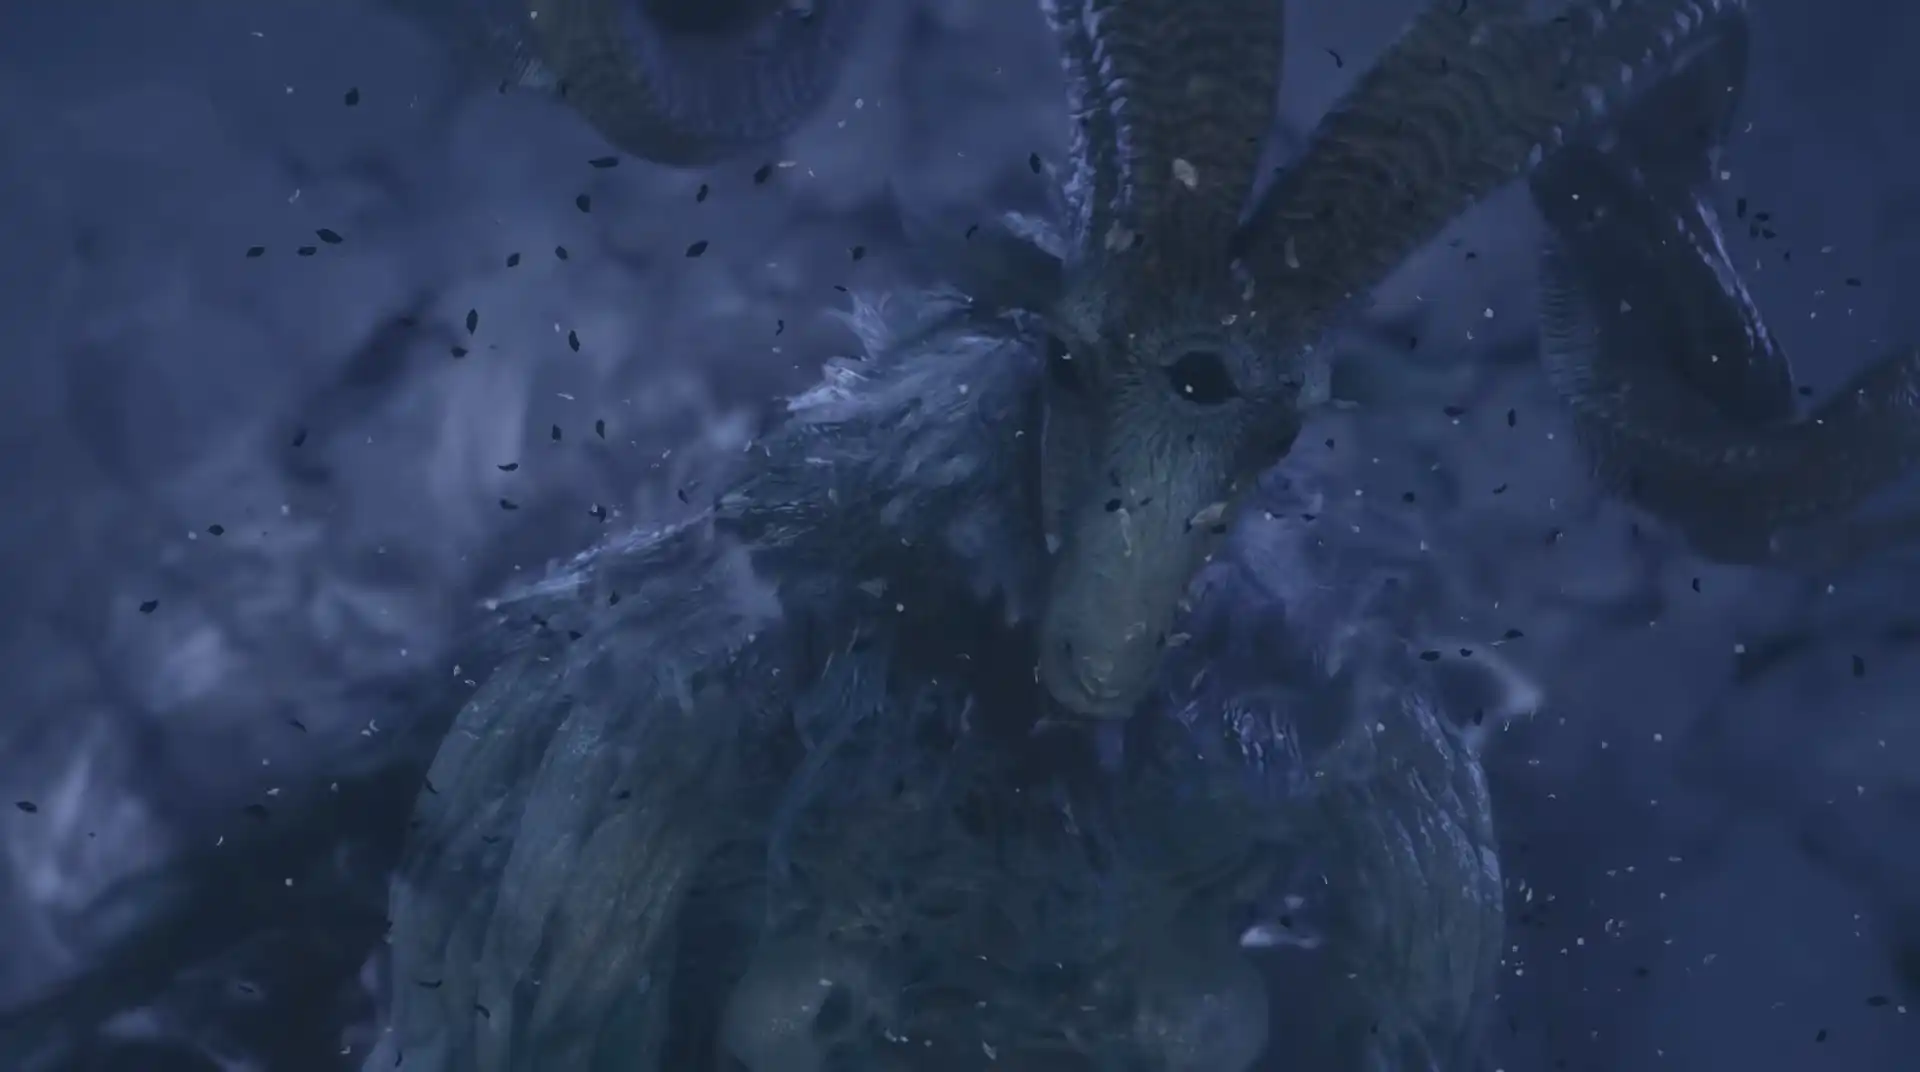
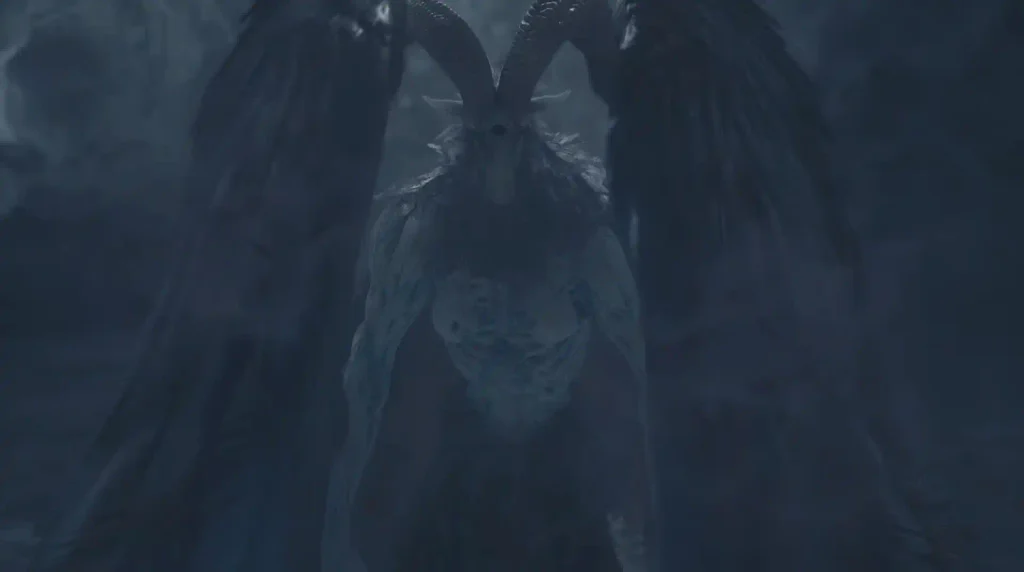
Capcom’s Dragon’s Dogma 2 Dark Arisen features two final bosses. Defeating the Fallen Dragon doesn’t end the expansion’s story. You’ll see that the world falls into a state of perpetual darkness after killing him, with Rancor’s Vortexes opening up everywhere. Once you’re finished with the quest Reunion and defeat the DLC’s normal boss (Fallen Dragon), you can start the Into Rancor quest. Once you reach the end of this quest at Niflhel Depth, you’ll meet Satanachia, the true final boss: a giant horned icy demon of hell. You have to kill him to reach the True Ending.
Bring as many Wakestones as you can. The easiest way to take Satanachia down is to attack his most vulnerable body part: his head. Don’t chase after him, prioritize ranged attacks. If you’re not ranged, hit his legs to knock him down so you can attack his head. Dodge or block his missile attacks, and watch for his claw attack when he teleports behind you. Save your Wakestones for when he launches into air and rain down bolts, as this will most likely take out you and your Pawns at least once or twice.
Jump to…
Where to Find Satanachia
You encounter Satanachia in Niflhel Depth. But our journey begins immediately after the death of the Fallen Dragon.
Now we wake up at the Norgandian Inn to find out that Norgan has been plunged into endless darkness. The game calls it the Ruin-Night. This is when the Into Rancor quest begins.
Go to Abyss Ridge
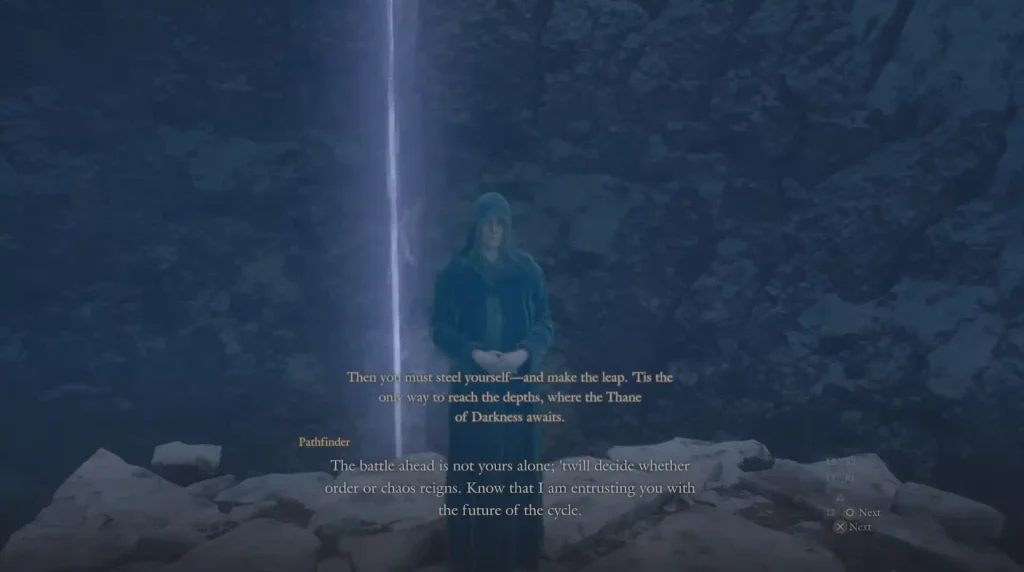
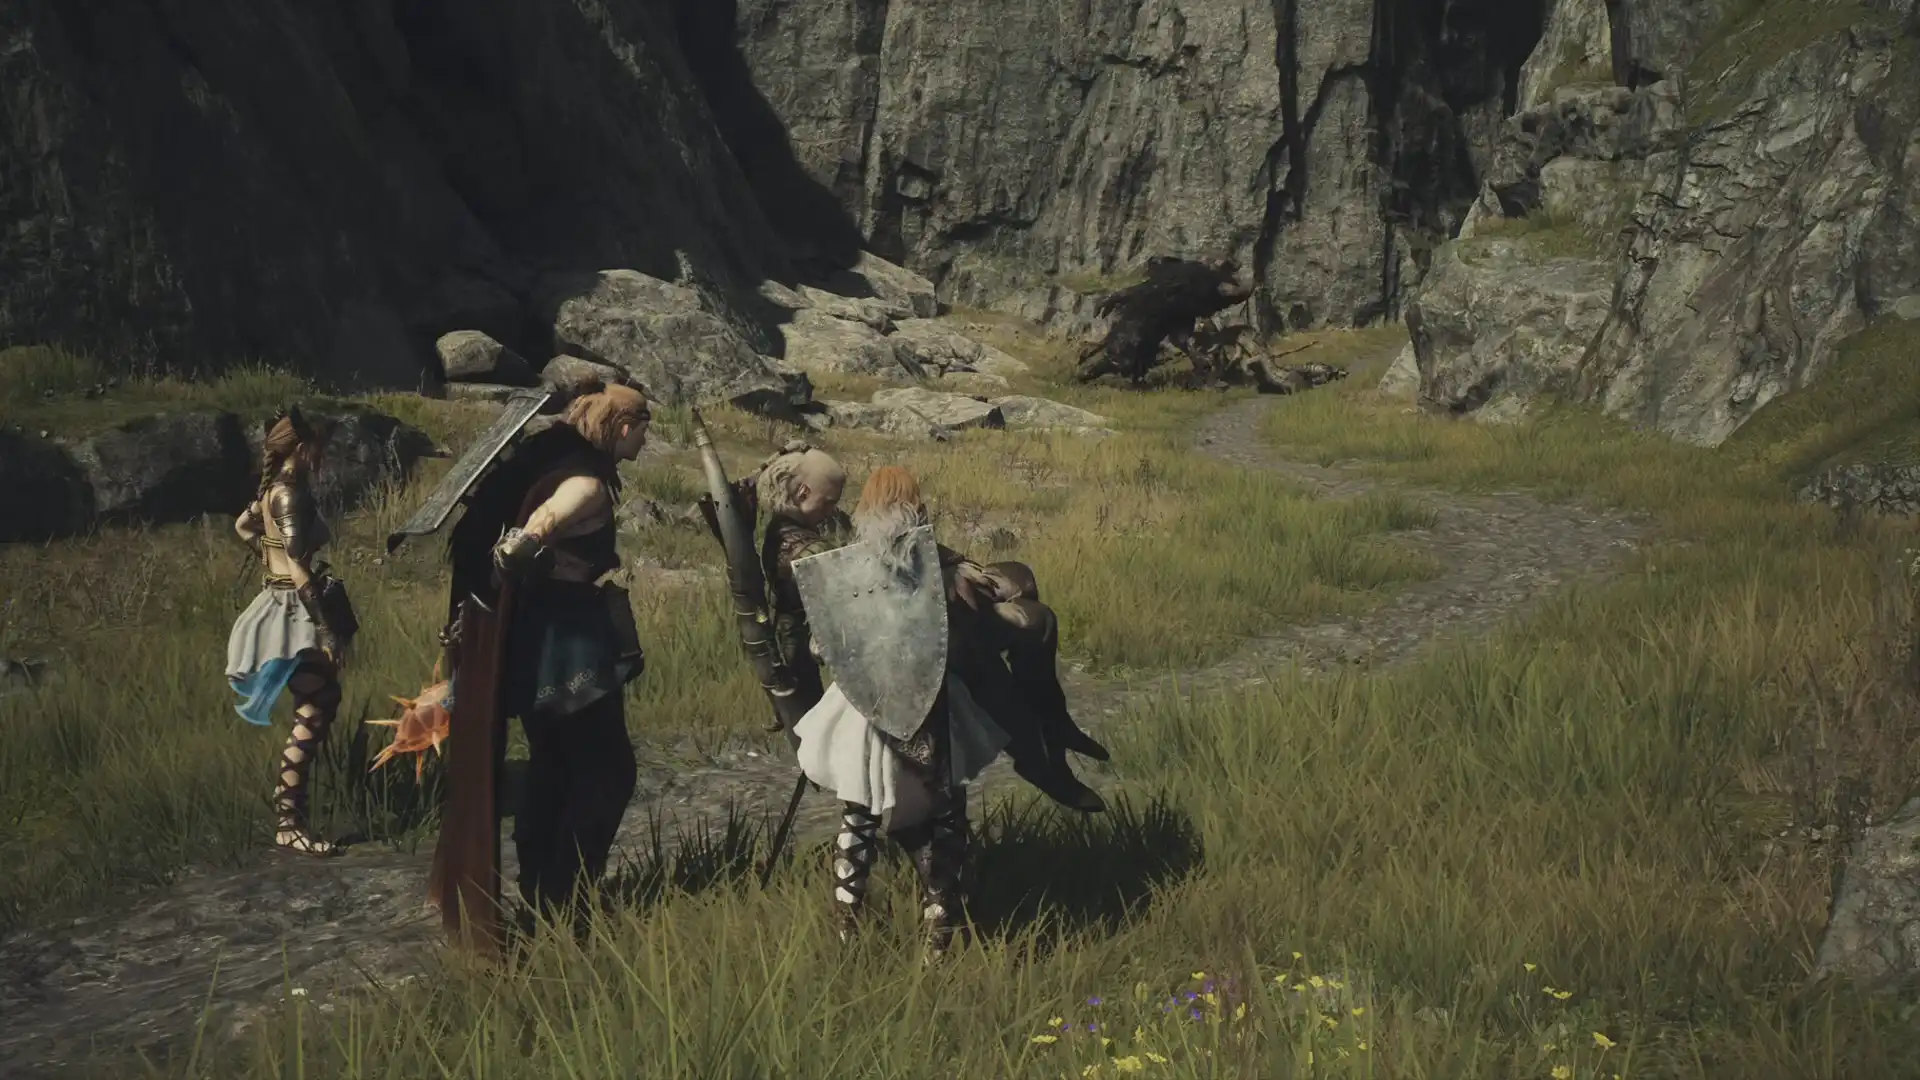
First, speak with the scholar Polyeidus and make your way to Abyss Ridge. Abyss Ridge is just past the Castle Barracks Ruins within the larger Lorade Casteltown area. There, the Pathfinder gives you the Soulless Godsbane Blade. At this point, I needed to charge it with Rancor by clearing at least four vortexes scattered around Norgan after I killed the dragon.
The Rancor’s Vortexes
I used the Eye of the Sphinx to locate these vortexes on the map. Each one starts a battle against waves of enemies. The enemies are: Armoured Skeletons, Ghouls, Spectres, Gargoyles, Garm, and Gorechimera.
IMPORTANT: Bring a ranged Pawn if you are a melee build. You’ll need ranged attacks to defeat the specters and gargoyles, and crowd control attacks for the skeletons.
Satanachia is Down in Niflhel Depth
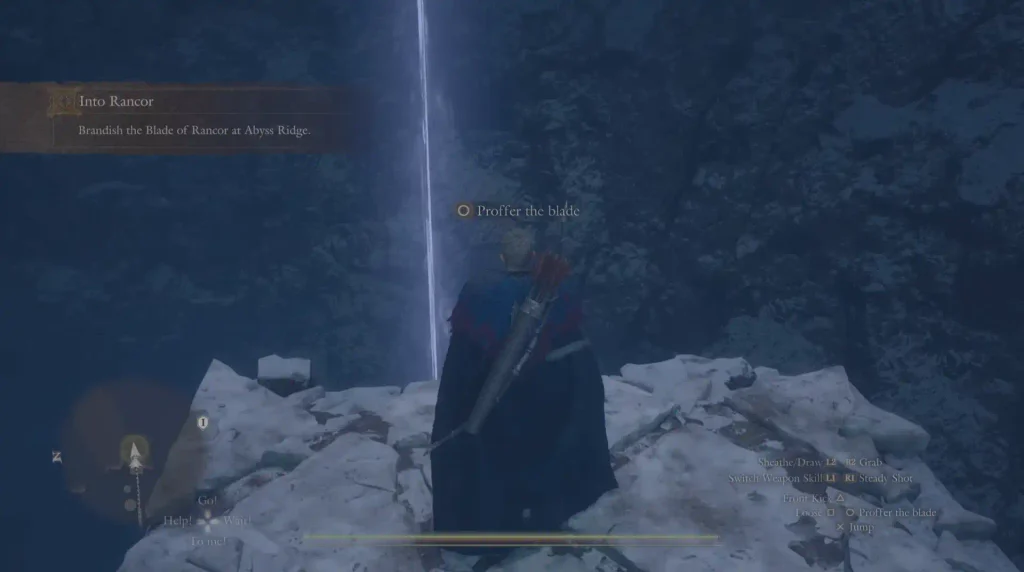
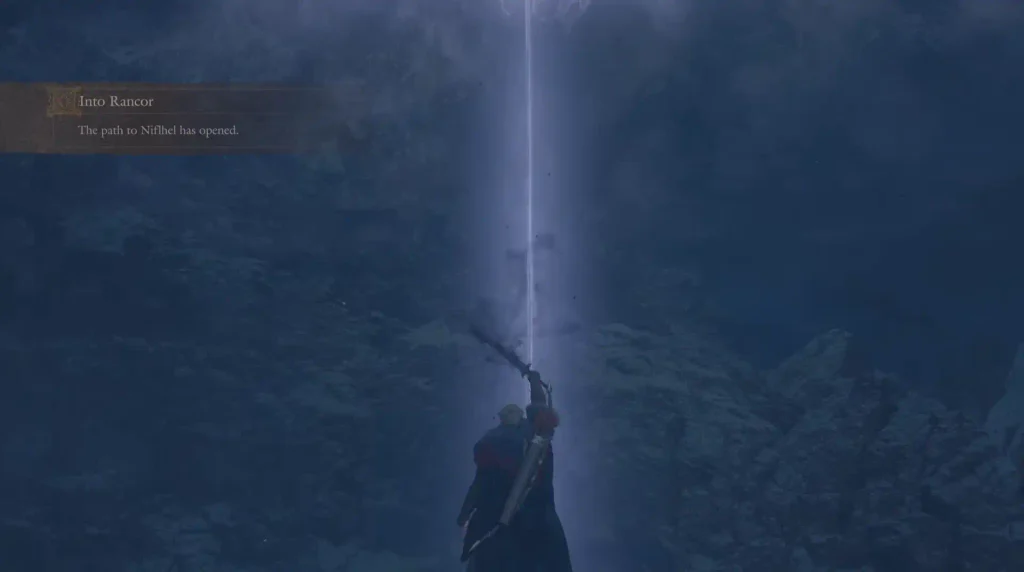
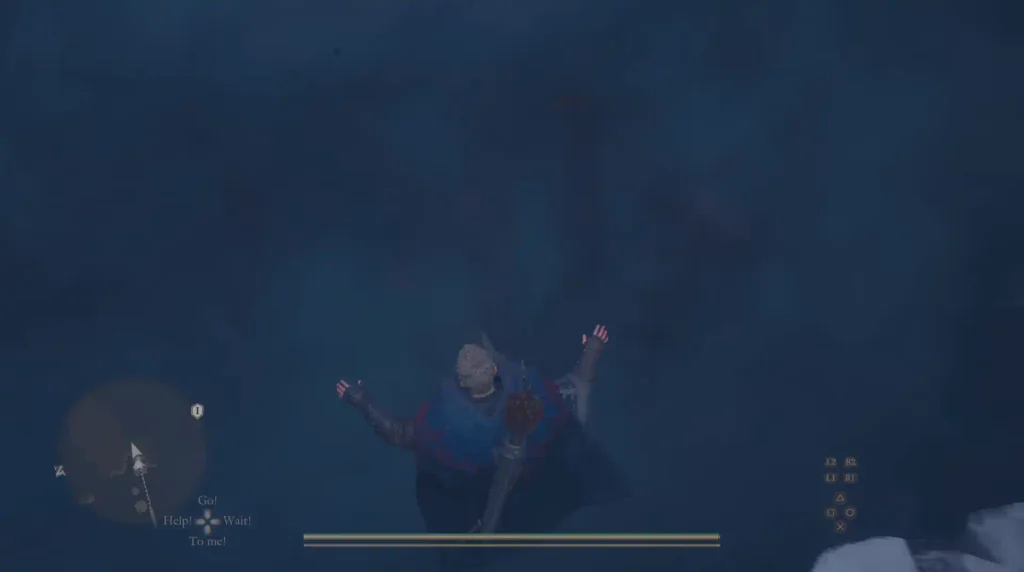
After clearing four vortexes, the weapon is fully charged and it transforms into the Blade of Rancor. Return to Abyss Ridge and approach the broken platform overlooking the abyss. Select “Proffer the blade” to open the way to Niflhel. Now jump off into the dark abyss, watch the cutscene and get ready to fight. You better have brought some good stuff with you.
How to Beat Satanachia in DD2 Dark Arisen
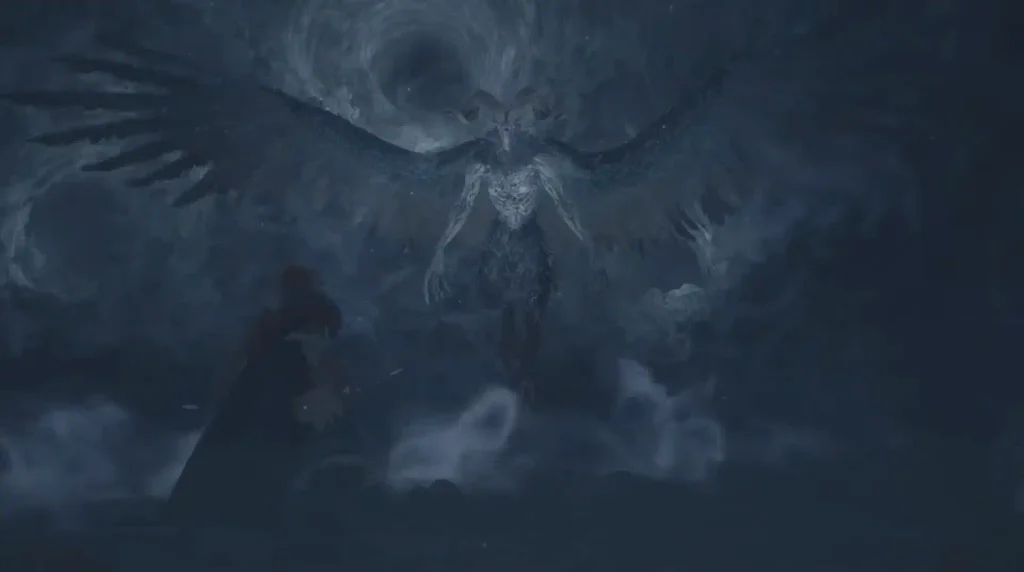
For me, defeating Satanachia required a good amount of preparation, understanding his attack patterns, and finding out his weaknesses and vulnerabilities (not emotional). This was only for the normal variation of this final boss.
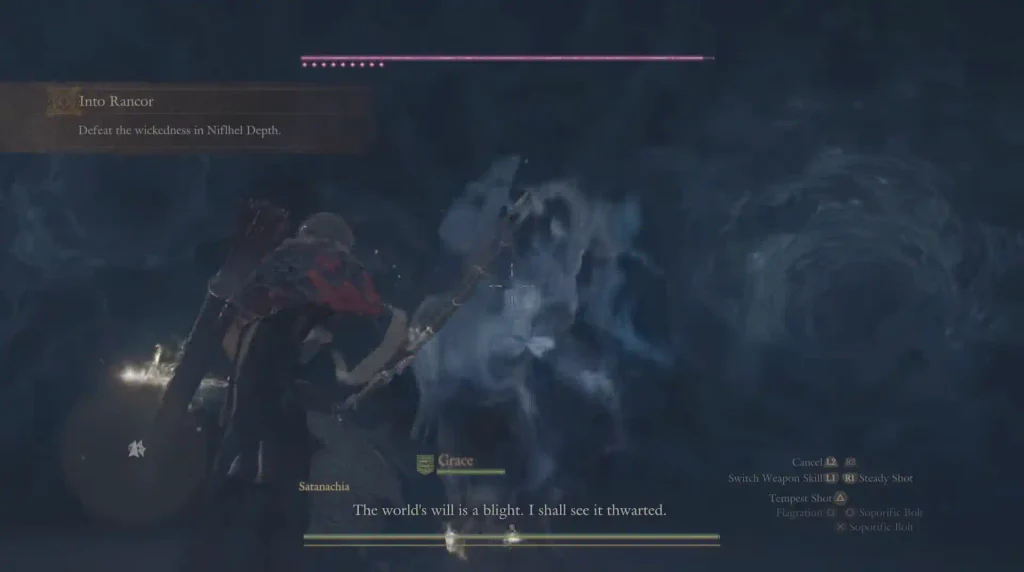
Satanachia is a massive flying demon with ten full health bars. He vanishes into thin air before reappearing elsewhere in the arena, making it intentionally difficult to maintain a steady stream of damage. You won’t find any cover in the arena as it is all inside a mist, so you better learn his attacks and choose the right moments to hit him.
Prepare Before Fighting Satanachia
First off, I highly recommend you equip the DD2 Ring of Virtue for this fight so you can unlock its power and use it to make claiming rare monster drops easier on your next runs.
There is also a ring which helps in preventing you from falling down: Ring of Resolution. Purchase it from Dudley near Melve for 8,000 Gold. You might’ve already acquired it as a drop from Golems. It only increases Knockdown Resistance by 100, so don’t think you are immune to falling prone.
Furthermore, equipping gear with high Magick defense and Cold resistance is vital, as Satanachia’s damage types are Cold and Magical. His claw attack, however, counts as Physical damage. And of course, don’t forget to bring at least 10 Wakestones just to be on the safe side.
Bring a mage Pawn, as healing and Magick defense fields are two components that’ll aid you greatly in this fight. Extracts are another way to boost your damage and defense. Use them.
Satanachia’s Attacks and How to Avoid Them
Early Attacks
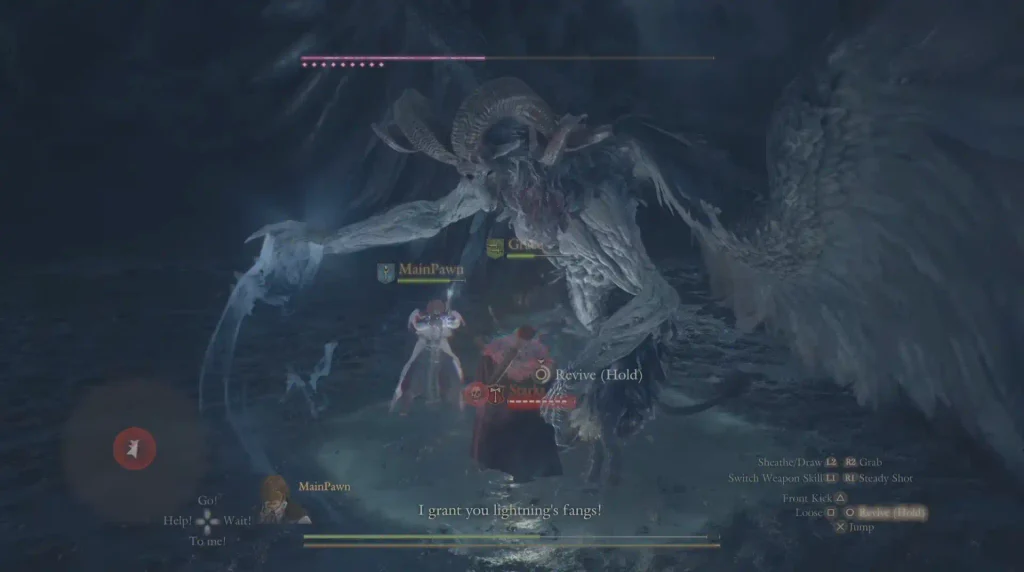
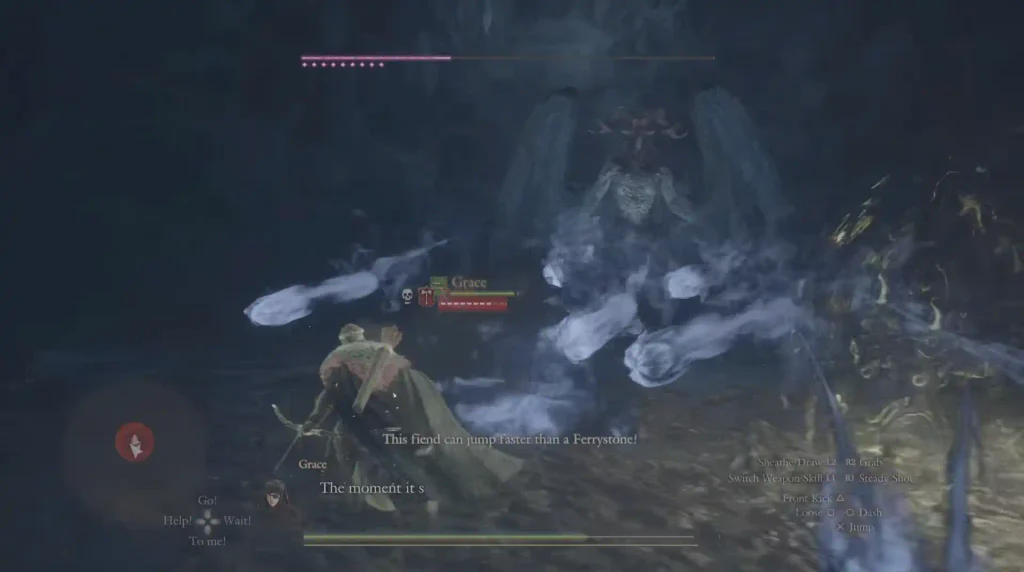
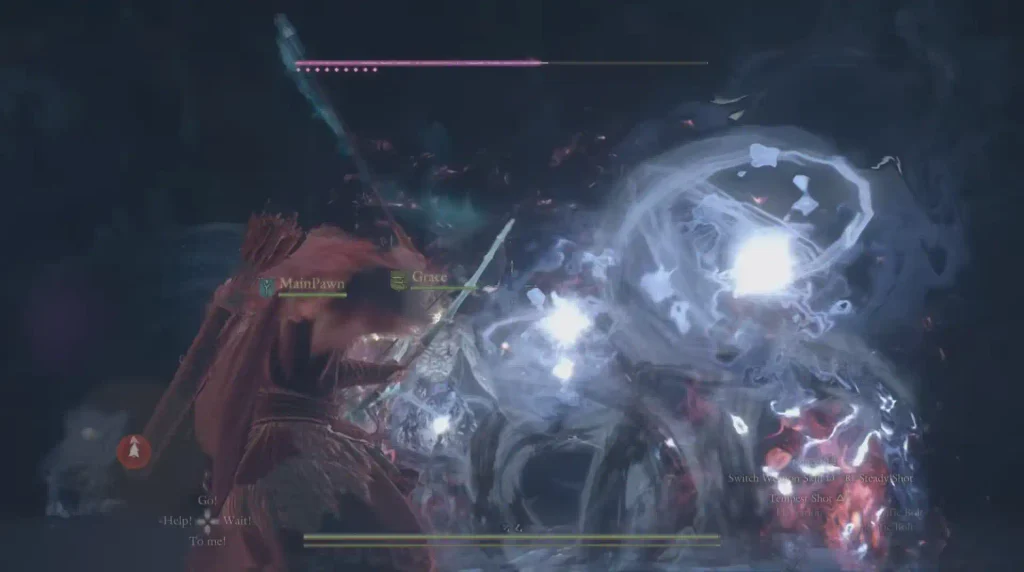
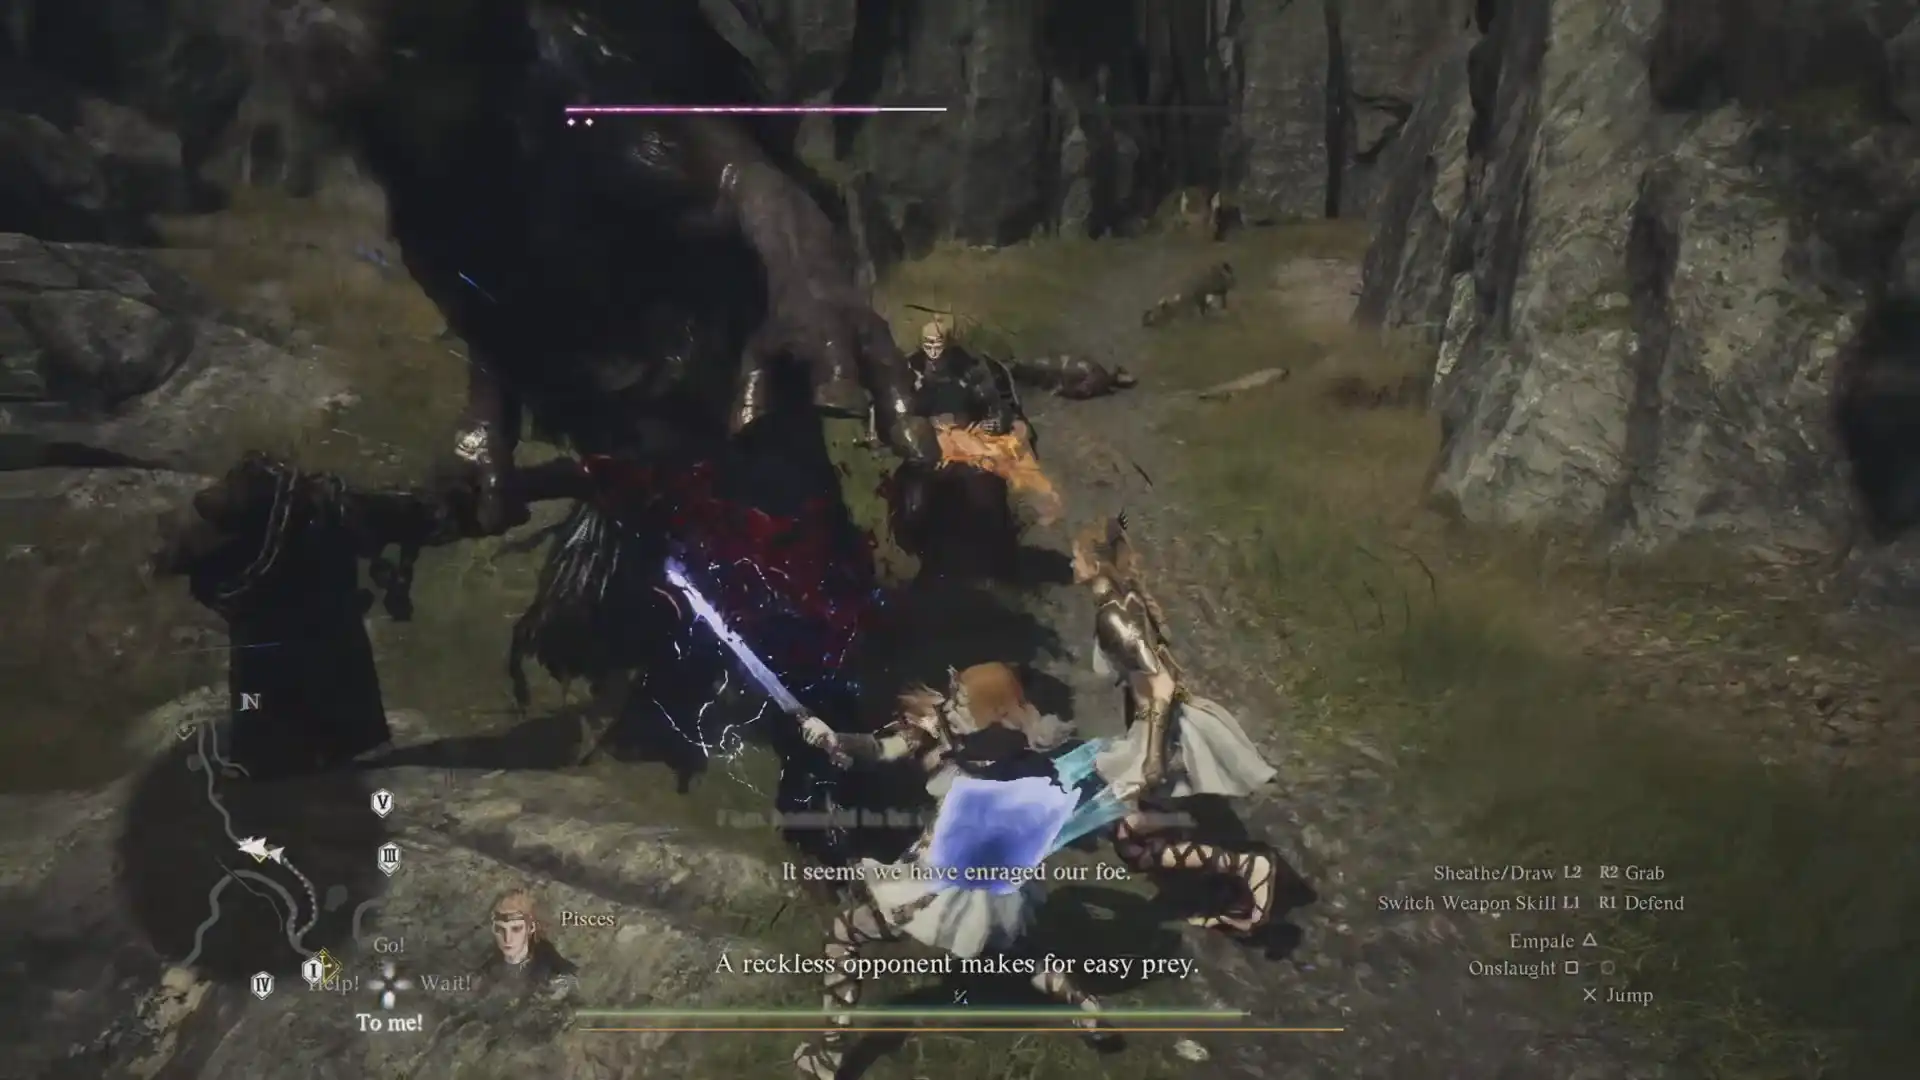
During the first phase of the fight, he’ll attack you by slamming his hand on the ground or into you. Then, he’ll use ranged attacks such as summoning big white orbs that explode after a few seconds, or he might simply shoot white bolts of mist out of his hands. Not hard to dodge/shield, but they deal significant damage, so you will go down fast if you get hit. That is why you should never let Satanachia knock you down. When prone, you are bound to get hit by the bolts.
Summoning Vortexes Above His Head
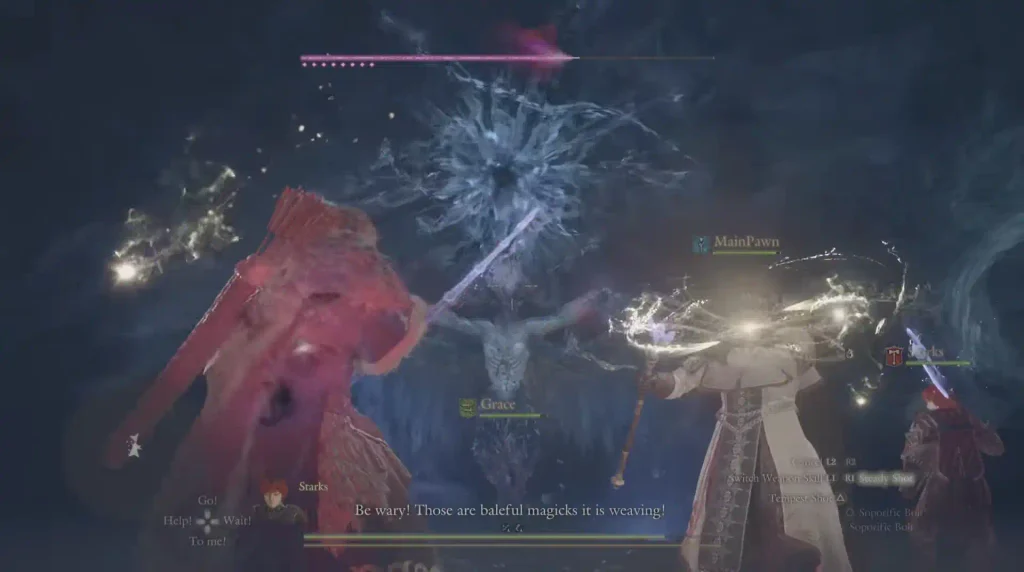
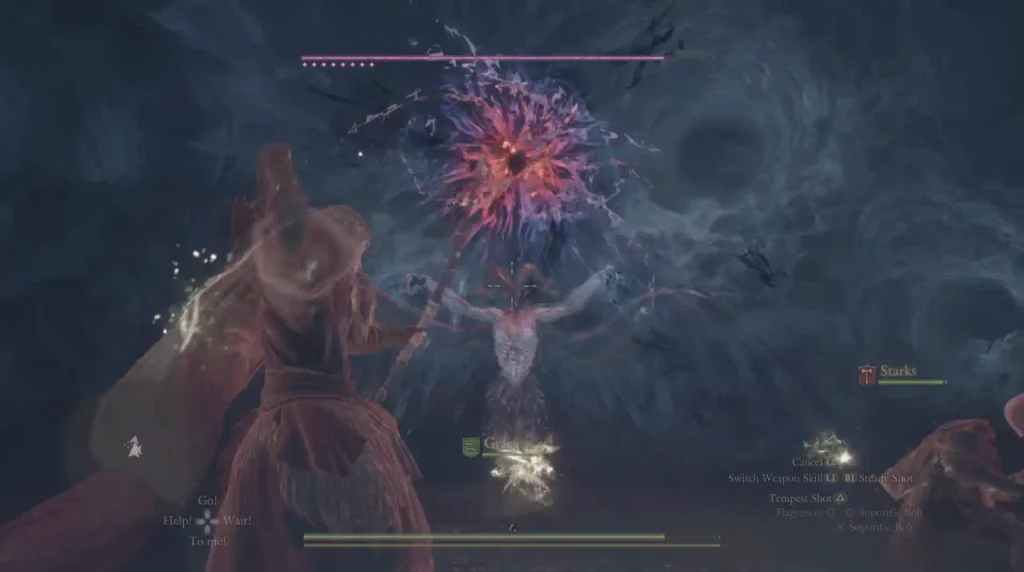
Once you manage to damage him quite a bit, he’ll bring out stronger attack types such as summoning vortexes. The red vortex can curse your Arisen, while the white vortex will release tornadoes that move around in the arena. As he gets damaged more, the number of tornadoes increases, so don’t get close to him when you see Satanachia conjuring up that white vortex above his head. Keep damaging him with ranged attacks while moving at the same time. Dodging should be your first priority though.
Silence, Charmed Pawn, AOE Sky Attack, & Laser Attacks
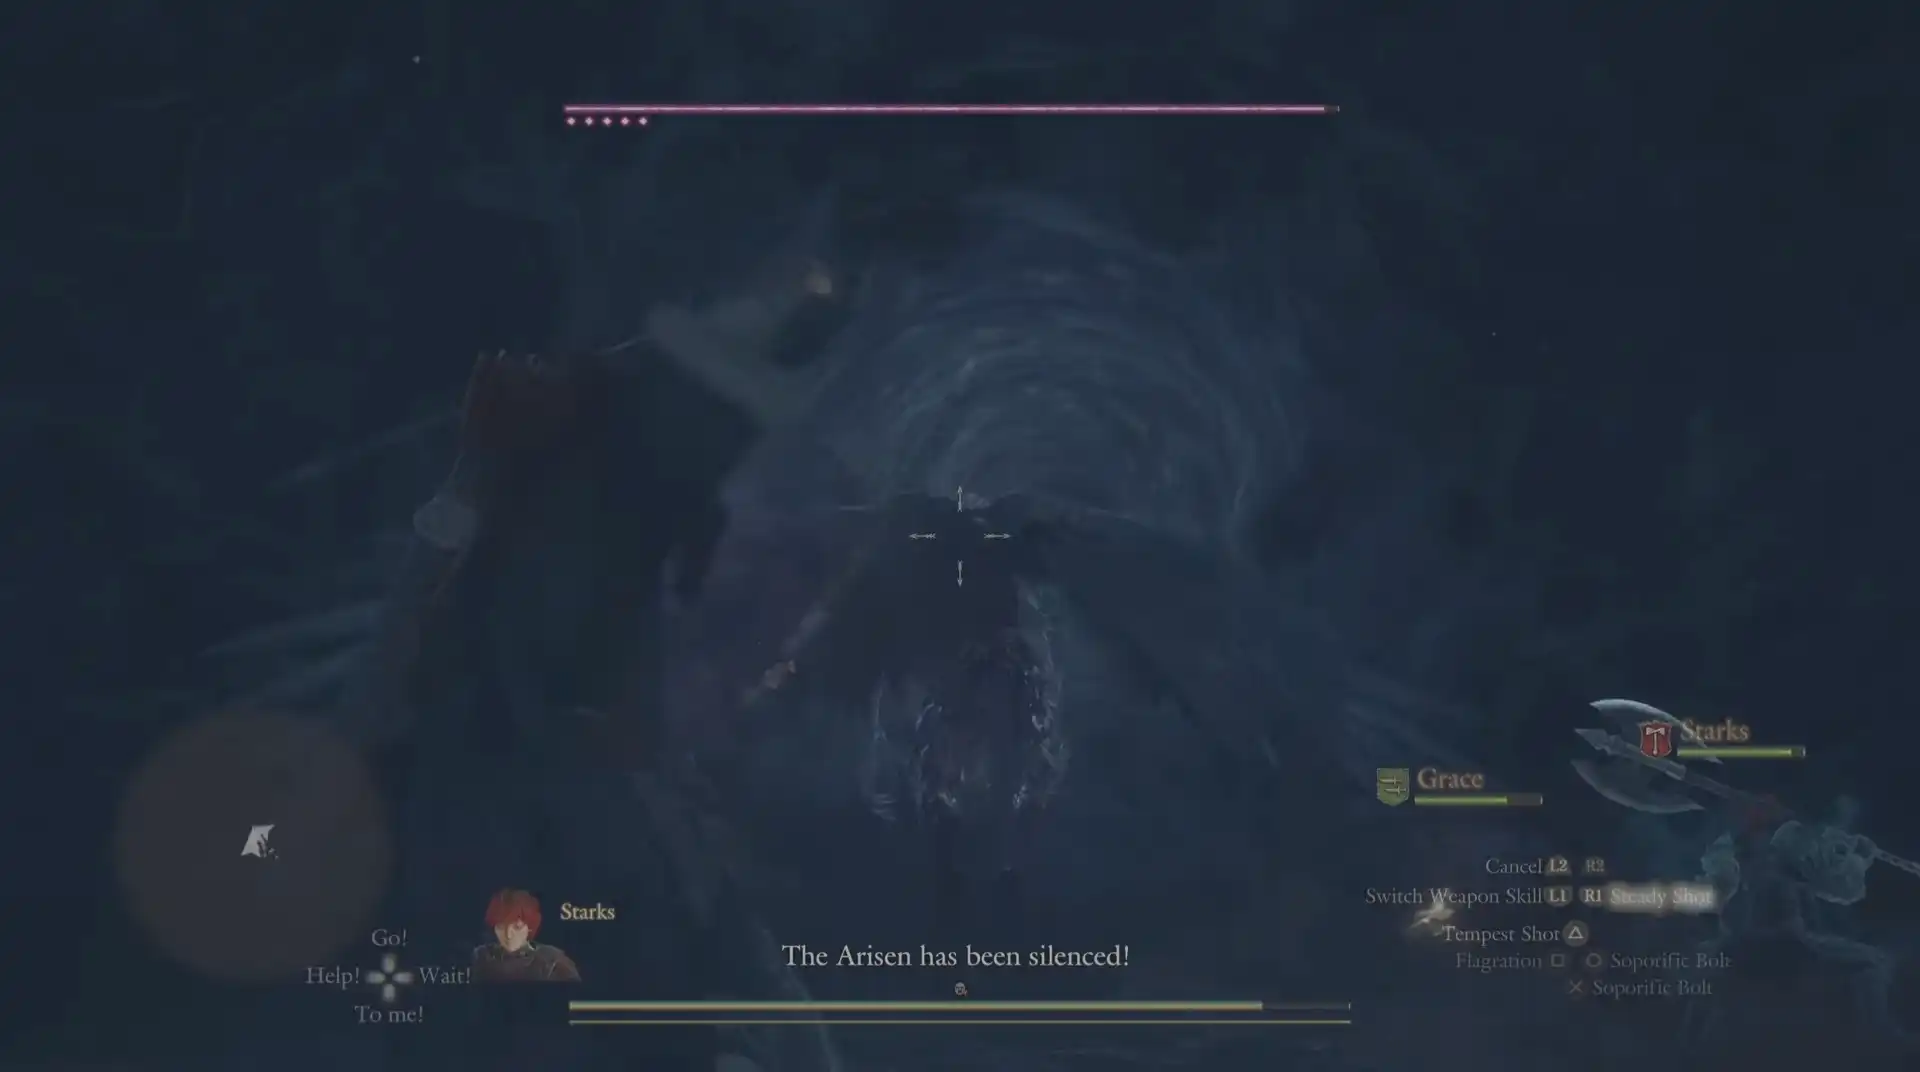
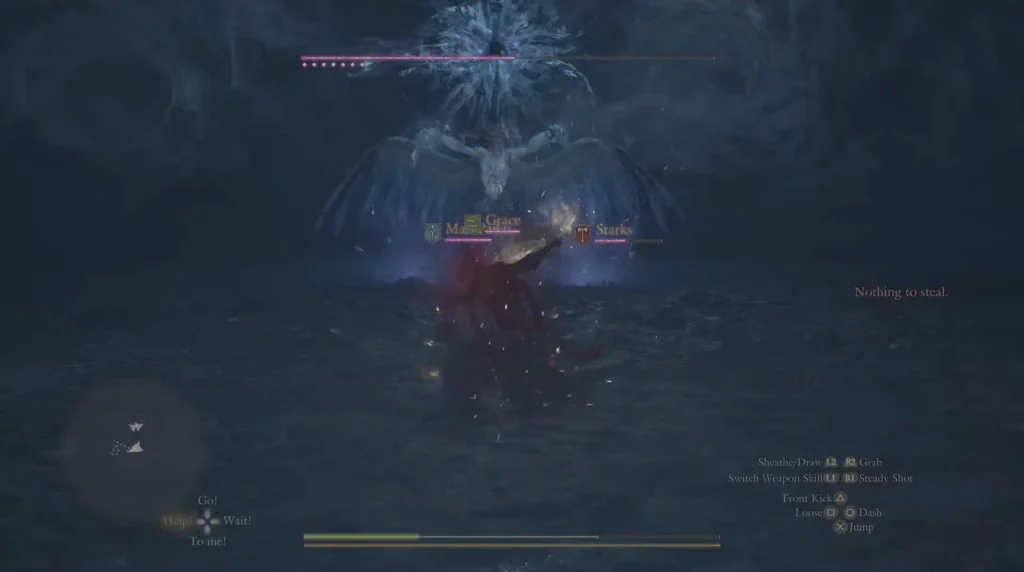
When you take away half his overall health, he’ll charm one of your pawns to attack you. Watch out that you don’t go prone or else your Pawn will kill you. I tried moving Pawns out of the bubbles surrounding them to prevent Satanachia’s mind control attack (corruption).
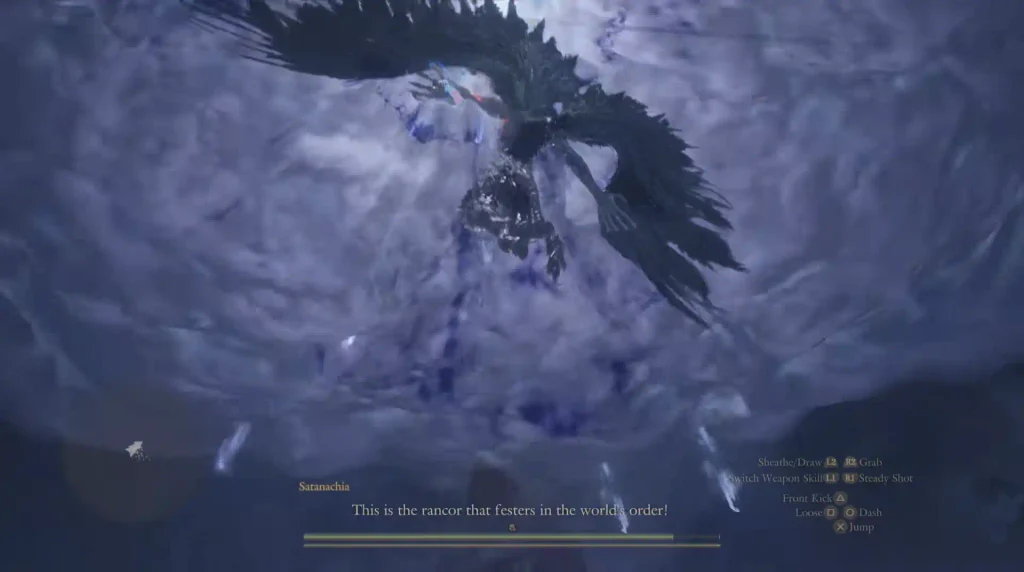
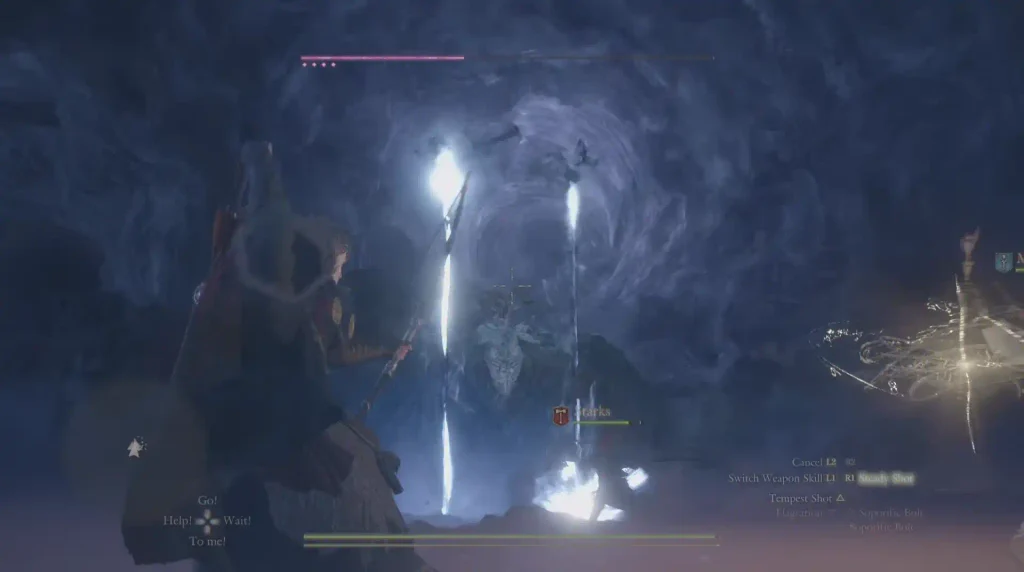
A short while later, he’ll silence your Arisen. That’s your cue to keep an eye out on the sky as he now flies. From up there, Satanachia will rain down dangerous white bolts of mist. The attack covers the entire arena, so you have to dodge or block several homing bolts here. Later on, he uses a laser attack. When you see two flashing lights in the sky above his head, that’s when you should dodge/block as two (and later more) laser beams will come toward you.
Grapple Attack
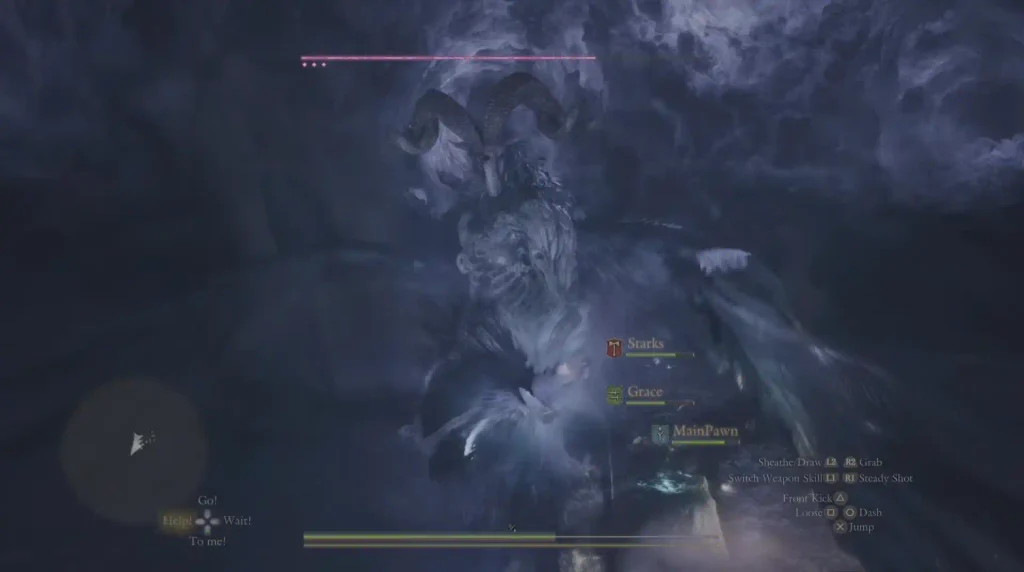
In the later stage of this intense battle, Satanachia will fly toward you, and if you don’t get out of his way in time, he’ll grab your Arisen and drain his health for five seconds. He might even go for your Pawns. If any of your Pawns go down during the fight, don’t immediately try to revive them as that’s when Satanachia uses the opportunity to really hurt you.
Satanachia’s Weaknesses and Best Damage Opportunities
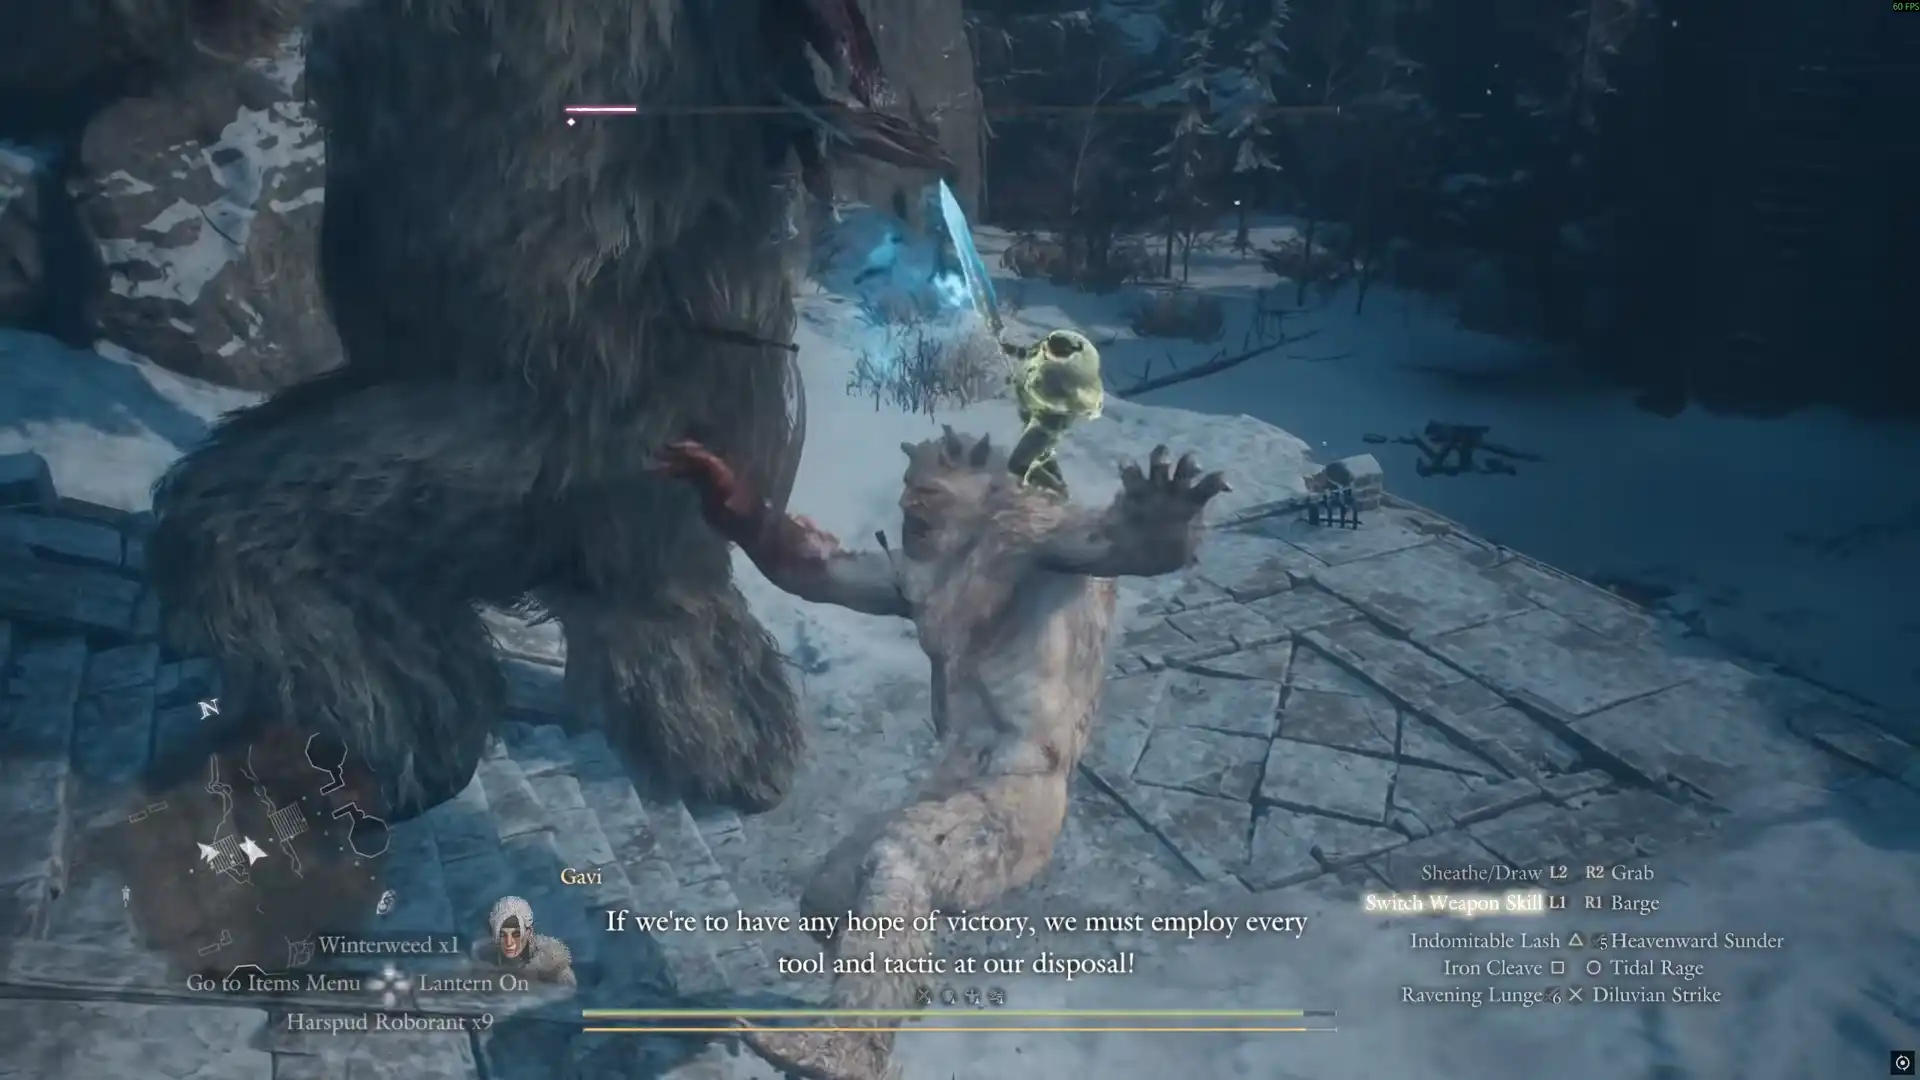
If you’re ranged, always, always aim for his head and especially his third eye in the middle of his forehead. His head takes 20% extra damage from slash and strike attacks. In my experience, his third eye takes even more damage if you manage to hit its tiny hit box, although that might just be critical damage taking effect. If you’re melee, you have to get close and attack his legs so he falls down, and then you can damage his head. If you’re a magic-based, bring a grimoire that includes missile-type attacks, like the lightning strike from High Levin (available in the Fulgurous Lord grimoire).
Satanachia, unfortunately, doesn’t have an obvious elemental weakness.
How to Fight Satanachia Again
Once you beat him once, you can try the fight again as many times as you’d like. you can restart Ruin-Night and jump straight back into Niflhel to fight Satanachia, without clearing all the vortexes again. However, to unlock the Empowered version of Satanachia, on top of beating his normal version at least once, you need to look for new methods and encounters.
How to Unlock the Empowered Satanachia Boss Fight
To unlock the Empowered version of Satanachia, on top of beating his normal version at least once, you need to look for the more dangerous Virulent Rancor encounters. To find Virulent Rancor, start by clearing the regular Rancor’s Vortexes during Ruin-Night. A tougher red Virulent Rancor encounter can appear afterward. Complete these encounters to collect Morbid Glares, then bring three of them into Niflhel to break Satanachia’s soul seal.
You can also try this method: There’s also a particularly challenging activity called Devouring Rancor, located around the area where you fought the Fallen Dragon. This was, by far, the most difficult vortex encounter in the entire game for me. But beating it will lead to an Empowered Satanachia encounter.
How to Beat the Empowered Satanachia
The biggest difference I felt while fighting Empowered Satanachia was that he teleported way more often and way faster. That’s extremely dangerous when you’re attacking him and he suddenly teleports behind you to hit you with his claw attack/ground slam. The best strategy is to immediately move backward to avoid his melee strike when he teleports behind you. When he follows with the telekinetic blast, jump to avoid it, provided you’re not standing directly against him. And don’t immediately retaliate. Wait for the attack sequence to finish before committing to a long animation.
Satanachia Rewards and Drops
- 500,000 XP
- 100,000 Gold
- 15,000 Rift Crystals
- Level 5 Ancient Spoils
- Norgan Ducats
- Upgrades (Wicked Forms of Rings) for Ring of Virtue
- Ring of Clarity
- Ring of Serenity
- Ring of Preservation
- Ring of Offense
- Ring of Rejuvenescence
- Dawnbringer Pawn Badge (only for Empowered)
- Supernal Armor (only for Empowered)
The Ancient Spoils rewards can include Ancient Helm, Ancient Light Weaponry, Ancient Long Weaponry, or Ancient Bowstaff. I had to appraise these items before I could use them.
Who Is Satanachia? (Lore Explained)
Outside of the game, Satanachia is known as commander-in-chief of Satan’s army.
In Dragon’s Dogma 2 Dark Arisen, Satanachia isn’t actually the Fallen Dragon, nor is he the Dark Arisen himself. Ser Rovall is the Dark Arisen who was corrupted by Satanachia. As Arisens fell into corruption, chaos’ rancors were created. Satanachia is the product of that rancor. The game’s lore connects this rancor to the cycle through which the Will of the World continually produces new Arisen. Not every Arisen fulfills their intended purpose, and corruption gradually gives rise to a force that opposes the world’s governing order. That force eventually manifests as Satanachia.

Dragon's Dogma II