

Queens Domain throws a lot of bosses at you. So far, eight bosses have their own achievements, and a few more show up in the game as well. Below is every boss I could confirm, plus full strategies for the first three. So keep reading until the end.
Warning: The game launched on October 30, and everything here is based on patch 1.01.02. This guide will be updated regularly, so keep checking back.
What You’ll Read:
All Queens Domain Bosses
Here is every boss in Queen’s Domain and what we know about them so far.
| Boss | What We Know |
|---|---|
| Shrine Guardian | First boss, in the Crypt on the opening island. Drops the path to Holy Sword Endu. |
| Royal Guards (x3) | Mini-bosses that block the way to Dagoom in Obmuer Temple. |
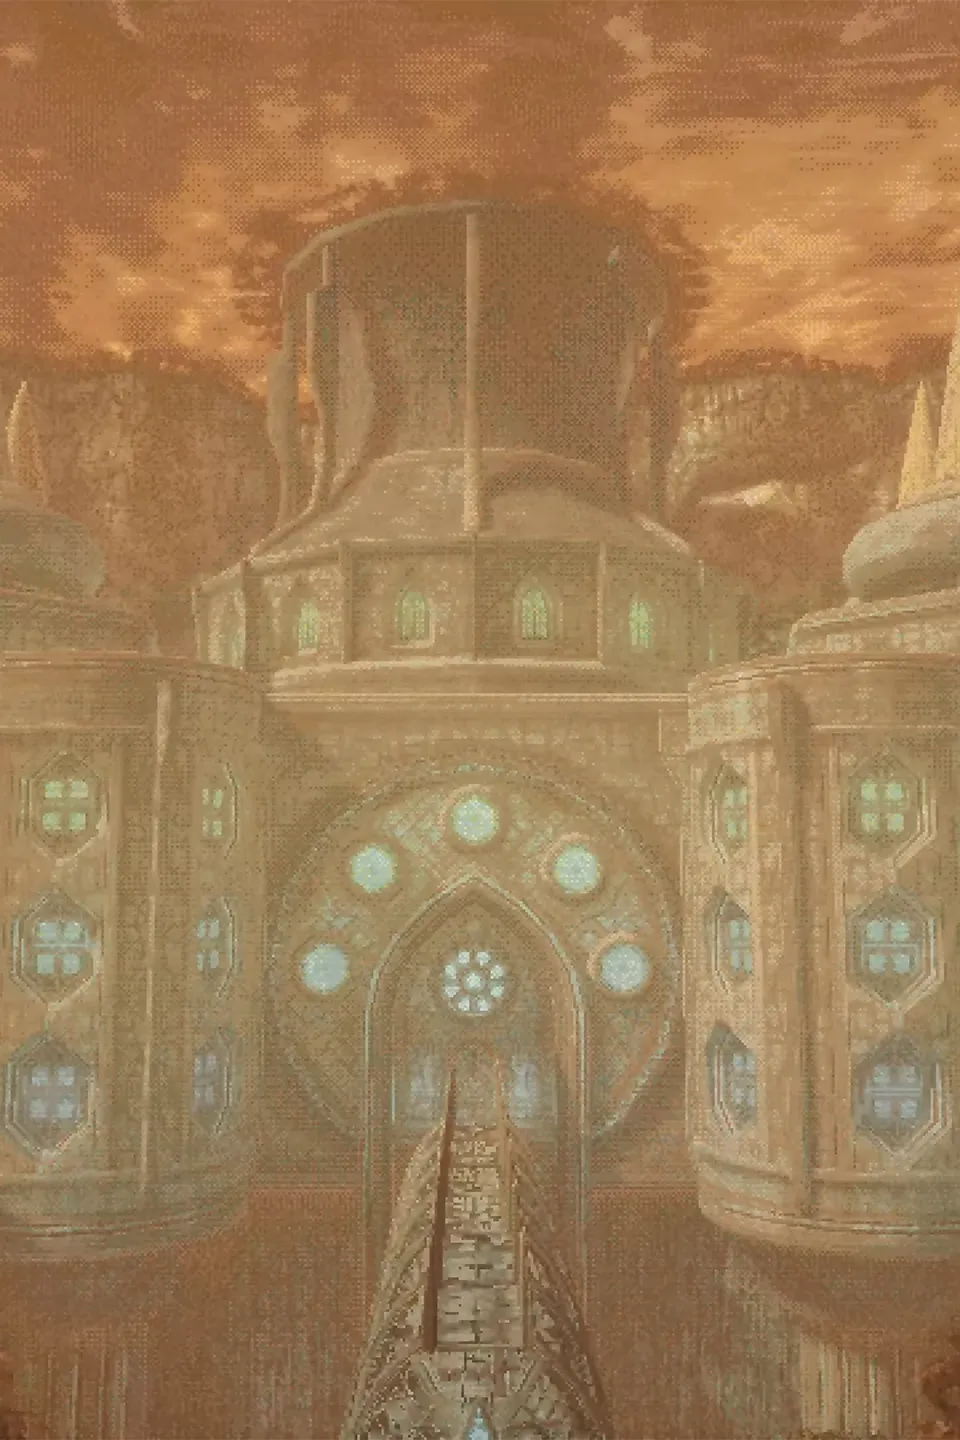
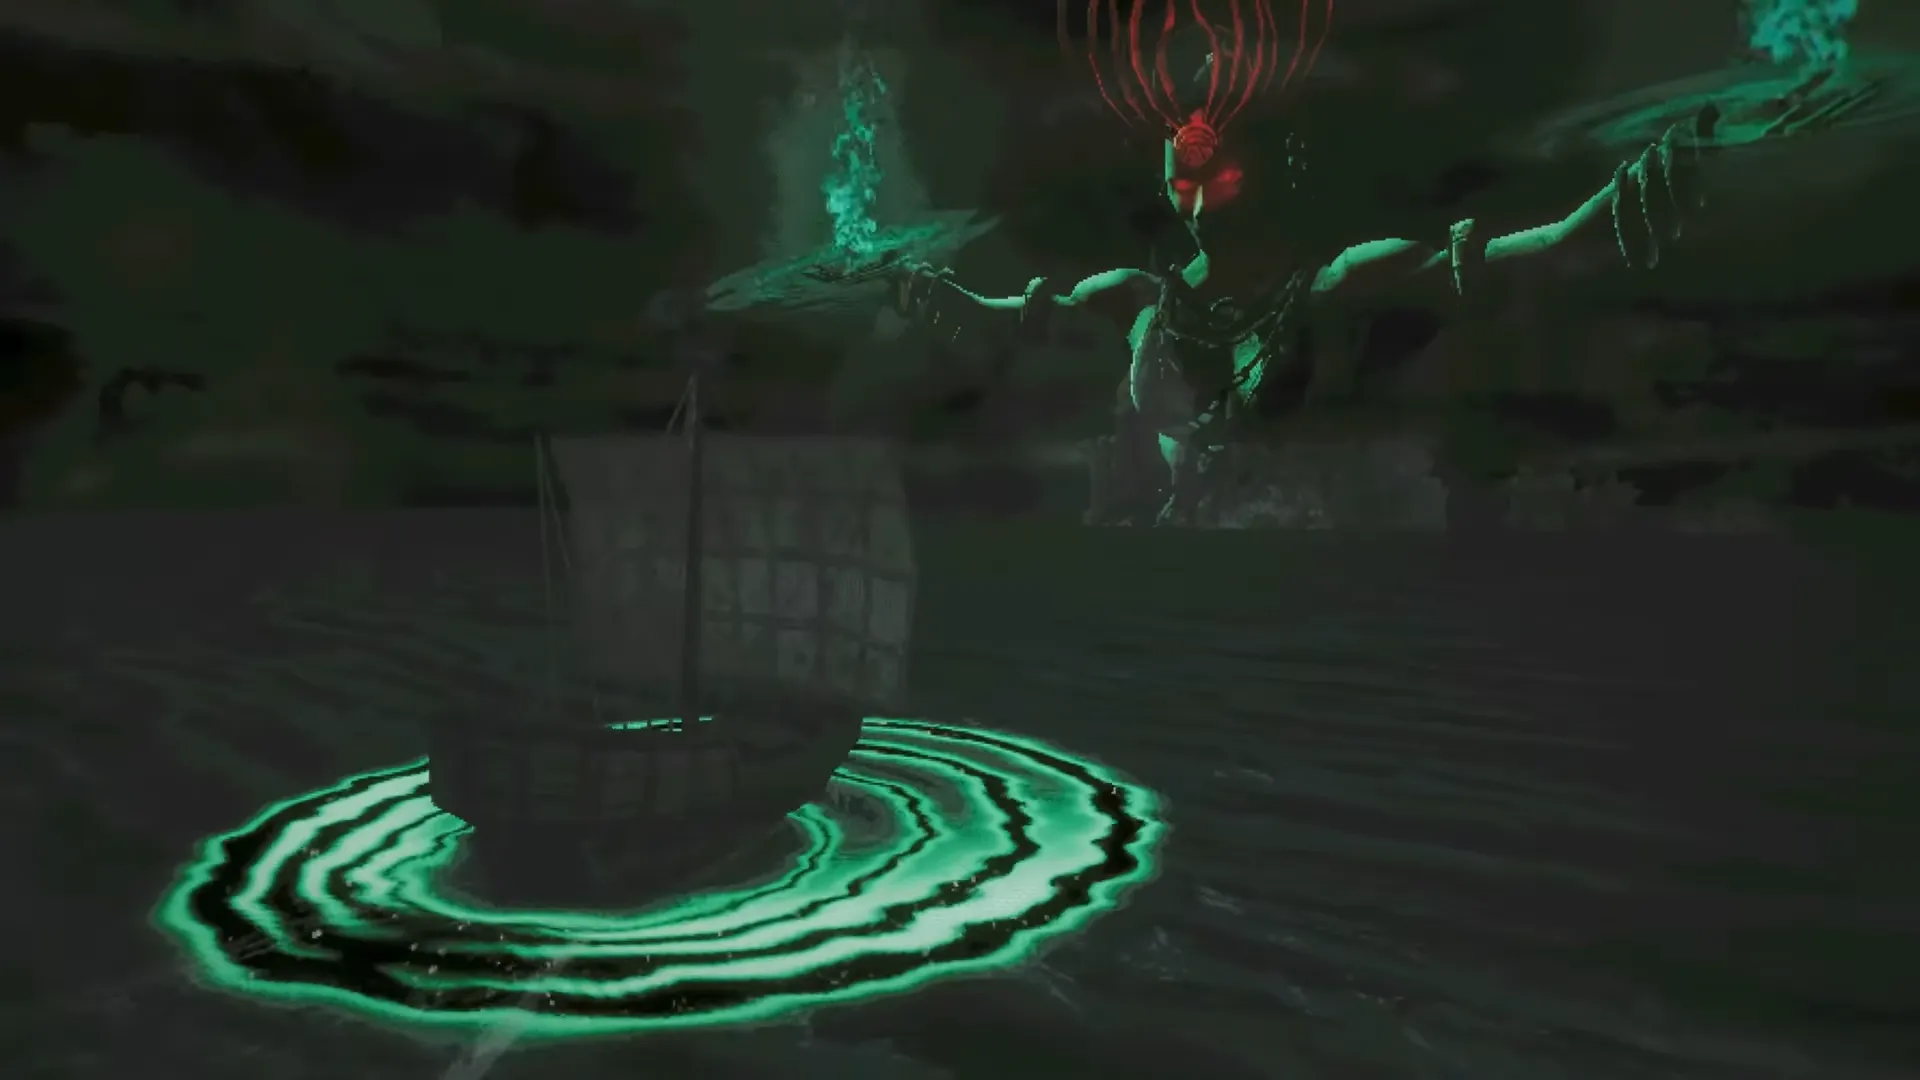
| Dagoom the Sea King | Second boss, at the end of Obmuer Temple. |
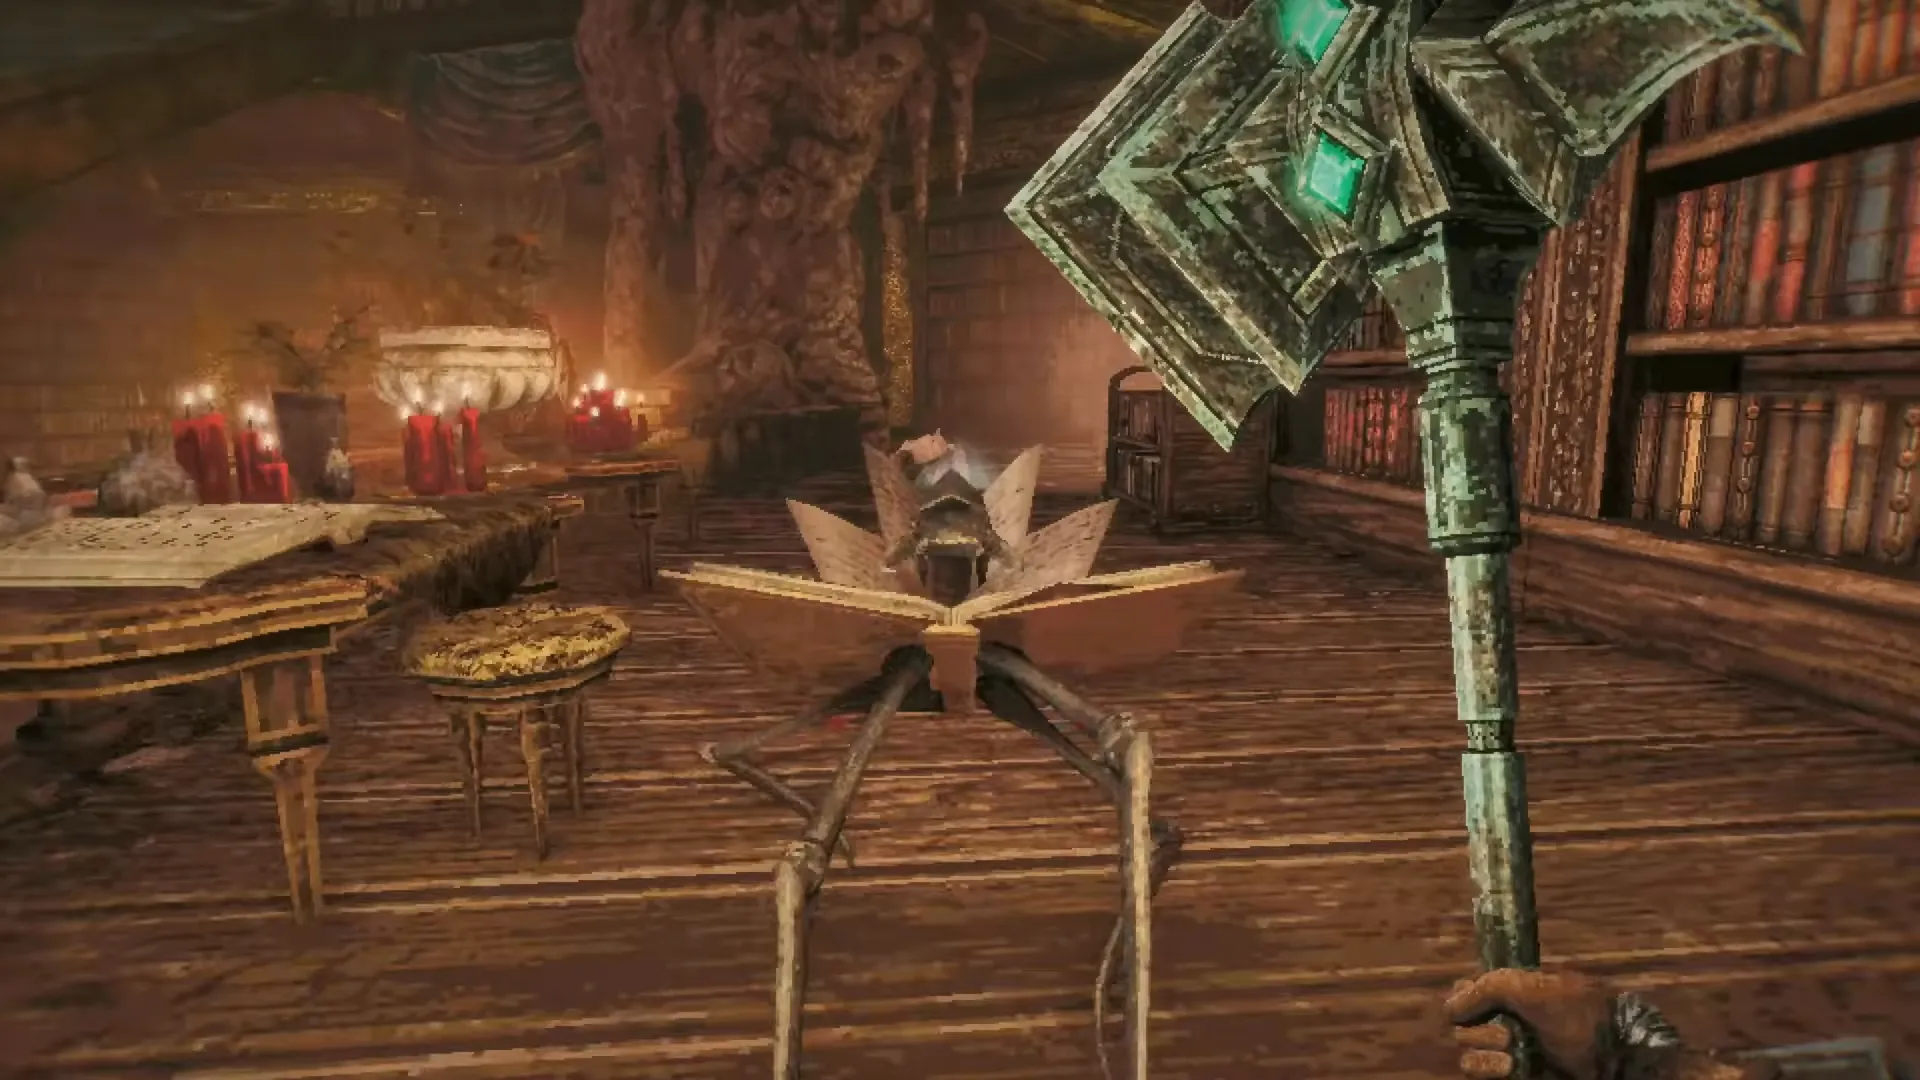
| The Necronomicon | Third boss, in the Tower of Knowledge. |
| Black Skeletal Witch Husipo | Her encounter trigger was broken and got fixed. Location unknown. |
| Black Skeletal Butcher | N/A |
| Poenir and Duenir | N/A |
| Josami Lord Saijha | N/A |
| Herald of Okbujo | N/A |
| Usunha and Wujomiod | The Shrine of Puwema Gatekeepers. |
| The Gigantic Serf | N/A |
| Blood Angel Lords Yuumed and Woyeki | N/A |
How to Beat Boss Fights
There are three things you must learn to beat any boss fight. So don’t skip this part.
Power Meter and Charged Attacks
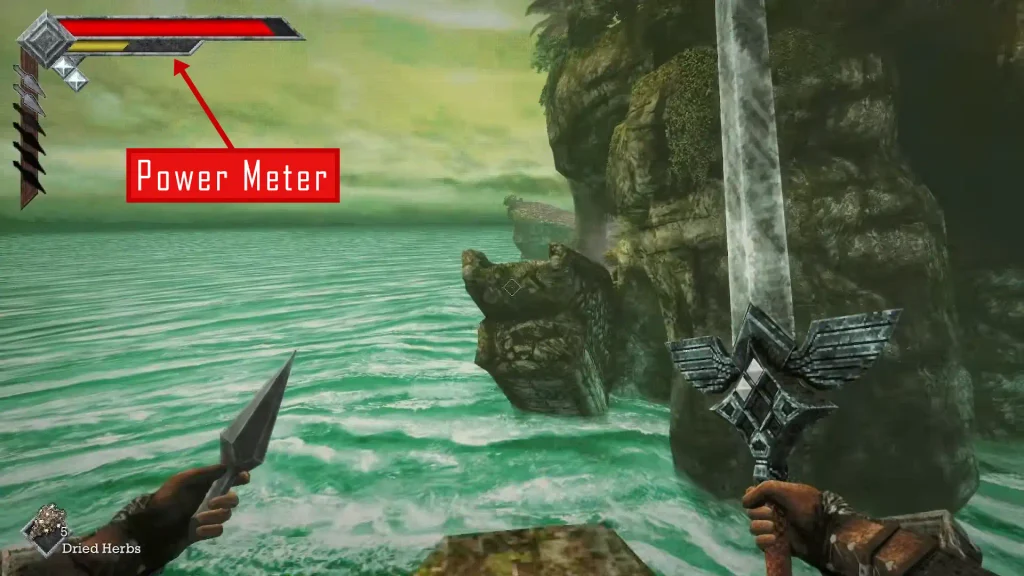
The yellow Power meter is your attack stamina, and it decides how hard you hit. If you fight on an empty bar, you barely scratch the boss. Sprinting drains it too, so let it refill before every real attack.
Holding the attack button fills a blue charge bar for extra damage. The catch is that you can’t sprint, throw, or Wind Dash while charging. Start a charge only after a big boss swing, when you know you have time. There’s no universal dodge roll or block here. Positioning is your defense.
Check the Bestiary and Damage Types
Weapons deal Slash, Pierce, or Impact damage, and bosses react differently to each. Check the Bestiary before a fight and bring the right type. Don’t assume one weapon works on everything.
Keep a throwing weapon equipped too. Throws recharge over time, so there’s no ammo to buy. If a boss keeps beating you, farm some easy enemies with your favorite weapon first. Weapon proficiency rises the more you use it, so a short grind can fix a hard fight.
Save at Crystal Monuments
The game never autosaves. You have to save at a Crystal Monument yourself, and I’d do it right before every boss. Dying after a long unsaved run hurts.
Resting at a monument heals you and clears status effects, but it also respawns enemies. Some enemies come back with time even if you never rest. Clear the shortcuts on your way to a boss so every retry is short.
Shrine Guardian (First Boss)
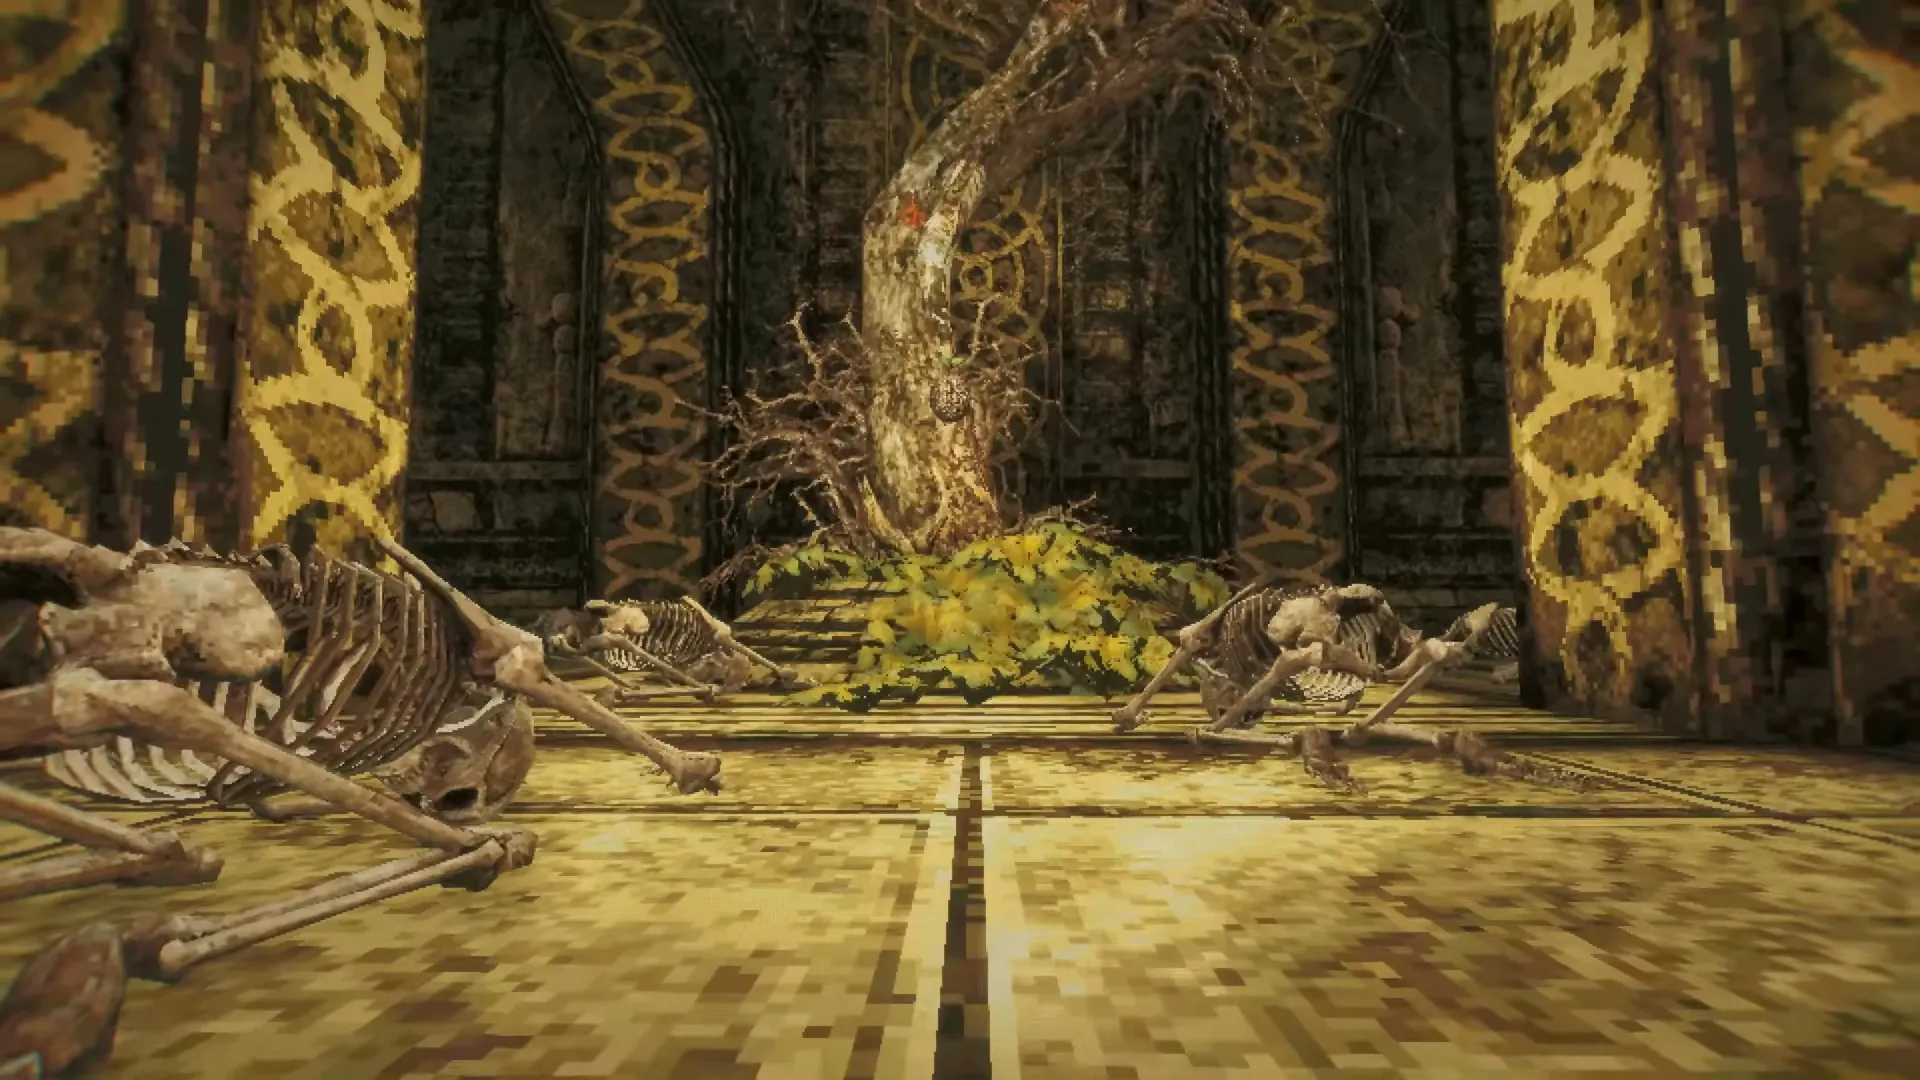
The Shrine Guardian is the first boss in Queen’s Domain, and it’s an easy start.
How to Reach the Shrine Guardian
Ignore the huge sealed Mausoleum door on the island. It’s not the way. The first boss is the end of the Crypt.
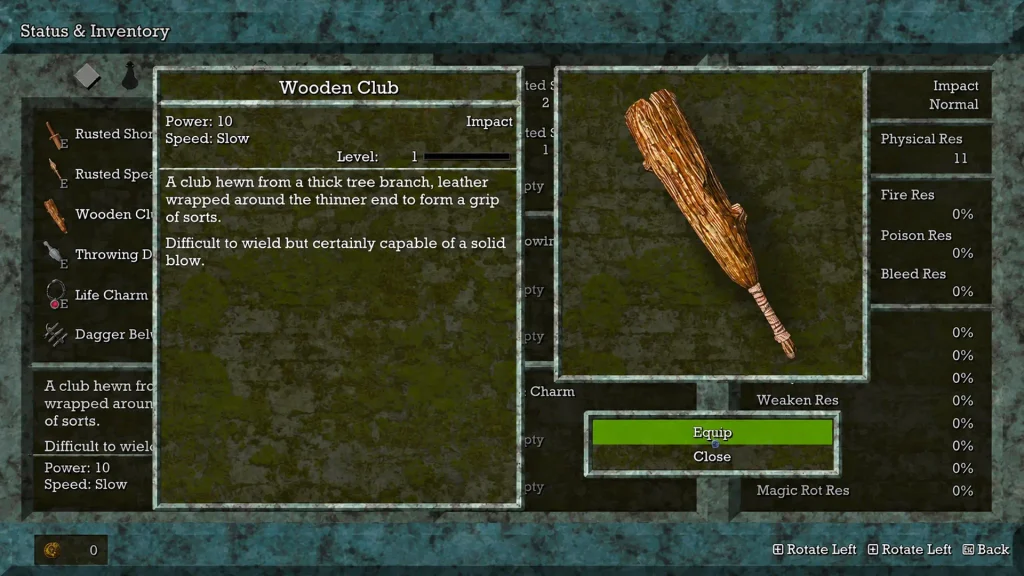
Grab the Rusted Spear from the ruined tower and the Dagger Belt from the beach wreckage first. The belt gives you three recharging dagger throws. Hit the two diamond targets in the clearing with daggers to open a shortcut back to your first Crystal Monument. In the Crypt, take the Wooden Club from the chest and use the lever to raise the heavy gate. Find the gate and elevator shortcut before the boss, then save.
How to Beat the Shrine Guardian
The Shrine Guardian is an armored skeleton with a huge cleaver. Its overhead swing reaches much farther forward than it looks, so one small step back won’t save you. Back off properly, let the swing land, then hit it during the long recovery. Be patient. Greedy swings get punished.
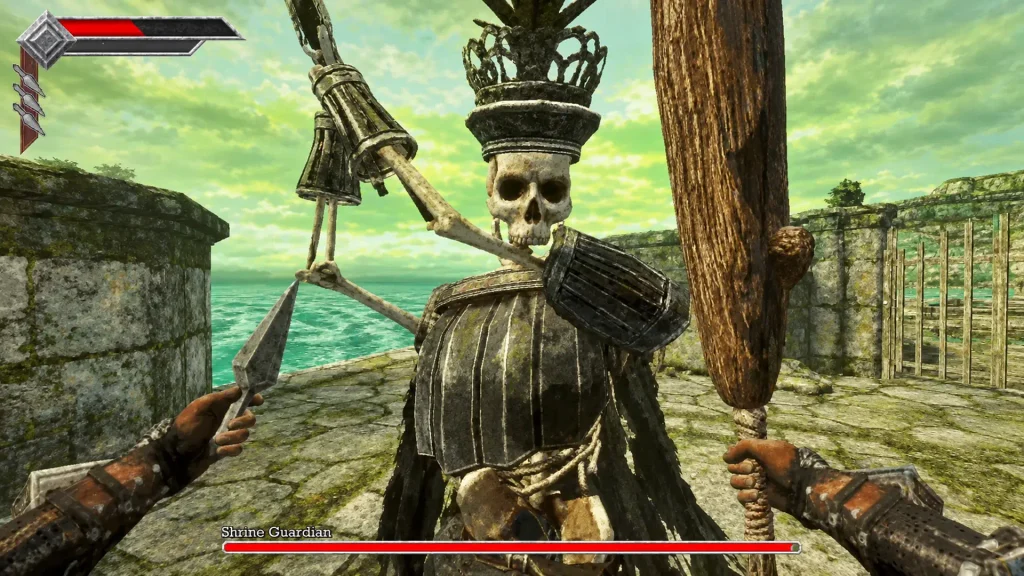
Keep some yellow Power in the bar for that punish. Throw daggers between openings, and don’t let it pin you against the arena wall. The Rusted Spear’s retreating thrust helps you stay out of range. I would also recommend the Wooden Club because its Impact damage works well here.
Shrine Guardian Rewards
Once it drops, walk up to the body and interact with it. That gives you the Stone Duck Figurine, which unlocks the shop. If you skip it, the shop never shows up.
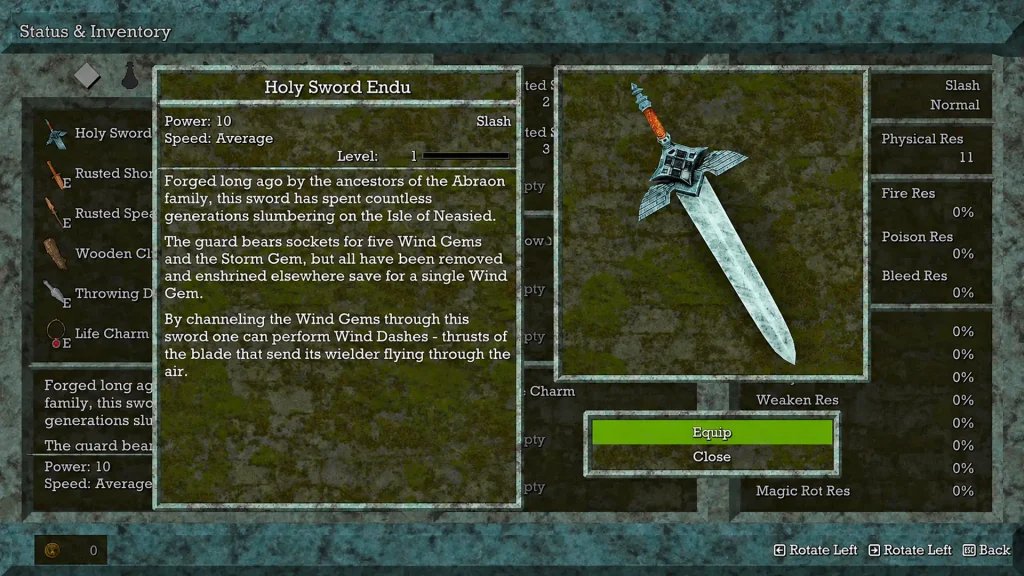
Then head into the shrine for Holy Sword Endu and your first Wind Dash (Ctrl). The dash works even with another weapon equipped. The figurine opens Umbada’s shop at a Crystal Monument, where Ancient Coins buy upgrades like extra throwing charges.
Dagoom the Sea King (Obmuer Temple)
Beating Dagoom takes some effort, because you have to beat three mini-bosses before you can fight him. Here’s how to do it all:
How to Reach Obmuer Temple
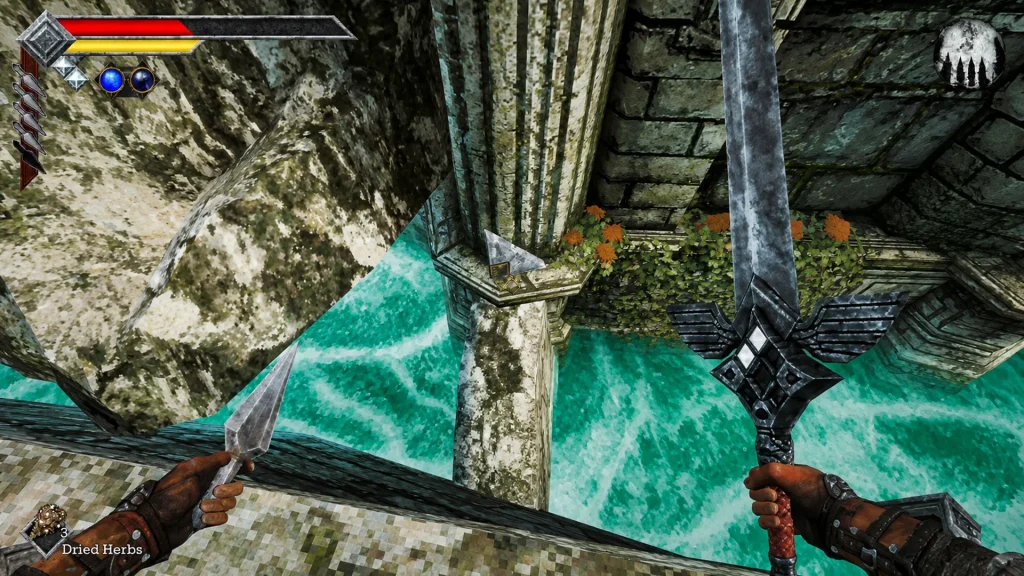
Cross the broken bridge west of the start. It takes two Wind Dashes, so grab the second Wind Gem near the raised pillars by the early Crystal Monument first. Save on the far side.
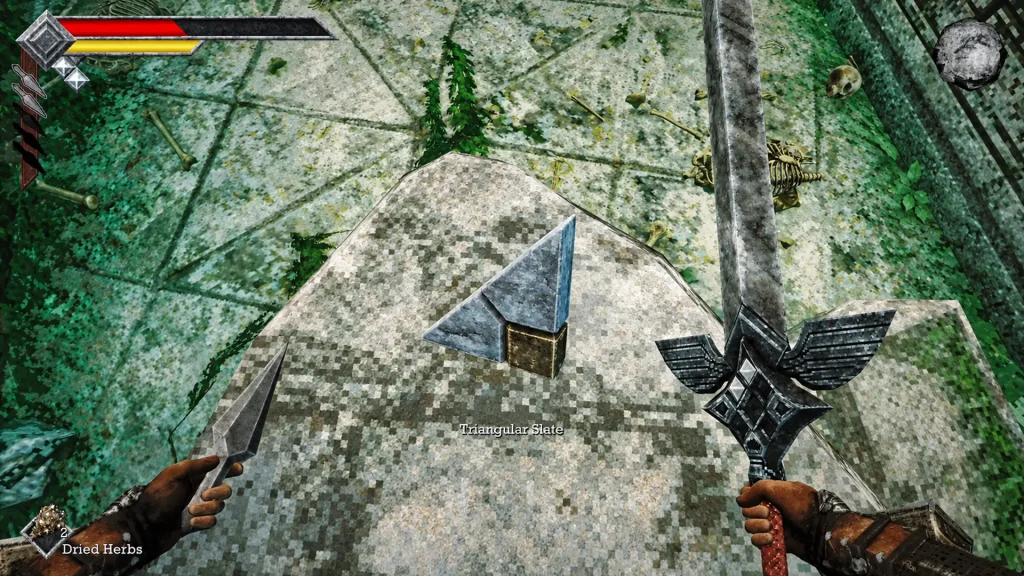
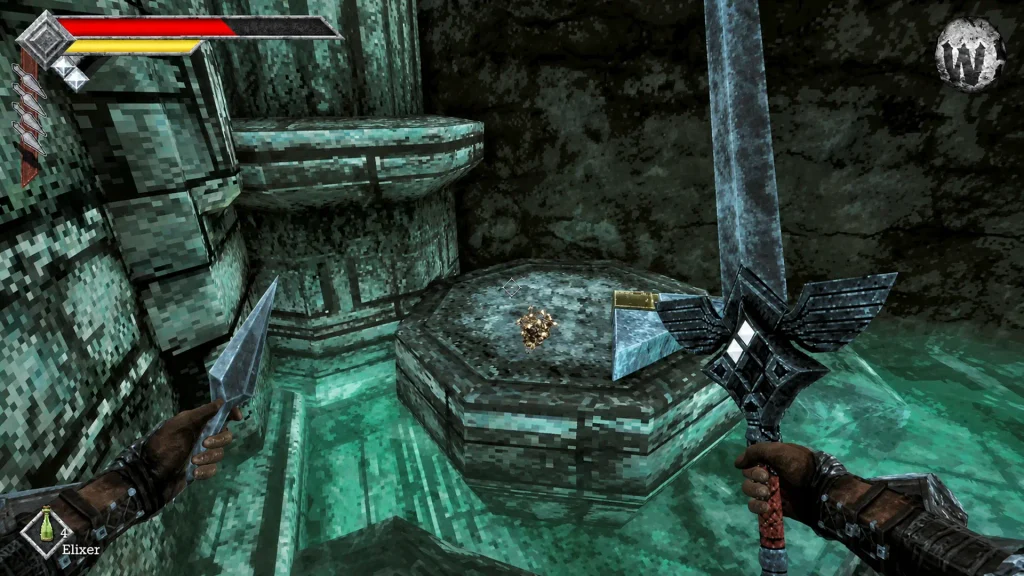
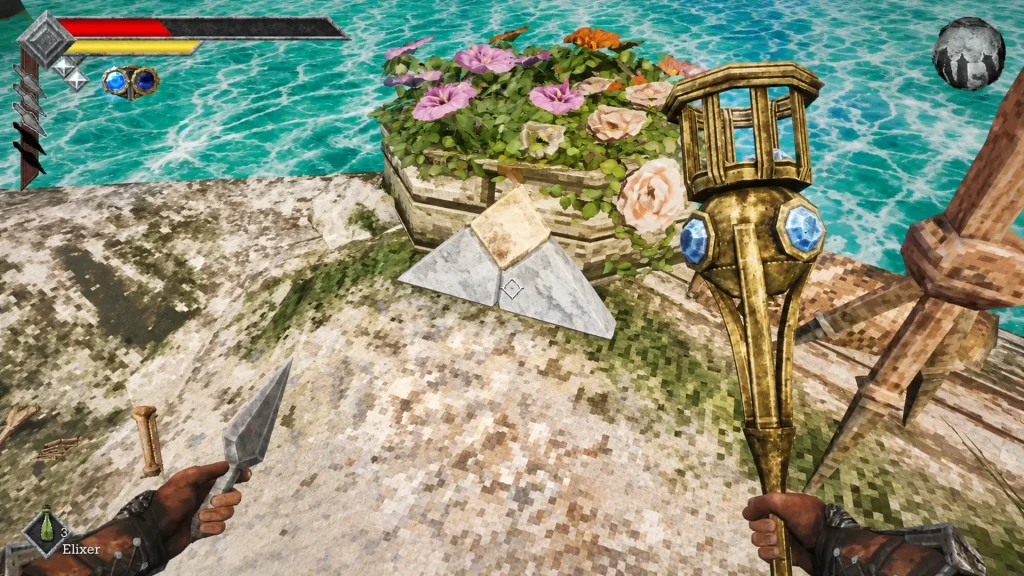
Four Triangular Slates in the flooded ruins unseal the temple door:
| Slate | Location |
|---|---|
| 1 | East side, on a low rock by the pool full of red fish. Hop the stones instead of wading. |
| 2 | West of the pool, on top of the broken columns. |
| 3 | Lower western corner, near the Trident pickup. |
| 4 | Top of the tall central pillar. Wind Dash up. |
Inside, take the Trident Key from the flooded entry. A low wall opening (Wind Dash in) hides a second key, an ambush, and the third Wind Gem.
The Three Royal Guards
Three Royal Guard mini-bosses stand between you and Dagoom. You have to clear all three to open the exit. They have no achievement of their own, so they’re easy to forget about. Walk in with plenty of healing items, because Dagoom is right behind them.
How to Beat Dagoom
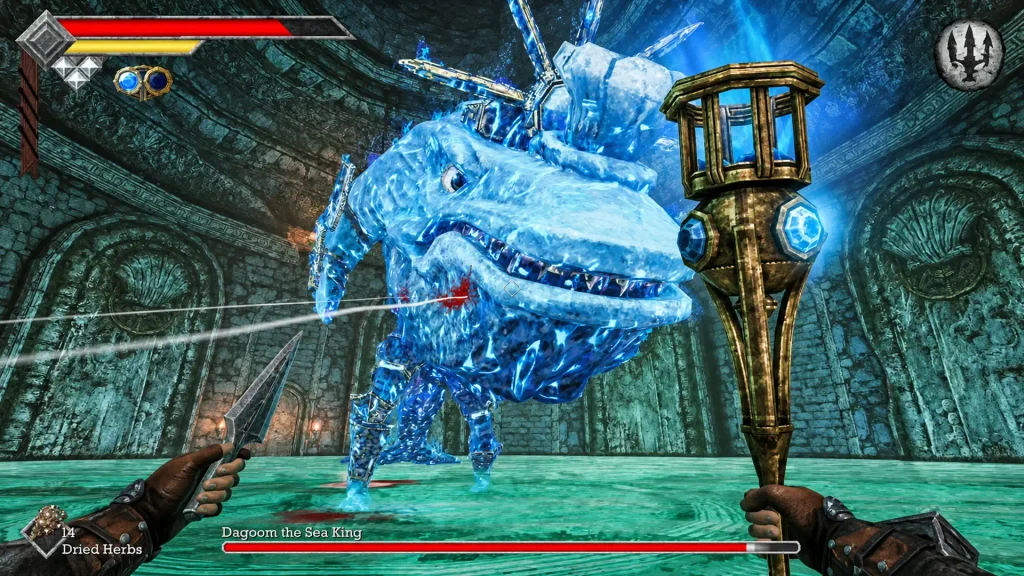
The arena is flooded, and parts of the water are purple Poison. Currents also shove you around, which is annoying. Dagoom hits directly and summons fish. He also uses area attacks. Don’t chase him into the poison. If you get poisoned, you’ll see purple mist at the top of the screen.
Stay on dry footing and throw daggers across the hazards. Burn him with the Azure Torch if you have it. Wind Dash out of bad water before you commit to a heavy hit, and carry extra healing. Slash weapons clear the small summoned fish fast.
Dagoom Rewards
Beating Dagoom unlocks the Treacherous Baleen achievement. The Silver Duck Figurine shows up afterward and adds stock to Umbada’s shop. The temple exit also takes you to the third exterior Gargoyle beacon, which you need to open the Tower of Knowledge.
The Necronomicon (Tower of Knowledge)
This is the last boss fight we know about. It has an achievement, which is totally worth it. So stick around.
How to Reach the Tower
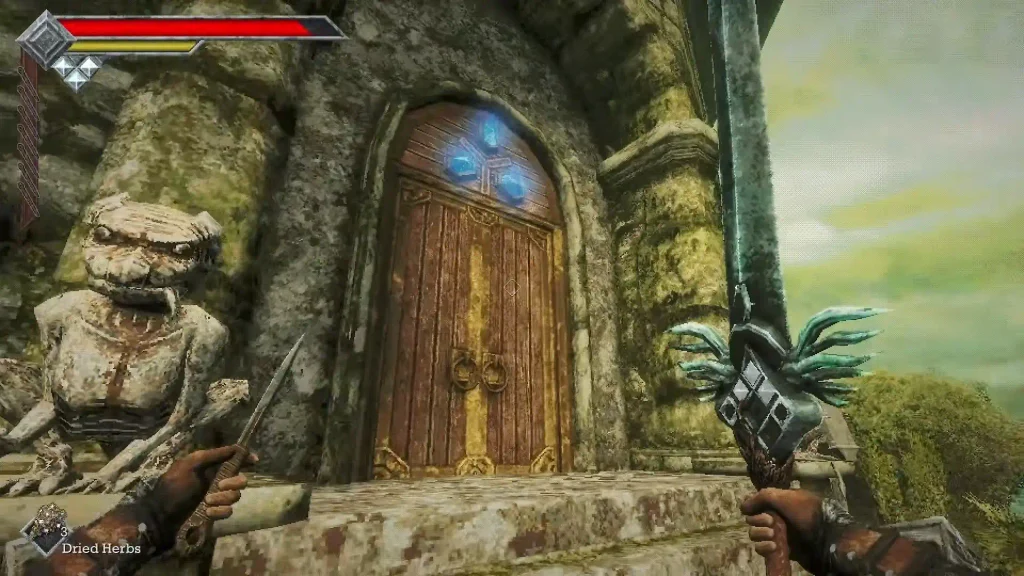
Grab the Azure Torch on the eastern approach to the Tower, then light three Gargoyle beacons outside. One sits above the broken stairs and pillars. Another is north, near an upper elevator by a locked gate. The last one is on your way back from Obmuer Temple after Dagoom. When the third rings, the Tower opens.
Don’t confuse these with the numbered Gargoyle puzzle inside. On that balcony, light statues 3 and 7. The wrong one spawns Book Bugs. Save at the interior Crystal Monument, then climb to Knowledge Keeper Wourha’s study for the Storm Gem. It unlocks Endu’s Raging Tempest, but it won’t open any doors.
Wind Dash down to a lower switch to rotate the staircase, then ride the elevator to Budaen. He gives you the Forbidden Archives Key. Unlock the Archives and save before the arena.
How to Beat the Necronomicon
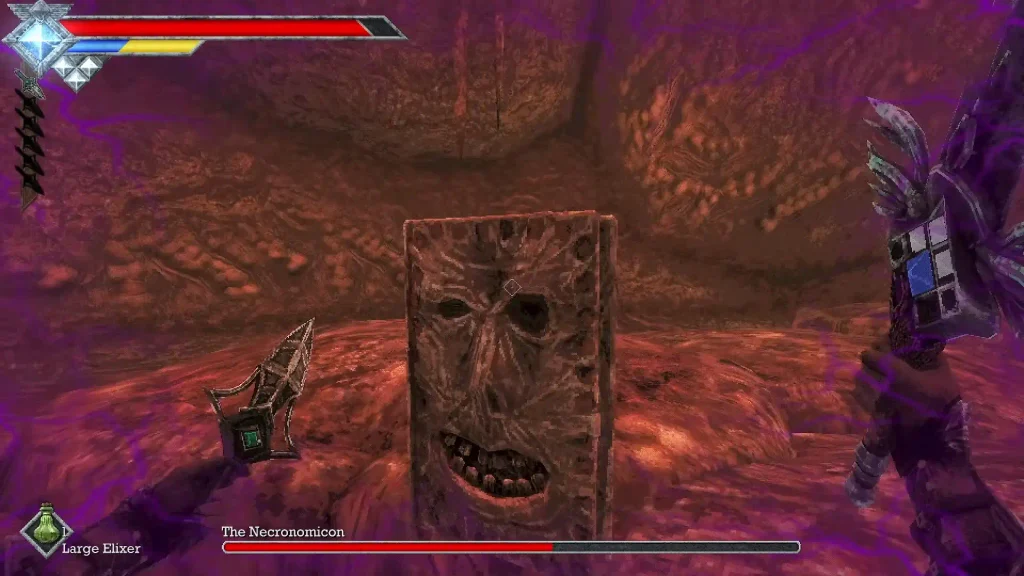
The Necronomicon starts as a floating book that fires ranged magic and status effects at you. Stay back and throw. I recommend switching between normal daggers, Piercing Daggers, and Occult Knives, plus Azure Torch burn when it’s safe. Don’t chase it around the arena.
Every so often, the book drops to the floor. That’s your window. Save Power for one charged Slash hit, then.
Later, it turns into fleshy forms. During this phase, you will see a goat-like one. Skip melee during it! If Sticky or Binding hits you, throws and magic stop working. Bring a cure item or a status-resistant accessory, and keep room to heal.
Necronomicon Rewards
Winning unlocks the Hell Transcribed achievement and gives you the Acid Vial. It upgrades your basic throwing daggers automatically, so there’s nothing to equip. Throw them at the screaming fleshy faces growing on Tower walls to dissolve barriers and reach the Deimpo Mausoleum.
Budaen shows up dead later, so NPC routes change after this fight.
Best Weapons for Boss Fights
Don’t carry three weapons of the same damage type. Bring Slash, Pierce and Impact plus a throwable, and swap after checking the Bestiary.
| Weapon | Type | Power | Where to Get It |
|---|---|---|---|
| Rusted Spear | Pierce | 5 | Ruined tower. Its retreating thrust keeps you out of range. |
| Wooden Club | Impact | 10 | Crypt. Slow, heavy hits. |
| Splash Hammer | Impact | 15 | Inside Obmuer Temple. Very slow. |
| Spiked Buckler | Impact/Pierce | 13 | Umbada, 33 coins. Has a weapon-specific parry. |
| Vampiric Scimitar | Slash | 10 | Umbada, 42 coins. Leeches life, but its special costs health. |
| Azure Torch | Burn | n/a | Tower approach. Burn pressure from range. |
Found one of the later bosses before I did? Tell me in the comments, and I’ll add it to the guide.
FAQ
Should I explore every new Wind Dash route right away?
No. There is a side area that you can reach after several dashes, full of high-level enemies. Hold off on tougher branches until you have the traversal upgrades.
How do I get back to a boss fast?
A Travel Crystal Fragment takes you to your last saved Crystal Monument. A Wing Stone Fragment takes you to an activated Wing Altar. Both are consumables, so there’s no free fast travel.