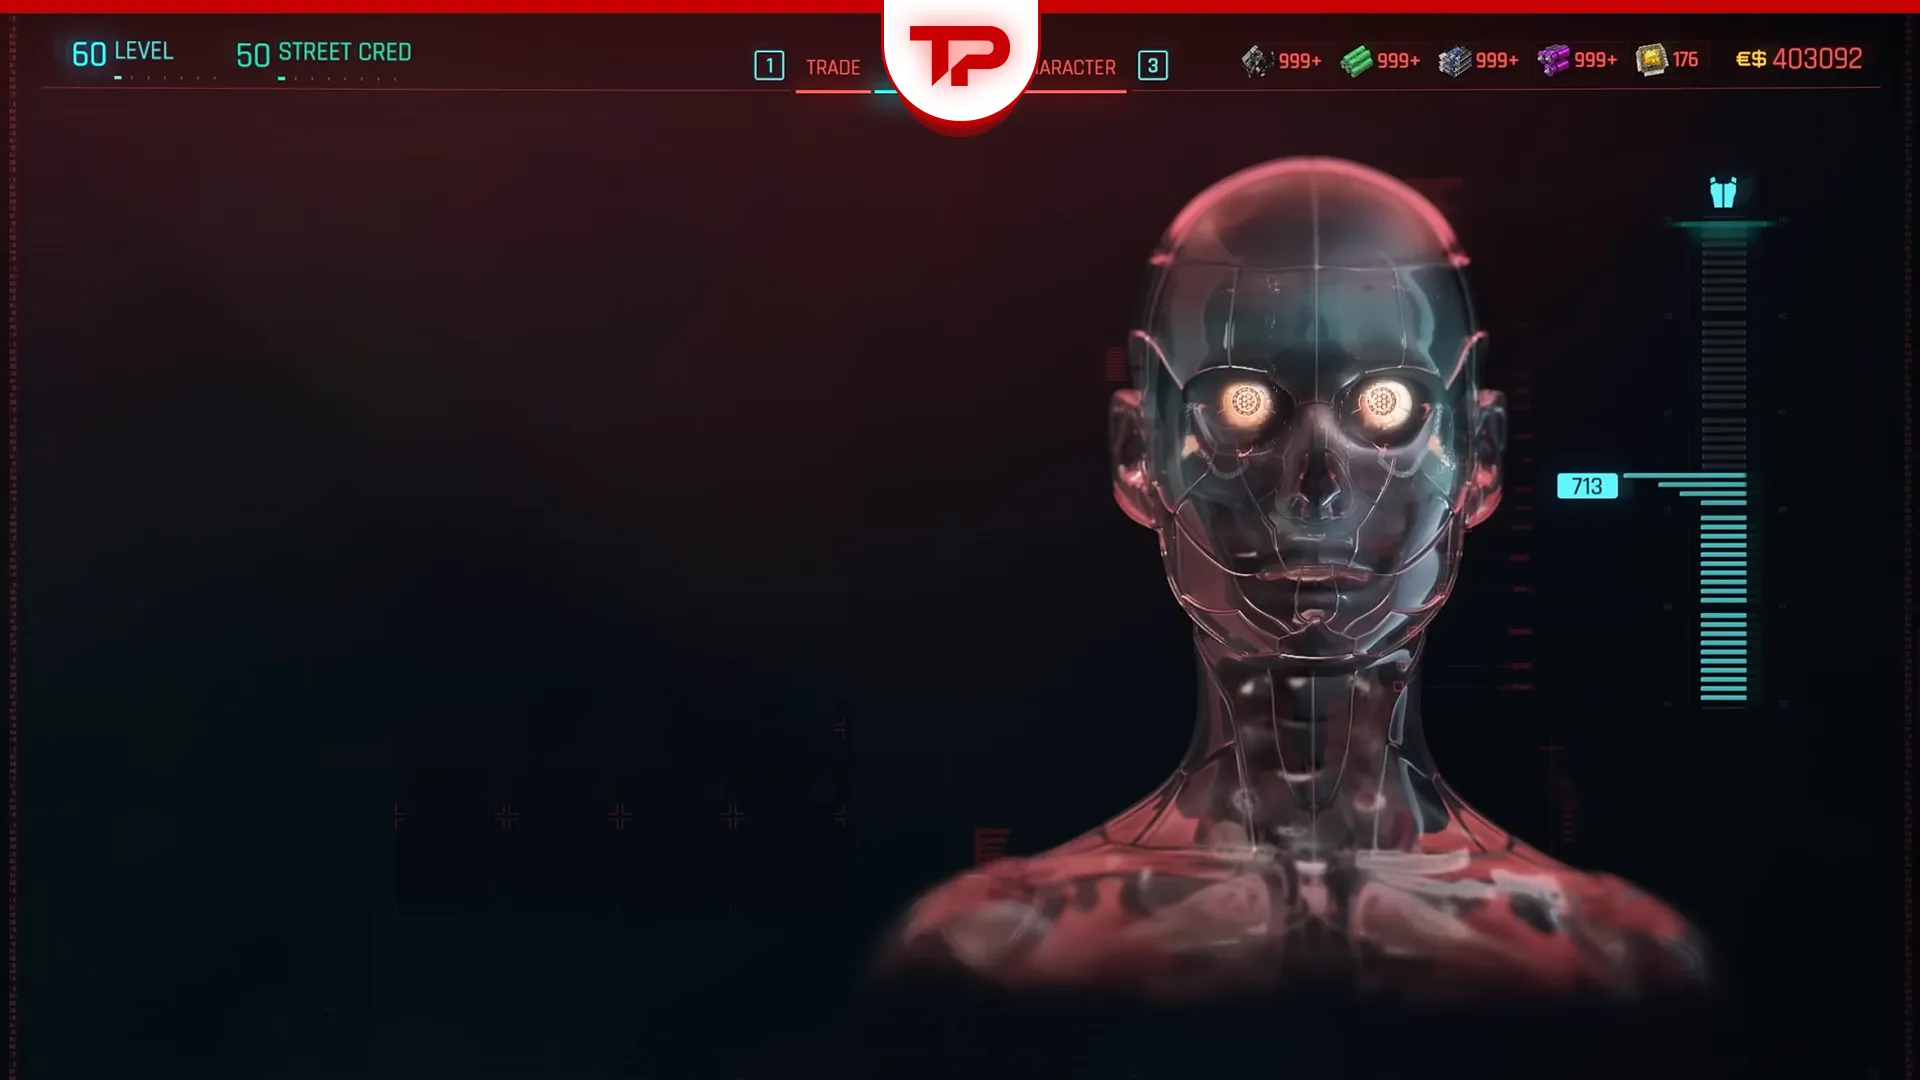


Face is the strangest slot in Cyberpunk 2077’s cyberware system, probably the most misunderstood.
It’s the one slot where seven of the eight options do essentially the same job with a different filter over it, one option ignores that job entirely and just hands you crit chance.
The eighth doesn’t even compete for the same socket.
If you’re coming back to the game after a long break, note that this whole category was rebuilt. Before Patch 2.0 of Cyberpunk 2077, the slot was called Ocular System and Kiroshi Optics were the only optic cyberware you could put in it. Now it’s called Face. Here’s every one of them, what the numbers say and where you get it.
Table of Contents
How the Cyberpunk 2077 Face Cyberware slot works
Your first Kiroshi comes free. Viktor installs the Basic Kiroshi Optics during the quest The Ripperdoc. From that point, every Kiroshi variant you buy is a swap, not an addition. One Face slot, one pair of eyes.
Every Kiroshi model shares two things. All of them boost your scanner zoom, scaling with the implant’s tier, 4x at Tier 1 up to 10x at Tier 5. And all the highlight effects last 60 seconds after you scan the target, which is longer than it sounds in practice and long enough to clear a small camp on one scan.
The second Face slot exists, but it’s not a second Kiroshi. It unlocks during the Phantom Liberty storyline and only accepts the Behavioral Imprint-synced Faceplate. Nothing else fits there.
The seven Kiroshi options
Basic Kiroshi Optics
The freebie. It reduces the speed at which cameras detect you by 20–44% depending on tier and gives 4/6/8/10x scanning zoom.
It’s easy to write off as a starter item, but the camera detection reduction is the only stealth-specific effect in the entire Face category. If you’re playing a quiet build and you don’t need any of the highlight effects, keeping the basic model is a defensible choice rather than a mistake. You can rebuy it from any ripperdoc if you swapped it out and regret it.
Kiroshi “Clairvoyant” Optics
Highlights enemies within 12.5–19.5m while scanning. Zoom is 6/8/10x, so it starts at a higher tier than the basic model.
This is the workhorse. Scanning a room and keeping the bodies lit up through walls for the next minute changes how you approach nearly every combat encounter and it’s the variant I’d hand to a first-time player without much hesitation.
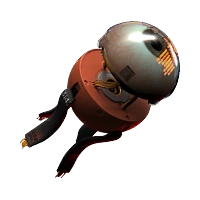
Two ways to get it: any ripperdoc at level 20 or higher, or a scripted airdrop at Tranquil Terrace in Luxor Heights after you finish Lucretia My Reflection.
Kiroshi “Sentry” Optics
Highlights cameras and turrets within 15–39m while scanning. Zoom 4/6/8/10x.
Useful early, less so later. Netrunners benefit most from Sentry before they pick up the Eye in the Sky perk in the Intelligence tree, because it frees up a quickhack slot that would otherwise go to Ping. Once you have that perk, Sentry is doing work you already get for free.
Kiroshi “Doomsayer” Optics
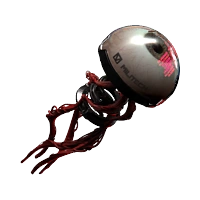
Highlights explosive devices and traps near your crosshair and within 10–29m. Same 4/6/8/10x zoom, same 60-second window.
Honestly, this is the weakest of the bunch for most players. It has a niche if you like detonating enemy explosives remotely or if you keep dying to things you didn’t see. That niche is small.
Kiroshi “Stalker” Optics
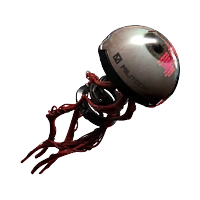
The odd one out among the scanners, because it works off aiming rather than scanning. It automatically connects to your equipped Tech weapon, and while you’re aiming it highlights enemies behind cover across 10–24% of your field of vision, up to 15–53m deep. Zoom 4/6/8/10x.
Tech weapons are the ones that shoot through cover, so this is a package deal. Running Stalker without a Tech weapon technically still highlights hiding enemies, but you’ve given up a slot for information you can’t act on.
Kiroshi “The Oracle” Optics
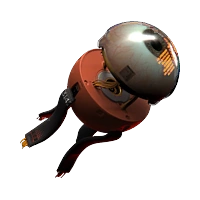
Everything at once. While scanning it highlights enemies within 15–19.5m, cameras and turrets within 30–39m, and explosive devices and traps near your crosshair within 22–29m. Zoom is 8/10x. Sold by ripperdocs from level 30, with quality stepping up every 10 levels after that.
The catch is cyberware capacity. The Oracle eats close to as much capacity as the other optics combined and adds a second cost that people don’t think about until they’re wearing visual noise. Highlight everything and you’ve highlighted nothing. If you play fast, the screen turns into soup.
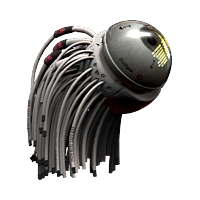
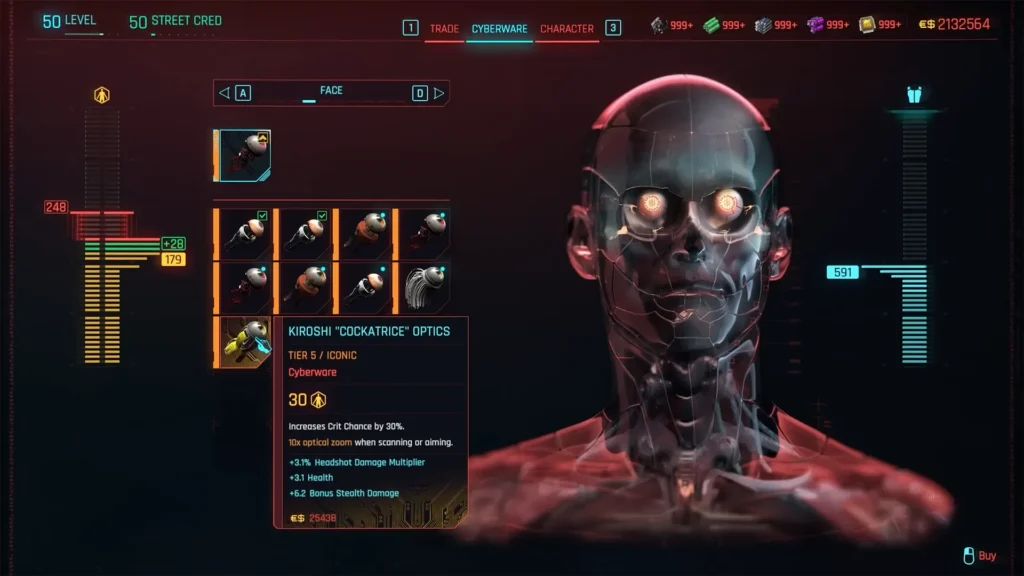
Kiroshi “Cockatrice” Optics
The iconic, added in Phantom Liberty. It increases Crit Chance by 25–35% and gives up to 10x zoom. Buy it from Dogtown ripperdocs at level 35 or above, or loot it from an airdrop.
What makes Cockatrice interesting is that it isn’t an upgraded version of another implant in the slot. It’s a completely different proposition. You give up every scanning benefit in the category and take a large flat crit chance boost instead. For a damage-focused endgame build that’s an easy trade. For a stealth or netrunner build, much less so.
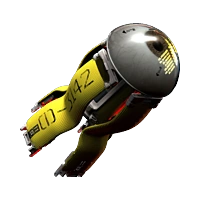
One thing worth knowing before you buy: the crit chance from Cockatrice applies to weapon attacks, not quickhacks. Players on the Steam forums have flagged this repeatedly, since quickhack crit chance comes from a different piece of cyberware entirely.
The eighth implant, in a slot of its own
Behavioral Imprint-synced Faceplate
Not an optic, and not competing for the same socket. This one gets its own dedicated Face slot that opens during Phantom Liberty and that slot can’t hold anything else.
Its in-game name is the TNRTX10.0, and it’s manufactured by Zetatech and Militech. Farida Nazeri installs it during Birds with Broken Wings. Mechanically it lets you reset your Bounty level, as long as that level is under 4, once every 25 minutes. The cooldown drops to 20 minutes at Tier 5+ and 15 minutes at Tier 5++.
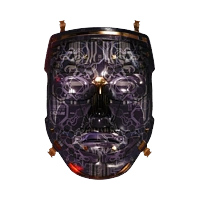
The lore behind it is better than the mechanic. The faceplate uses metanthropic cloaking technology to physically rewrite your facial features into someone else’s and it synchronizes with an installed behavioral imprint so you match that person’s voice, expressions and mannerisms too. It’s a story item that happens to double as a get-out-of-NCPD-free card.
Quick reference
| Implant | Core effect | Where to get it |
|---|---|---|
| Basic Kiroshi Optics | Camera detection speed reduced 20–44% | Free during The Ripperdoc; any ripperdoc |
| “Clairvoyant” | Highlights enemies, 12.5–19.5m | Ripperdocs at level 20+; airdrop at Tranquil Terrace after Lucretia My Reflection |
| “Sentry” | Highlights cameras and turrets, 15–39m | Ripperdocs |
| “Doomsayer” | Highlights explosives and traps, 10–29m | Ripperdocs |
| “Stalker” | Highlights enemies behind cover while aiming a Tech weapon, up to 15–53m | Ripperdocs |
| “The Oracle” | All three highlight types combined | Ripperdocs at level 30, quality up every 10 levels |
| “Cockatrice” (Iconic) | +25–35% Crit Chance | Dogtown ripperdocs at level 35+; airdrops |
| Behavioral Imprint-synced Faceplate (Iconic) | Resets Bounty level below 4, every 25 min | Birds with Broken Wings, installed by Farida Nazeri |
So which one do you install?
If you want one answer: Clairvoyant, until you’re rich enough in cyberware capacity to think about anything else. Highlighted enemies are useful in every build, in every fight, on every difficulty.
After that it splits by what you’re actually doing. Tech weapons make Stalker worth the slot. A crit-scaling damage build in the endgame makes Cockatrice worth the eddies. A stealth build that never fires a shot can hold onto the Basic Kiroshi and spend the capacity somewhere it matters more.
The Oracle is the trap. It looks like the strict upgrade because it does everything, and on a spreadsheet it is. In a firefight, it’s a screen full of orange.
Cyberpunk 2077