For me, Flowery Scarf is like a Joke. If you are trying to unlock the elusive Deltarune Chapter 5 Flowery Scarf like me, you might wonder why such an overpowered item is impossible to use.
However, for completionists who like to experience everything in the game, getting Flowery Scarf would be a great achievement. In this article, I will help you to get Deltarune Chapter 5 Flowery Scarf in some easy steps and then give you the stats of the weapon just to stare at!
To get the Flowery Scarf weapon, collect all 19 Pink Coins, use the first 10 to buy the Mystery Key and defeat the secret boss behind the Pink Door. Then return with the remaining coins. After claiming three Flower rewards, you can buy the Flowery Scarf from Flowery for 1 Flowery Dollar.
What We Will Cover
TL;DR: Getting the Flowery Scarf
The Flowery Scarf is a “joke” item. Despite its massive stats (+70 ATK, DEF, MAG), it is not equippable and becomes the BrokenScarf after purchase. It is intended for completionists who want to see every item in the game.
To obtain it:
- Collect Pink Coins: Find all 19 Pink Coins hidden throughout the Flower Kingdom.
- Unlock the Secret Boss: Spend 10 Pink Coins at the Cliffs Shop to buy the Mystery Key, then defeat the secret boss behind the Pink Door at the top of the Castle.
- Find Ferroll: Speak to Ferroll outside the boss arena (Note: You must have spoken to him earlier in the Cliffs area for him to spawn here). He can provide hints on any remaining coins for 50 Flowery Dollars.
Claim Rewards: Once you have all 19 coins, head north of the arena to find the pedestals. Spend your remaining 9 coins (3 per item) to pick three “Flower Items,” then purchase the Flowery Scarf from Flowery for 1 Flowery Dollar.
How to Get Flowery Scarf in Deltarune chapter 5?
If you want to see this special item in your inventory, simply follow these steps:
Collect All Pink Coins: How to Get them
There are 19 Pink Coins hidden throughout the Flower World. Finding them requires exploring nearly every corner of the chapter.
Your first goal is to collect 10 Pink Coins. Once you have enough, head to the Cliffs Shop and purchase the Mystery Key. This key unlocks the massive Pink Door located at the top of the Castle.

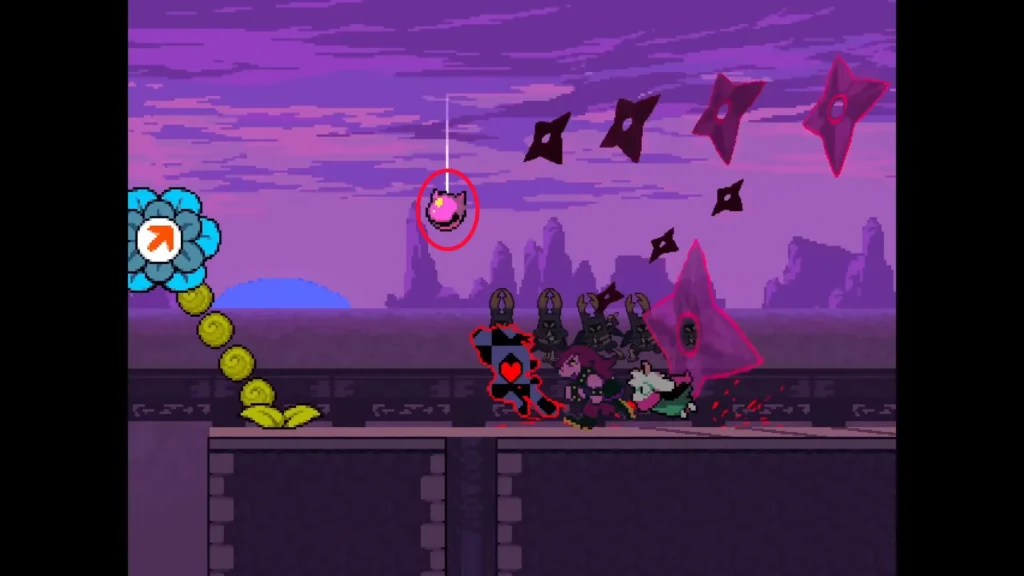
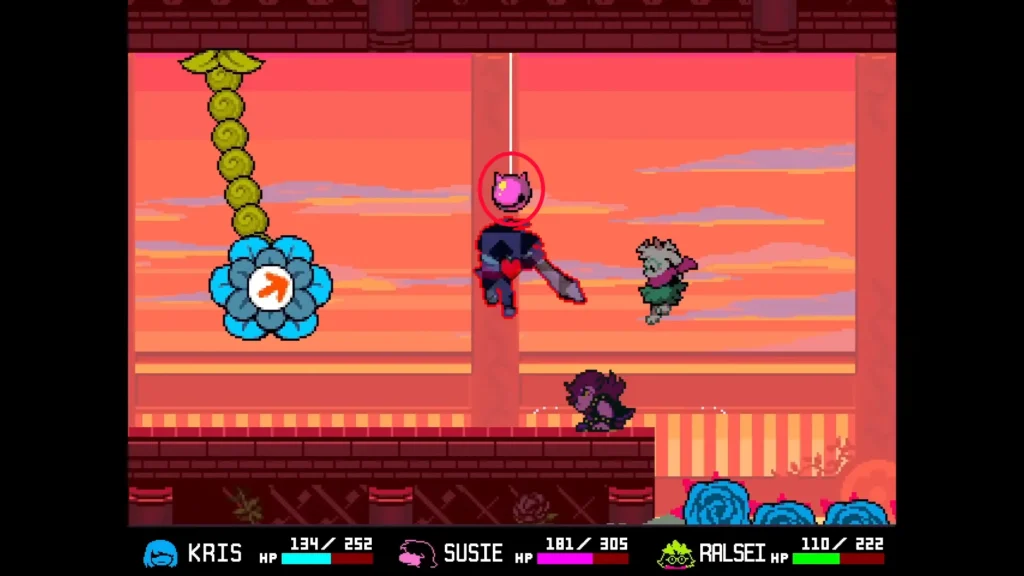
Inside, you will face Pink, the chapter’s secret boss. This encounter is one of the toughest fights available. Therefore, stock up on healing items and prepare for a lengthy battle before entering.
After defeating Pink, you will find Ferroll (a Darkner NPC with a hammer-shaped head), waiting outside the arena.
Note: You must have spoken to Ferroll earlier in the Cliffs area for him to appear here. If you skipped him there, he will not show up after the boss.
Speak with Ferroll and pay 50 Flowery Dollars to get a hint on your missing coins. He will tell you how many Pink Coins remain in each area of the Flower Kingdom. Use this area count to guide your search until you have gathered all 19. Then head into the newly unlocked room directly to the north.
All 19 Pink Coin Locations in Deltarune Chapter 5
Here are all 19 Pink Coin locations in Deltarune Chapter 5:
Coin 1
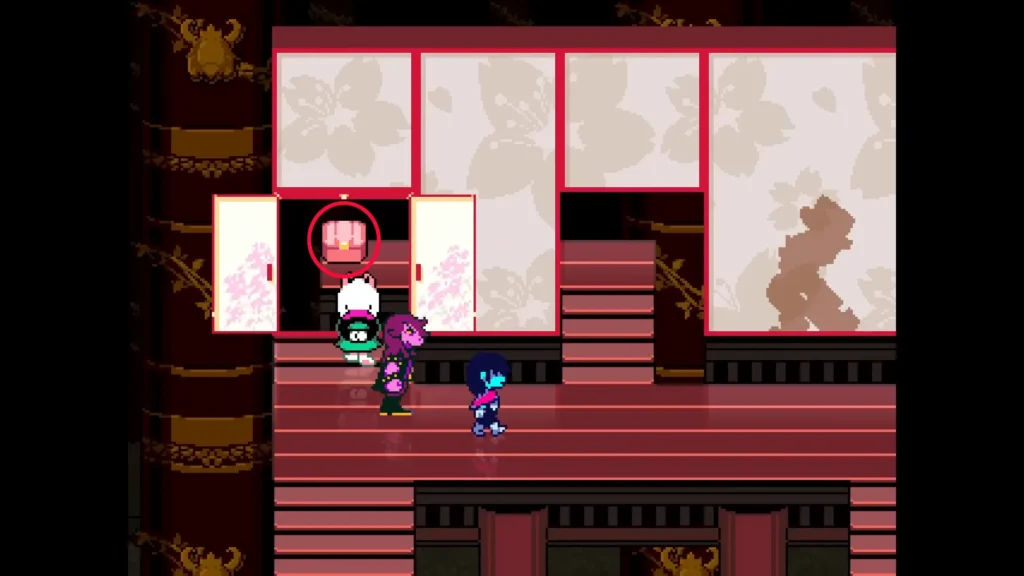
In the Garden area where you get your first Watering Can, water the left-side path to open a route into a water-filled room. Go all the way up to find a chest with the coin.
Coin 2
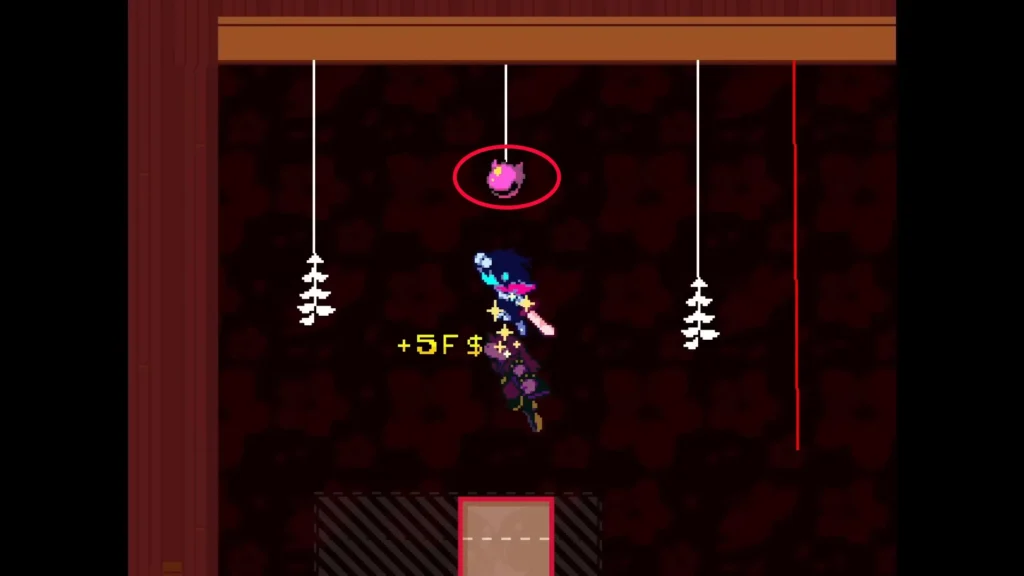
After getting the Petal Feather at the shrine, the game shifts to 2D platformer mode. Hop onto the lamp post on the left, then climb the leaf platforms to the top, jump right to land on the shrine’s roof, move into the next room and grab the coin hanging on the right.
Coin 3
After climbing down the vine near the Exit marker, go right to the main path. Once the cutscene plays, activate the Power Structure on the right, but instead of climbing the vines, go all the way left and jump upward at the end to reveal and collect the coin.
Coin 4
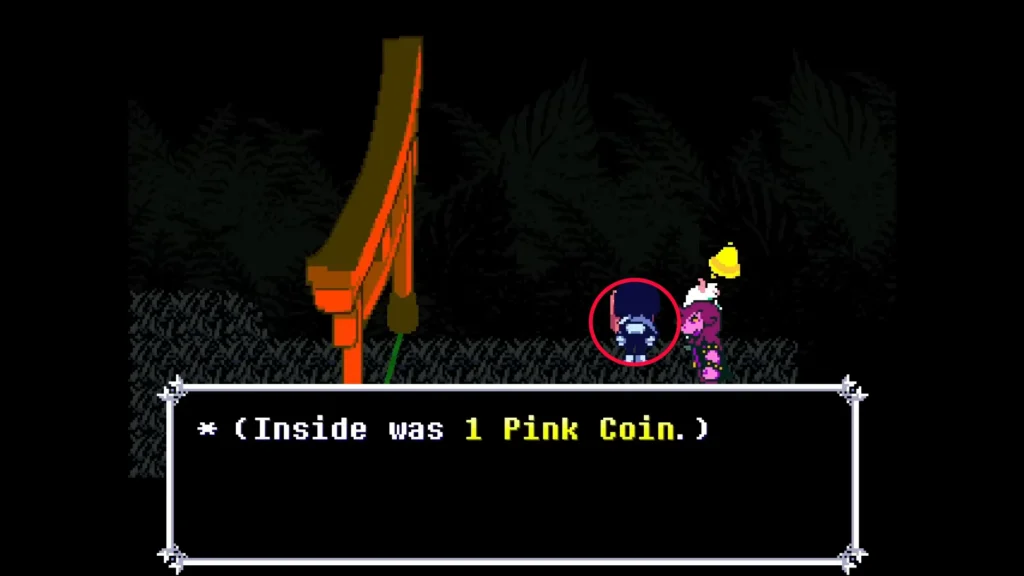
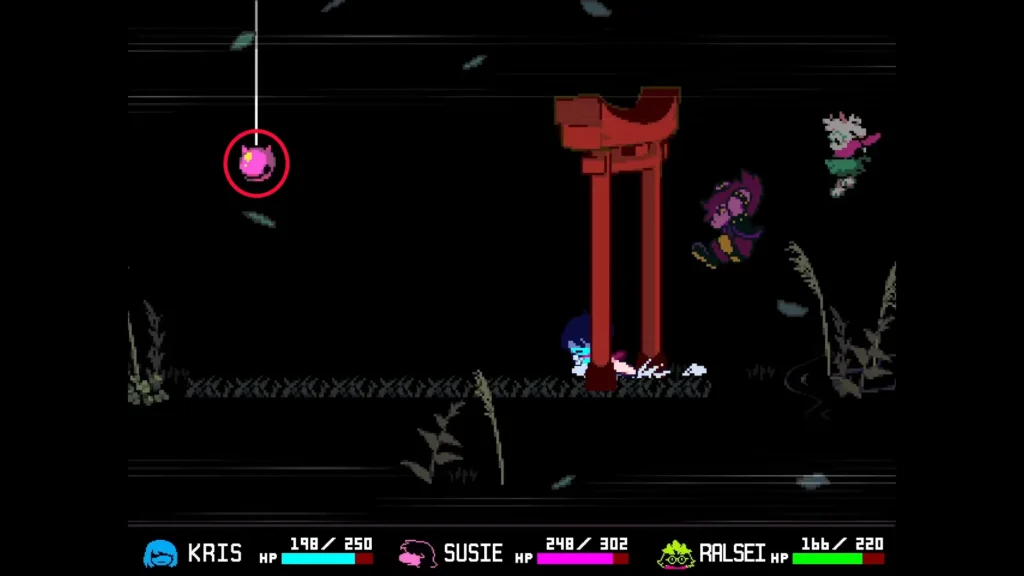
Go to the room where you first encounter the jumping flower next to the giant loaf of bread (or Fast Travel to Hopschef if available). Activate the Power Structure, fight three enemies to the right, then use the next Power Structure to return to normal mode and enter the doorway. Pass through the Torii Gate while dodging projectiles, then ring the bell at the other end to drop the chest.
Coin 5
In the Cliffs area, climb until you find a second Power Structure, but ignore it. Instead, use Ralsei’s ACT on the vine to the left and fall intentionally so Ralsei follows. Stand on Ralsei and jump immediately into the small gap on the left to grab the coin.
Coin 6
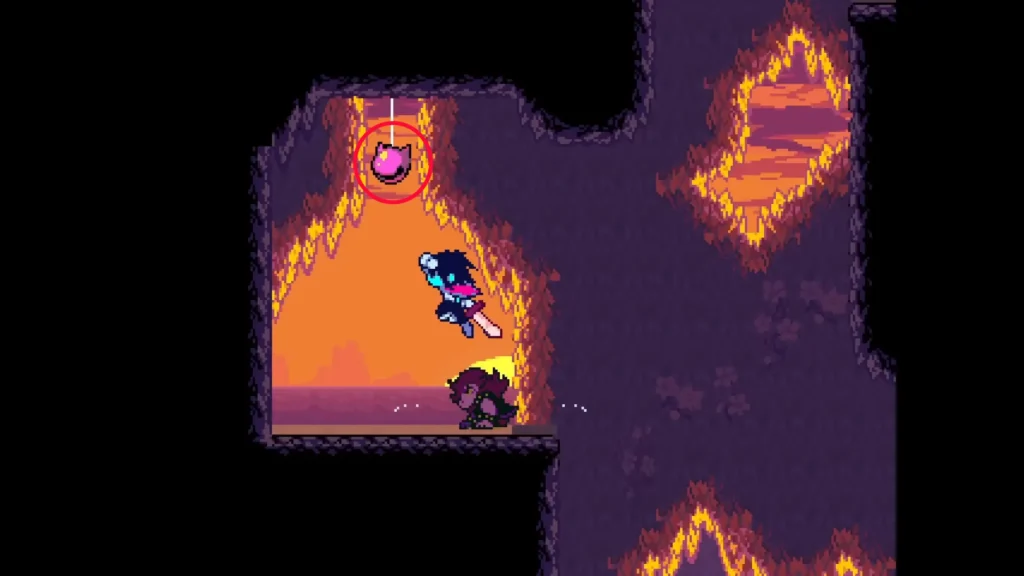
From Coin 5’s location, activate the Power Structure and ride the wind up. Head left in the next area, climb the vines, cross to the platform on the right and interact with the fox to reveal more vines. Climb up, keep going right until you see water falling onto the coin, then drop into the waterfall to safely collect it.

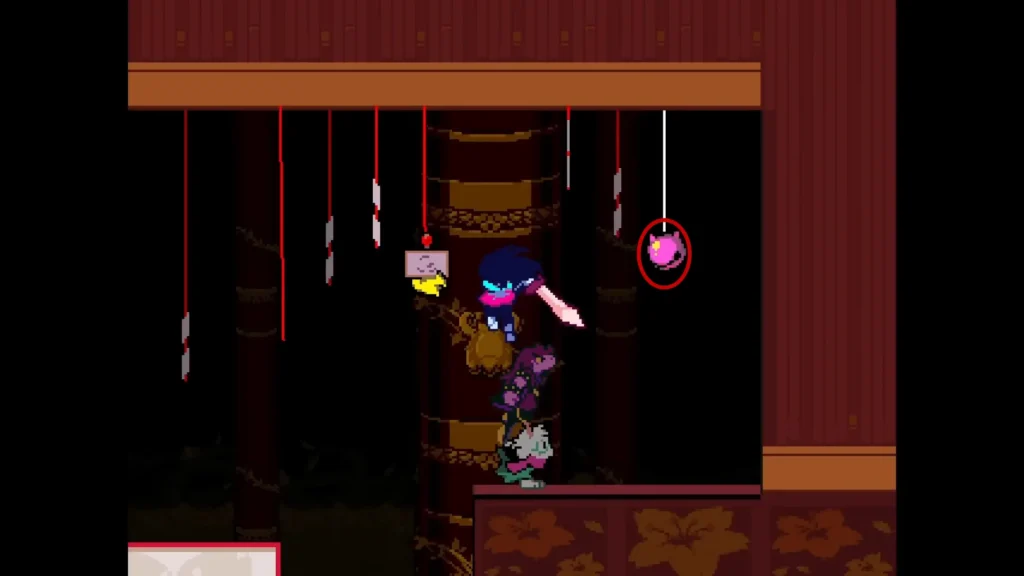
Coin 7
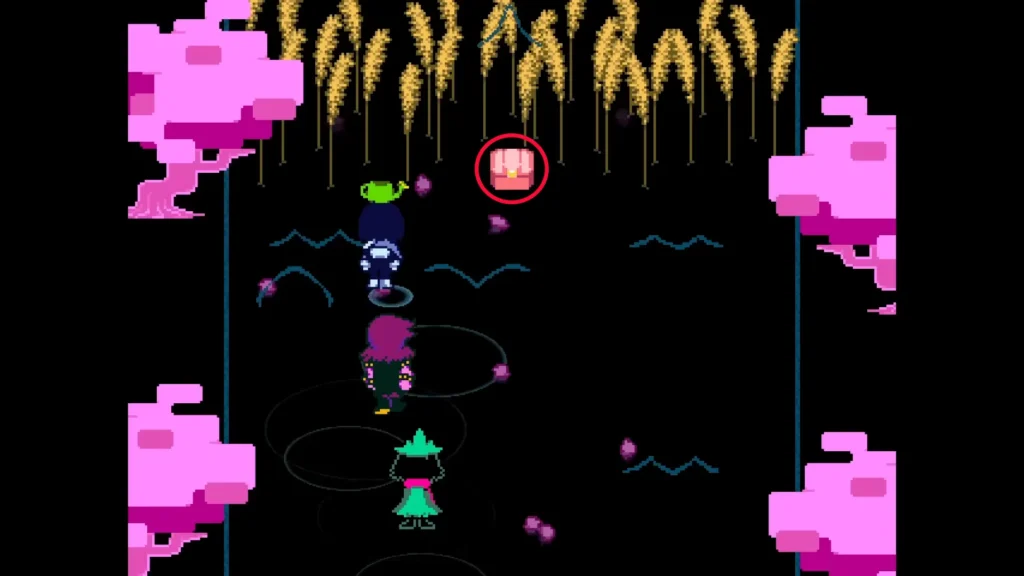
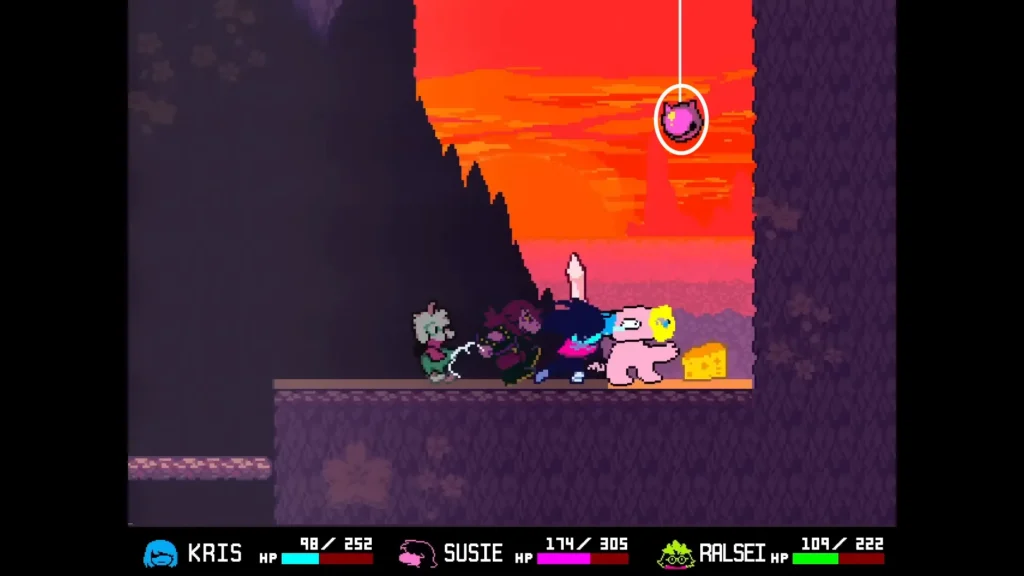
Past the shop and wheat field, activate the next Power Structure and use Ralsei’s ACT to move upward. Skip the nearby Power Structure and use Susie’s ACT on the fan to redirect wind to the right. Drop onto the moving leaf platform, fall left, use Ralsei’s ACT on the lower moving platforms to reach the room on the right, bounce on the umbrella and defeat the enemies. Then go right to collect the hanging coin.
Coin 8
In the area with the fake chests, go into the next room and run through the Torii Gate. A story sequence will push you upward. Come back afterward, go further right and jump across the gap to find the coin.

Coin 9
Inside the Castle, go right from the Foyer into the Cafe and into the next room. Knock the pot statue near the edge off the ledge, go into the pot statue room and defeat the enemy pot, knock down every pot statue, then return to the Castle entrance and go through the door to the right of the Light World exit. Push the pots onto the pressure plates to open the right path and collect the coin.
Coin 10
From Coin 9, head up the path and notice the shadow of a chest to your left. Take the middle path first, then go left to open the chest and claim the coin.
Coin 11
In the room beside the Orange Door with the invisible platform puzzle, interact with the table and arrange the shapes so the horizontal rectangle sits below the first red line. The vertical rectangle touches the right side while connecting both the upper and lower screens. Activate the Power Source and head to the top right corner of the room.
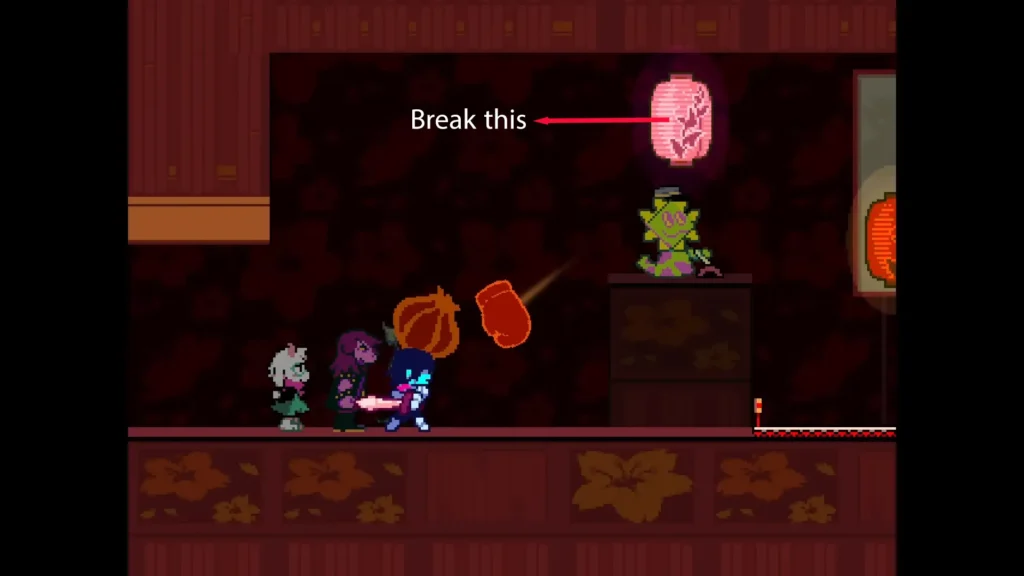
Coin 12
In the room with the spinning orange boxing gloves, spot the white wall on the right. Strike the gloves so they break through the wall, enter the hidden room behind it and hit the orange glove again to get the coin.
Coin 13
In the room where you search for foxes for the fake Aqua, find all five foxes to unlock the door on the left, which contains the coin.
Coin 14
Head up from the Fox Puzzle room to find another Power Source. Activate it and go left into the optional invisible platform puzzle instead of the main route. Arrange the puzzle so the smaller square is positioned with its top and bottom corners touching both screens while centered. The other square is touching the upper left corner of the smaller square. Go up and hit the hanging bell to receive the coin.
Coin 15
Go to the next save point outside the Orange Door, then head down the right path. Place the first mushroom on the left to clear the spikes. For the second mushroom, carry it from the far right and get back quickly before a fox eats it. Once the path opens, grab the coin from the chest.
Coin 16
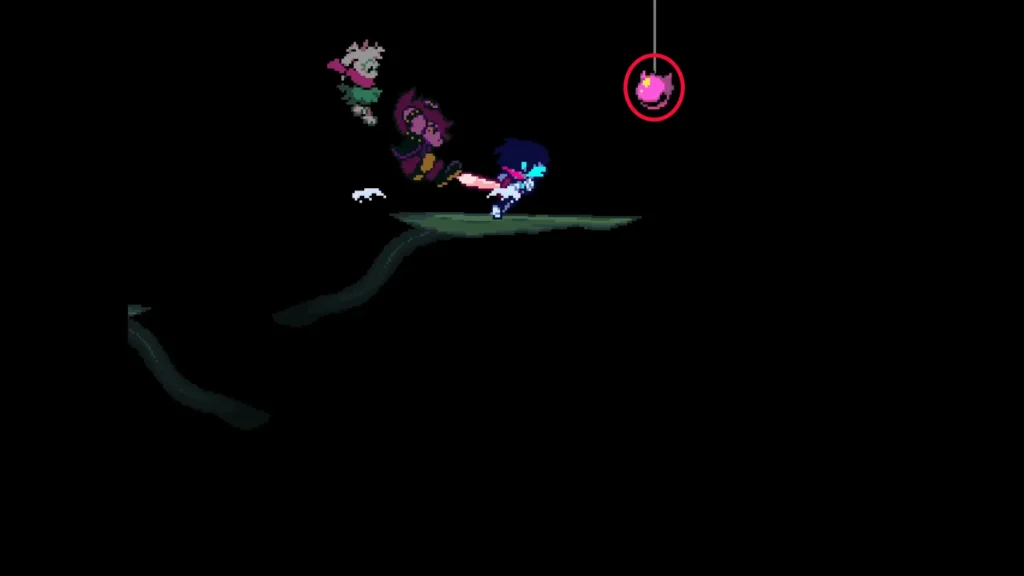
Go through the second Yellow Door and activate the Power Source. Rather than going left toward the main path, head right into the room with the flower bounce objects and bounce upward to reach the coin.
Coin 17
Pass through the Blue Door and, once outside, avoid the next Blue Door that triggers the Blue and Yellow boss fight. Instead go down and left, activate the Power Source, carefully cross the area without taking hits. Ring the bell on the left.
Coin 18
After Green’s final shop, go right and climb to the top. When the main path continues right, go left instead. Use the bounce objects to travel all the way to the far left to find the coin.
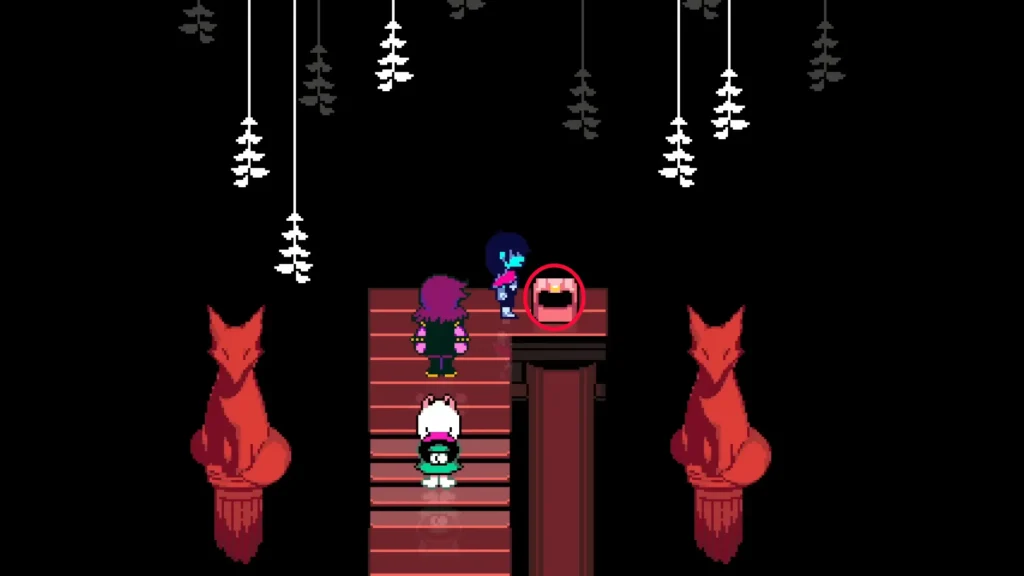
Coin 19
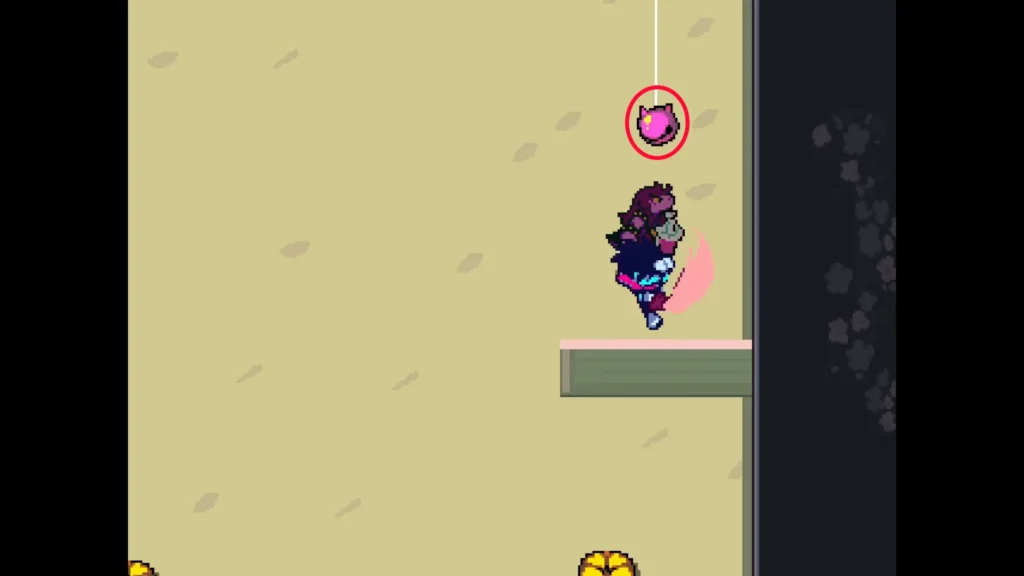
From Coin 18, go back to the middle of the room and drop down. Activate the fan to descend past spiked flowers and guns. The final coin is at the bottom, alongside the Pink Door.
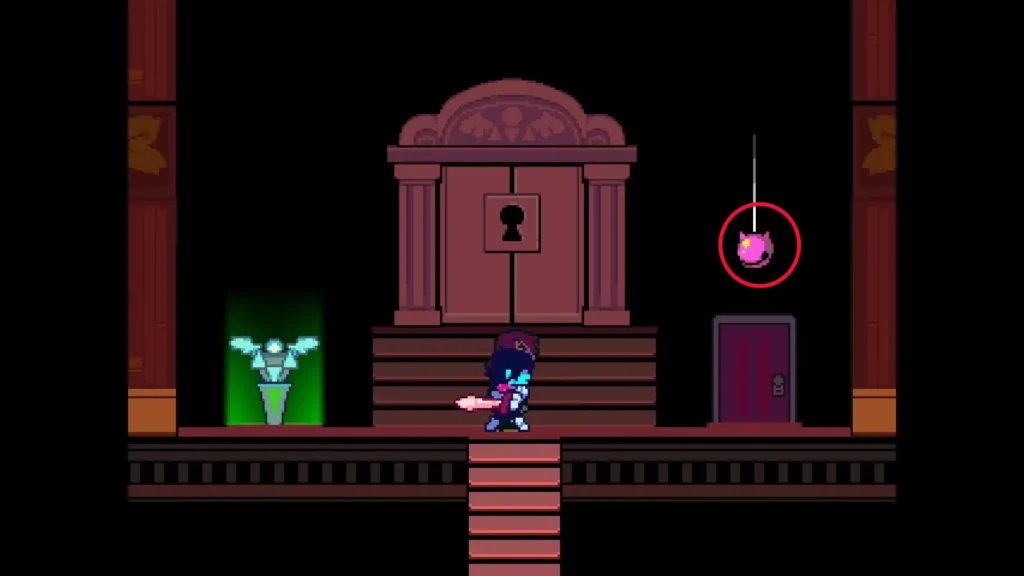
Once you have scooped up the final coin (bringing your total to the full 19), return to Ferroll outside the arena and head into the newly unlocked northern chamber.
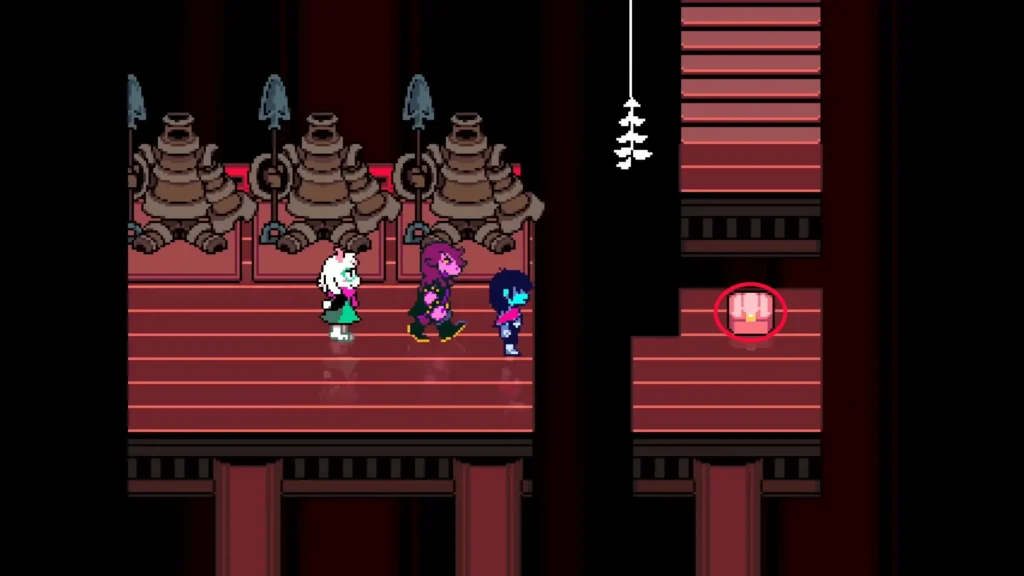
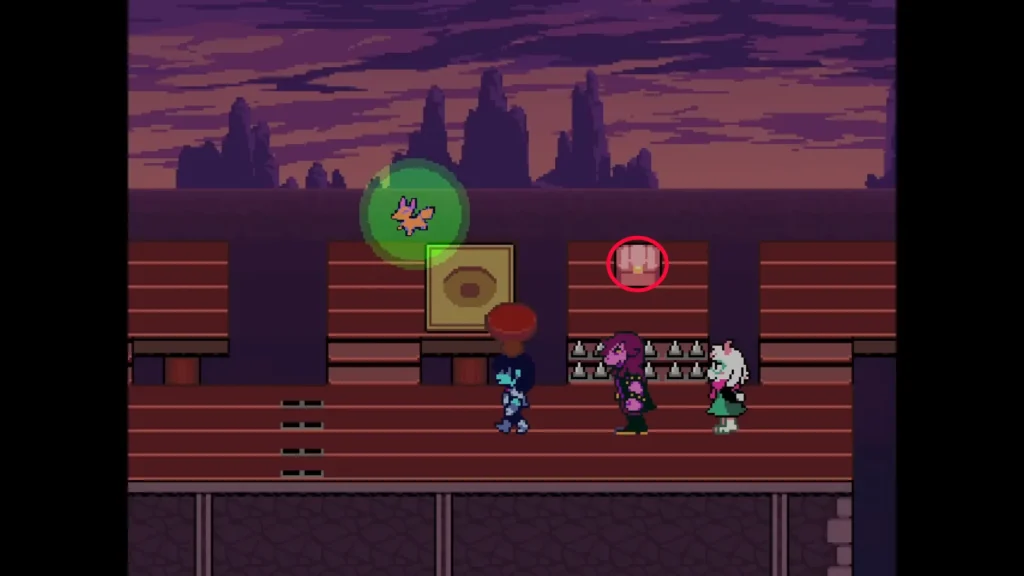
Flower Items and the Flowery Scarf
Inside the new chamber, you will discover six pedestals, each displaying a unique Flower themed item. Each Flower item costs 3 Pink Coins and 100 Flowery Dollars. But since you will only have 9 coins left after unlocking the secret boss, you can purchase only three rewards.
Here is what each item does:
| Item | Effect |
|---|---|
| Aqua Knife | Increases Kris’s chance to land critical hits. |
| Yellow Hat | Boosts spell effectiveness by 20%. |
| Blue Shoes | Makes Ralsei’s Pacify spell cost 0 TP while equipped. |
| Orange Glove | Reduces the TP cost of Susie’s Scythemare spell. |
| Green Apron | Restores a small amount of HP whenever you defend. |
| Seth Specs | Extends your invincibility frames after taking damage. |
After choosing your three rewards, continue into the next room to meet Flowery. Here, you can purchase the Flowery Scarf for just 1 Flowery Dollar. It is one of the cheapest and most worthwhile collectibles in the chapter.
Deltarune Chapter 5 Flowery Scarf: A Powerful Joke!
By looking at the stats of the Flowery Scarf, you may ask yourself why this weapon is not equippable:
| Attack Power | +70 |
| Defence | +70 |
| Magic | +70 |
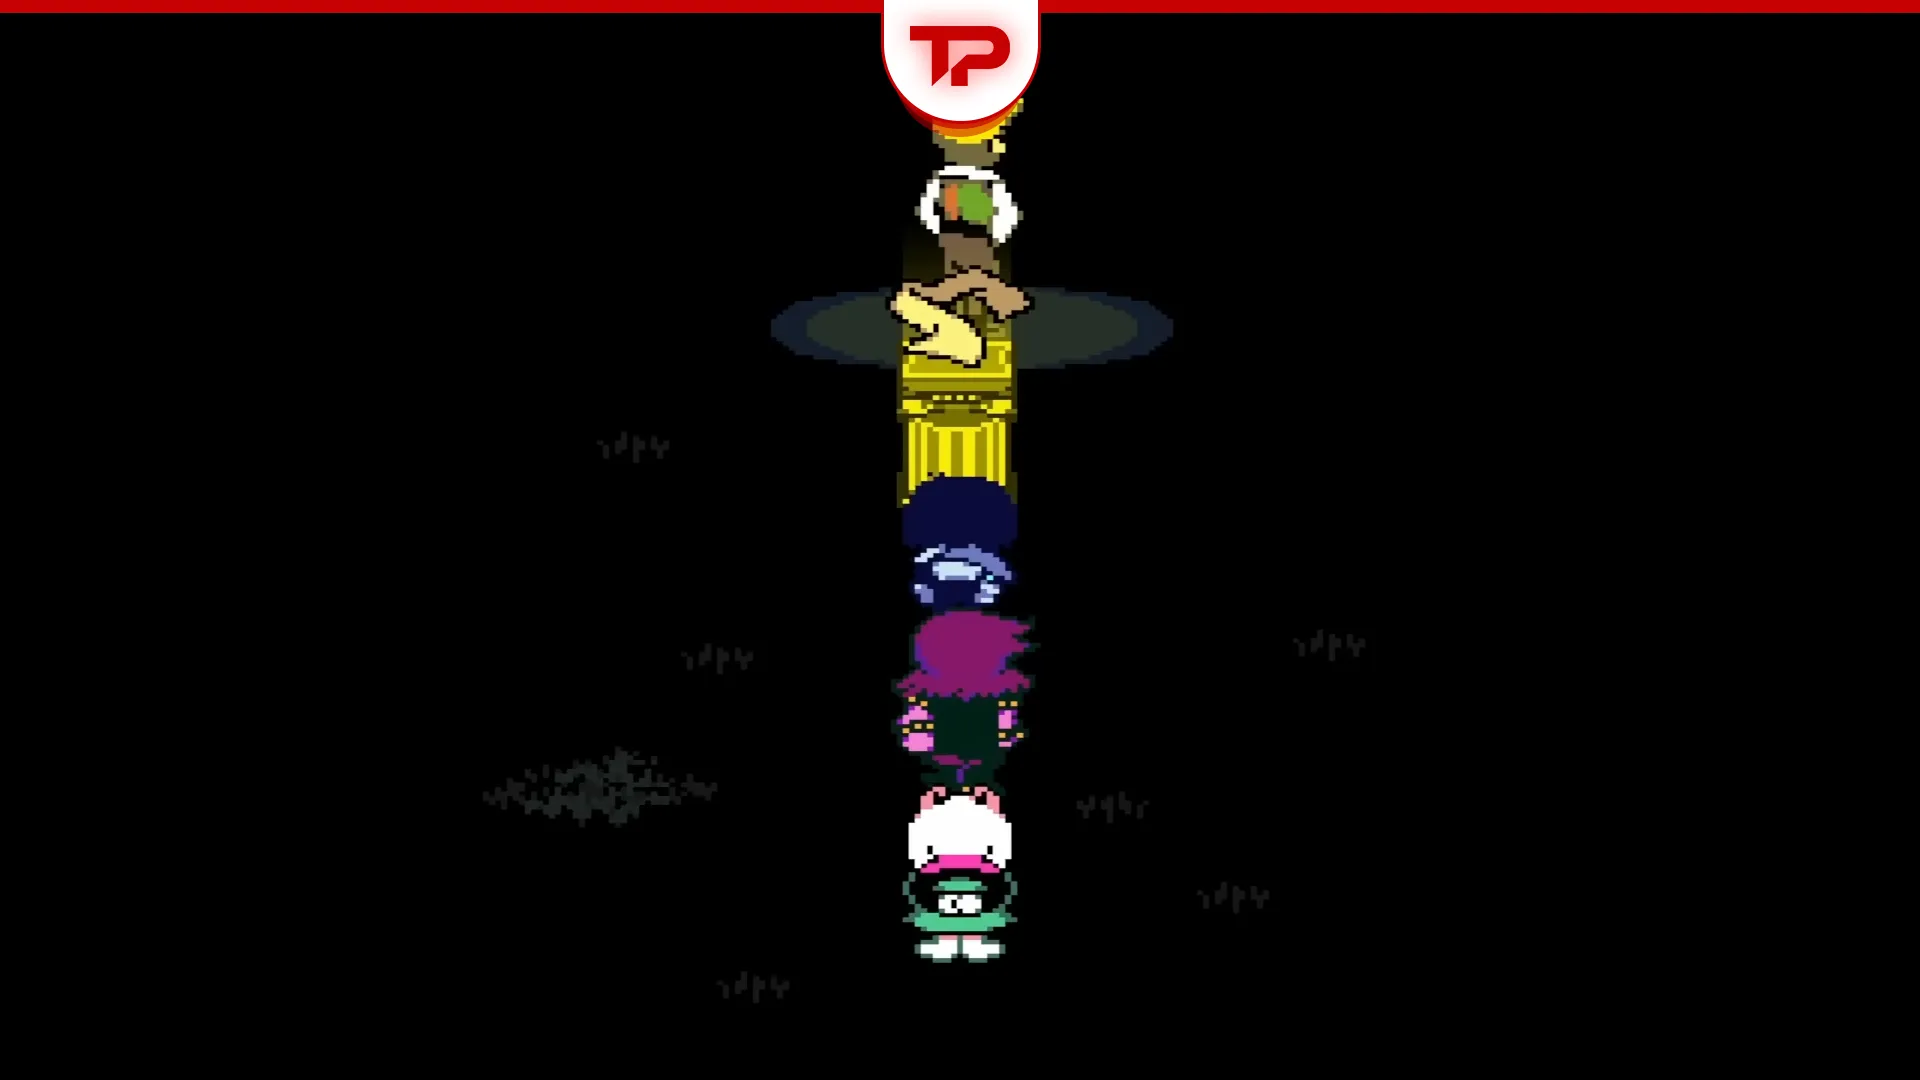
Unfortunately, you cannot use this powerful tool in your journey. Even Ralsei, the one who can use this weapon, is not eager to equip it.
Here is the interesting point: After the Flowery battle, the Flowery Scarf becomes BrokenScarf. In fact, the item was never meant to become a real overpowered weapon. Can you see the joke?!


