

This guide reveals the final areas, hidden requirements, and story outcomes of the full game.
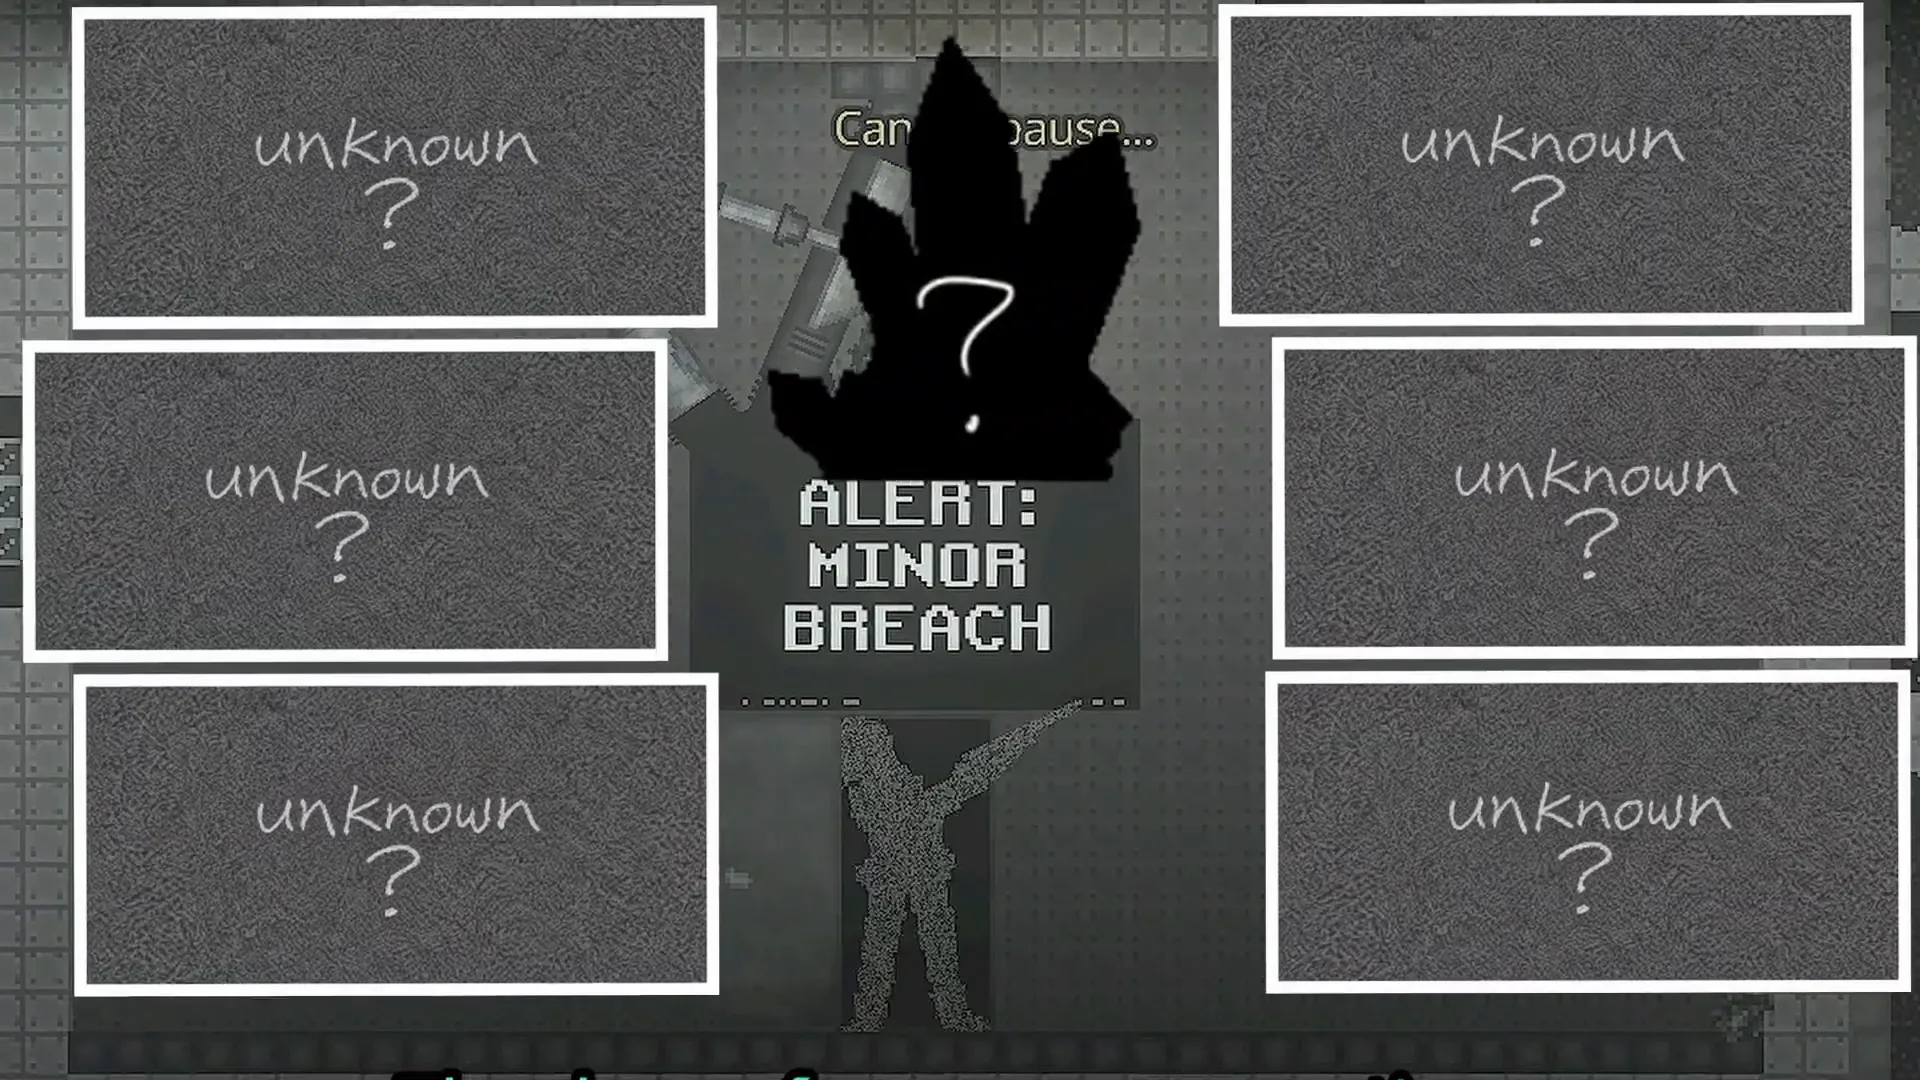
You should know that Casualties: Unknown features three endings overall: Bio-pod, Escape, and the secret Mercenary ending. To reach each one, you need to make different decisions and mind your run settings. The Bio-pod ending follows the company’s orders, Escape lets you break free from your captors, and Mercenary gives you a much darker way to fight back. Here’s how to unlock each one:
| Ending | How to Get It | Achievement |
|---|---|---|
| Bio-pod | Return the cargo and obey the scientist | Company’s Best |
| Escape | Play Unchipped, bring a gun, and escape the lab | Company’s Worst |
| Mercenary (Secret) | Complete a previous run, collect six special chips, and craft the M.E.R.C. scarf | To Be Continued… |
Drill your way down:
How to Reach Each Casualties: Unknown Ending
We all start the game with the same objective: retrieve the company’s lost cargo and return to the surface. Our captors sent us underground to recover the missing device, and the final stages of the game reveal that bringing it back is a tiny, little, itty bitty more complicated than carrying an regular item.
Regardless of which ending you want, you have to go through these five mutual steps to reach the final area (Naturally, don’t play on Endless Mode.):
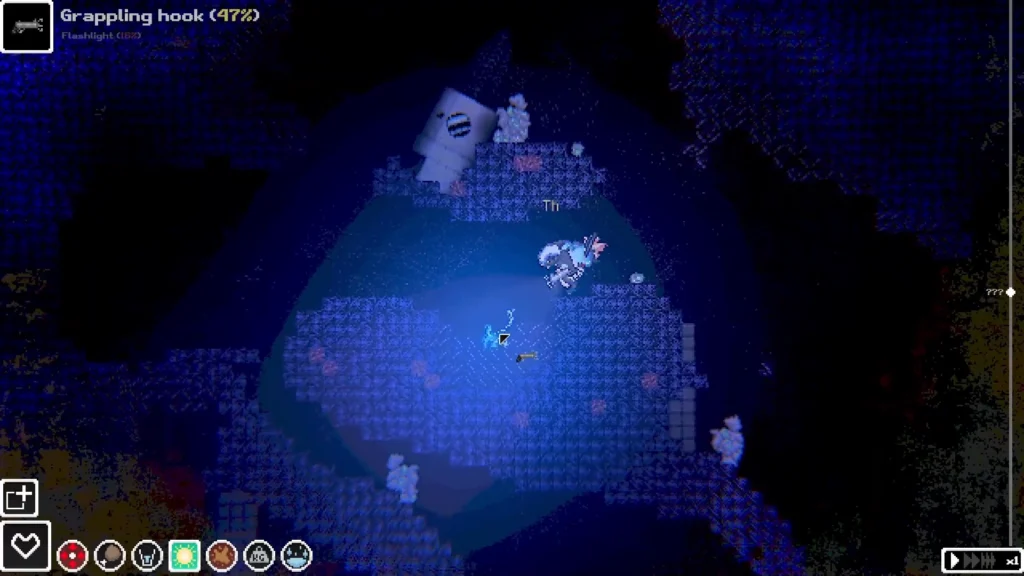
- Go down through the caves until you reach layer 10, where the lost cargo, known as the Blue Heart, is located.
- Approach and retrieve the cargo. The device embeds itself in your stomach. Awesome feeling.
- Find the high-powered drill pod on layer 10. It only works after you’ve obtained the cargo.
- Use the drill pod to reach layer 11, also known as Crimson Ascent.
- Climb through layer 11 until you reach the surface.
At the surface, corp (corporation) sends a retrieval pod to get you. Meanwhile, the Blue Heart has become increasingly unstable inside your body. You don’t have enough time to decide what happens next. If you’re on your first normal run, you’ll probably see the pod take you back to the company’s laboratory: that’s where the Bio-pod and Escape paths diverge. If you’re looking for the Mercenary ending, know that carrying the completed M.E.R.C. scarf changes what happens at the surface and triggers the secret ending instead.
Bio-pod Ending: Company’s Best
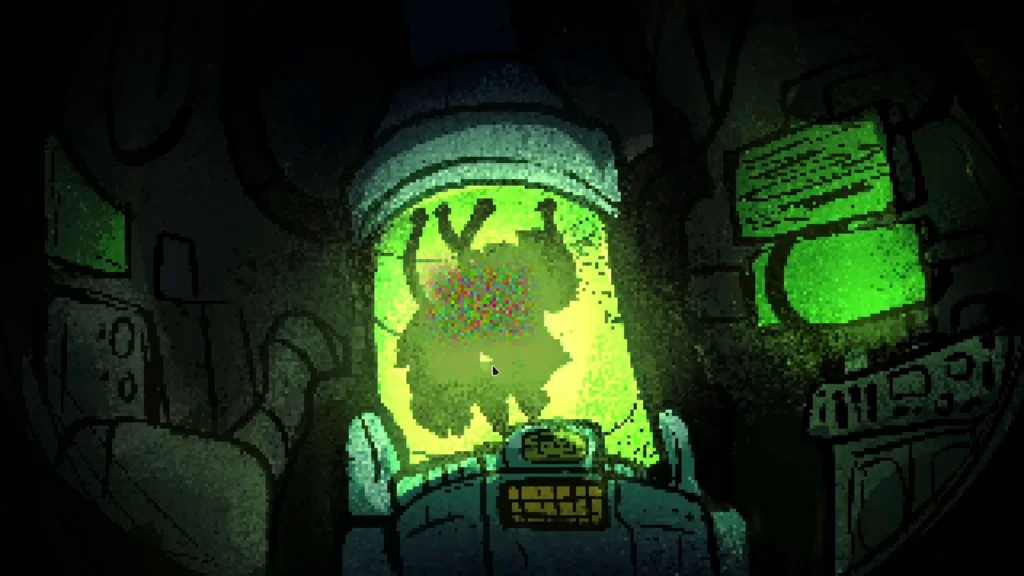
This is the most common and easiest ending to get. It was also the first ending I got because I was doing a chipped run. Reaching this ending is quite straightforward: you collect the cargo on Layer 10, reach the surface through Layer 11, then you enter the company’s retrieval pod.
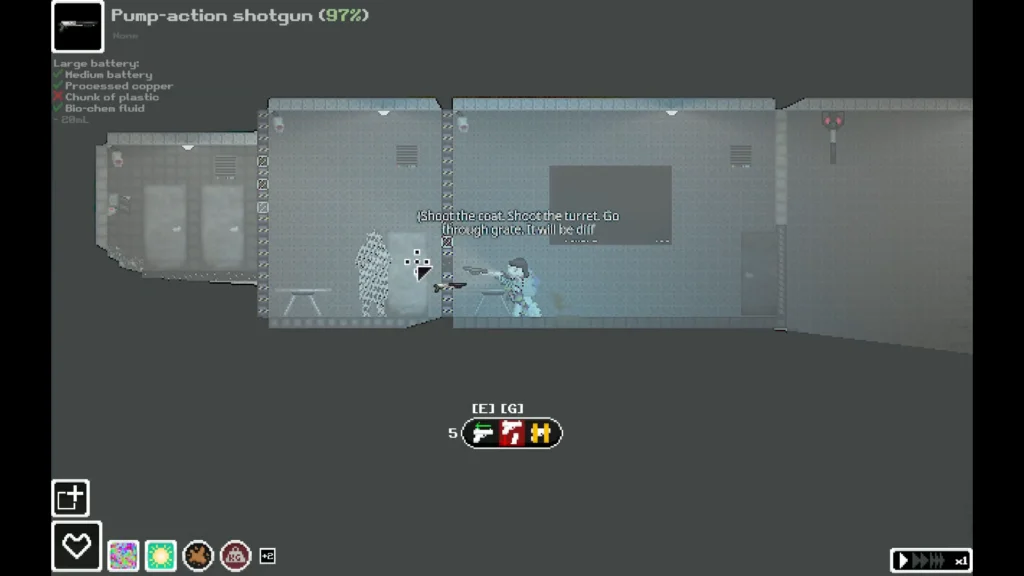
Once you are taken to the laboratory, listen to what the scientist has to say. He’ll give you some instructions. Follow those instructions and go through the door on your right. You don’t need a gun or anything like that to get this ending.
Bio-pod Ending Explained
You return to the facility only to see the scientist congratulate you on accomplishing a mission that countless other experiments failed to complete. Things get nasty when corp finds out the cargo is inside your character’s belly. The scientist explains that the device must be taken out and promises that because you successfully pulled off this mission, it’ll “earn” you better treatment. You’ll no longer face the usual testing procedures and may receive “greater freedom” within the facility.
This doesn’t mean true freedom at all, as you can guess. You give up all the equipment you gathered during your journey and are taken to a room containing a large bio-pod filled with fluid. Your expie enters the pod, becomes submerged in the liquid, and slowly falls asleep. This ending offers a small sense of comfort, though. You may’ve prevented other unsuspecting experiments from being sent into the same horrific caves. Still, you’re back where you started, under the corp’s control.
The final mission report displays:
- Cargo status: RETRIEVED
- Physical status: ALIVE, UNDER EXAMINATION
- Achievement: Company’s Best
Despite its unsettling atmosphere, this is not a confirmed death ending. Your expie survives, but their future remains in the hands of the scientists.
Escape Ending: Company’s Worst

If you want freedom for your expie, you should go for this ending. In this run, you’ll rebel against your captors. This ending has two requirements: 1. Unchipped mode enabled 2. A gun carried into the final laboratory.
Unchipped is naturally a harder difficulty than chipped. Now why do you need to be on unchipped? Because chipped expies can’t take a gun into the lab. The implant prevents you from attacking the scientist.
To get the Escape ending, go through the normal route through layers 10 and 11 (with the cargo), then return to the laboratory while keeping your gun. Wait until the scientist finishes his usual instructions. Once your item controls become available, instead of obeying his order to enter the examination room, shoot the scientist. This triggers a security breach. The laboratory enters an emergency state, alarms activate, and guards try to prevent you from escaping. You now have to reach the surgery area, remove the cargo from your stomach, and then get out of the facility.
How to Remove the Cargo and Escape the Lab
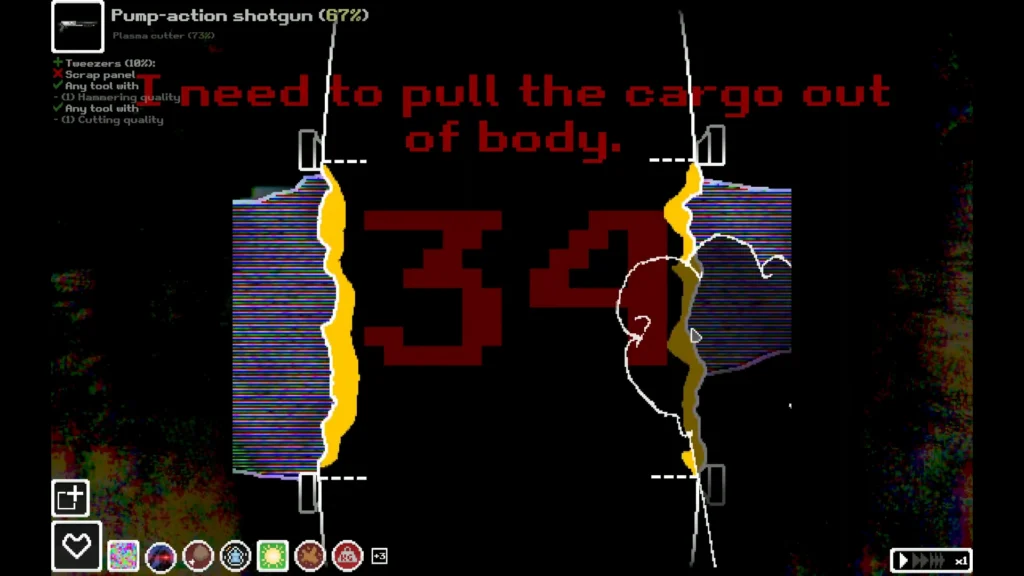
Here’s something insane: the game actually takes you through the surgery procedure as a gameplay section. You have to follow these steps carefully:
- Inject the local anesthetic into your abdomen section to numb the area.
- Use the large surgical device to begin removing the cargo.
- Place the clamps on the marked locations.
- Pull the cargo out of your stomach.
- Put the tubes over the wound.
- Surgery Successful! Leave the surgery room and continue toward the exit.
Just keep in mind that even successfully pulling off this surgery procedure causes serious abdominal injury, and security forces are on your tail (quite literally). Additional guards can arrive after roughly a minute, so you shouldn’t treat the surgery room as a safe place to reorganize your inventory.
After the operation, continue through the facility and make your way outside. Your character eventually escapes into a new natural landscape, leaving the corp’s buildings behind. Despite the pain and exhaustion, you keep running until you’re far enough away to stop. For the first time ever, your captors no longer control where you go.
The final report shows:
- Cargo status: MORE INFO AT MEETING
- Physical status: UNKNOWN
- Achievement: Company’s Worst
Pacifist Achievement
There’s a second achievement you can get here. If you manage to escape without killing any guards, you get this achievement. This doesn’t mean you have to avoid shooting the scientist. If the finale feels too intense, the game’s Censor Pain setting reduces the intensity of the exit sequence.
What Happens If You Fail to Escape?
The escape is dangerous and your character get still get killed here. If your expie suffers critical brain deterioration during the sequence, or gets shot by the guards, the corp will capture and revive the expie.
You don’t get a simple death end. Your expie actually gets captured and put into the bio-pod. Yes, you get the Bio-pod ending this way. Your expie survives, but the escape attempt accomplishes nothing.
How to Unlock the Secret Mercenary Ending

There’s no way you get this ending on your first try. It requires a completed run, specific settings, a scanner, six electronic components, and a special crafted item.
First things first, get either the Bio-pod or Escape ending. Then when replaying the game from the beginning (layer 1), you must put your difficulty on chipped, get the nano-tech scanner, the six M.E.R.C. chips, and lastly, craft the M.E.R.C. scarf.
Find the Tech-Ball and Nano-tech Scanner
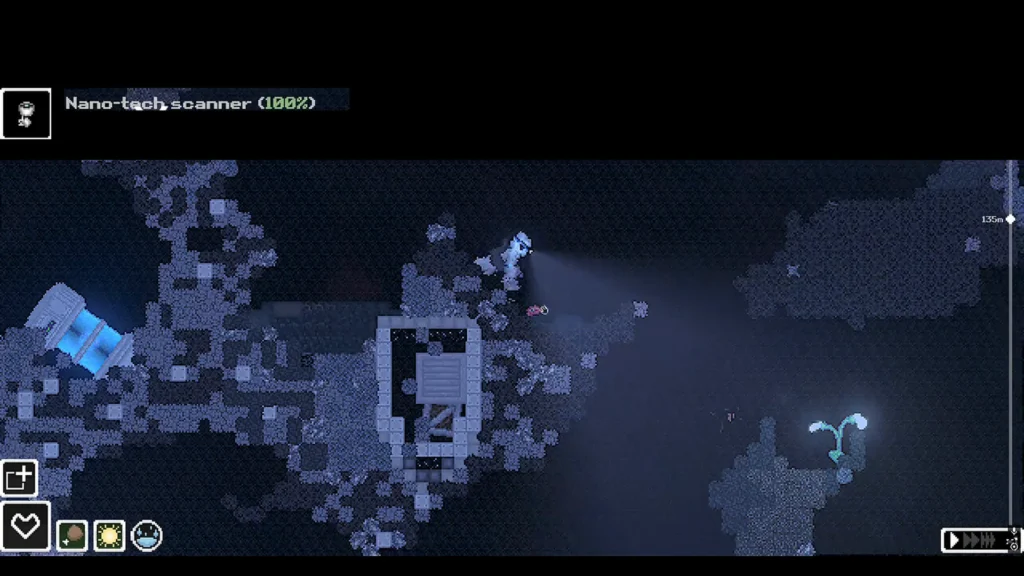
Your first objective is in Layer 1. If you’ve correctly set your run’s settings, a malfunctioning Tech-Ball appears partway through the layer. Find the Tech-Ball and break it open. Inside, you’ll obtain the Nano-tech scanner, which unlocks the rest of the secret ending. You must use the scanner before leaving layer 1.
Reading it reveals the M.E.R.C. scarf recipe and awards 200 INT experience. The scanner also helps locate the special chips you’ll need throughout your descent. Keep it in your main inventory. Don’t put it in another bag if you want to use its location guidance regarding the chips.
If the scanner displays the message “The writing is incomprehensible…”, you haven’t successfully activated the required recipe. This can happen if you use it too late or outside the correct route.
All Six M.E.R.C. Chip Locations
You’ll need six specific components to craft the M.E.R.C. scarf. Each is associated with a different layer, so pay attention throughout your descent.
| Layer | Required Chip |
|---|---|
| 2 | REL-Hyper-Regeneration Booster chip |
| 3 | Micro-SINGLEBTR 1CHRG capacitor |
| 4 | 0.2.9-Mind-Swap chip |
| 5 | 0.0.7-Emergency Rejuvenation chip |
| 7 | MINI-AI chip |
| 9 | Kinetic Transmitter chip |
In a Mercenary run, the game generates a relevant chip location on each of the layers mentioned above. When I was testing this run, I didn’t find each chip in a fixed location. The scanner can help you find your way toward the components; that’s why it’s a vital part of the route. Don’t leave the required layers without checking for their chips. You need all six before you can finish the scarf.
How to Craft the M.E.R.C. Scarf
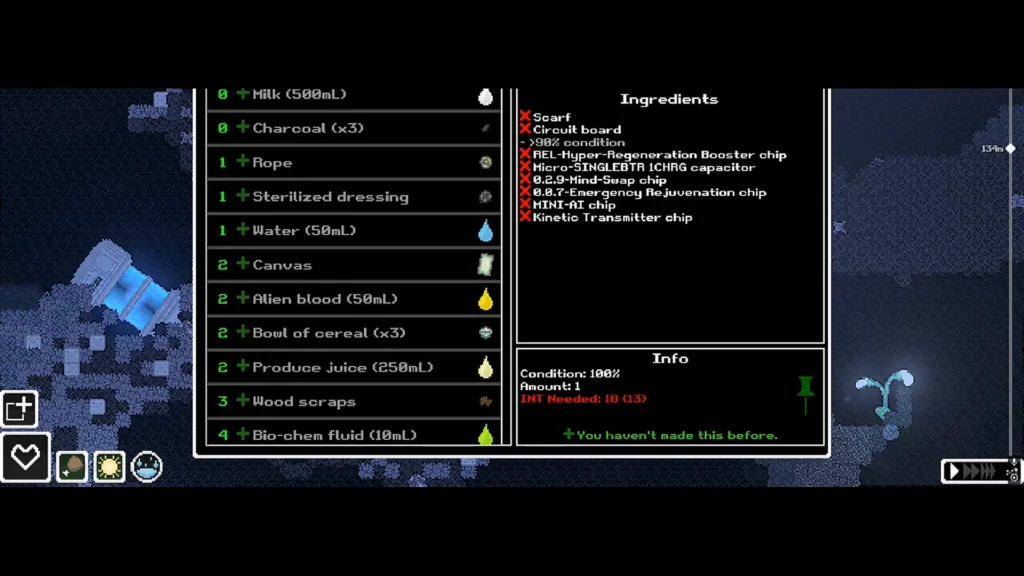
If you’ve collected all six chips, now you can get to crafting the specila M.E.R.C. Scarf.
| Material | Requirement |
|---|---|
| Scarf | 1 |
| Circuit board | 1, at least 90% condition |
| REL-Hyper-Regeneration Booster chip | 1 |
| Micro-SINGLEBTR 1CHRG capacitor | 1 |
| 0.2.9-Mind-Swap chip | 1 |
| 0.0.7-Emergency Rejuvenation chip | 1 |
| MINI-AI chip | 1 |
| Kinetic Transmitter chip | 1 |
| Intelligence | 18 INT after scanner activation |
DON’T FORGET: the circuit board’s condition MUST be above 90%. A damaged board won’t do. You might also notice that the hidden M.E.R.C. scarf recipe initially displays a requirement of 99 INT. That’s a sign that you didn’t use the nano-tech scanner in Layer 1. Using the nano-tech scanner correctly during Layer 1 reveals the recipe and lowers its requirement to 18 INT. If you see 99, don’t try to reach that number, the only way is through the nano-tech scanner.
Mercenary Ending Explained
Now that you’ve got the scarf, go through the game as you normally would on a regular run. Once you grab the cargo on layer 10 and use the drill pod to reach layer 11, climb to the surface.
This time, things are different. The corp still sends its retrieval pod, but now, your expie won’t board. Now, after surviving the caves and witnessing the suffering caused by the corporation, returning to captivity is out of the question. Instead, your character chooses to stay. They now seek revenge against the people responsible.
But things aren’t looking all that well. The cargo embedded in your abdomen becomes increasingly unstable under the sunlight. Its energy overwhelms your body, causing unbearable pain and leaving you unable to move. The device eventually causes catastrophic bodily failure.
But the M.E.R.C. scarf changes the outcome. Its emergency rejuvenation technology activates, bringing us back after the cargo’s destructive effects. We awaken, recognize the scarf, and remember what must be done. Rather than returning as another obedient slave, we now have a new purpose: taking down the corp.
The final report shows:
- Cargo status: CATASTROPHIC FAILURE
- Physical status: UNKNOWN – POTENTIAL ISSUE
- Achievement: To Be Continued…
As the achievement name suggests, this leaves the story with much potential for a sequel, possibly dealing with the corp in the future. Perhaps even an expie uprising.
All Ending Achievements and Character Unlocks
| Achievement | Requirement |
|---|---|
| Company’s Best | Get the Bio-pod ending |
| Company’s Worst | Get the Escape ending |
| To Be Continued… | Get the Mercenary ending |
| Cannon Fodder | Complete an ending as Experiment |
| The Marksman | Complete an ending as Milky |
| The Cannibal | Complete an ending as Dune |
| Millions to One | Collect the cargo on layer 10 outside Endless mode |
| Pacifist | Escape without killing any guards |
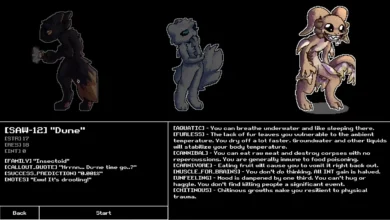
Getting an ending as Experiment unlocks Milky and getting an ending as Milky unlocks Dune. You don’t need to unlock a specific character and beat the game with it to get any of the endings. Any character would do. And getting any of the endings as Experiment or Milky will unlock the respectively subsequent character. The Casualties Unknown characters have different characteristics and dialogue, which you should read up on.
Which Is the Best Ending in Casualties: Unknown?
I mean, obviously the Merc ending is the best ending plot-wise, because your character will not only stay free, but also fight back to set all the other poor experiments free. Escape is similar, since our little expie gets their freedom here as well; the only difference is that this freedom is just for you. All other experiments are left stuck inside the facility. However, solely in terms of difficulty, getting the Bio-pod ending is the easiest one to reach.
Why Can’t I Use My Gun in the Laboratory?
Because you played your run on Chipped mode. This mode doesn’t allow access to your items when you reach the lab, unlike Unchipped mode.
Why Does the M.E.R.C. Scarf Require 99 INT?
It actually doesn’t. You only see the 99 INT message if you haven’t used the nan-tech scanner in Layer 1. That’s why the scanner is so important to get.
Does Dune Have a Different Ending?
Dune has different dialogue and character-specific reactions, but there is no confirmed fourth route exclusive to Dune. That’s about it.