

Hull Rupture revolves around surviving 20 alien waves while keeping Despot (the AI)’s spaceship running. So you should focus on gathering enough resources, turning your humans into an actual useful working force, and building defenses that stop aliens before they reach Despot.
To survive all 20 waves in Hull Rupture, build a stable economy with the Reproducer, Human Storage, and Larvae Generator before expanding your ship. Use long corridors and chokepoints to maximize turret damage, and combine piercing weapons with slowing and area damage. Keep enough Fuel for travel, avoid unnecessary ship weight increases, and concentrate your defenses on the top-left corner where the final boss arrives.
Travel to…
How to Start in Hull Rupture
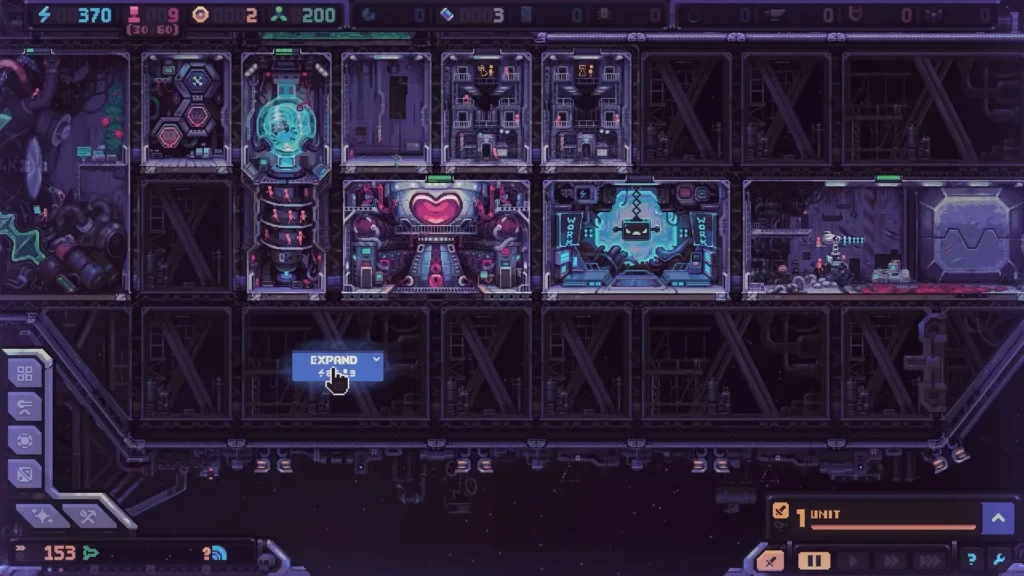
Don’t just put turrets everywhere right off the bat. Instead do what I did, build up your economy. Most importantly, build the Reproducer, as it’s especially useful early on. That’s because humans power almost everything aboard your ship. These are the main steps I recommend you follow:
- Build a Reproducer: generate more humans.
- Add Human Storage: create enough room for your growing workforce.
- Use the Larvae Generator: turn human labor into Energy.
- Set up a Bioreactor: generate more Fuel for travel.
- Build your first turrets: Build them along the routes; the routes the enemies take toward the Airlock.
How to Manage Humans, Energy, and Fuel
Aren’t humans the best? In Hull Rupture, humans are your fuel. They can can generate Energy, become Biofuel, or defend the Airlock. The important bit is to learn to manage the humans in a way so that you don’t run out of workers for any of the roles.
Energy is the bones to your skeleton, it helps with all the construction and upgrades, while Fuel is like blood to your veins, as it keeps your ship traveling. Later, you’ll also need resources such as Plasteel, Minerals, and Microchips to maintain or build advanced equipment.
You can use Info Mode to check resource income per minute and identify production bottlenecks.
Best Hull Layout and Turret Placement
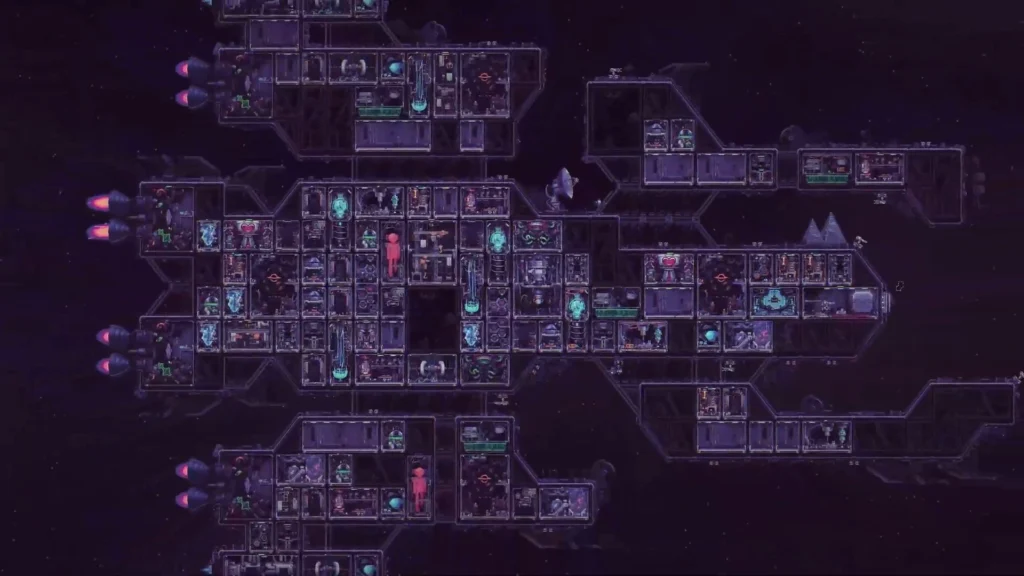
Be careful with the construction, since you can’t rotate blocks or demolish them after placement, so every expansion deserves some thought, right? Hull Construction lets you expand your spaceship using 15 different block shapes. You can build modules in any empty module slot.
Pay attention to module tooltips. Construction requirements and operating costs are separate. For example, the Microchip Generator displays the resources needed to build it separately from the Energy it consumes when producing Microchips. Also check workforce requirements and module weight before building.
To construct a module, select the appropriate Module Kit and place it in an available room. Your starting options depend on the kits available, so adapt the build order rather than waiting for one specific module. Don’t worry about constructing an adjacent module first, that’s no longer a thing in the full release version of the game. Your best shot is to make aliens travel longer distances while remaining exposed to turret fire. Damage while running.
| Hull Layout | Main Advantage | Best Turret Placement |
|---|---|---|
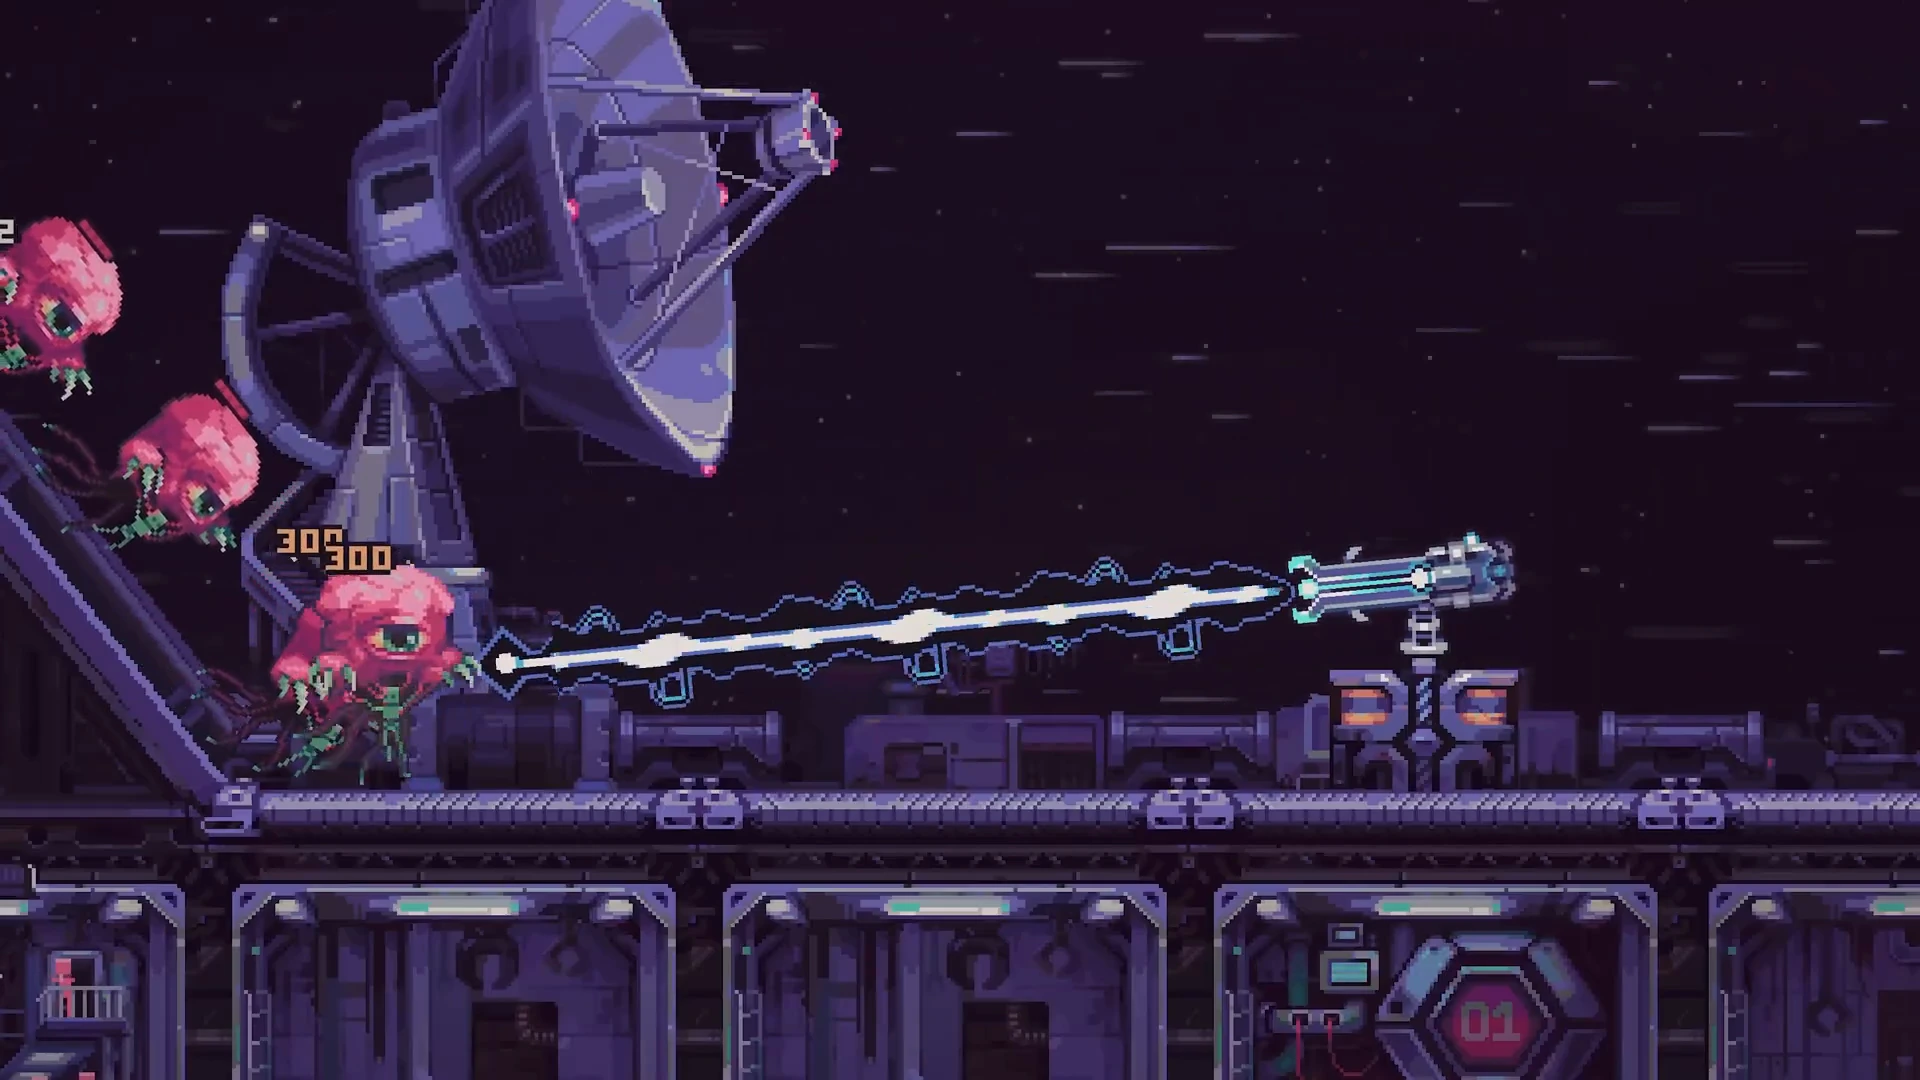
| Long Straight Corridor | Lines up enemies for piercing attacks. | Gauss Gun |
| Winding Corridor | Keeps enemies exposed to turret fire longer. | Short-range turrets and slowing weapons |
| Narrow Chokepoint | Groups enemies together for area damage. | Rocket Launcher |
| Open Outer Corner | Provides wide firing angles and better coverage. | Laser Sniper and long-range turrets |
| Extended Upper-Left Hull | Creates a longer approach for incoming bosses. | Gauss Gun and sustained-damage turrets |
| Compact Production Area | Helps take advantage of module adjacency bonuses. | Keep production modules grouped together |
Bosses approach from the upper-left section of the ship. What you should be doing is creating a longer route through that area so that you create a better chance for your turrets to attack them. Just don’t overexpand. Every additional module increases your ship’s weight, which makes maintaining travel speed more expensive.
Best Weapons and Turrets in Hull Rupture
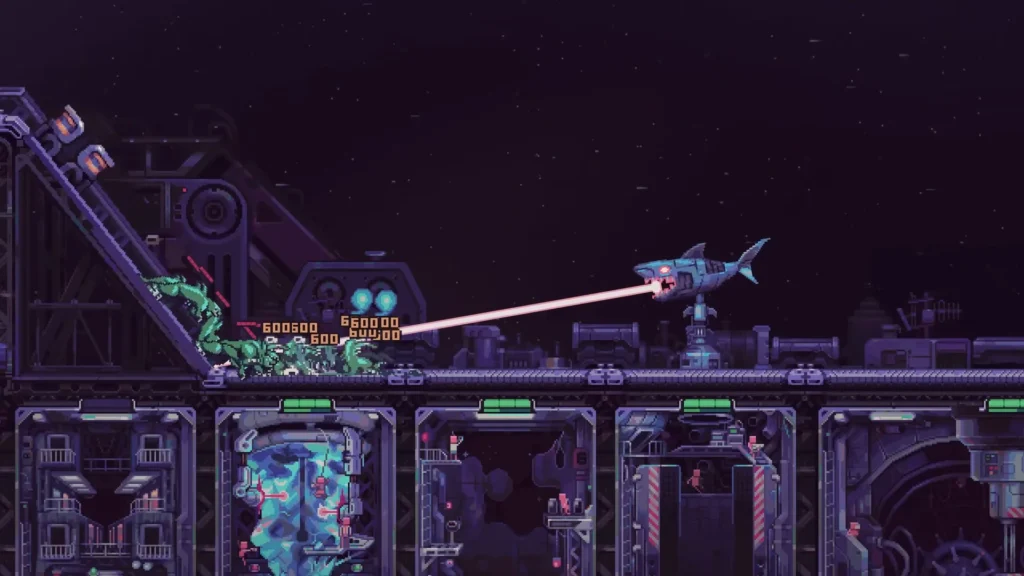
Instead of relying on identical turrets, combine weapons with different attack effects.
| Weapon | Best Use |
|---|---|
| Gun Turret | Basic protection against early waves. |
| Gauss Gun | Piercing enemies along straight corridors. |
| Rocket Launcher | Explosive damage against grouped enemies. |
| Core | Slowing and piercing enemies along its attack path. |
| Fleshstrosity | Close-range damage against stronger enemies. |
| Laser Sniper | Long-range defensive coverage. |
| Rat Turret | Turning enemies into rats. |
How to Survive All 20 Waves
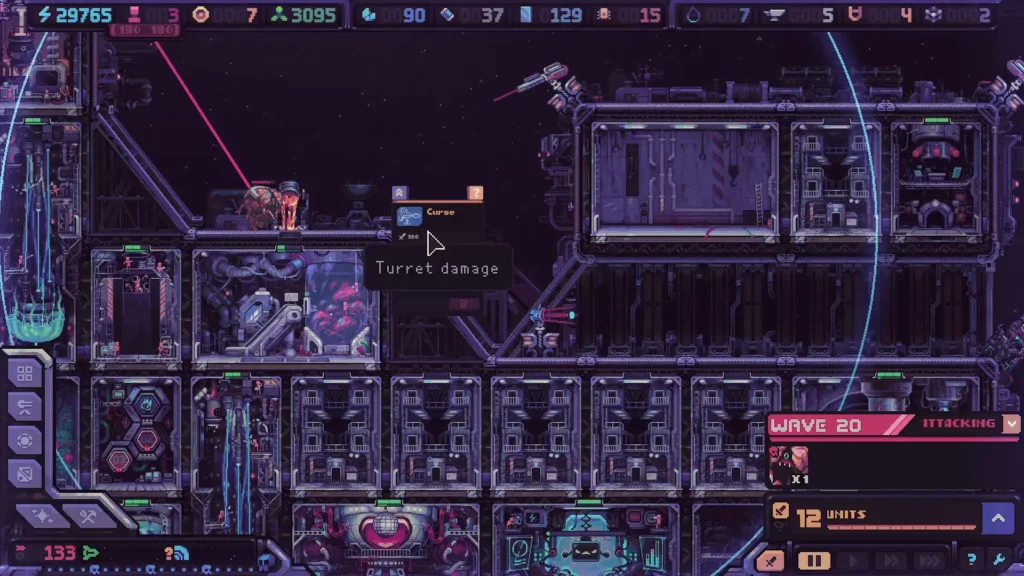
Waves 1–5: Early Game
Concentrate on three things first: Reproducer, Human Storage, and Energy generation. Don’t expand your hull this early; it’ll be a waste of resources. You only need basic turrets at this stage.
Waves 6–12: Midgame
Start upgrading your equipment; you need better waepons. Expand your firing lanes and combine piercing attacks with explosive damage. Keep an eye on your fuel, as you need to have enough for travel. This is also when you should be adding Airlock Defenders. They work pretty decently, but use them as a backup rather than relying on them to stop every enemy.
Waves 13–20: Late Game and Final Boss
Set up your turrets in a way that their range of fire overlap. The slowing effect and the damage-increasing effect can make your other weapons more effective. You will definitely need a sustained damage pattern against the final boss. By this stage, resources spent on useful defensive upgrades will provide more immediate value than more production buildings.
Shops, Artifacts, and Galaxy Exploration
When humans are slaving away in Despot’s Chamber, they can generate random module kits. You can sell any kit you don’t need in the shop that appears after every battle, and purchase themed boxes containing modules or turrets. Since the shop doesn’t guarantee a specific kit, adapt your build to the equipment that stumble your way.
Don’t make the same mistake I made; check artifact effects before buying them. Some bonuses only take effect when a specific module carries out a specific action. An artifact that doesn’t interact with your current build may provide little immediate value.
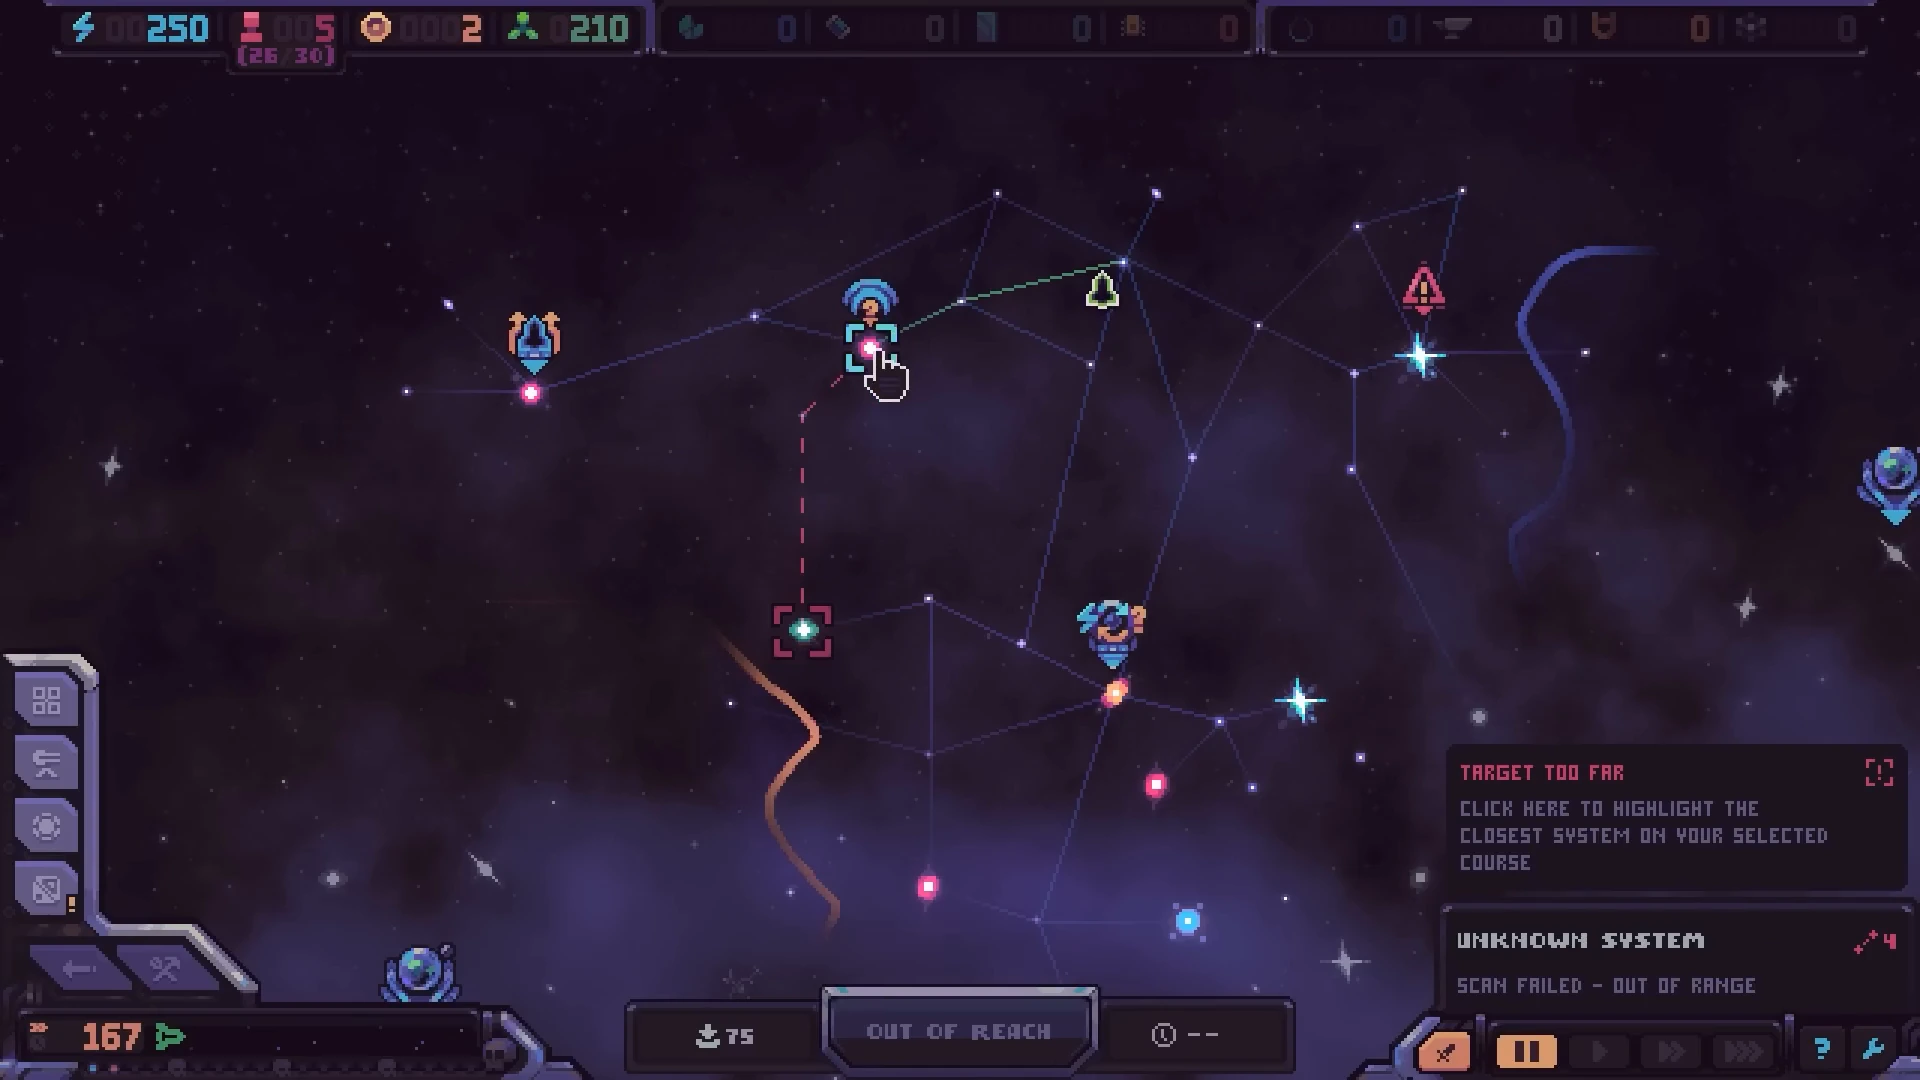
You can also move existing turrets without meeting any extra resource cost, but the annoying part is that it takes some time to move them. When exploring the galaxy, balance engine upgrades against your ship’s weight and Fuel supply. Faster travel creates more chances to visit interesting (possibly even useful) locations, but those upgrades compete with your defensive budget.
Is there an Endless Mode?
Yes. The game features an Endless Mode. If you’re done with all 20 waves, try this mode instead.
Can Modules just occupy any empty slot?
Yes, things have changed after the full version release. Modules can now occupy any empty module slot without the old neighboring-module requirement.